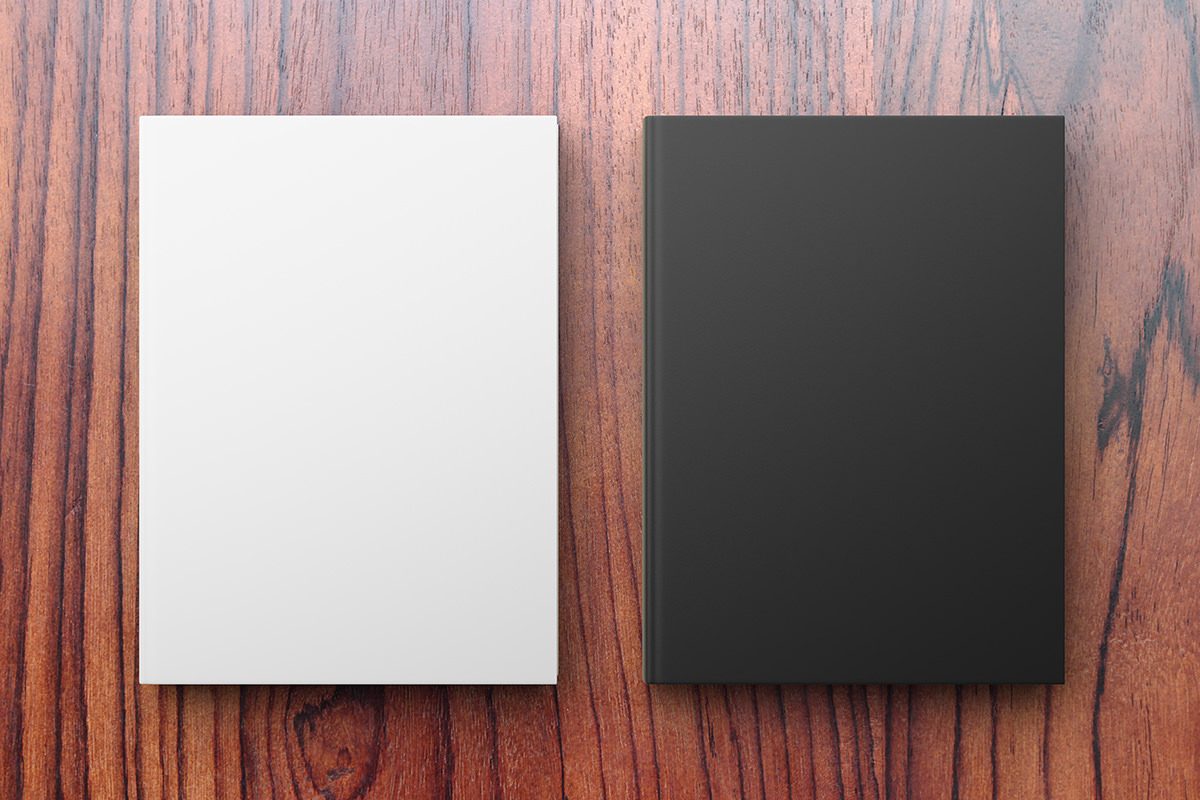

BEFORE
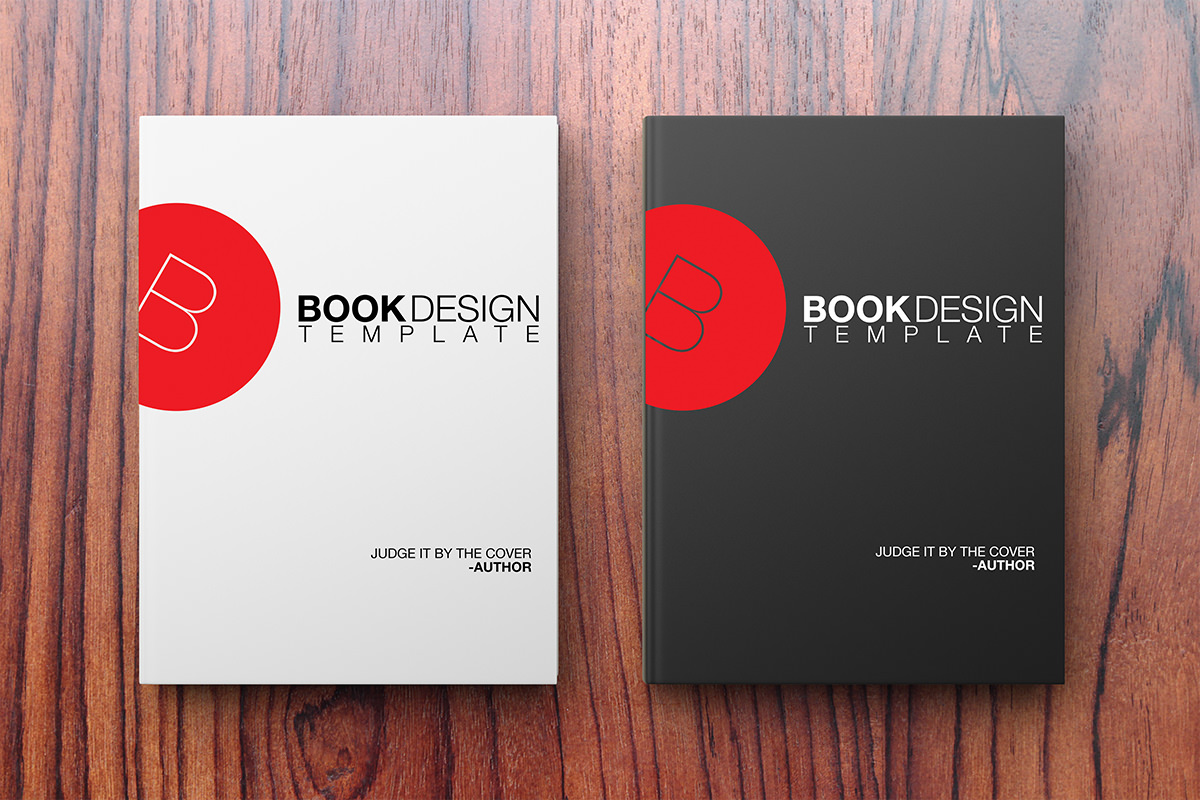
AFTER
Download Sample Images
Click the link below to download the sample images and follow along with this tutorial.
DownloadTutorial Description
Learn how to create a design once, and apply it to many different objects in Photoshop. Each time you make Adjustments to the design, those changes will automatically update on every image.
Place the Design into Images Using Linked Smart Objects
Once you are happy with your original design, save it as a .TIF or .PSD file, that way you can edit the layers at any time.
Next, open an image where you would like your design to show up. Go to ‘File – Place Linked Object’ and choose your design. Transform and Scale it into place to match the photo.
To change the perspective of the design, first, rotate and Scale it into place. Next, hold CTRL/CMD and click on one of the corners and drag it into perspective. Use visual Guides like the corners of a book to Guide your perspective transformation.
Repeat these steps as many times as you need. Each time you make changes to the original design, those changes will automatically update on the new documents.
Change Color On Each Instance
If you want to change the Color of the design on each image, it is best to do that on the image, not the original design. Use layer FX like ‘Color Overlay” to change the Color of an entire design, or clipped layers to Change Colors in certain areas.
Any changes you make to the original design will appear automatically, and the new Colors applied on the image will update as well.
This will allow you to test different Color schemes on different objects, like using Light Text on a dark Background or dark Text on a Light Background.


