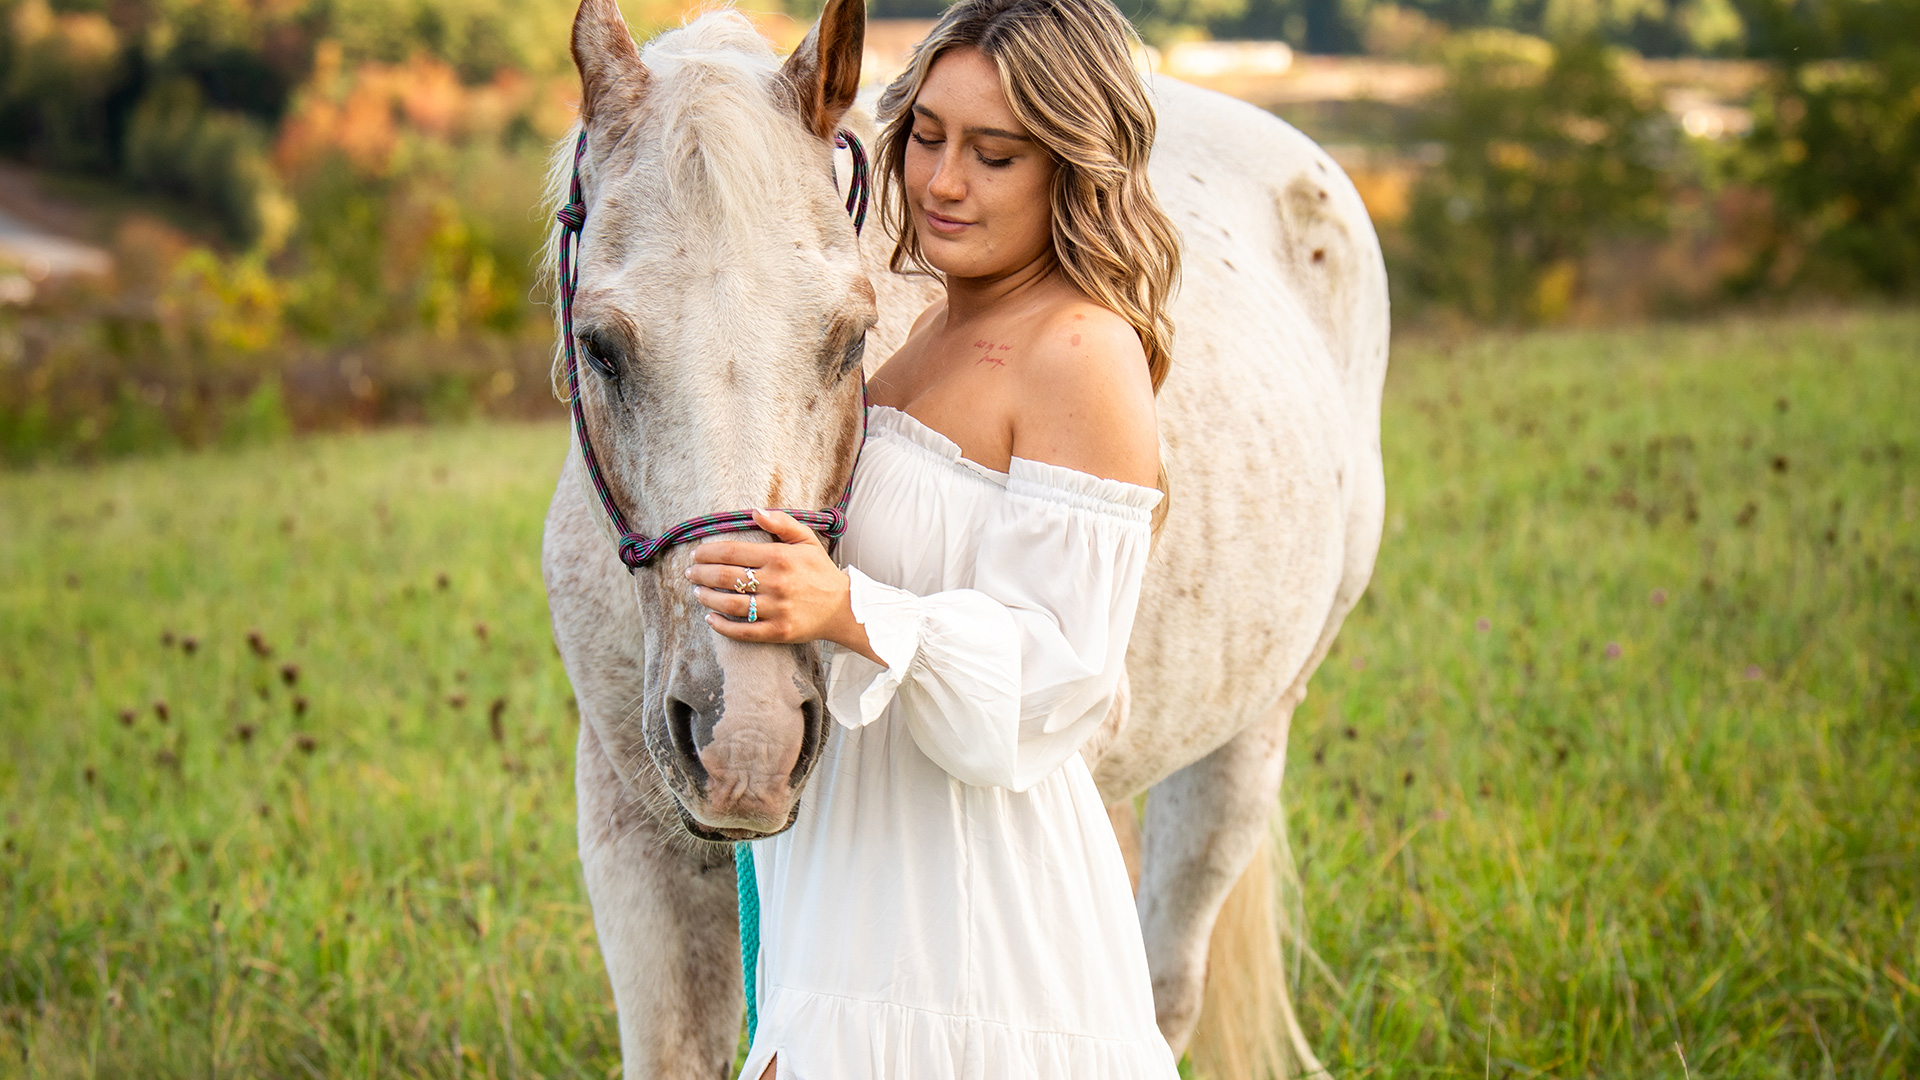

Download Assets
Download Assets
This tutorial includes 1 sample RAW file and 1 sample JPEG. Downloads are free with a PHLEARN account.
- Free sample files with every tutorial on PHLEARN
- New tutorials published every week
- Unlimited downloads with your free PHLEARN account
Watch the Full Series
description
RAW vs JPEG is usually explained badly. “RAW has more information” is true and not very useful. What matters is which things you can still change afterwards, and which your camera has already decided permanently.
On Day 13 of 30 Days of Lightroom Classic we put the same scene in both formats side by side — white balance, tonal headroom and file size — so the difference is something you can see.
This is Day 13 of our 30 Days of Lightroom Classic series. Follow along with all 30 episodes as we explore the magic of Lightroom together!
Continue Watching 30 Days of Lightroom Classic
JOIN 30 DAYS OF LIGHTROOM (FOR FREE!)
Ready to jump in? Sign up and we’ll email you a printable calendar and daily class schedule so you can get started right away!
Image Source


RAW vs JPEG: What You Can Still Change Afterwards
The RAW versus JPEG argument usually gets settled with “RAW has more information”, which is true and not very useful. What actually matters is which specific things you can still change afterwards, and which ones your camera has already decided for you permanently.
Day 13 puts the same scene in both formats side by side in Lightroom Classic, so the difference is a thing you can see rather than a claim.
What a JPEG Has Already Decided
A RAW file is the sensor data with almost nothing applied. Your camera records what it measured and leaves the interpretation to you.
A JPEG is a photograph your camera has already finished. It picked the white balance, applied contrast and saturation, sharpened it, then compressed the result and discarded everything it did not need. That processing is baked in and cannot be undone — you are editing a finished picture rather than the data behind it.
White Balance: the Clearest Difference
Open a RAW file in Develop and look at the Temp slider.

There is a real number beside it — a Kelvin value, the actual color temperature. The dropdown offers the full set of camera presets: As Shot, Daylight, Cloudy, Shade, Tungsten and so on. Because white balance was never applied, you are choosing it now, exactly as if you had set it before the shot.
Now the same slider on a JPEG:

No Kelvin value. The dropdown has collapsed to As Shot, Auto and Custom. Lightroom cannot report a color temperature because the file no longer contains one — it was used and thrown away.
The slider still moves, but it is doing something different. Instead of reinterpreting the color temperature it is layering a warming or cooling filter over a finished image. Push it and the result goes unnatural quickly, because it is tinting rather than correcting.
If you get white balance wrong on a JPEG, you are largely stuck with it. On a RAW it is a non-issue.
How Far You Can Push the Tones
The second real difference is headroom.
On the RAW file you can click Auto, lift the shadows hard, add a radial gradient over the subject and raise its exposure substantially, then stack a Select People mask on top and brighten that further — and it still looks natural. The information is there to be recovered.
Do the same on a JPEG and it falls apart much sooner. Shadows go gray and blotchy, banding appears in smooth areas, and noise that was invisible becomes obvious. There is no hidden detail to bring back; you are stretching what little remains.
The practical rule: subtle adjustments only on a JPEG. Still worthwhile — a modest edit genuinely improves the picture — but it is a much shorter runway.
What Works Equally Well on Both
It is worth being clear that JPEGs are not second-class citizens in Lightroom. Masking works normally — Select Sky, Select Subject, radial gradients, all of it. The Color Mixer works, including the targeted adjustment tool for dragging hue and luminance directly on the image. Cropping, transform and removal are unaffected.
The limits are specifically white balance and tonal headroom. Everything else behaves the same; you just have less room before it breaks.
The Cost: File Size

The same scene: 2.2 MB as a JPEG, 41.8 MB as a RAW. Roughly twenty times larger.
That is the entire downside, and it is worth reframing. The file is not bigger because it is inefficient — it is bigger because it contains twenty times more information about the light in front of your camera. That is precisely what you spend later when recovering a sky or fixing a white balance.
Storage is cheap. A shoot you cannot rescue is not.
Everything Stays Reversible
Worth remembering while experimenting: nothing here is permanent. The History panel on the left of the Develop module records every adjustment in order, and clicking any entry returns you to that exact point — including Import, the untouched original.
This applies to JPEGs as well as RAW files. Lightroom never rewrites your original; it stores instructions.
Where This Usually Goes Wrong
Shooting JPEG to save space and regretting it once. One badly white-balanced shoot costs more than a year of storage.
Editing a JPEG like a RAW. The moves that look great on a RAW file will visibly damage a JPEG. Scale back.
Assuming RAW files look better straight away. They usually look flatter, because no contrast or saturation has been applied. That flatness is the latitude.
Shooting RAW + JPEG by default. It doubles your storage for a file you can generate at any time by exporting. Unless you need JPEGs on the spot, RAW alone is enough.
Take It From Here
Shoot RAW. The only cost is disk space, and the thing you are buying is the ability to change your mind — about white balance, about exposure, about the whole interpretation of a scene — long after the moment has gone.
Tomorrow we apply one edit to an entire shoot at once: batch editing in Lightroom Classic.
Quick Reference: Keys, Menus and Settings
- Switch modulesD for Develop, G for Grid view
- RAW white balanceBasic panel: Temp in Kelvin, or the dropdown: As Shot, Daylight and the other camera settings
- Brighten the subjectMasking > Radial Gradient, then Select People > Create Mask; raise Exposure and Shadows
- Bluer sky on a JPEGMasking > Select Sky, Temp slightly cooler
- Drag colors on the imageColor Mixer > Mixer, click the targeted adjustment icon, drag up or down for Hue, Saturation or Luminance
- Before and after\ (the key above Enter or Return)
- Go back in timeHistory panel: click Import for the original, the last step to return
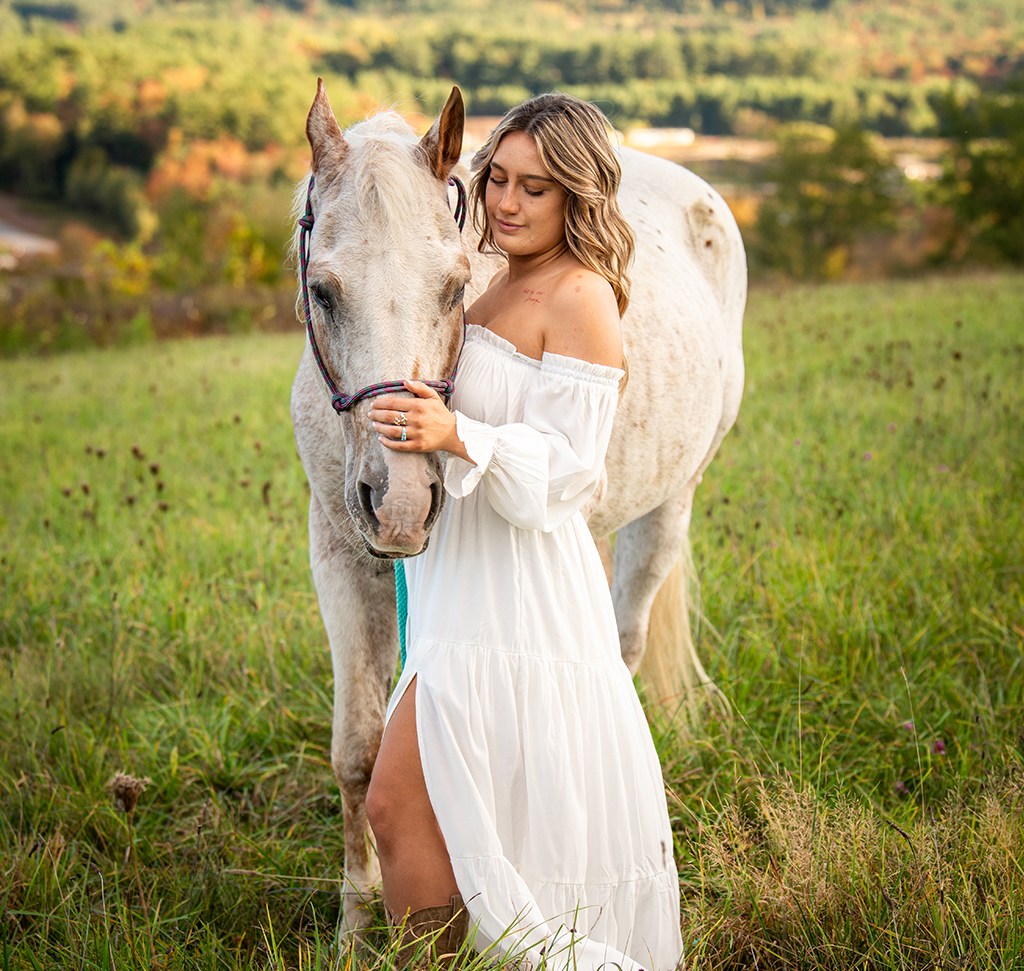
Free Downloads
Follow Along on the Same Files
Get 1 RAW file and 1 JPEG to edit side by side and push both until the JPEG runs out of room. Free with a PHLEARN account.
RAW vs JPEG in Lightroom: Common Questions
Should I shoot RAW or JPEG?
Shoot RAW. The only downside is file size, and in return you can still change white balance and recover far more from the highlights and shadows when you edit.
Can I fix the white balance of a JPEG in Lightroom?
Only a little. On a JPEG the Temp slider just lays a warming or cooling filter over the finished picture, so pushing it looks unnatural quickly. On a RAW file you are choosing the real white balance.
Why is there no Kelvin number on my Temp slider?
The photo is a JPEG. Its white balance was applied in the camera and the color temperature was not kept, so the dropdown also shrinks to As Shot, Auto and Custom.
Can I pick Daylight or Cloudy white balance after the shot?
Yes, on a RAW file. The white balance dropdown in the Basic panel has the same settings as your camera, such as As Shot and Daylight, and the Temp slider shows the value in Kelvin.
How far can I push exposure on a JPEG?
Not far. Raise the exposure or shadows much and the JPEG loses information and starts to look bad. Keep JPEG edits subtle; the same moves on a RAW file still look natural.
Do masks and the Color Mixer work on JPEGs?
Yes. Select Sky, Select People, radial gradients and the Color Mixer all work on a JPEG. You just have less room before the image breaks.
Why do my RAW files look flat before editing?
No contrast or saturation has been applied to them yet. That flatness is the room you have to edit.
How much bigger is a RAW file than a JPEG?
In this download the JPEG is 2.2 MB and the RAW file is 41.8 MB, roughly twenty times larger. The extra size is the extra information you spend when you edit.
Can I go back to the original after editing?
Yes. Lightroom edits are non-destructive. The History panel in the Develop module lists every change; click Import to see the original and click the last step to come back.
Are the sample files free?
Yes, with a free PHLEARN account. You get 1 sample RAW file and 1 sample JPEG: a Nikon NEF and a JPEG to edit side by side.
Master Photoshop, Lightroom and Photography
Join PHLEARN PRO for $12.99 a month or $99.99 a year. Cancel anytime, with a 100% money-back guarantee.





