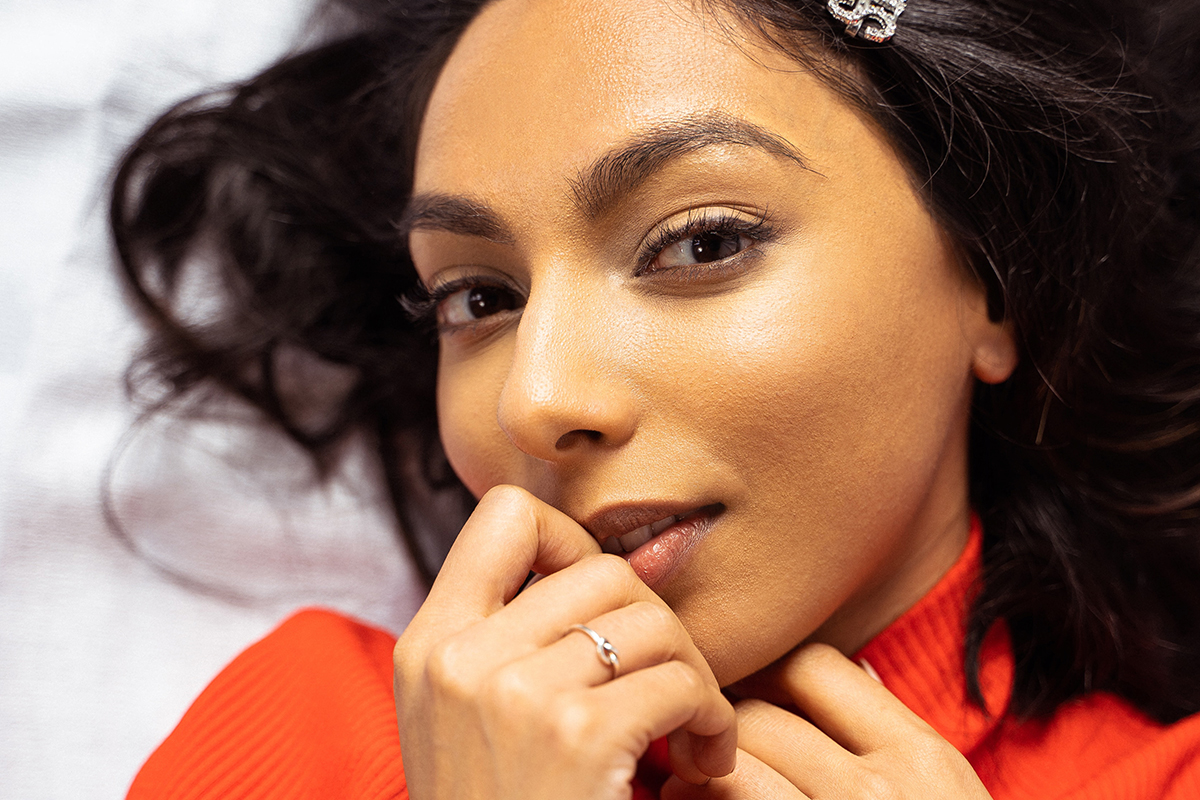

Download the Sample Image & Action
Download Assets
Downloads are free with a PHLEARN account.
- Download the sample images and PSDs from every free tutorial on PHLEARN
- New free tutorials published every week
- One free account — sign up once, then download anything
Description
2020 Edition
This lesson is from the original 30 Days of Photoshop. Photoshop has changed a great deal since — there is an updated version of this lesson in the 2025 Edition: Advanced Skin Retouching in Photoshop, Day 24.
Frequency Separation might be the most powerful technique in the retoucher’s toolbox. Learn how to use our PHLEARN Frequency Separation Action to independently edit the textures and colors in an image.
Follow along as we smooth out transitions in highlight and shadow, smooth out skin tones, and remove small blemishes while preserving all of the original beautiful skin texture.
This is Day 24 of our 30 Days of Photoshop series. Follow along with all 30 episodes as we explore the magic of Photoshop together!
Continue Watching 30 Days of Photoshop
Enjoying This Free Tutorial?
We publish a new free tutorial every week, each one with sample images and PSDs you can download and follow along with. Sign up and they land straight in your inbox, along with early word on sales, events and subscriber-only offers.
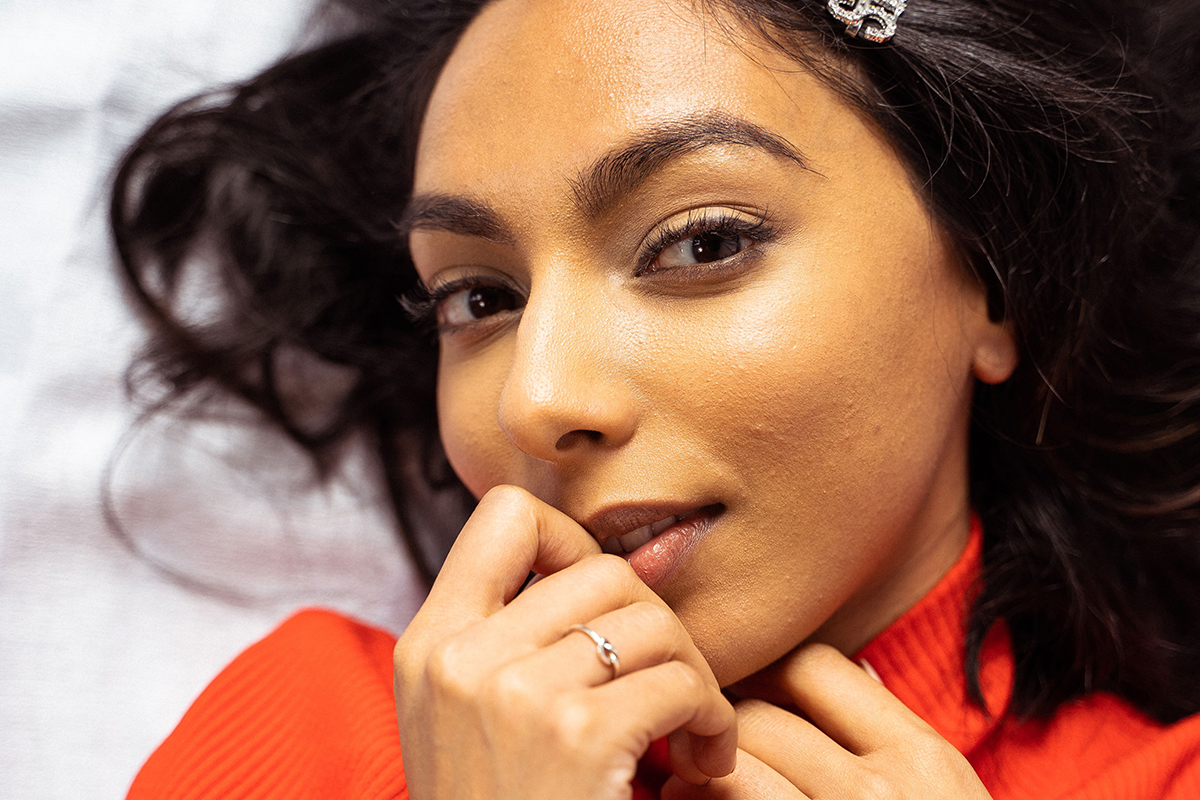
Retouch Skin with Frequency Separation
Frequency separation splits a photo into two layers: one that holds the texture (pores, hair, fine detail) and one that holds the color and tone. Once they are apart you can smooth uneven color without softening a single pore, or fix texture without touching the color. It is one of the most powerful retouching techniques in Photoshop, and the included action sets it up in a few clicks.
This lesson picks up where yesterday’s blemish removal left off, using the same portrait.
Run the Frequency Separation Action
-
Load the Action
Go to Window > Actions, open the panel menu and choose Load Actions. Select the PHLEARN Frequency Separation action from the download and click Open. It appears at the bottom of the list.
-
Check Your Bit Depth
Go to Image > Mode. JPEGs are 8-bit and raw files are usually 16-bit. Pick the matching version of the action.
-
Play It and Set the Blur
Press Play. When the Gaussian Blur dialog appears, raise the radius until no skin texture is visible, around 30 pixels on a full-size portrait, and click OK. Click Continue through the remaining steps. You now have a group with a High Frequency (texture) layer on top and a Low Frequency (color) layer beneath it.
What Just Happened
Move the High Frequency layer and only the texture moves; move the Low Frequency layer and only the color moves. Turn the texture layer off and you see a blurred photo; turn it back on and every pore returns. That separation is what makes the next steps possible.
Smooth Color and Tone
-
Create a Layer Between the Two
Click the Low Frequency layer and add a new empty layer, so it sits above the color and below the texture. Anything you paint here changes the color while the texture stays visible on top.
-
Set a Soft Brush at 5% Flow
Press B, set Hardness to 0%, and set Flow to 2-5% (hold Shift and type 05). Low flow is essential. A high flow lays down solid color and looks painted; low flow feathers one tone into the next over several passes.
-
Sample and Paint in Small Circles
Hold Alt/Option and click to sample skin right next to a patchy area, then paint over the transition in small circles with a brush about the size of the patch. Resample often. Work the transitions between light and dark: the forehead, under the eyes, across the cheeks.
-
Stay Zoomed Out
This step is about how light and color blend across the face, not individual details, so work at a zoom level where you can see the whole face. If it looks like nothing is happening, it is working correctly; toggle the layer to check.
-
Undo Mistakes with the Eraser
If an area goes too smooth (an eyebrow, for example), press E and erase that part of the painting layer, then try again.
Fix Texture on the High Frequency Layer
-
Select the High Frequency Layer
Click the texture layer and zoom in. This is where flyaway hairs, stray stubble and rough patches live.
-
Clone Stamp with Sample: Current Layer
Press S for the Clone Stamp and set Sample to Current Layer. (Current & Below will pull in color and look terrible.) Alt/Option-click on clean texture and paint over the flyaway. Only the texture changes; the color underneath is untouched.
Judge the Result
-
Toggle the Group Zoomed Out and Zoomed In
Frequency separation shows its value at both distances. Zoomed out, the light-dark-light banding on the forehead becomes an even gradient. Zoomed in, every pore is still there.
Keep It Natural
The goal is skin that looks like the person on a good day, not plastic. Smooth the transitions, keep the texture, and stop before it looks retouched. PHLEARN’s full frequency separation PRO course goes much deeper with more examples and workflows.
Related Tutorials
Master Photoshop, Lightroom and Photography
Join PHLEARN PRO for $12.99 a month or $99.99 a year. Cancel anytime, with a 100% money-back guarantee.





