

Download the Sample Image & PSD
Download Assets
Downloads are free with a PHLEARN account.
- Download the sample images and PSDs from every free tutorial on PHLEARN
- New free tutorials published every week
- One free account — sign up once, then download anything
Description
2020 Edition
This lesson is from the original 30 Days of Photoshop. Photoshop has changed a great deal since — there is an updated version of this lesson in the 2025 Edition: Welcome to 30 Days of Photoshop 2025 Edition.
Sharpening is one of the most important parts of the retouching process, adding contrast and drawing more attention to the details that matter most. Learn how to apply non-destructive sharpening that can be changed and adjusted at any time.
This is Day 25 of our 30 Days of Photoshop series. Follow along with all 30 episodes as we explore the magic of Photoshop together!
Enjoying This Free Tutorial?
We publish a new free tutorial every week, each one with sample images and PSDs you can download and follow along with. Sign up and they land straight in your inbox, along with early word on sales, events and subscriber-only offers.
Continue Watching 30 Days of Photoshop
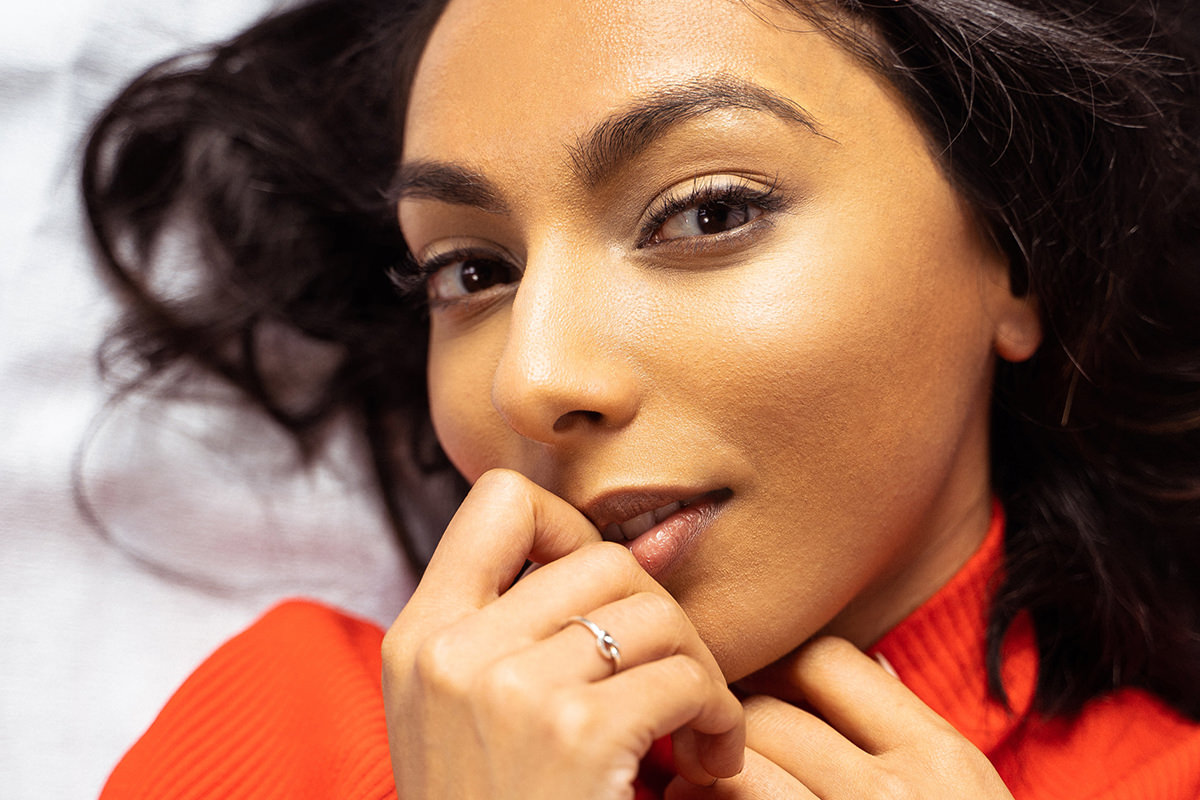
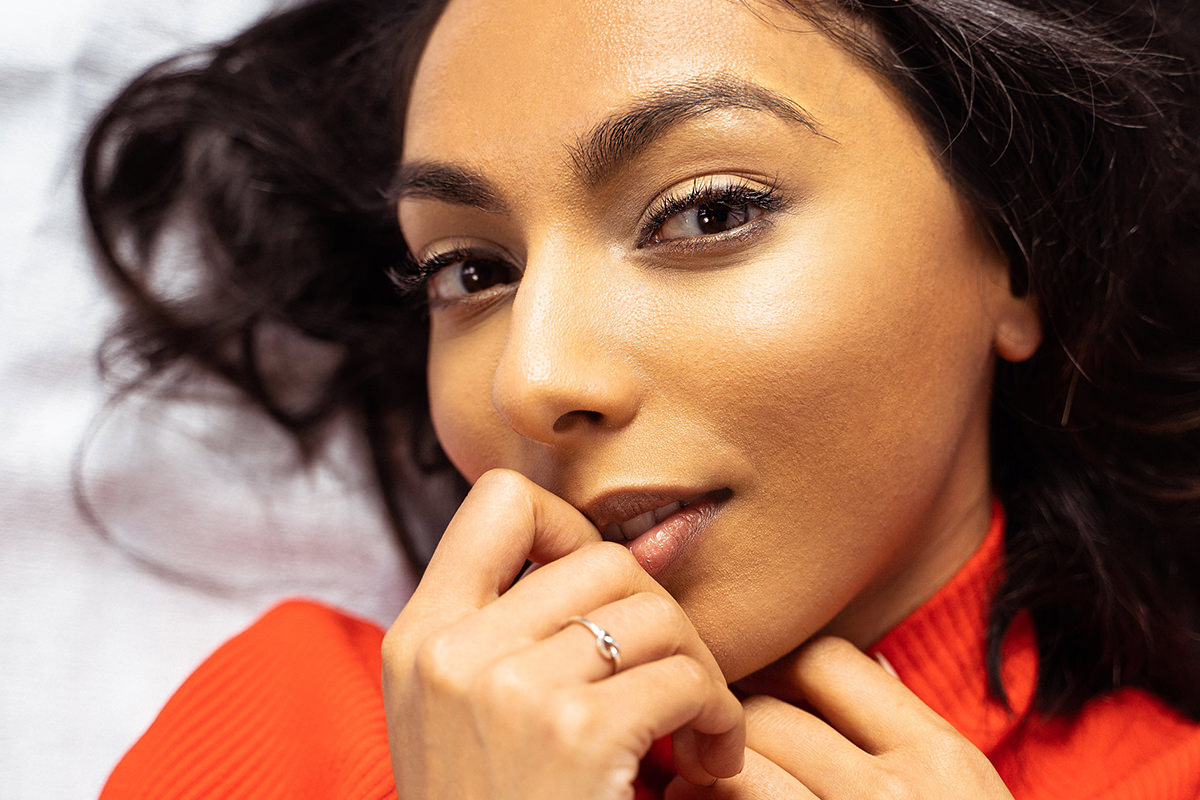
Dodge, Burn and Sharpen a Portrait
This lesson finishes the portrait retouch that began with blemish removal and frequency separation. Dodging and burning adds highlight and shadow where they already exist, giving the face a more polished, three-dimensional look. Selective sharpening then pulls the viewer’s attention to the eyes. Both techniques are subtle, non-destructive and easy to dial back, and they follow the same principles a makeup artist uses: brighten what should come forward, darken what should recede.
Dodge: Brighten the Highlights
-
Add a Brightening Curves Layer
Add a Curves adjustment layer and drag the center of the curve up. Press Ctrl/Cmd + I to invert its layer mask to black so the effect is hidden everywhere.
-
Set Up a Low-Flow Brush
Press B, choose a soft round brush, set the foreground color to white and set Flow to about 10 percent. Match the brush size to the feature you are working on; use the bracket keys, or on Mac hold Ctrl + Option and drag (left/right for size, up/down for hardness).
-
Paint the Existing Highlights
Zoom in on the eyes and paint over the highlights that are already there: the eyelids, the catchlights in the eyes, the brow bone. Low flow means each stroke adds only a little, so go over an area more than once where you want a stronger effect.
-
Work Around the Face
Enlarge the brush and lightly brighten the brow, then shrink it again for the highlights on the lips. Brush a little over the hair to add vibrance. You are enhancing shape and features that already exist, not inventing new light.
-
Correct Overdone Areas
If a cheek or anywhere else gets too bright, press X to switch to black and paint the effect back out. You can also double-click the Curves layer to adjust the strength of the whole dodge, or lower the layer’s opacity.
Burn: Deepen the Shadows
-
Add a Darkening Curves Layer
Add a second Curves adjustment layer, this time dragging the curve down. Invert its mask with Ctrl/Cmd + I.
-
Darken Around the Eyes
With the same low-flow white brush, paint along the lash lines and the creases of the eyelids, just as eyeliner and mascara would. Darkening these areas makes the eyes look brighter and larger by comparison.
-
Sculpt the Lips and Cheeks
Paint gently under the lower lip and along the underside of the cheekbone. Keep the adjustments small; the goal is to enhance the light already in the image, which is where the most natural results come from.
-
Compare Before and After
Toggle both Curves layers off and on. The face should look a little more defined and dimensional without any obvious sign of editing.
Sharpen the Eyes
-
Create a New Layer
Sharpening the whole photo doesn’t guide the eye anywhere, so you will sharpen selectively. Create a new blank layer at the top of the stack.
-
Set Up the Sharpen Tool
Click and hold the Blur Tool (the water-drop icon) and choose the Sharpen Tool. In the Options bar check Sample All Layers, check Protect Detail to keep skin texture clean and avoid pixelation, and set Strength to about 50 percent.
-
Paint Over the Eyes
Paint over the irises and eyelashes. Each pass sharpens a little more, so build it up gradually and stop before it looks crunchy. Add a touch to the lips and any interesting detail like a hair accessory.
-
Erase Any Excess
Because the sharpening lives on its own layer, press E for the Eraser and remove any area you overdid, or use a low-flow eraser to fade it. To start over, press Ctrl/Cmd + A and Delete.
Review the Whole Retouch
-
Group Your Layers
Group the two Curves layers as “Dodge and Burn,” then put that group, the frequency separation group, the blemish removal layer and the sharpening layer inside a single “Retouch” group.
-
Toggle and Judge
Turn the Retouch group off and on. It is very easy to overdo retouching, so if anything looks too strong, lower the opacity of that group or individual layer. The person should still look like themselves; the goal is a better version of the same photo, not a different person.
Key Takeaways
- Dodge and burn with two Curves layers on inverted masks, painted with a soft brush at low flow.
- Enhance highlights and shadows that already exist rather than inventing new ones.
- Sharpen only the eyes and key details on a separate layer with Protect Detail on.
- Group everything so the entire retouch can be toggled, faded or revisited.
- Study how makeup is applied; dodging and burning follows the same logic.
Related Tutorials
Master Photoshop, Lightroom and Photography
Join PHLEARN PRO for $12.99 a month or $99.99 a year. Cancel anytime, with a 100% money-back guarantee.





