download sample images
description
Whether you’re editing an image in Photoshop or creating a text document in Microsoft Word, knowing how to open, edit, and save files is an important part of using any program.
Learn how to open any image file in Photoshop, make changes, and then save it out as both a PSD (a layered file) and a JPEG (for the web and social media).
This is Day 2 of our 30 Days of Photoshop series. Follow along with all 30 episodes as we explore the magic of Photoshop together!
watch next
30 days of photoshop

Sign up to receive email updates to keep you going, sample images to follow along, and a printable calendar to keep track of your progress!
Share
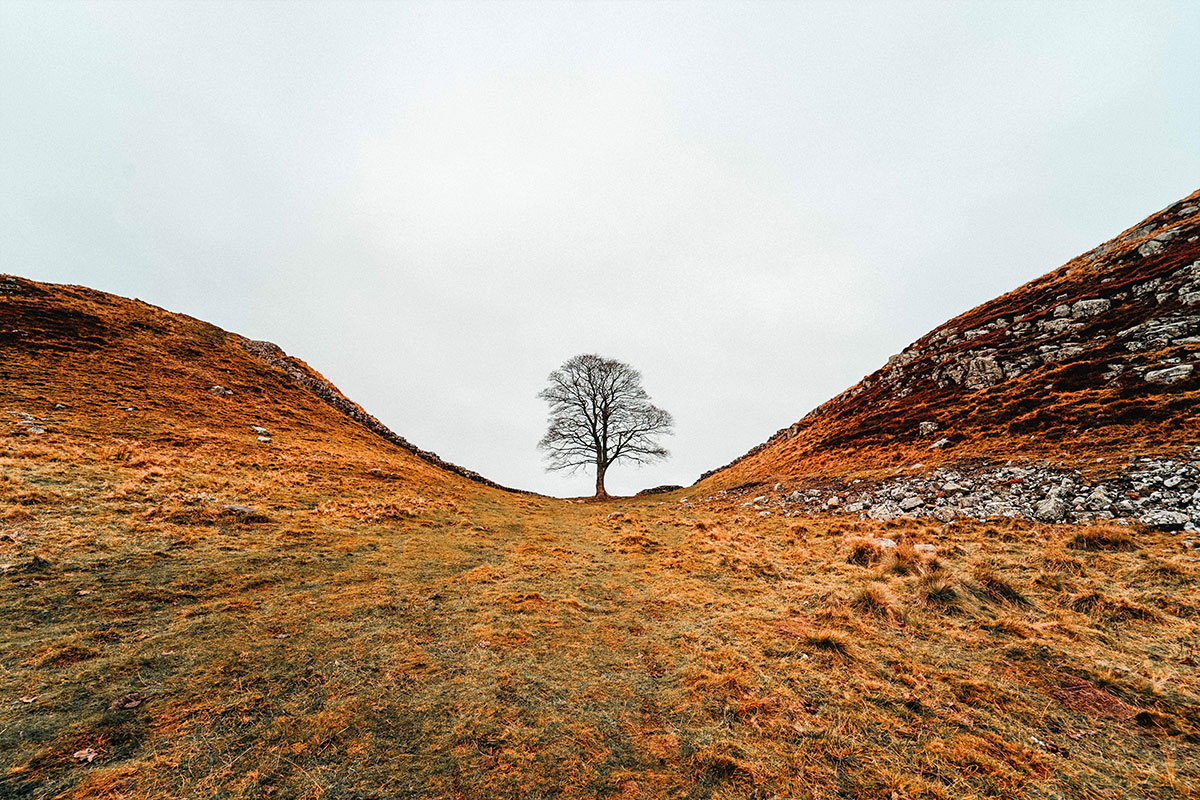

AFTER
BEFORE
The Fundamentals
Opening Images in Photoshop
Most of the time you’ll start a Photoshop project by opening an image. There are a couple ways to do this, so go with the method that fits in best with how you normally like to work on a computer.
The first is the standard File Menu route. With Photoshop open, click on File, Open, and then navigate to the folder where your image is saved. This should feel familiar as most other programs use this same method.
The other option is to drag and drop the images from your Finder or Windows Explorer window onto the Photoshop canvas.
Once your images are in Photoshop, you have options for how you want them displayed. You can use tabs, which will display each image separately and accessible via tabs near the menu bar (similar to how web browsers display multiple windows). We prefer to avoid using tabs, as we find it’s easier to navigate and move images between projects. You can enable or disable tabs by going to the Photoshop menu, clicking on Preferences, opening the Workspace settings, and checking/unchecking Open Documents as Tabs.
Editing Images in Photoshop
With your image open in Photoshop, you’ll notice it now appears in the Layers Panel as a Layer labeled Background. If you opened multiple images, you can get them into the same project by clicking and dragging on the image or the Layer and moving it over the other image.
Once your photo (or photos) appear in the Layers Panel, the editing magic can begins. We’ll go over Layers more in-depth in day 3 of 30 Days of Photoshop, but for now we’ll just cover the basics.
Layers are the most important thing to understand as you’re getting familiar with Photoshop. And the number one thing to focus on is developing a non-destructive workflow. What does that mean? Working non-destructively means that you can, at any time, remove or disable edits you’ve made to get back to the original, unaltered photography. And Layers are the primary tool through which we do it.
Whenever you add to or adjust an image, always work on a new Layer. For some tools this is easy. You create text or a shape, they automatically appear as a new Layer in the Layers Panel.
But let’s say you wanted to paint over the image with the Brush Tool. Selecting the Brush Tool does not create a new Layer. If you activate the Brush Tool and start painting, you’ll be drawing on (and changing the pixels of) your original image. This is a destructive process! If you were to save it and open it up later, you’ll see the image covered in whatever you painted and you won’t be able to remove it or change it.
If you first create a new Layer on top of the original image, you can paint freely on that Layer and those effects will be totally isolated from the underlying image. That means you can paint, save the PSD, open it later on and be free to change or remove the Brush Strokes as you see fit.
Saving a PSD
All this talk of Layers makes it important to note that you should always save a layered file of your work. Photoshop utilizes its own proprietary filetype called a PSD (or Photoshop Document). These special files allow you to open them in Photoshop later, and have complete access to every Layer and edit you’ve made.
Saving a PSD (or in some cases a TIFF, which is an alternative file type) ensures that you have a backup of your image and all of your hard work!
Exporting a JPEG
PSDs and TIFFs save our work, but JPEGs are how we normally share that work on the web and social media. When you export a JPEG, Photoshop ‘flattens’ all of your work into a single layer, while also reducing the file size so it loads faster over an internet connection.
To export your work as a JPEG, we recommend going to File, Save for Web (Legacy), selecting JPEG, and making sure Convert to sRGB is checked (more on sRGB later). This will create an image file that will display your image with great quality and with colors compatible with most web browsers.