
Download Assets
Sample assets are included with this tutorial. Downloads are free with a PHLEARN account.
- Download the sample images and PSDs from every free tutorial on PHLEARN
- New free tutorials published every week
- One free account — sign up once, then download anything
description
A pen tablet does more for Photoshop editing than replace a mouse — pressure sensitivity means the harder you press, the bigger or more intense the effect, without ever touching a slider. Five techniques built entirely around that control: realistic rain, quick object removal, natural-looking dodge and burn, falling snow, and frequency separation retouching, all starting from the same pressure-controlled brush setup.
Enjoying This Free Tutorial?
We publish a new free tutorial every week, each one with sample images and PSDs you can download and follow along with. Sign up and they land straight in your inbox, along with early word on sales, events and subscriber-only offers.


5 Wacom Tablet Tricks Every Photoshop Editor Should Know
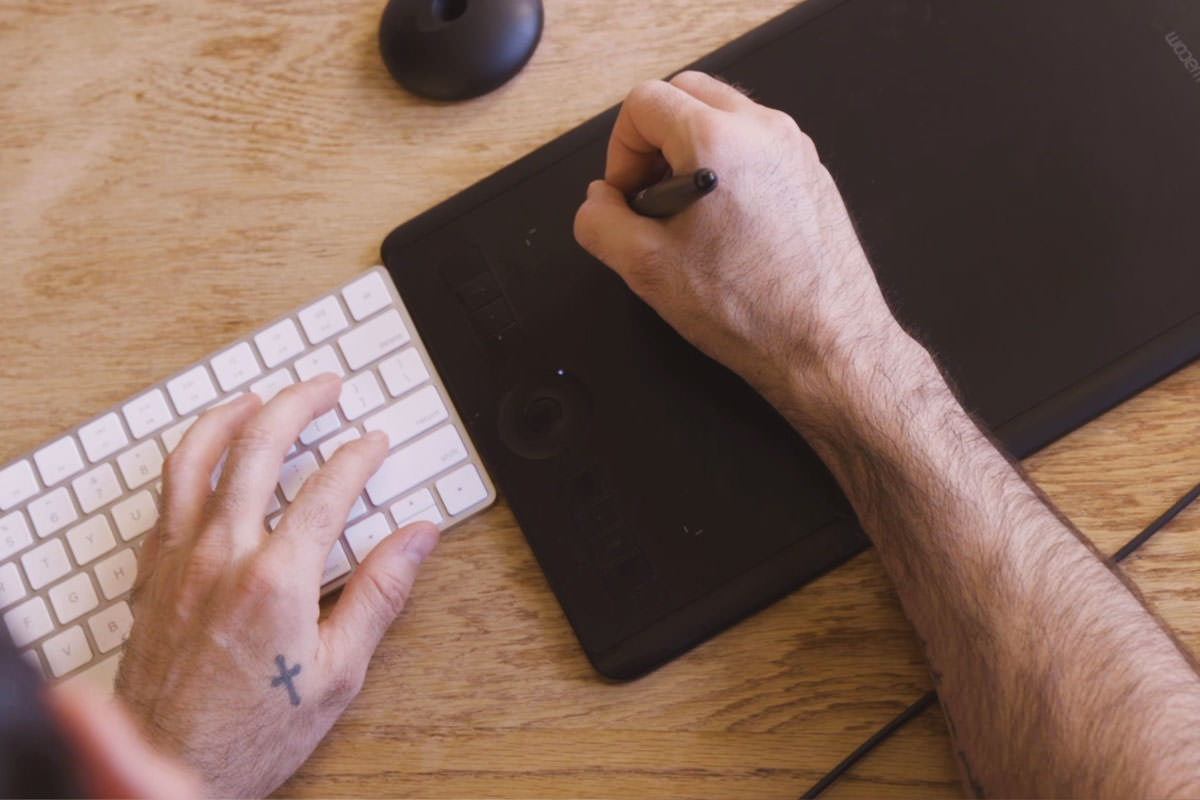
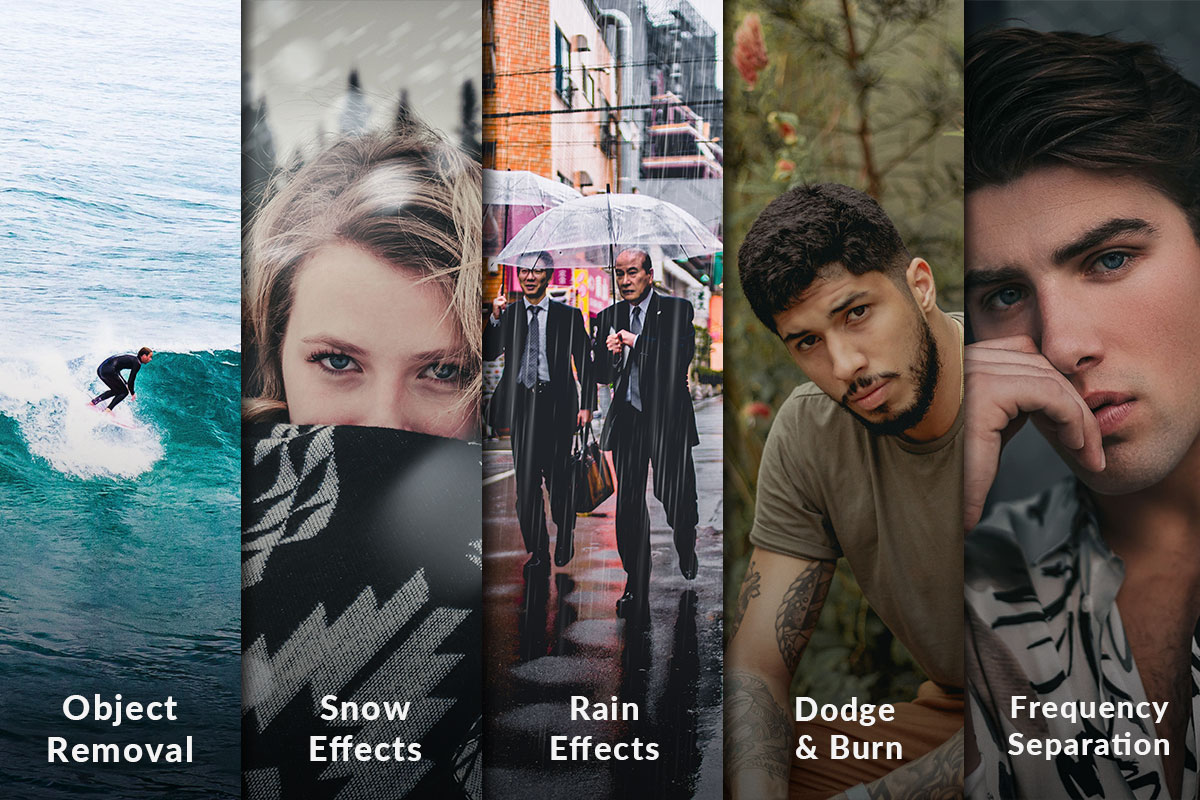
A pen tablet does more for Photoshop editing than just replace a mouse — pressure sensitivity means the harder you press, the bigger or more intense the effect gets, all without ever touching a slider. Here are five techniques built entirely around that pressure-sensitive control: realistic rain, quick object removal, natural-looking dodge and burn, falling snow, and frequency separation retouching.
Getting Started with Pressure-Sensitive Brushes
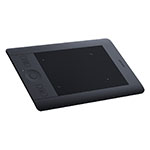
Every technique below depends on the same underlying setup: a Photoshop brush with pressure-controlled size or opacity, driven by a Wacom Tablet pen instead of a mouse click.
Creating Realistic Rain with Pressure-Controlled Size
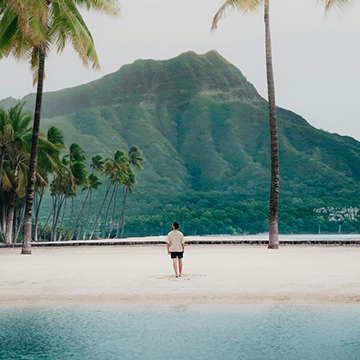
The first effect uses a custom brush tip shaped and scattered to look like falling rain, with the tablet controlling how large individual raindrops appear.
-
Shape the Rain Brush
Open Window > Brush Settings. On a new layer, set the brush tip’s angle to around 90° with 2% roundness, tilt the angle slightly for a side-falling look, and push spacing up to 1000%. Enable Scattering on both axes at 1000% so the drops distribute randomly rather than in a straight line.
-
Link Size to Pen Pressure
Turn on Shape Dynamics, set the size control to Pen Pressure, and lower the minimum diameter. Press lightly for smaller, more distant-looking rain in the background, and press harder for larger drops in the foreground — all with the same brush, no resizing required.
-
Add Motion Blur and Mask the Result
Go to Filter > Blur > Motion Blur to stretch the drops into streaks. Lower the layer’s opacity, split the rain across a couple of layers, and add a layer mask so rain doesn’t sit unrealistically over dark areas or directly on top of your subject.
Building Depth with a Second Rain Layer
A second new layer with larger drops and a stronger Gaussian Blur, placed in the foreground and lowered in opacity, adds a sense of depth that a single rain layer can’t achieve on its own — distant rain reads as smaller and sharper, foreground rain as larger and softer.
Removing Objects with Pressure-Controlled Brush Size
The second trick uses the same pressure-sensitivity principle for cleanup work: removing unwanted elements without constantly resizing the brush.
-
Set Up a Large Spot Healing Brush
On a new layer, select the Spot Healing Brush tool and choose a large brush size — larger than any single object you plan to remove.
-
Vary Pressure to Control the Removal Area
Press lightly to remove only a small portion within that large brush outline, or press harder to heal a wider area in one pass. This makes it possible to clean up several different-sized distractions in a photo without switching brush sizes at all.
Natural Dodging and Burning with Pen Pressure
The third trick fixes a common problem with dodge and burn on a mouse: a standard brush applies its full effect at 100% with no in-between, which reads as flat and unrealistic.
-
Link Brush Flow and Size to Pressure
Create a Curves adjustment layer to brighten the image, invert its mask, then open Brush Settings and turn on Transfer with Flow Jitter set to Pen Pressure. Add Shape Dynamics with size control on Pen Pressure as well, and raise the minimum diameter slightly.
-
Paint Highlights and Shadows Separately
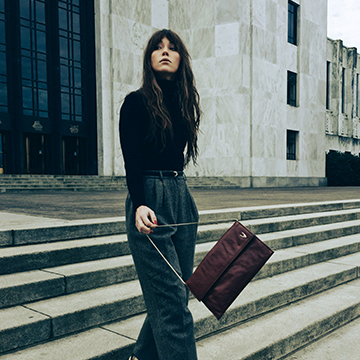
Paint lightly for a subtle brightening effect and press harder for more. Add a second Curves layer set darker, invert its mask, and paint along the edges you want to recede — on an arm, for example, brightening the center and darkening the outer edges builds a visibly three-dimensional result. This same technique is covered in full in this dodging and burning tutorial.
Why Pressure Beats a Flat Opacity Setting
A fixed brush opacity forces every stroke to apply the same intensity, which is exactly what makes mouse-based dodge and burn look artificial. Tying flow and size to pen pressure means every stroke can vary in strength naturally, the same way a hand-painted highlight would build up gradually rather than switching on and off.
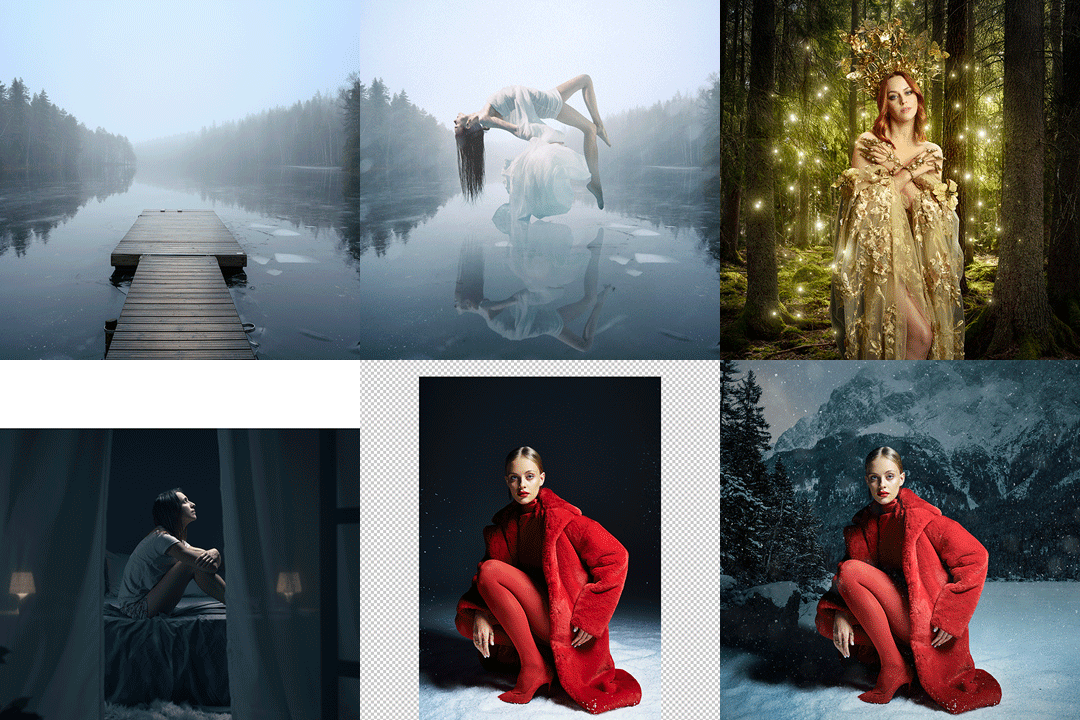
Making Snow with Scatter and a Path Blur
The fourth trick builds falling snow using the same scattered-brush approach as the rain effect, but finished with a different blur technique.
-
Build a Scattered Snow Brush
In Brush Settings, turn Scattering up on both axes, raise hardness to roughly 60–70%, and increase spacing. Turn on Transfer with Opacity Jitter so some flakes appear more faint than others, then set Shape Dynamics size control to Pen Pressure so lighter presses create smaller flakes and harder presses create larger ones.
-
Add Motion with Path Blur
Go to Filter > Blur Gallery > Path Blur and draw a path with a couple of points for a slightly curved, wind-blown look, rather than a perfectly straight line.
Layering Foreground Snow in Screen Mode
A new layer with larger flakes, set to Screen blending mode, adds foreground snow that can partially cover the subject for depth. The Eraser tool can clean up any flakes landing somewhere distracting, like directly over a face.
Smoothing Skin with Frequency Separation
The fifth and final trick applies pressure sensitivity to frequency separation retouching, which separates an image’s texture from its color onto two layers.
-
Set Up a Pressure-Sensitive Retouching Brush
With frequency separation already applied, open Brush Settings on the brush used between the two layers. Turn on Transfer with Flow Jitter set to Pen Pressure, then Shape Dynamics with size control on Pen Pressure and minimum diameter around 33%.
-
Sample and Paint Over Texture
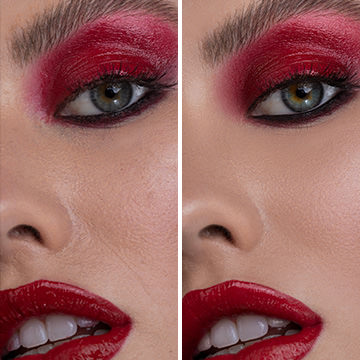
Hold Alt/Option to sample a clean area of texture, then paint directly over the area you want to smooth — pressing harder applies more of the sampled texture, pressing lighter applies less, for a smooth, even transition instead of an abrupt swap. This same workflow is covered start to finish in this frequency separation tutorial.
-
Clean Up Remaining Texture with the Clone Stamp
On the texture layer, use the Clone Stamp tool set to sample the current layer, and clone clean texture over any remaining blemishes for a final pass.
More Free Photoshop Tutorials
To go deeper on any of these five techniques, check out these free tutorials:
- Advanced Object Removal by Painting in Photoshop
- How to Clean Up any Photo with Content-Aware Fill
- How to Dodge & Burn in Photoshop
Why This Approach Works
What ties all five tricks together is the same core idea: pressure sensitivity turns a single brush setting into a range instead of a fixed value. A mouse click is binary — on or off, full strength or nothing — while a pen’s pressure reading is continuous, so a brush’s size, opacity, or flow can shift smoothly within one stroke. That’s what makes rain drops vary naturally in size, dodge and burn build up gradually instead of switching on at full strength, and frequency separation blend at exactly the strength a given blemish needs rather than an all-or-nothing swap. Digging deeper into any single adjustment layer used here, like the Curves layers behind the dodge and burn trick, this comparison of Curves and Levels is a useful next stop for understanding why Curves specifically was the right tool for that job.
Final Thoughts
None of these five tricks require special software features beyond what’s already in Photoshop — brush scattering, Shape Dynamics, Transfer settings, and standard filters like Motion Blur and Path Blur. What a Wacom tablet actually contributes is a continuous, natural input for controlling all of it, which is why the same pressure-driven brush setup shows up again and again across rain, object removal, dodge and burn, snow, and frequency separation. Once shape dynamics and pen pressure feel familiar, it’s worth applying that same thinking to other brush-based effects in Photoshop — the underlying principle of letting pressure do the work of a slider carries over to nearly any painted adjustment.
Enjoying This Free Tutorial? Go Further with PRO.
Unlock Full Sample Files, PSDs, and Hundreds of Masterclasses!
Download full project assets, original PSDs, and RAW images for every lesson
Unlimited access to our complete library of PRO Photoshop & Lightroom courses
Instant 4K Ultra HD streaming on all devices, anytime, anywhere
Full access to our entire library of Photoshop Actions, Presets, and LUTs
Flexible monthly and annual membership plans
Cancel anytime with zero hassle or commitments