Download Sample Images
description
Learn how to use the Face-Aware Liquify Tool and the new Smart Portrait Neural Filter to make subtle adjustments to facial features and facial expressions in Photoshop.
Share
MAKE SUBTLE ADJUSTMENTS TO FACIAL FEATURES
BEFORE
Adjust Eyes & Expressions
Adjusting Facial Features in Photoshop
It’s a fairly common trend in retouching to help features like eyes and mouths appear slightly larger. But before we get into some of the newer Photoshop tools that can make that process easier, let’s quickly touch on how to handle these editing situations with your clients and subjects.
Working with facial features can be a sensitive area, and you should always discuss any such edits with your clients and your subjects before making them.
And when you do make changes to facial features and expressions, especially with automated tools like the ones we’re trying here, make sure to keep them subtle! Drastic changes often end up looking very unnatural, and can ruin an otherwise beautiful portrait. Your goal should be to make small improvements to an image as a whole, not completely changing a subject’s appearance!
The Face-Aware Liquify Tool
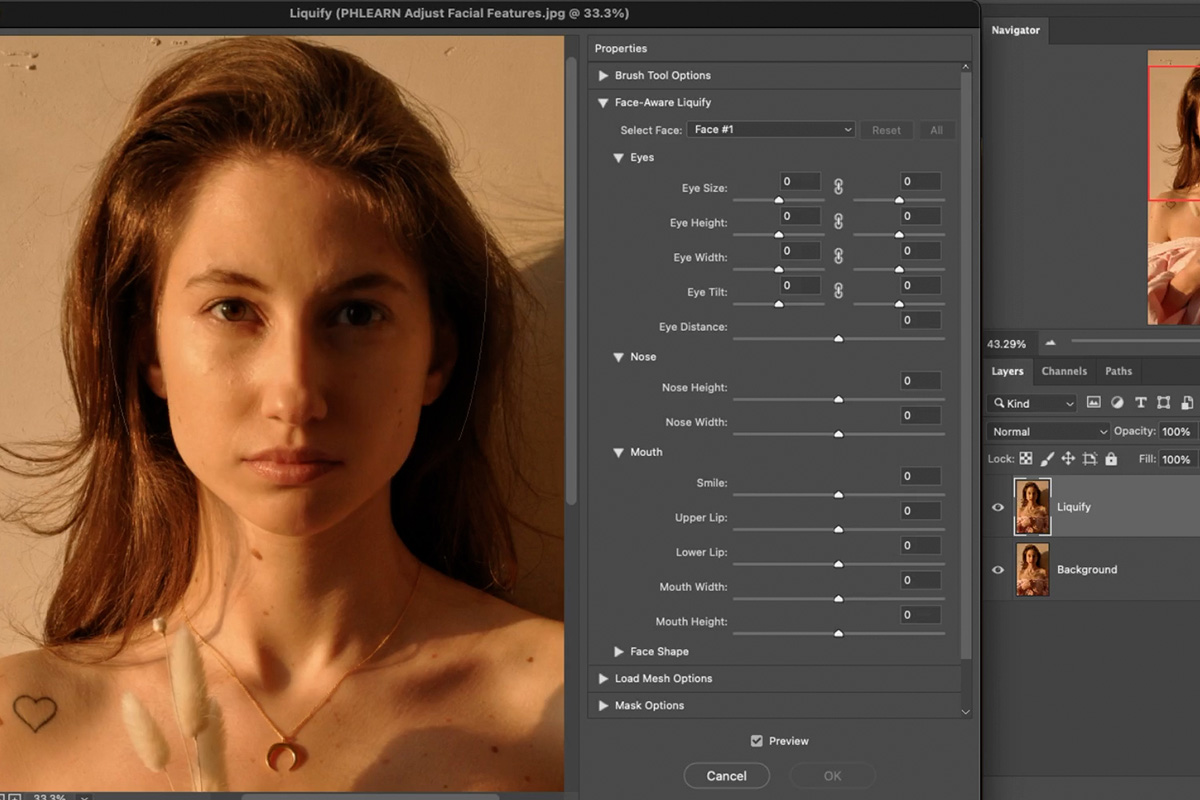
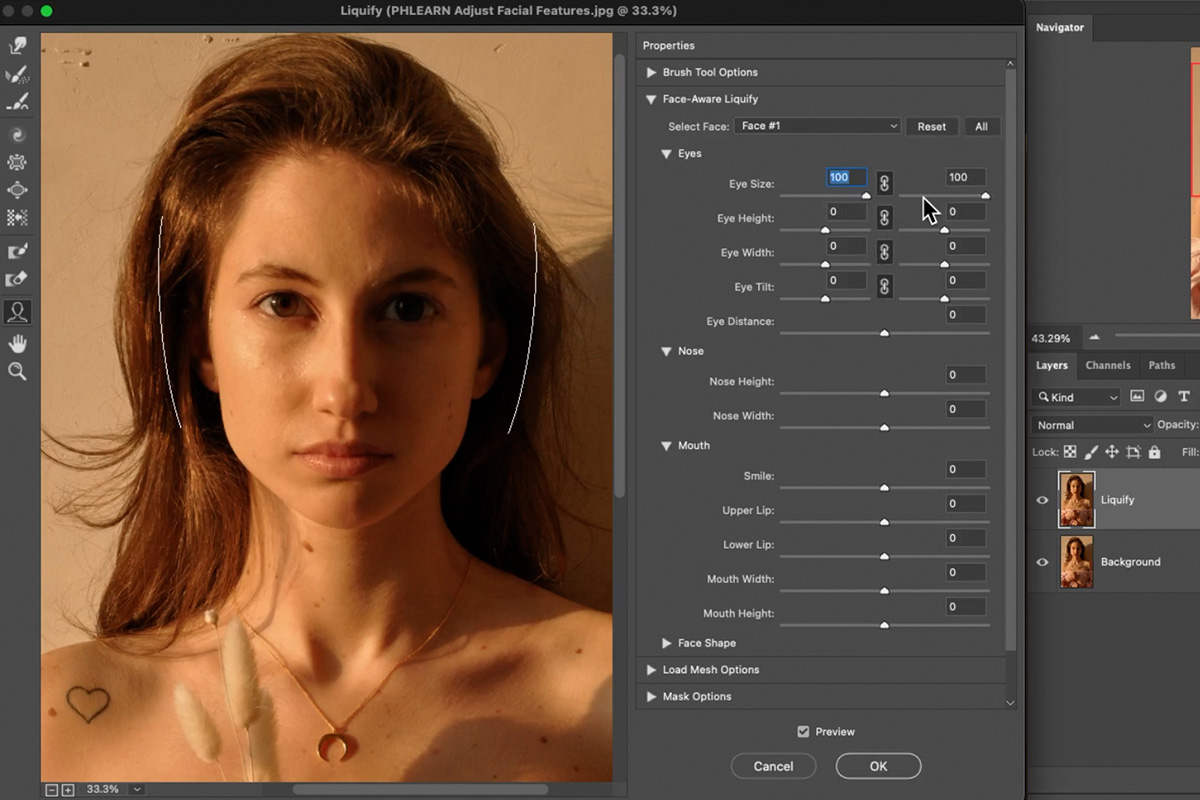
The first tool we’re going to look at is a relatively new addition to the popular Liquify Tool. You can open the Liquify Filter dialog by clicking on the Filter menu and selecting the Liquify option.
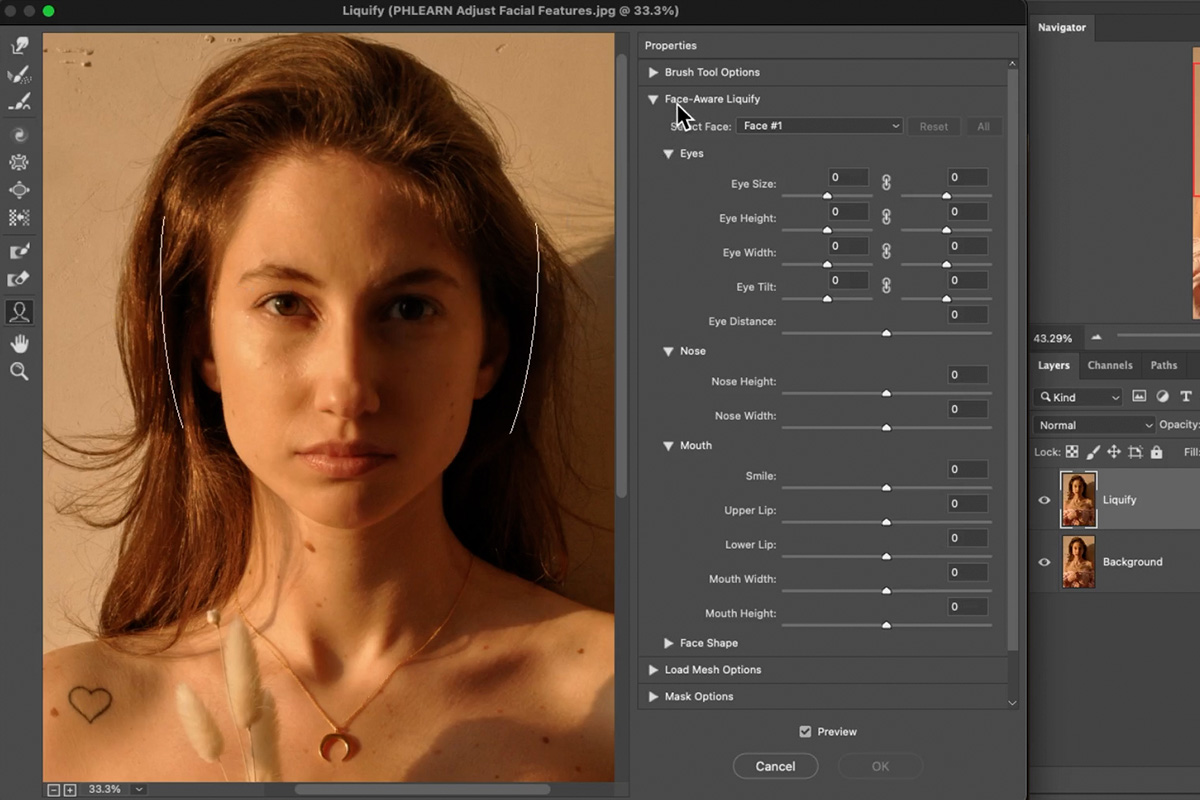
Since we’re specifically talking about portraits, you can enable portrait-related tools by clicking on the Face Tool icon near the bottom of the left-side toolbar.
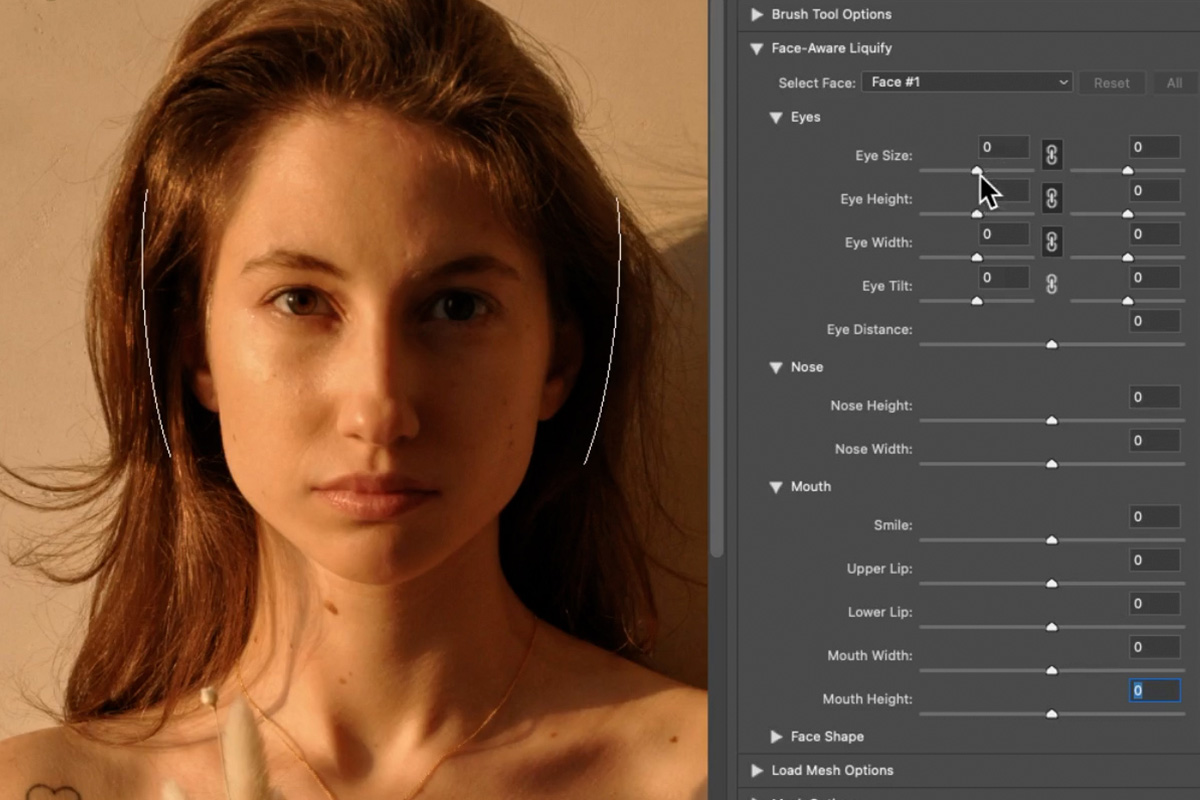
Notice the drop-down menu in the right-side toolbar that’s labelled Face-Aware Liquify. This menu contains the tools we’ll need to make subtle adjustments to facial features.
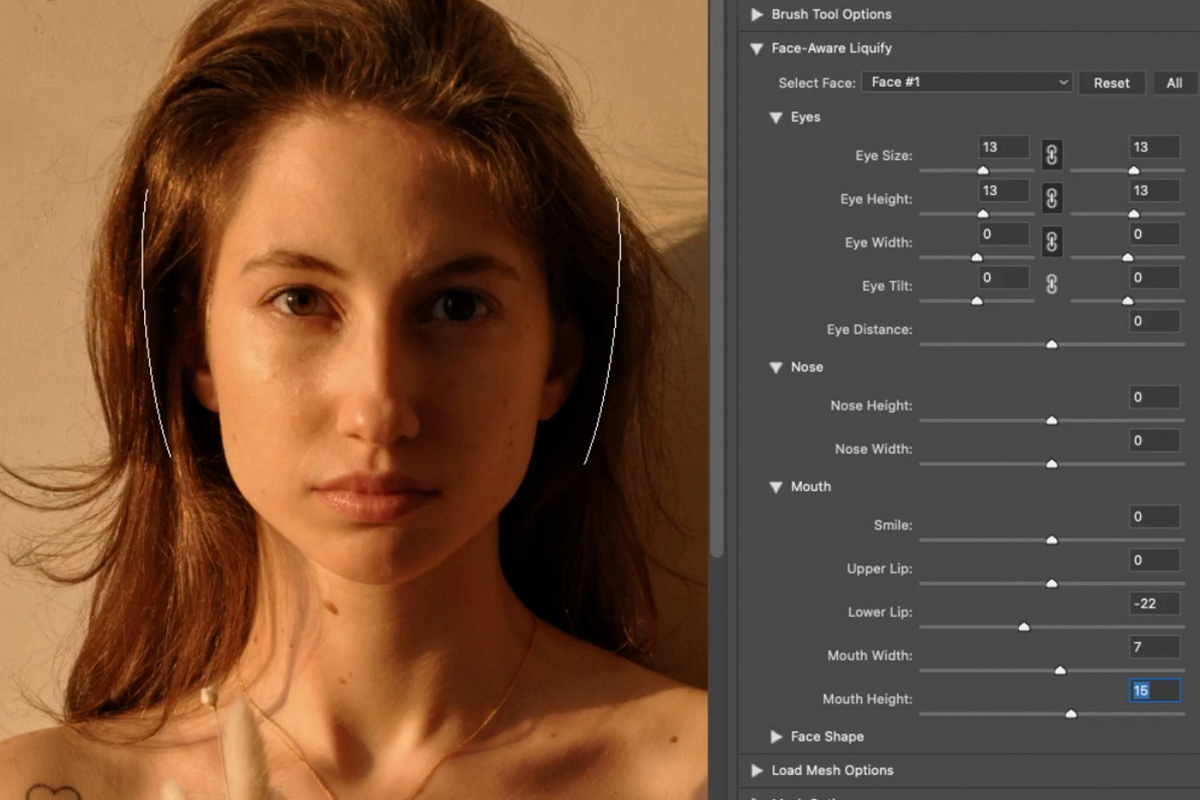
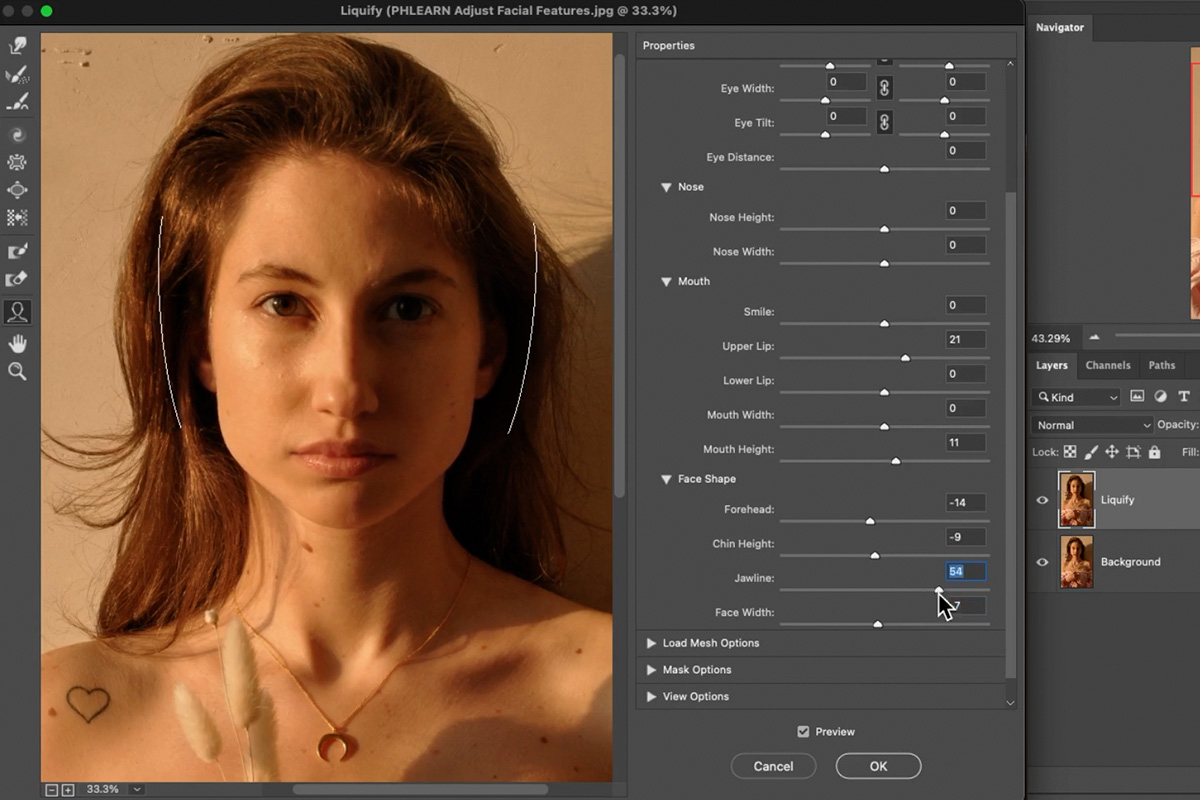
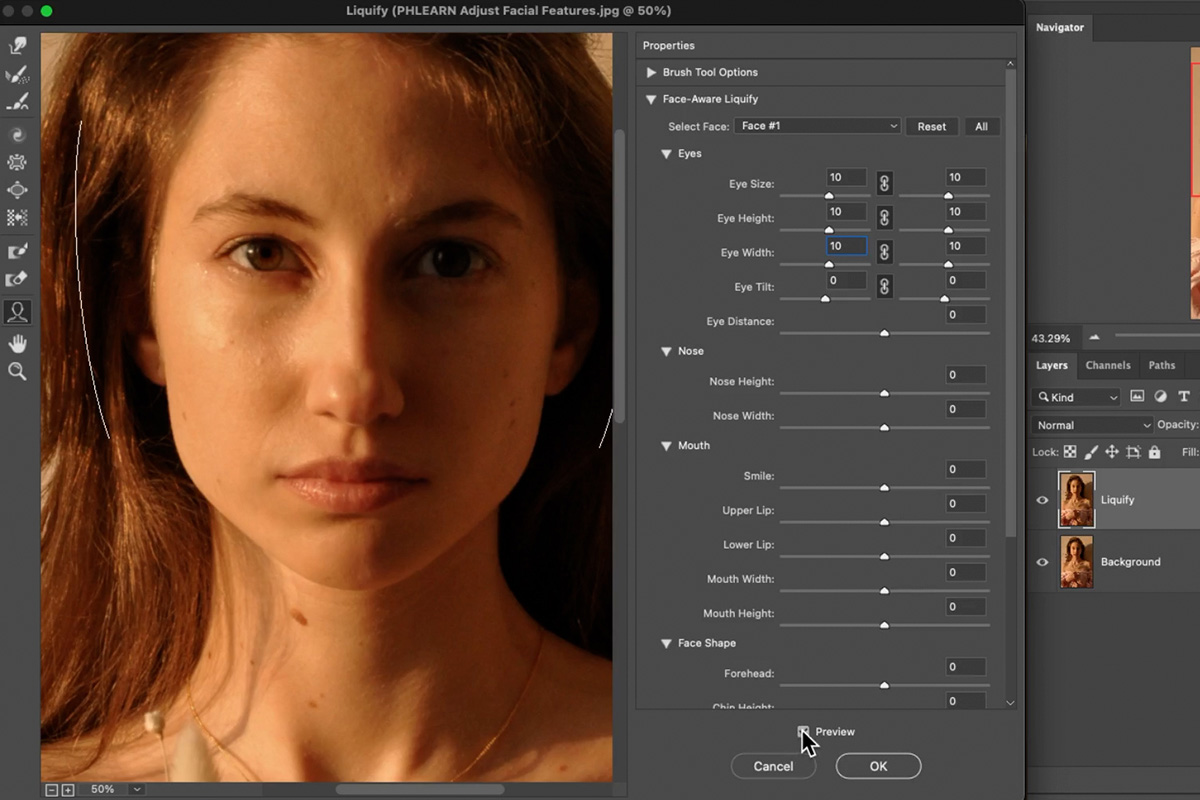
There are a variety of options that will allow you to change the size and positioning of many different areas of a face. While we don’t recommend making extreme changes to facial features, it does help to experiment with the sliders to see exactly what effect each option will have on an image.
You can make adjustments to everything from eyes and mouths to even the overall shape of a person’s face and jawline.
As we’ve said many times, try to keep things as subtle as possible. Small changes will make for a more natural portrait while still achieving the particular look that you or your client are asking for.
Smart Portrait Neural Filters
Photoshop now offers an even newer tool for making changes to facial features (and even facial expressions). Powered by Adobe Sensei technology, these tools use cloud-based artificial intelligence to make adjustments to images.
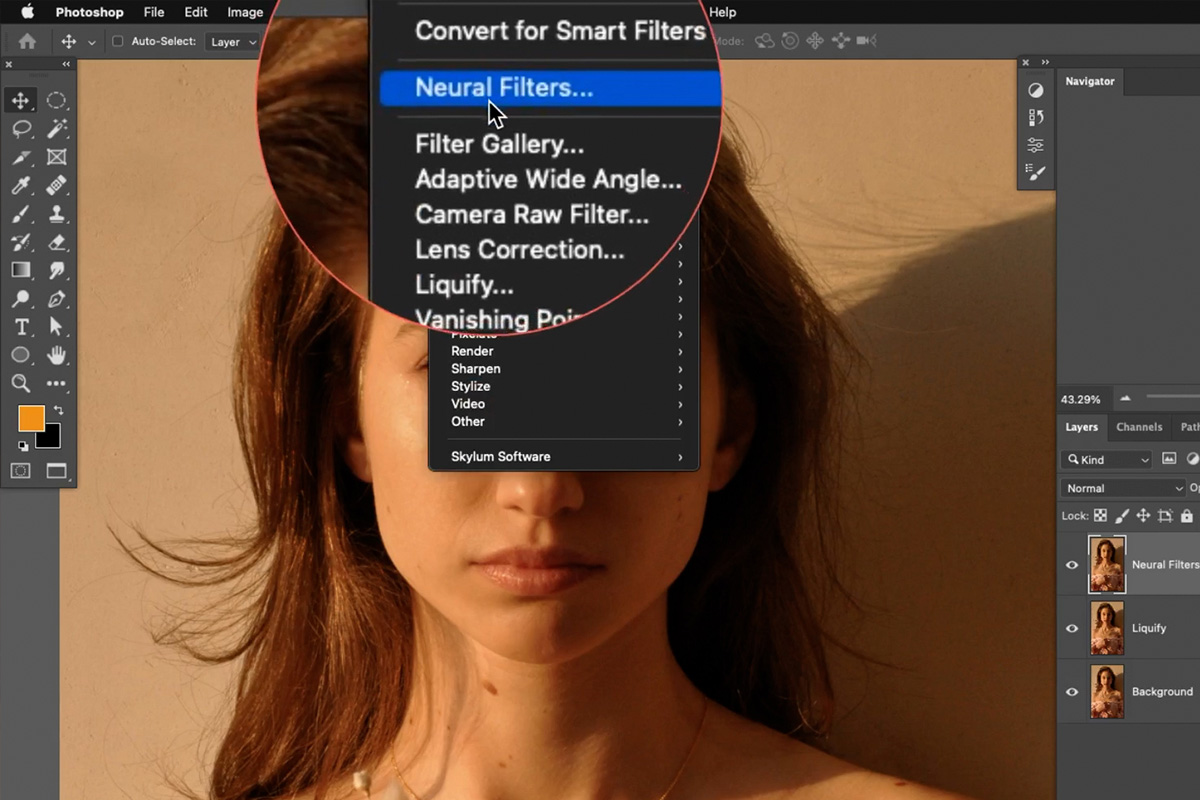
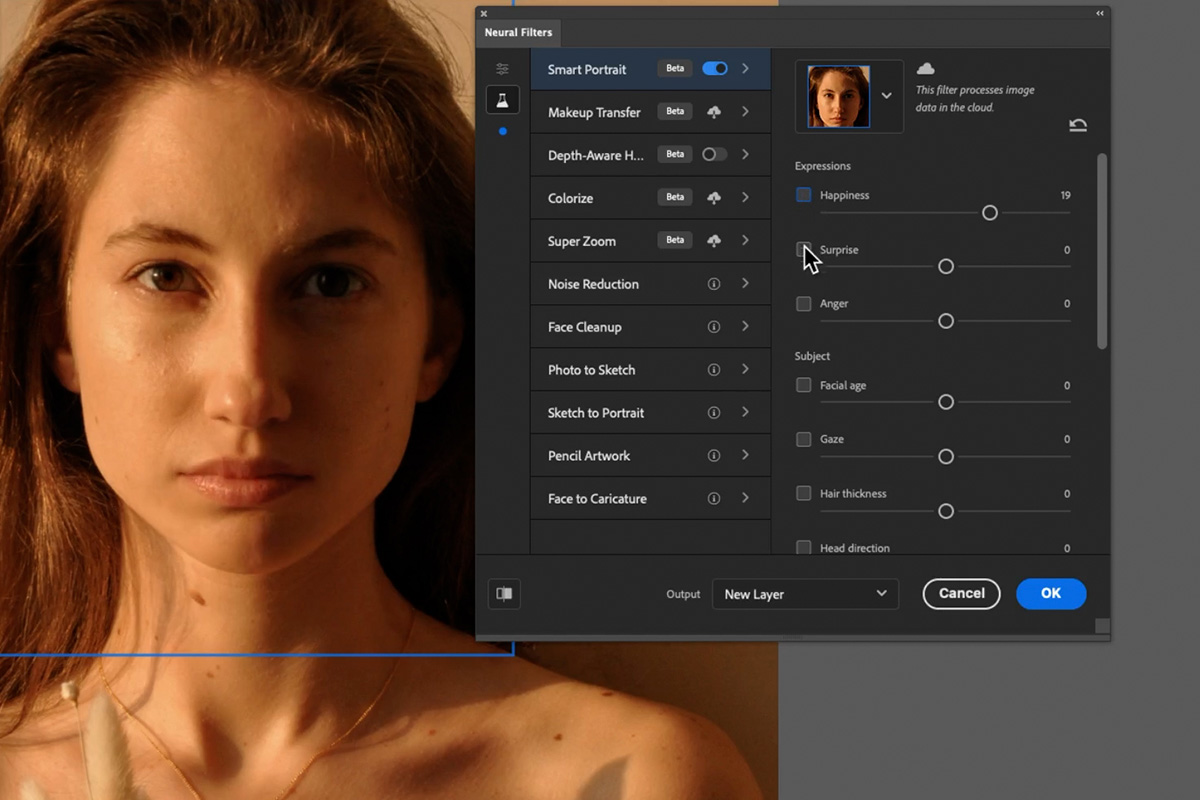
To open the Neural Filters dialog, open the Filter menu and select Neural Filters.
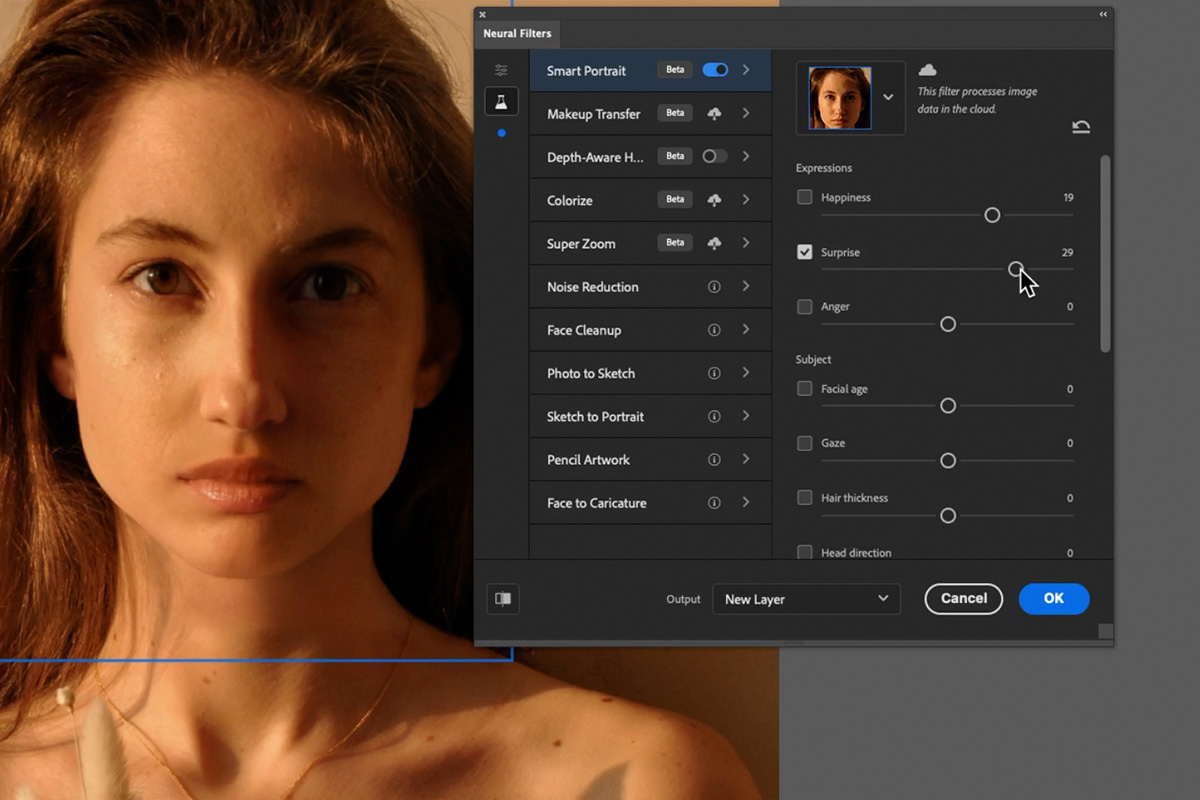
Toggle the Smart Portrait option. This will open a menu that offers a variety of options for changing facial expressions. Unlike the Face-Aware Liquify tool, Smart Portrait Neural Filters are chosen by a particular mood or expression you want the subject to evoke.
For example, enabling the Surprise option will make the subject’s eyes wider in attempt to make them look like they’re, well, surprised.
Your mileage may very depending on the expression in the original image and the expression you toggle using Neural Filters. Keep in mind that, while these options are still impressive, they’re very limited and are not capable of completely changing an obviously happy and smiling face to a sad and moody face.
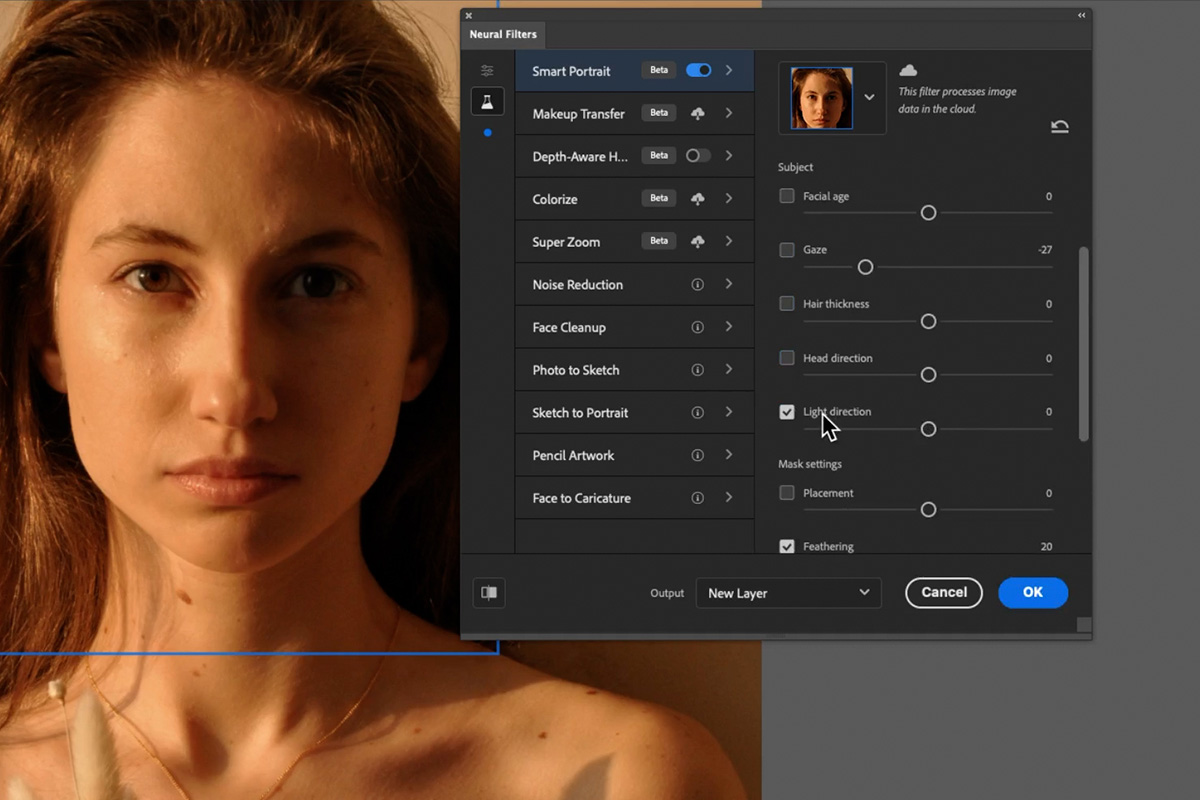
In addition to the options for facial expression, there are tools to help match the lighting and blending of the features that are being changed and added to the image. Since Neural Filters pull features from a massive library of other images, you will often need to make adjustments to that the new features match the lighting and coloring of the photo you’re working with.
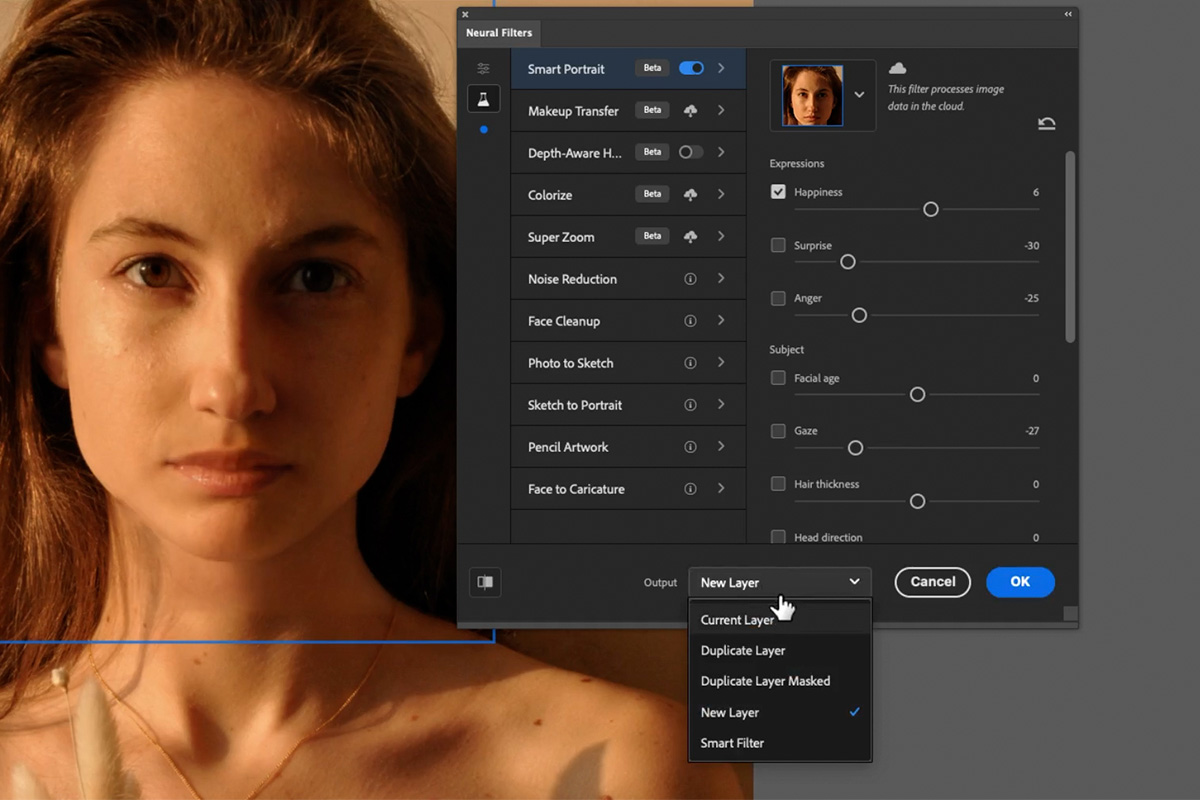
And always remember to work non-destructively! All of these tools can be applied to a duplicate of the original image or, in the case of Neural Filters, be set to output to a new Layer. Since we’re working with delicate areas, it’s extremely important not to damage the original photo.

