description
Discover how to seamlessly blend graphics with portraiture using simple techniques in Photoshop. Learn how to upscale graphics without losing resolution with Super Zoom, apply Gradient Maps for color matching, and use the Select Subject and Select and Mask tools for precise subject isolation.
Share
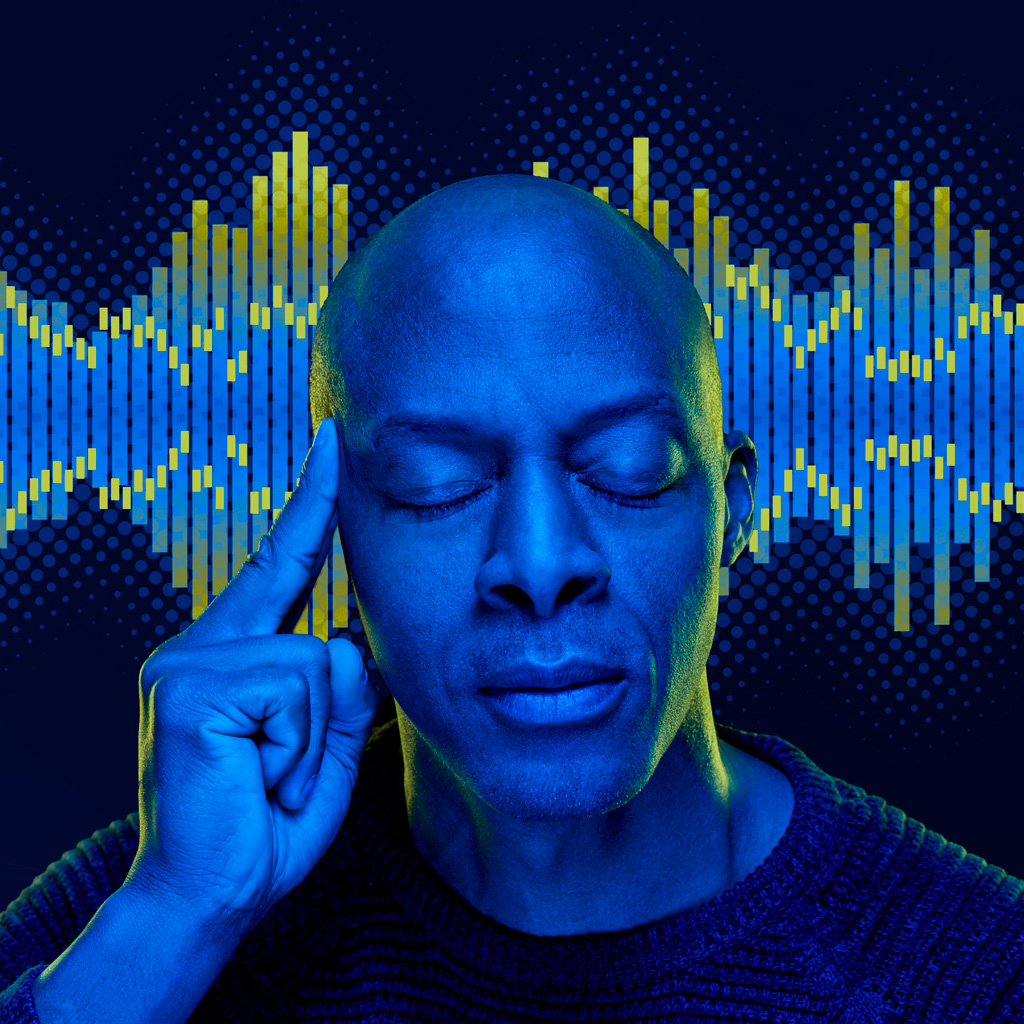
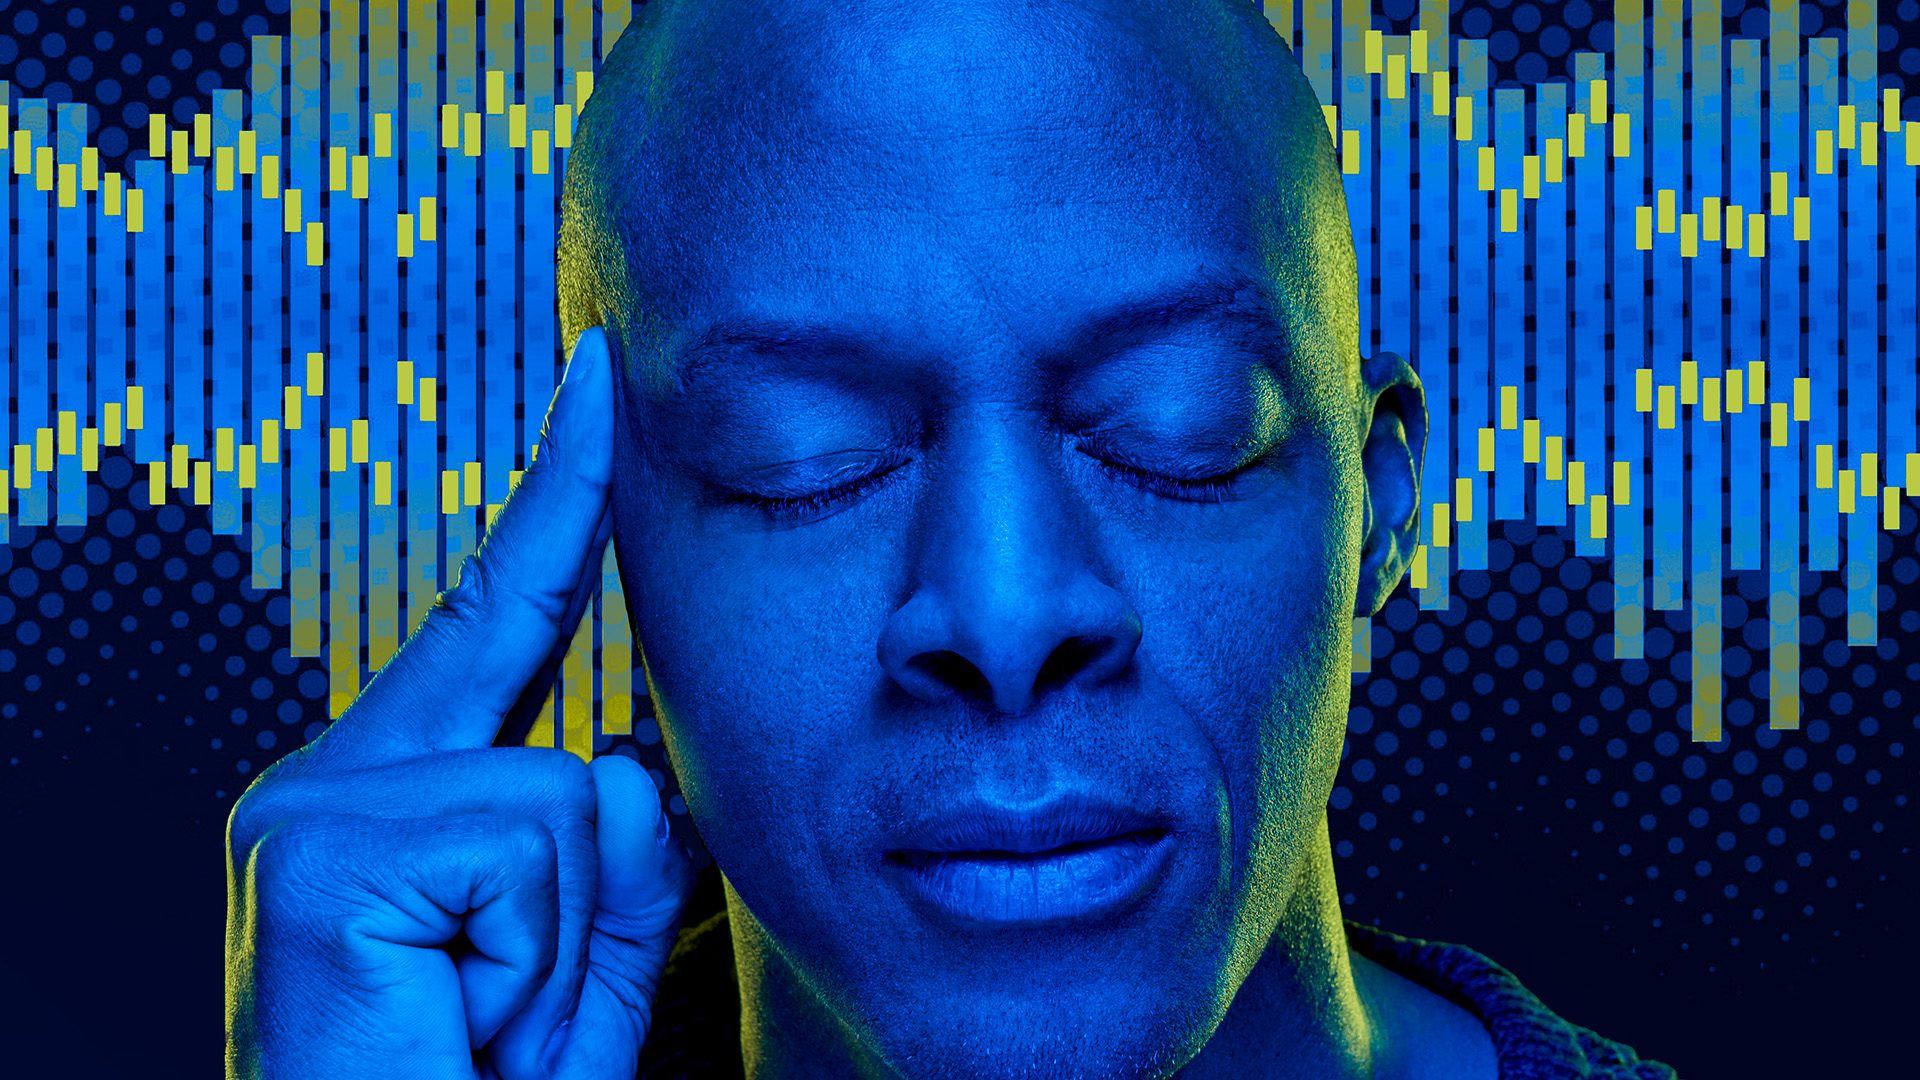
AFTER
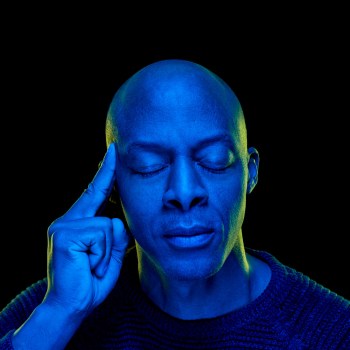
BEFORE
Next-Level Graphics with AI Scaling
In this video tutorial, we explore the process of combining graphics with portraiture, making an exact color match, and using artificial intelligence to scale up graphics to match the size of an image using Adobe Photoshop. This technique is beneficial for creating visually appealing and harmonious compositions in photography and design projects.
First, we start by taking a small graphic that we want to place behind the subject’s head in our main image. However, as the graphic is too small, scaling it up using traditional methods would result in a significant loss of resolution, causing the image to appear pixelated and of low quality. To overcome this challenge, we use Adobe’s innovative new tool called Super Zoom, which can be found under the Neural Filters menu in Photoshop. This advanced tool utilizes artificial intelligence to intelligently upscale the image without losing much resolution. After processing the image, it is output as a new, larger document.
Next, we drag the upscaled graphic into the subject’s document and change the blending mode to Screen. This allows us to see both the subject and the graphic simultaneously, making it easier to adjust the size and position of the graphic as needed. To place the graphic behind the subject, we first cut the subject out of the background using the Select Subject tool. This powerful tool creates an initial selection of the subject, which we can then refine using the Select and Mask feature. By using the various brushes and tools available in the Select and Mask workspace, we can fine-tune the selection to achieve a more accurate and natural-looking result. Once the selection is satisfactory, we apply a layer mask to remove the background, and then we place the graphic layer below the subject layer in the Layers panel.
To match the colors of the graphic with those of the subject, we use a Gradient Map adjustment layer. Gradient Maps are an effective way to recolor an image based on the luminance values of the original image. We create a custom gradient by selecting colors from the subject’s image and adjusting the sliders in the Gradient Editor. By carefully placing the color stops on the slider and choosing appropriate colors, we can control the appearance of the graphic and make it match the subject’s colors seamlessly.
Finally, we can move the graphic around to find the perfect position within the composition. If needed, we can use the brush tool to paint away any unwanted areas or blend the graphic more seamlessly with the subject. We then crop the image to the desired size and aspect ratio, and the final result is a beautifully integrated graphic with the subject’s image, with the colors matching perfectly.
These techniques will help you create stunning and cohesive compositions that will captivate your audiences. So, don’t hesitate to give it a try and see the amazing results for yourself!


