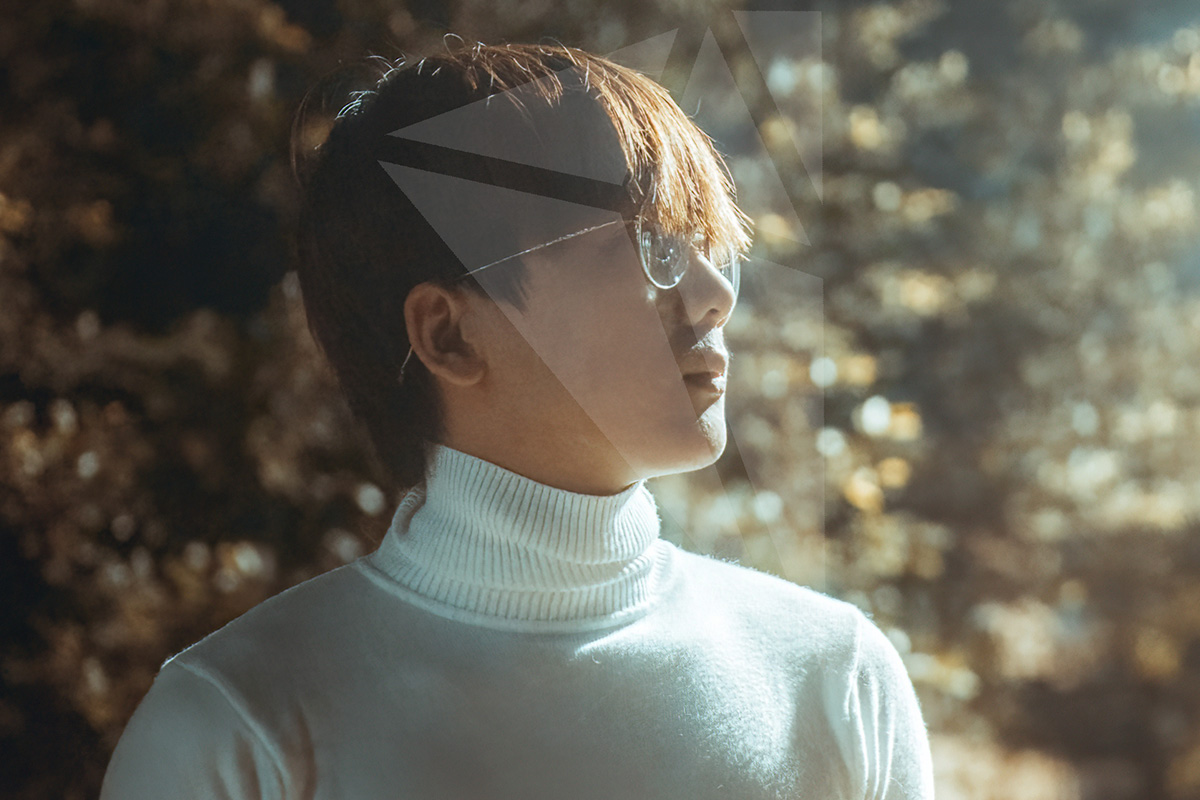
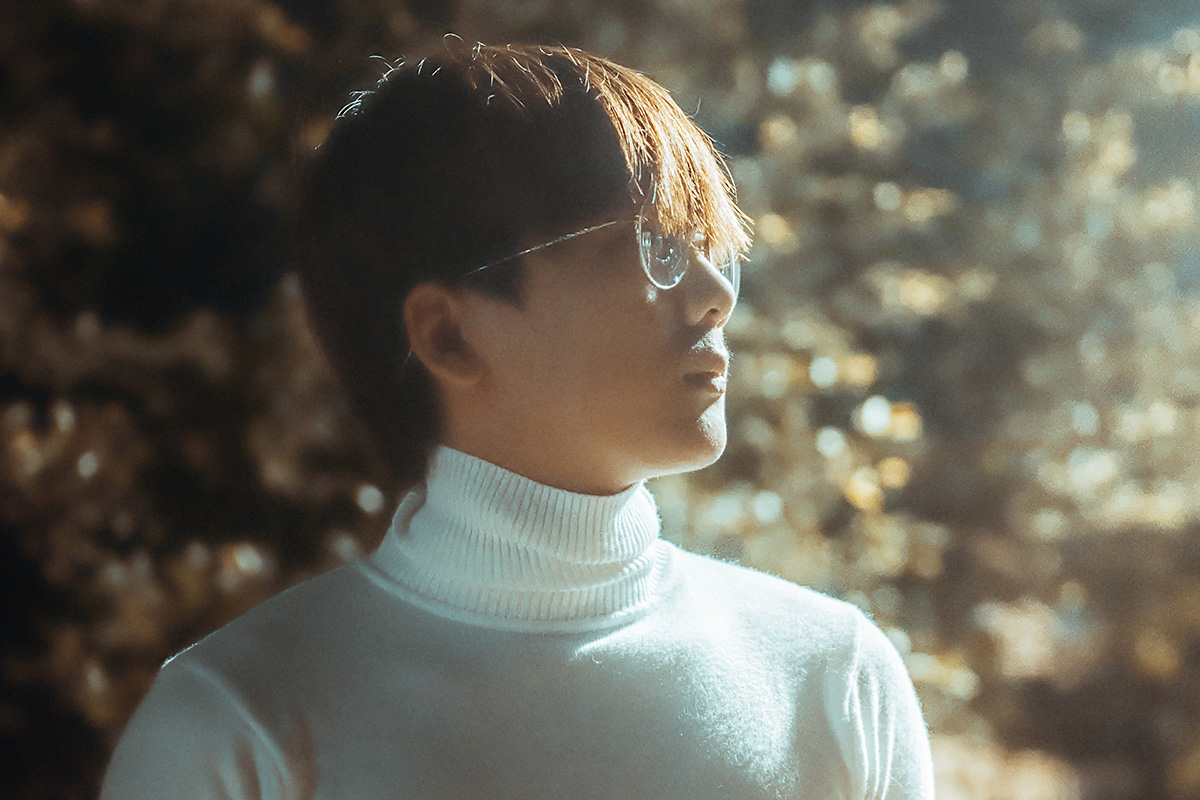
Download Sample Image & PSD
description
In the age of phone photography, noise and grain reduction has become a popular feature in many photo editing programs. But which program handles it best?
Let’s find out! Join us as we explore some of the most popular noise reduction tools to see which one provides the cleanest, most realistic result.
Share
Reduce Noise in Your Photos
What is Noise Reduction?
Noise often appears in images that are underexposed or were captured at a high ISO to compensate for environmental lighting conditions. It’s even more common with portable digital cameras, like those found in mobile phones, since those devices have a limited dynamic range and a limited range of options for shutter speed and aperture settings.
With more devices out there capturing noisier photos, it’s no surprise then that noise reduction editing technology is on the rise. Let’s take a look at some of the most popular programs out there, from our usual suspects like Photoshop and Lightroom Classic, to newer tools like Luminar AI, DxO PhotoLab, Topaz DeNoise, and Vance AI.
We’ll be looking for the program that can remove the most noise while sacrificing as little of the original definition and detail in the photo as possible.
How to Reduce Noise in Photoshop
Photoshop is our home base when it comes to photo editing, so there’s no better place to start.
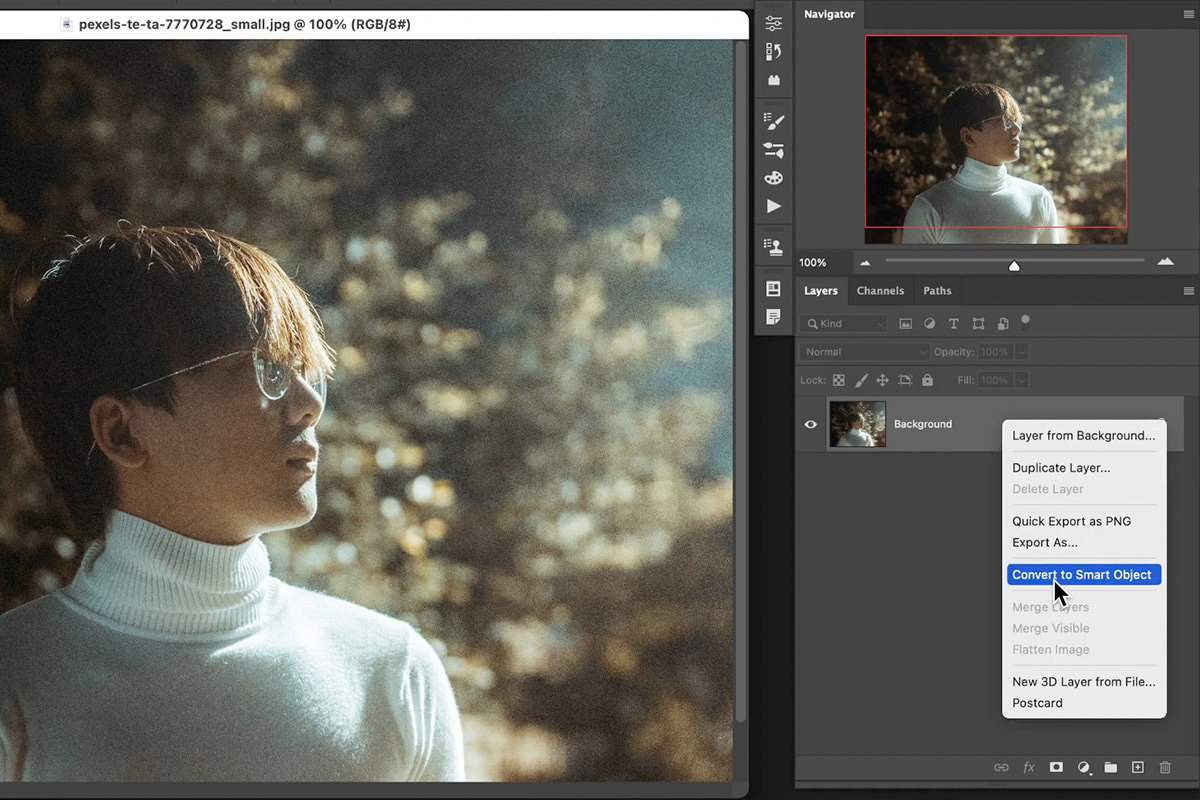
Since the noise reduction option in Photoshop comes as a filter, it’s a good idea to first right-click on the image layer and select Convert to Smart Object. This will convert all Filters to Smart Filters, which allows them to be disabled, removed, or adjusted at any time.
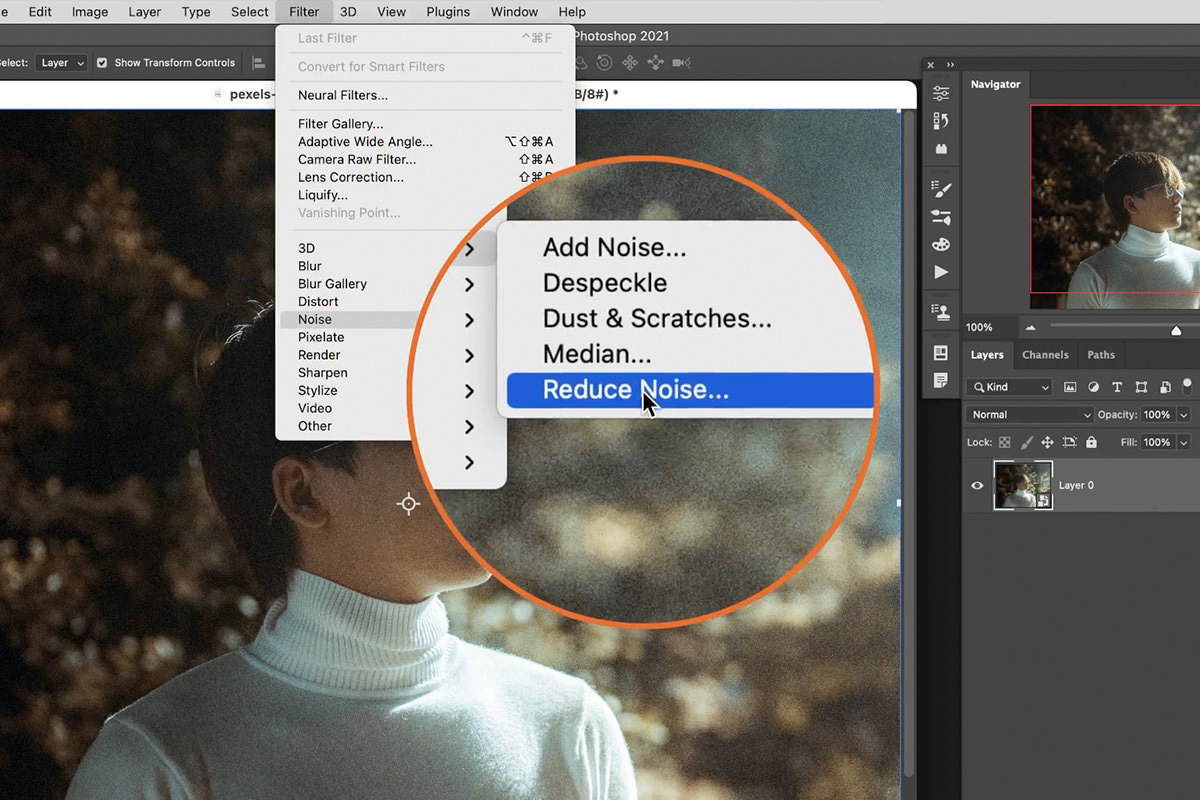
You can find the noise options under the Filter menu. Hover over the Noise option and select Reduce Noise.
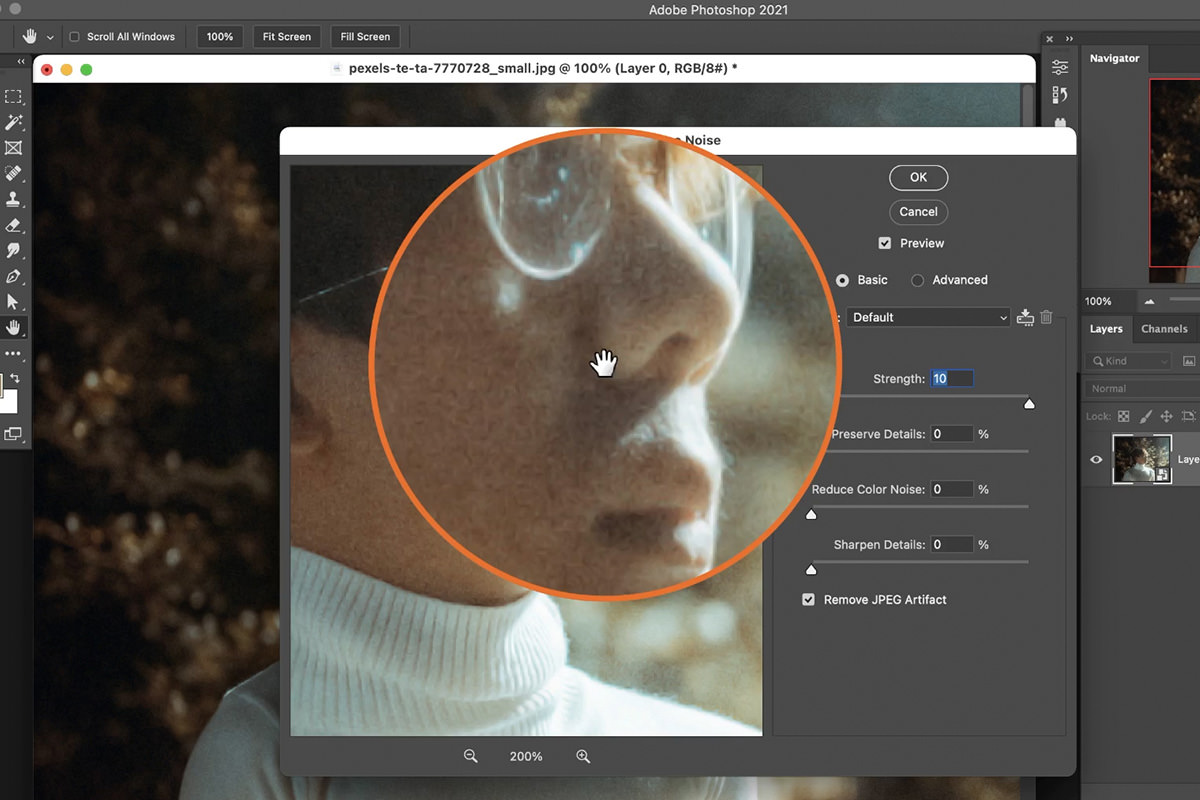
Throughout these tests we’re going to be dialing up the noise reduction settings of each program to max. This will help us see the results better, exaggerated as they may be.
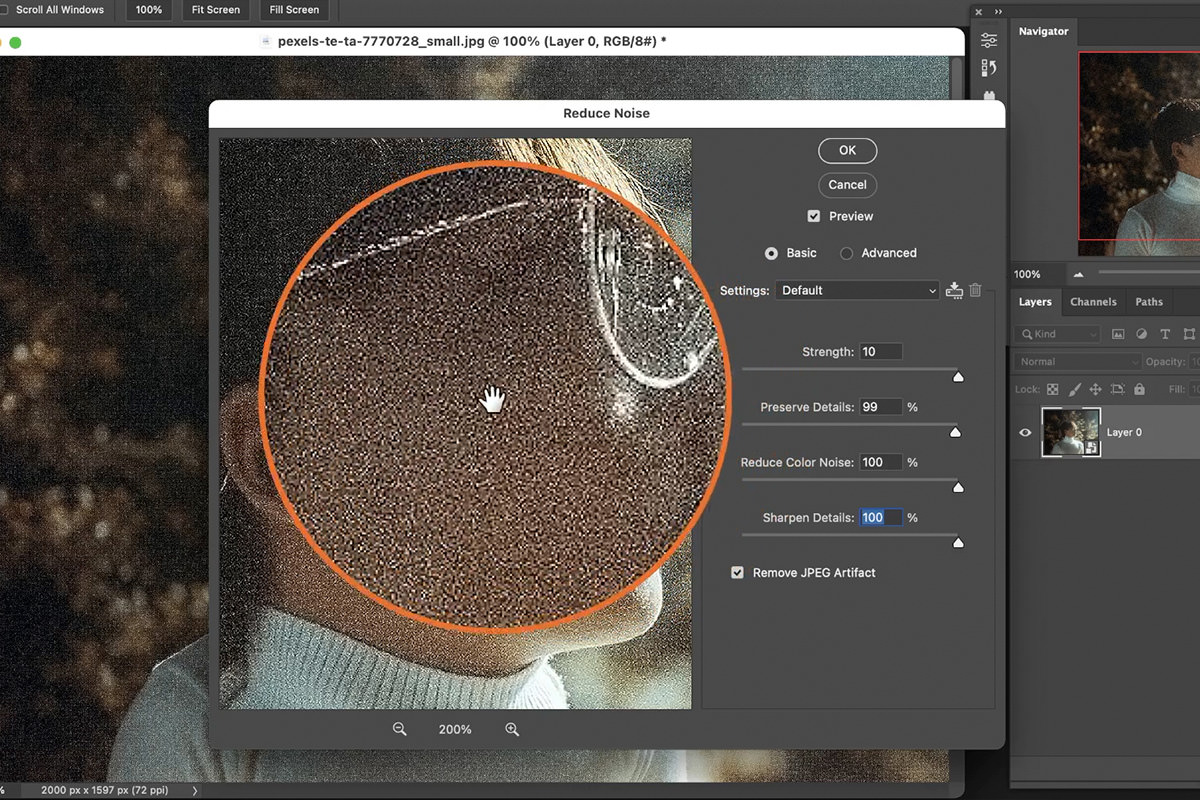
Within the Reduce Noise dialog, set the Strength of the effect to 10. Notice that, while some noise was removed, there’s still quite a bit remaining in the image.
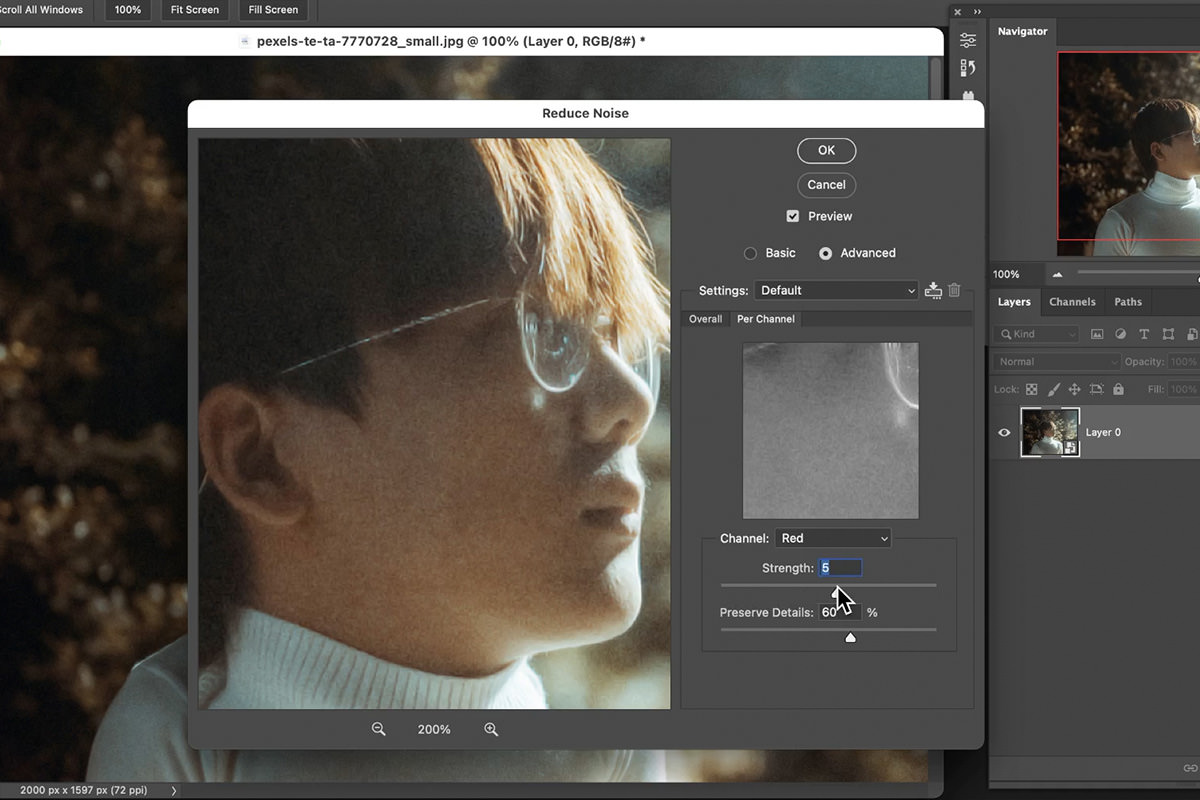
There are additional options, like being able to target noise by color channel.
And there are additional settings that will help try to recover any details that might have been lost with the noise reduction effect, but we found that, with this particular image, they just tended to reintroduce grain back into the image.
How to Reduce Noise in Lightroom Classic
Our other go-to editing software is Lightroom Classic. And, like Photoshop, it has some stock noise reduction tools available.
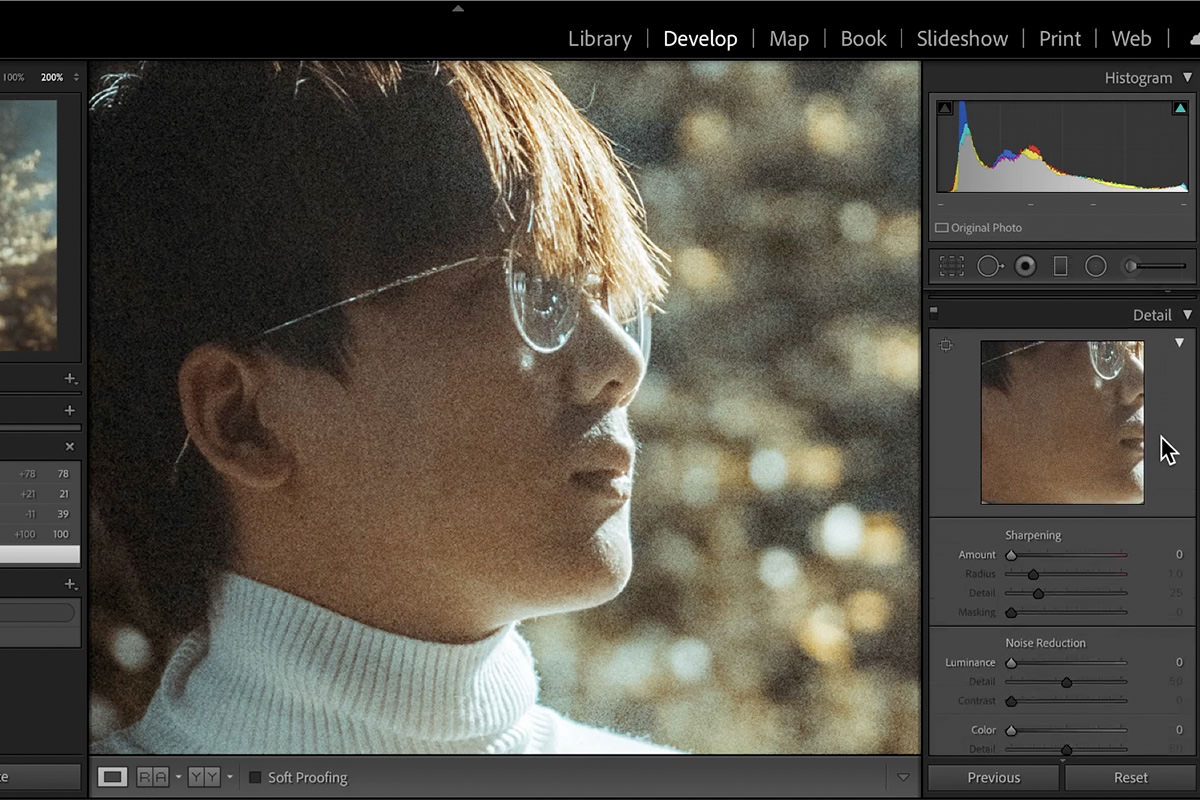
Navigate to the Develop tab and scroll down to the Detail options. Here you’ll see some options and sliders for Noise Reduction.
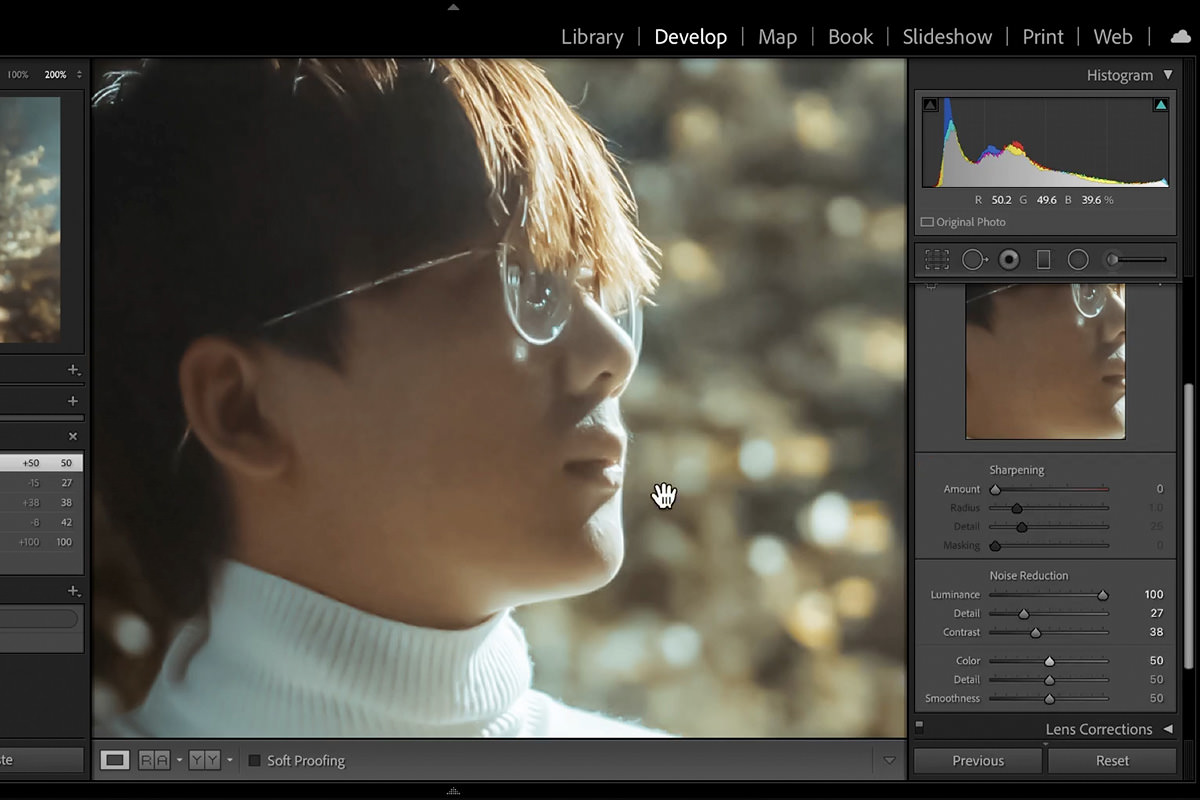
Setting the Luminance slider to max yield a much smoother and softer image than Photoshop, but at the cost of some detail and definition from the original photo.
Reduce Noise with Luminar AI
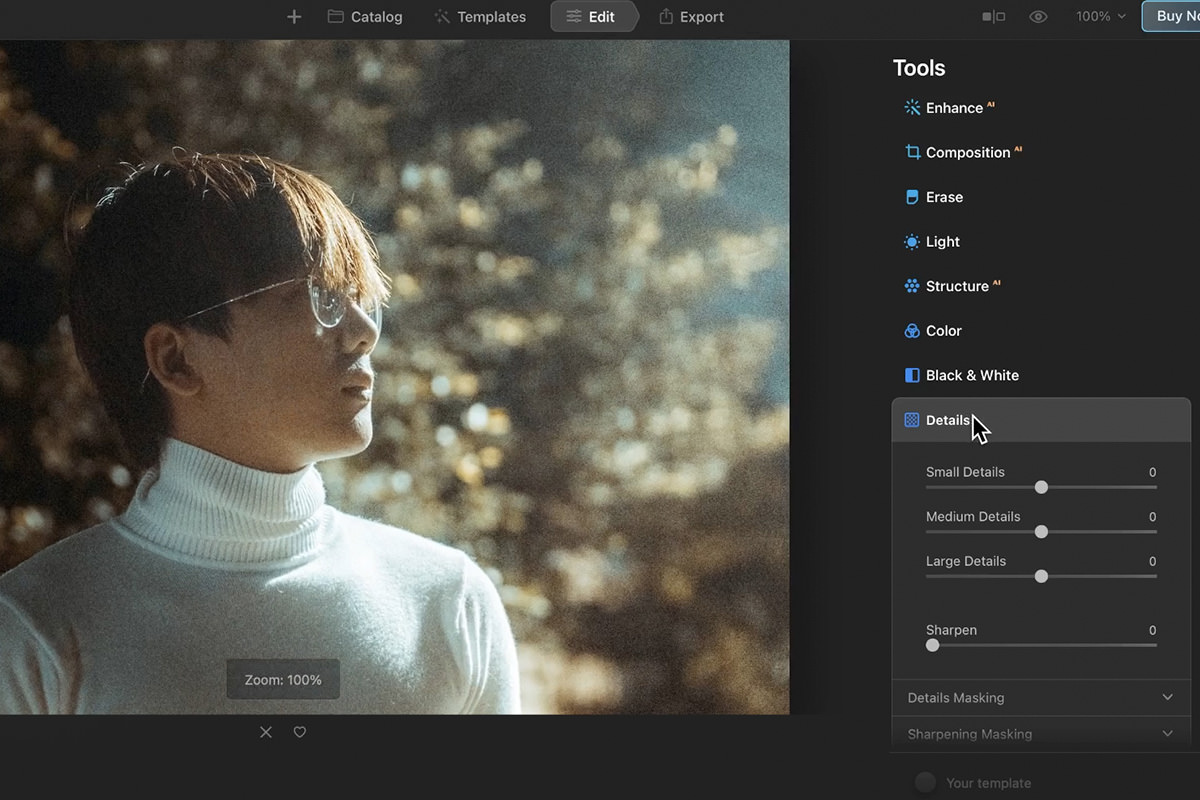
We’ve explored Luminar and their AI tools in the past, so we’re somewhat familiar with what they can do and how easy they can be to use.
The best part about Luminar is how flexible their tools are. Not only do they offer standalone programs, they also offer plug-ins for Lightroom Photoshop, allowing you to take advantage of their AI technology within your software of choice.
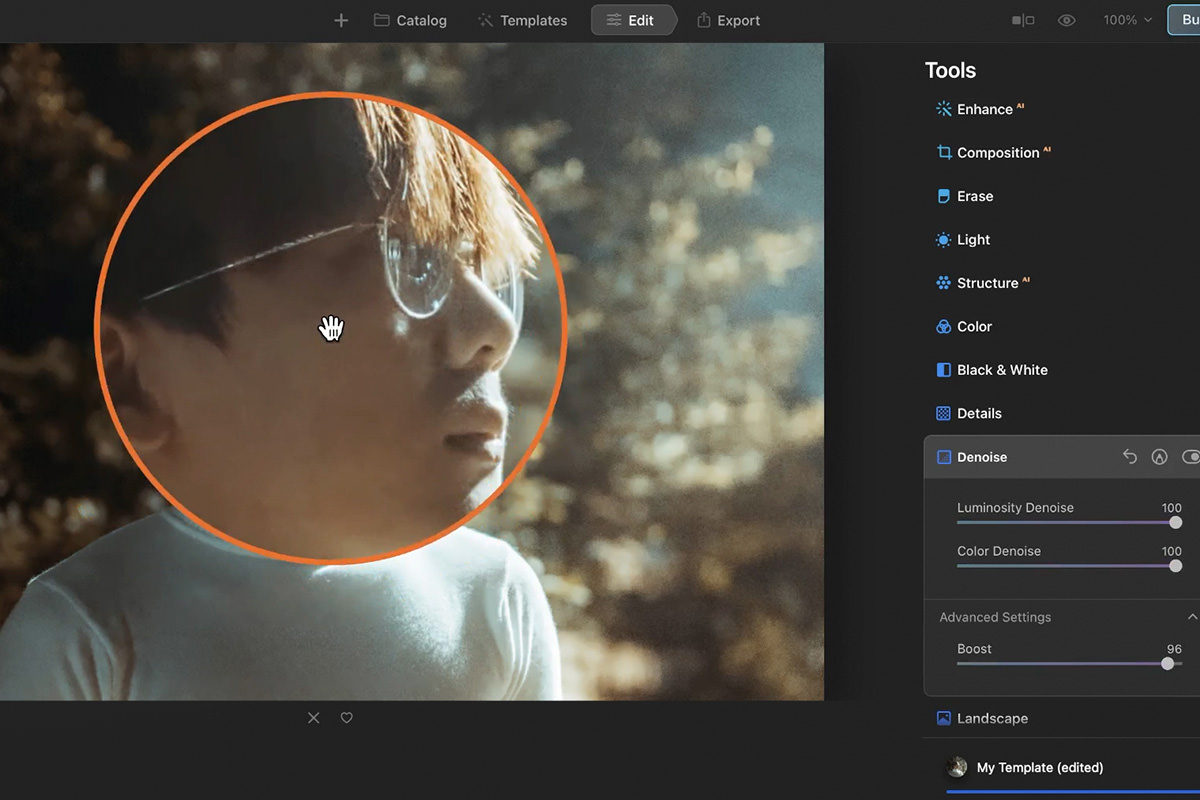
Here’s the results of our Luminar AI test after pushing all of the relevant settings to their max.
Reduce Noise in Topaz DeNoise
Topaz DeNoise is another standalone software powered by AI technology.
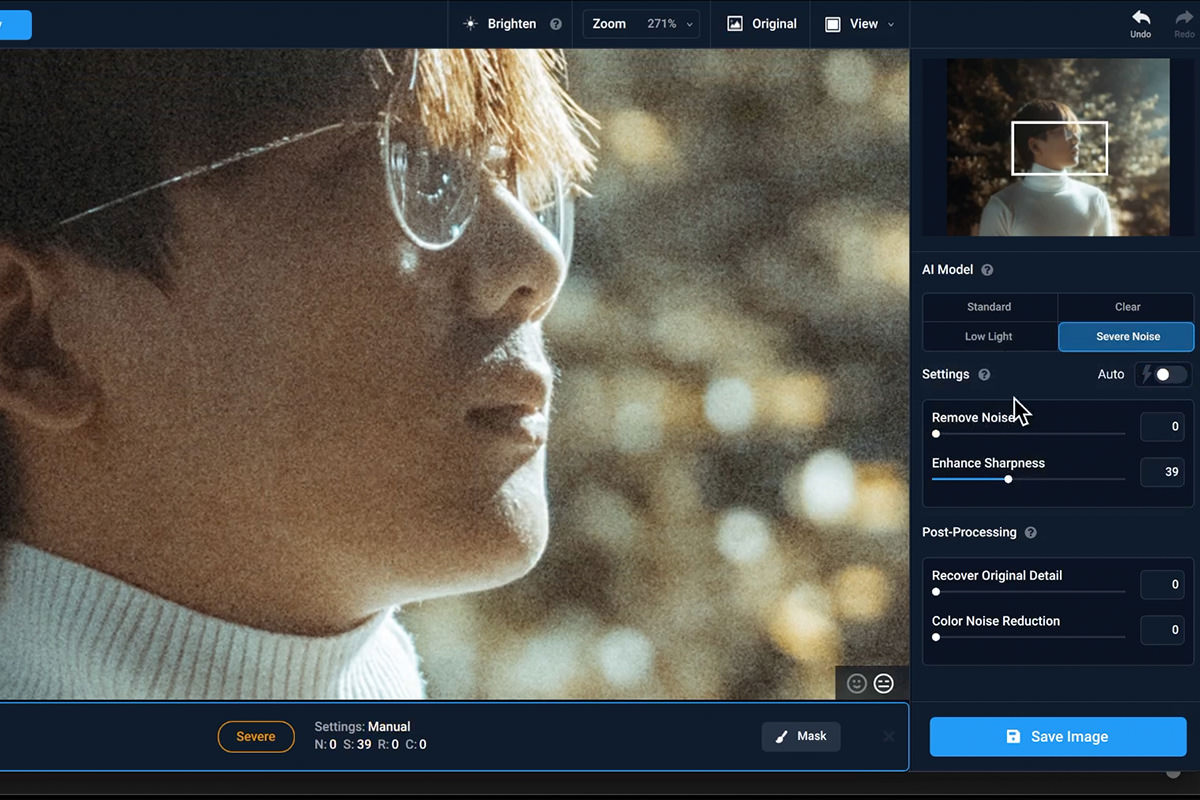
Not only does it offer some of the same settings we’ve seen in other program, but it also includes AI models based around particular lighting/photo issues.
And since this is a standalone program based entirely around noise removal, there are a ton of other options and settings to explore.
The results were pretty impressive, but let’s take a look at a couple other programs before we decide on a winner.
Reduce Noise in DxO PhotoLabs
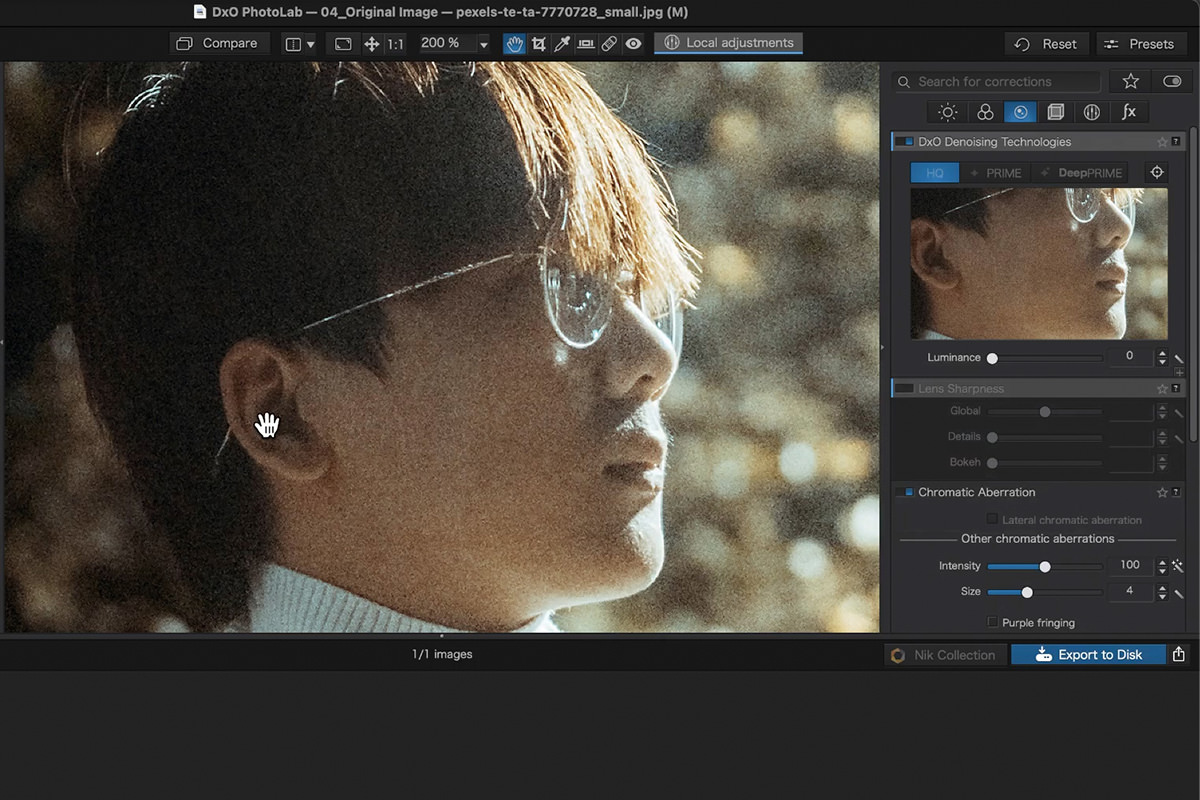
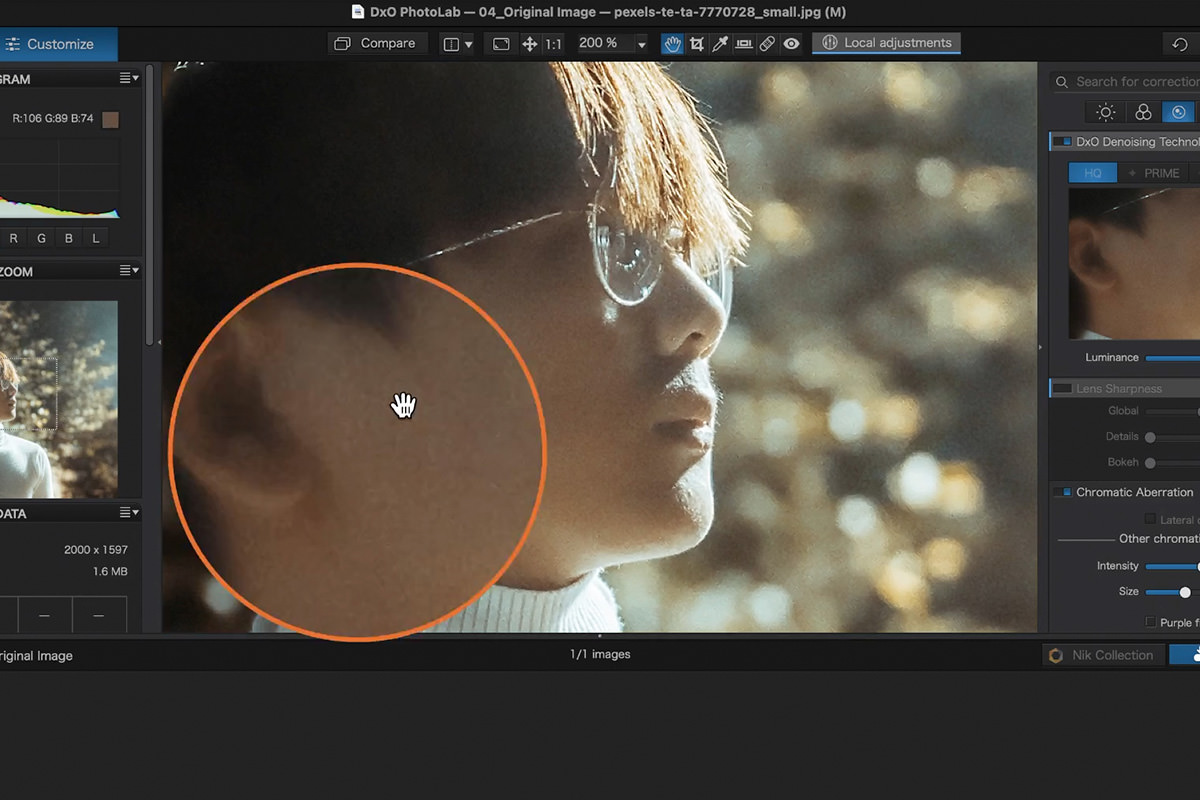
DxO PhotoLab 4 is a full-feature photo editor, much like Lightroom Classic.
And like Lightroom, it includes some relatively easy-to-use tools to reduce noise, grain, and other issues like chromatic aberration.
We found the results to be more similar to Photoshop, reducing some of the noise but not all of it. There were also some issues with additional artifacts appearing in the image.
Reduce Noise with Vance AI
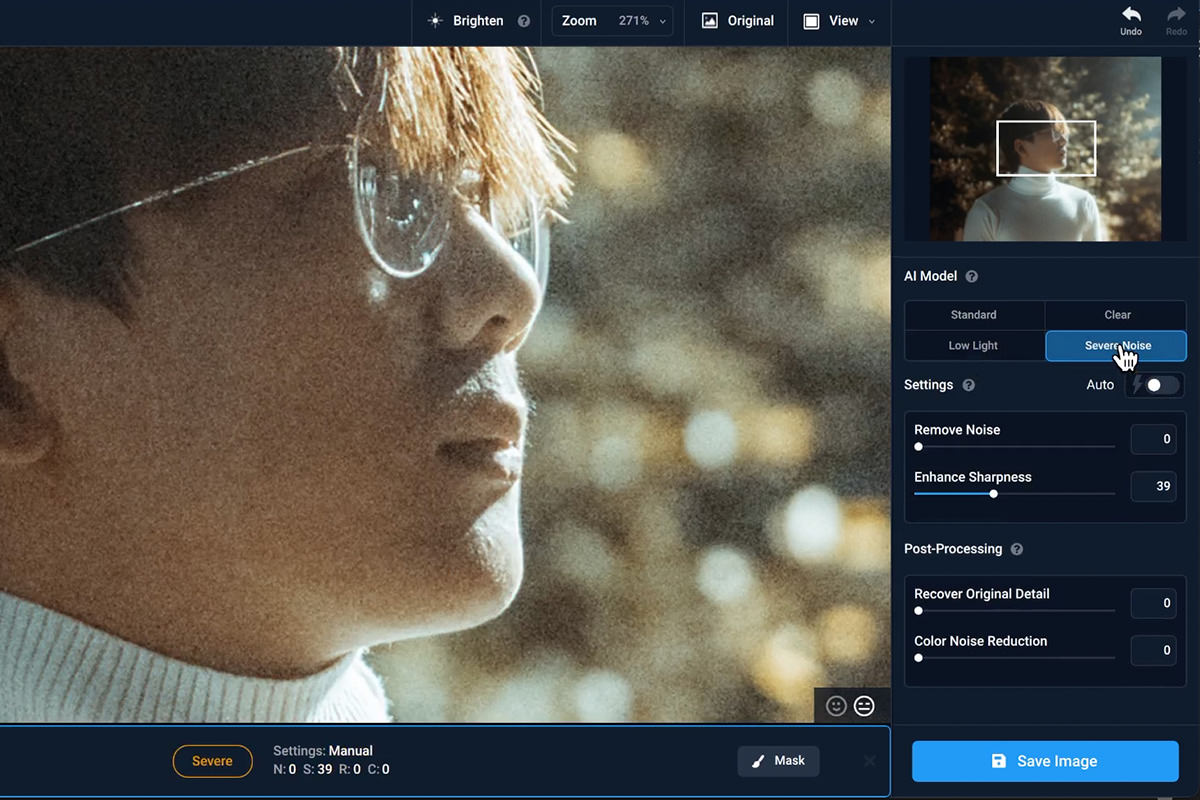
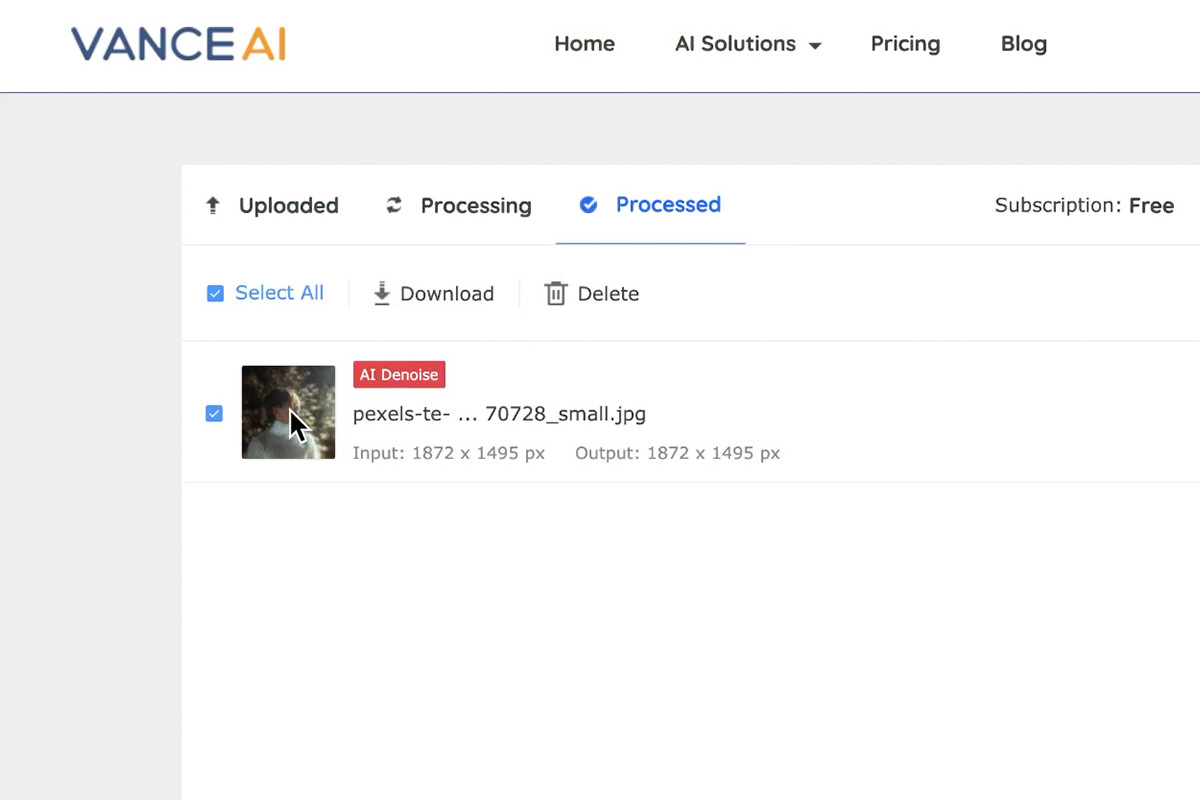
The most unique tool we’ll be checking out is a browser-based AI tool by Vance AI. This tool could be particularly handy for anyone that’s not happy with the result from their current software, but also don’t want to have to download any additional programs.
Vance AI can be accessed entirely through your internet browser.
After making a basic account, you can upload and process a limited number of images.
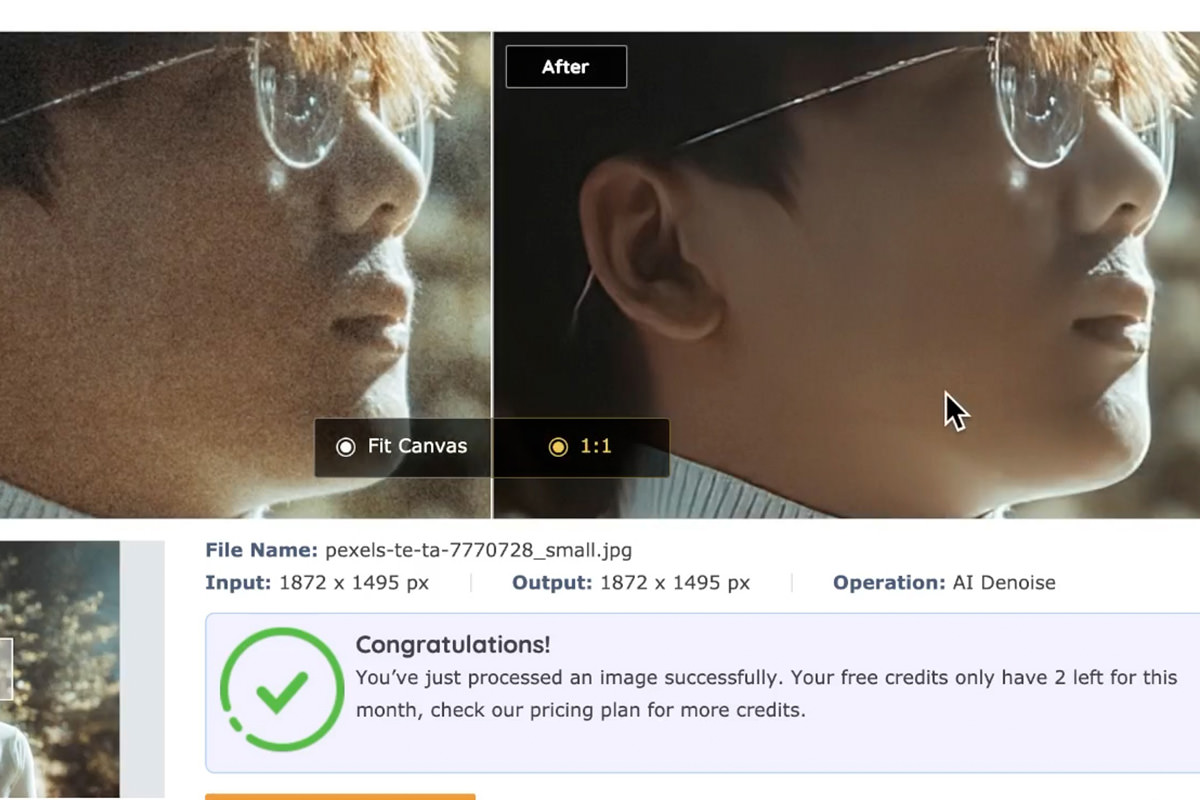
We found their AI noise reduction to be impressive, especially since it didn’t require us to download anything to our computers.
Now that we’ve explored some of the tools, let’s take a look at all of the final images!
Noise Reduction Comparison
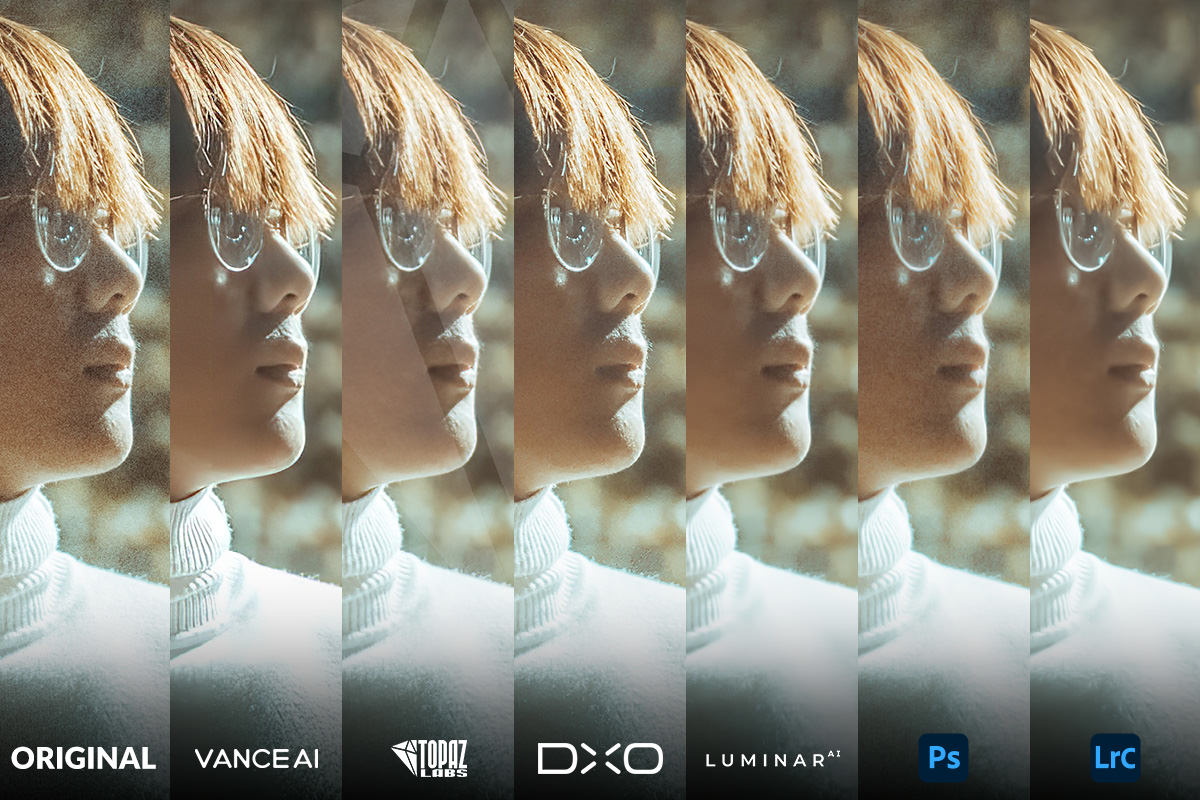
We applied similar noise reduction settings to the same image using each of the programs and tools listed above. Now let’s take a look at the results!
The original, unedited image.
After noise reduction in Adobe Photoshop.
After noise reduction in Adobe Lightroom Classic.
After noise reduction in Luminar AI.
After noise reduction in Topaz Labs DeNoise AI.
After noise reduction in DxO PhotoLab 4.
After noise reduction with Vance AI.
The Winner
After taking a close look at each of the results, we found Topaz Labs DeNoise produced the most balanced result with Vance AI as a close second. However, this is a very rough test and our subjective opinion. Each of the tools certainly have their advantages, so it all comes down to your own taste and how you prefer to work.
Which program do you think did the best job of reducing noise? Try them for yourself and experiment with your own photos!

