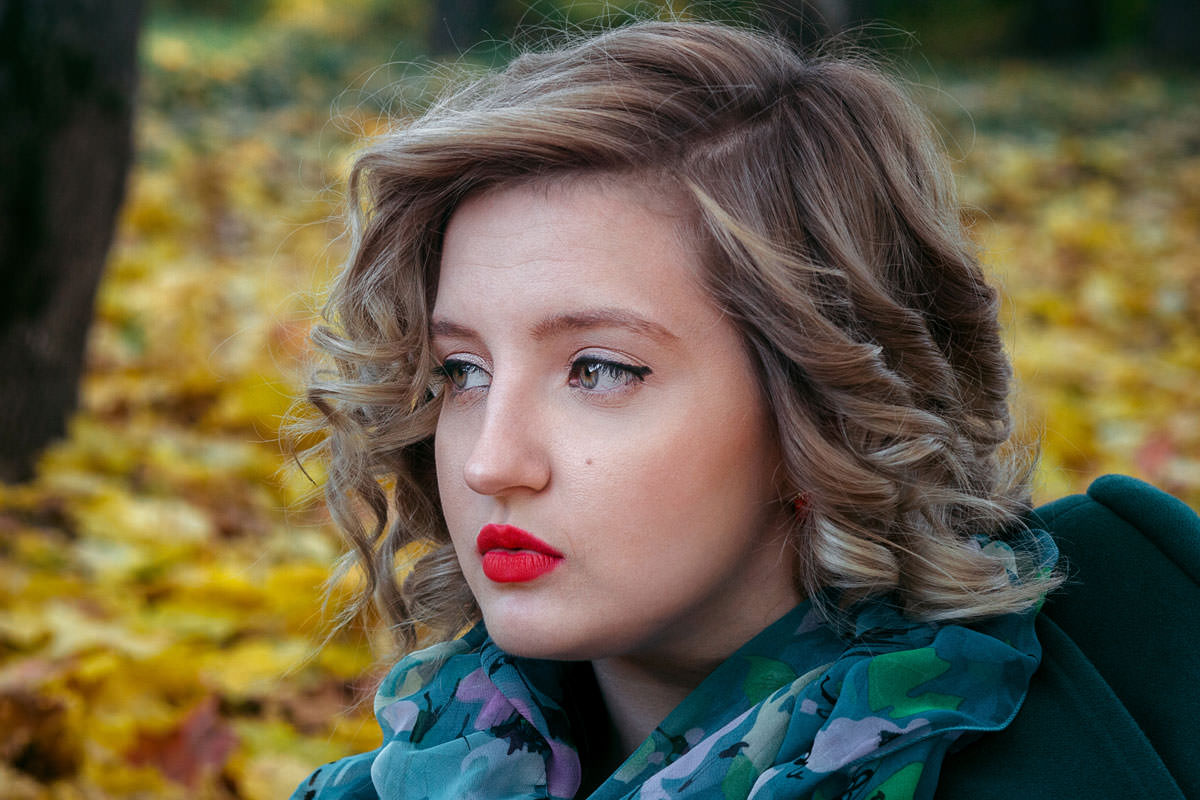

Download Assets
This tutorial includes 1 sample image and 1 PDF guide. Downloads are free with a PHLEARN account.
- Download the sample images and PSDs from every free tutorial on PHLEARN
- New free tutorials published every week
- One free account — sign up once, then download anything
Free PDF Guide · 2 Pages
This Tutorial as a Step-by-Step PDF
Covers the whole fix in 11 steps: a Black & White adjustment layer to judge tone, a Curves layer with an inverted mask and a loose white brush, Blend If on the Underlying Layer to keep it in the shadows, repeat passes on spots still dark, then sampled skin color on a Color layer at about 30%. Keep it next to your keyboard.
description
Lightening dark circles does not need a careful selection. A Curves layer painted in loosely around the eye, then restricted with the Blend If sliders, only brightens the genuinely dark tones inside the stroke and leaves the surrounding skin alone. Judging it in black and white keeps color out of the way, and a sampled skin tone on a Color-mode layer puts the saturation back that brightening a shadow strips out.
Enjoying This Free Tutorial?
We publish a new free tutorial every week, each one with sample images and PSDs you can download and follow along with. Sign up and they land straight in your inbox, along with early word on sales, events and subscriber-only offers.
Reduce Dark Circles Under Eyes in Photoshop
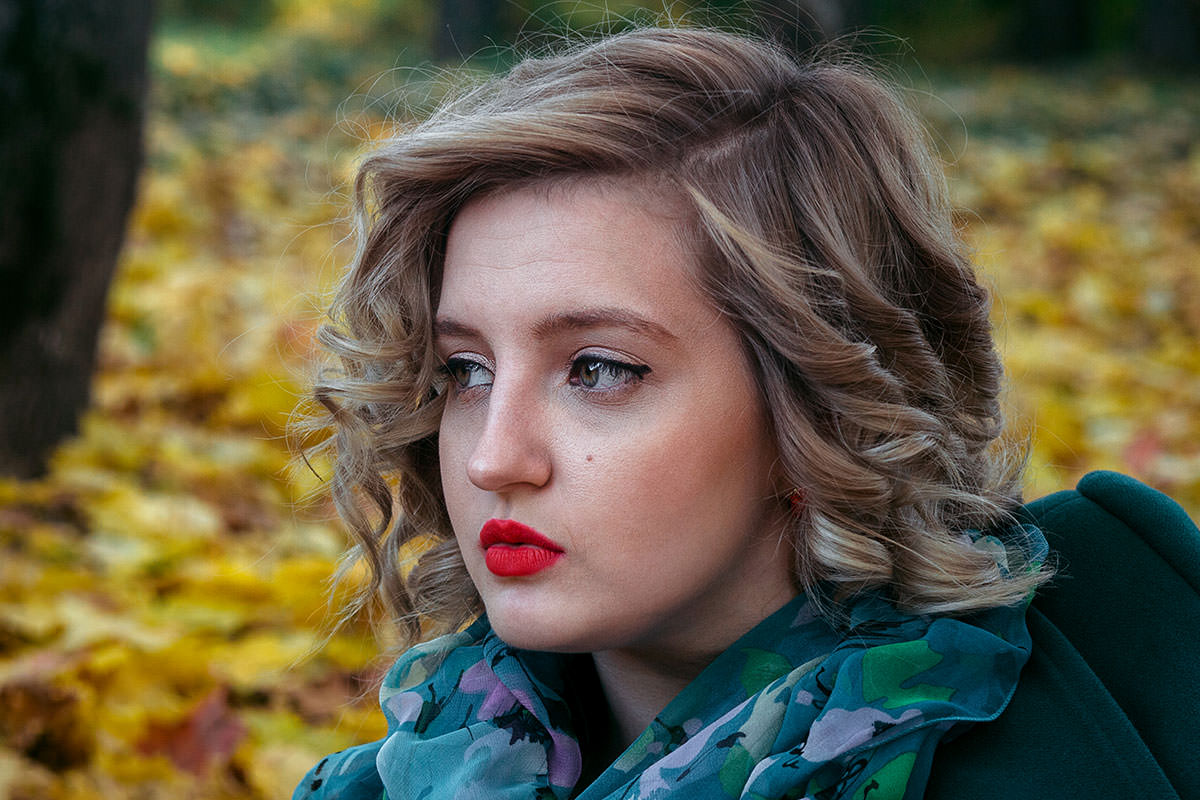
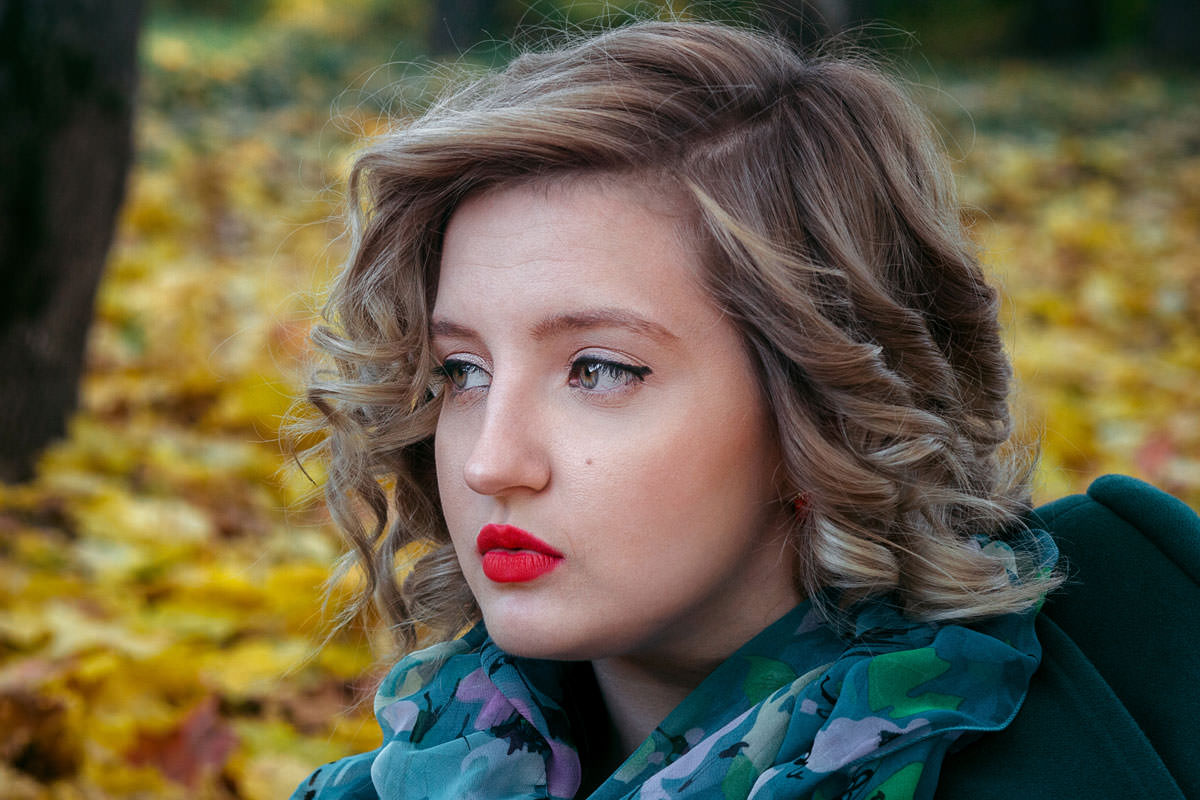
Dark circles are easy to lighten without any precise selection work, using a Curves adjustment layer combined with the Blend If sliders so it only affects the darkest tones nearby. Working in black and white first makes it much easier to judge lights and darks without color getting in the way, and a final color pass at the end restores the natural skin tone that brightening tends to wash out.
Switching to Black and White to See Tone Clearly
Add a Black & White adjustment layer (Layer > New Adjustment Layer > Black & White) directly above the photo. This isn’t a permanent change — the layer’s visibility can be toggled off at any time — but working in black and white while lightening the circles makes it much easier to focus purely on brightness values without being distracted by color.
Lightening with a Curves Adjustment Layer
Add a Curves adjustment layer, click the middle of the curve, and drag it upward to brighten. Since this brightens the entire image by default, invert the layer mask (Ctrl/Cmd+I) so it turns fully black and the effect disappears everywhere. With a soft-edged brush set to white, paint loosely around the eye area — there’s no need to be precise, since the next step handles the fine targeting automatically.
Targeting Only the Darkest Tones with Blend If
Double-click the Curves adjustment layer (or go to FX > Blending Options) to open its layer style, then scroll down to the Blend If section. Hold Alt/Option and click on the underlying-layer slider to split it into two separate markers, then drag the right-hand marker toward the left. This makes the Curves layer fade out wherever the underlying image is lighter, so the brightening effect only remains visible in the darker shadow areas — meaning the loosely painted white area from the previous step only actually brightens the genuinely dark circles within it, not the surrounding skin.
Repeating the Process for Stubborn Areas
Add a second Curves adjustment layer using the exact same steps — brighten it, invert the mask, and paint white over any spots that are still noticeably darker, then apply the same Blend If split on the underlying layer to restrict the effect to just those shadows. On these later passes, both halves of the split marker can be moved to tune the fade; in the video, Aaron moves the other half too on the second pass, then lowers the brightness of that Curves layer a little to keep it realistic. This can be repeated as many times as needed for different problem areas, and each pass benefits from checking the result at a zoomed-out view to confirm it still reads correctly at normal viewing size.
Extending the Effect to Other Shadow Areas
The same brush-and-Blend-If combination can be extended to other shadowed areas of the face beyond just the immediate under-eye region, painting white over any additional spots that would benefit from the same targeted brightening.
Restoring Color with a Sampled Skin Tone
Shadow areas naturally carry less saturation than lit areas, so brightening a shadow with Curves leaves the color looking gray and flat rather than restoring it to a natural skin tone. Turn off the Black & White adjustment layer to see the actual color again, then create a new layer, hold Alt/Option with the Brush tool to sample a mid-tone skin color from elsewhere on the face (such as the cheek), and paint that color directly over the areas that were just brightened.
Blending the Color Naturally with Opacity
Change that new color layer’s blend mode from Normal to Color, which applies the sampled hue and saturation without affecting the existing brightness underneath. The full-strength result usually looks too saturated, so lower the layer’s opacity down to around 30 percent, which restores a believable amount of skin tone back into the brightened area without looking painted on.
Checking the Result at Normal Viewing Size
Because these adjustments are often made while zoomed in close to the eye area, it’s worth periodically zooming back out to normal viewing size to confirm the brightening still looks natural at the scale a viewer would actually see the photo. An edit that looks perfectly subtle up close can occasionally read as more obvious or uneven once the whole face is visible at once, and catching that early makes it easy to lower the brightness of that Curves layer a little before moving on.
Keeping Every Adjustment Non-Destructive
Every part of this technique lives on its own adjustment layer or separate color layer rather than being painted directly onto the photo, which means each individual brightening pass, the Blend If split, and the sampled color layer can all be revisited, hidden, or fine-tuned independently at any point. If one area still looks a little too bright or too gray after the fact, its specific layer can be adjusted without having to redo any of the others.
Why This Technique Works
The Blend If sliders are what make this technique forgiving of imprecise brush work — instead of needing a carefully feathered selection around the dark circle, a loose, generous brush stroke works fine because the underlying-layer split automatically restricts the effect to only the darkest tones inside it. Working in black and white first removes color as a variable while judging exactly how much brightness each area needs. And because brightening a shadow doesn’t restore the saturation that shadow naturally lacks, sampling real skin color and applying it in Color blend mode at a moderate opacity is what keeps the final result looking like skin rather than a flat gray patch.
Final Thoughts
This two-part approach — Curves plus Blend If for precise-looking brightening without precise selections, followed by a sampled-color pass to restore saturation — makes dark circle reduction fast and forgiving enough to repeat across multiple areas of a face in just a few minutes. The same Blend If technique used here for dark circles is broadly reusable any time an adjustment needs to affect only the shadows or only the highlights of an image.
Quick Reference: Keys, Menus and Settings
- See tone onlyLayer > New Adjustment Layer > Black & White, above the photo
- BrightenLayer > New Adjustment Layer > Curves, drag the middle up; Cmd/Ctrl + I inverts the mask
- Paint looselyB, soft brush, white, all around the eye
- Target the darksDouble-click the layer (or fx > Blending Options) > Blend If, Underlying Layer: Alt/Option-click the right marker, drag left
- Sample skinNew layer on top, Brush tool, Alt/Option-click the cheek, paint over the lightened areas
- Blend the colorBlend mode Color, Opacity about 30%
No AI, no generative credits.

Free Downloads
Follow Along on the Same Photo
Get the portrait from the video to lighten the dark circles yourself, plus the 2-page PDF guide with every step and shortcut. Free with a PHLEARN account.
Dark Circles Under Eyes: Common Questions
Why turn the photo black and white first?
So you only see light and dark while you lighten the circles, without worrying about color. Go to Layer > New Adjustment Layer > Black & White and click the eyeball to turn it off or on at any time.
How do I brighten the dark circles?
Add a Curves adjustment layer, click the middle of the curve and drag it up. Click the layer mask and press Cmd/Ctrl + I to invert it to black, then paint white around the eye with a soft brush.
Do I need to paint precisely around the eye?
No. Blend If limits the Curves layer to the darker areas, so your white paint can spill over bright skin and nothing happens there. In the video, Aaron even goes over the nose a little.
How do I set up Blend If on the Curves layer?
Double-click the gray area of the Curves layer, or click fx and choose Blending Options. Under Blend If, on the Underlying Layer slider, hold Alt/Option, click the right marker to split it and drag from right to left.
Why won’t the Blend If marker split in two?
You have to hold Alt/Option while you click it. It looks like one marker, but it is two little markers you separate.
What if some spots are still dark?
Do the exact same thing again: a new Curves layer, drag up, invert, paint white on just those spots and split the Underlying Layer marker. On the second pass Aaron moves both halves of the marker, then lowers the brightness a little to keep it realistic.
Why does the brightened area look gray?
Shadow areas have lower saturation. Brighten a shadow and it still has that low saturation, so it looks grayish until you add color back.
How do I put the skin color back?
Turn off the Black & White layer and create a new layer on top. With the Brush tool, hold Alt/Option and click a midtone skin color, like the cheek, and paint over the lightened areas. Set the blend mode to Color and lower Opacity to about 30%.
How do I know the result looks natural?
Zoom out and check that it works when the image is small, not just up close on the eye.
Is the sample file free?
Yes, with a free PHLEARN account. You get 1 sample image and 1 PDF guide: the portrait from the video and a 2-page guide with every step and shortcut.
Master Photoshop, Lightroom and Photography
Join PHLEARN PRO for $12.99 a month or $99.99 a year. Cancel anytime, with a 100% money-back guarantee.





