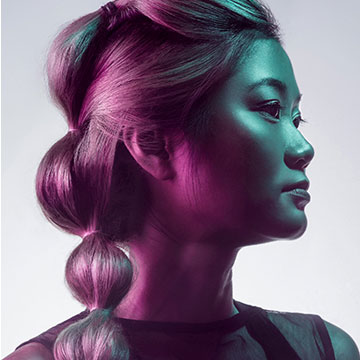
ORIGINAL
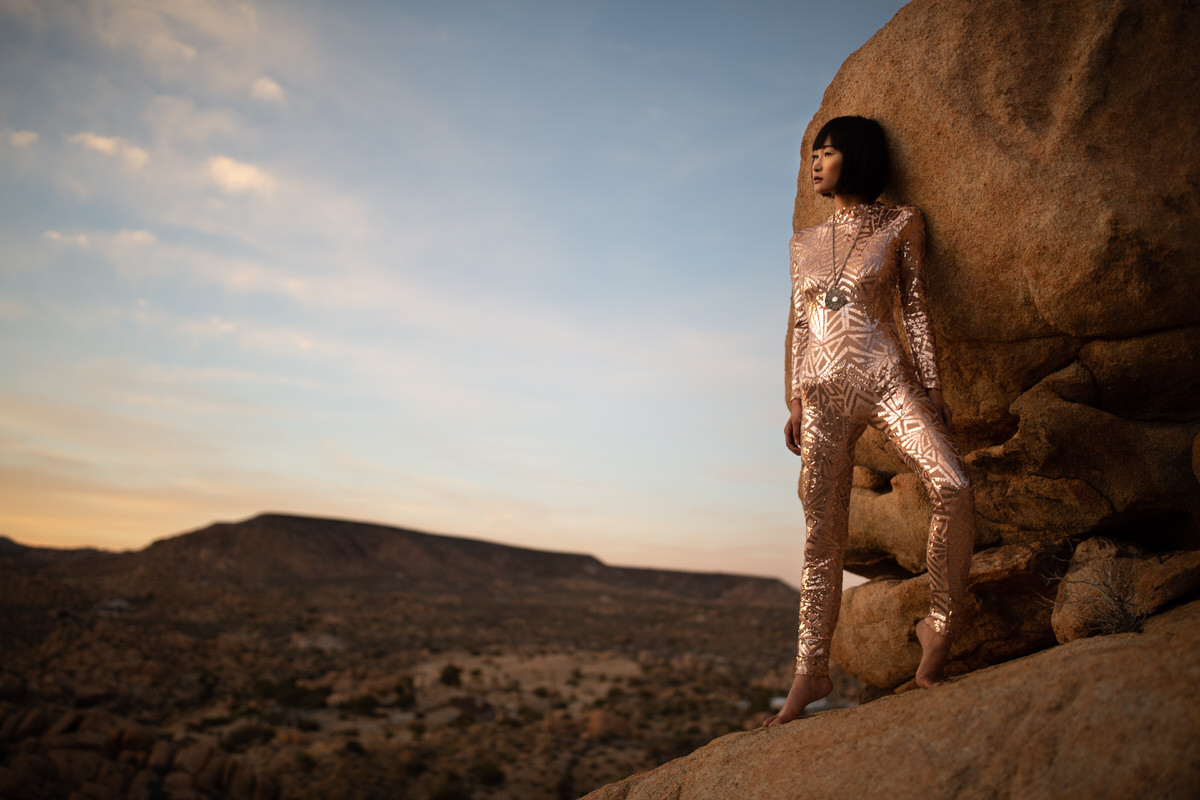
AFTER DODGE & BURN
Download Sample Images
Click the link below to download the sample images and follow along with this tutorial.
DownloadTutorial Description
Working with RAW in Lightroom is an effective way to take your images to the next level. Learn to dodge and burn your images quickly, easily, and accurately.
Highlights & Shadows
As photographers, our goal should always be to get a great looking exposure straight out of camera. Sometimes it’s not always possible depending on the lighting conditions and resources that we have to work with. Post-processing is an important step and no matter how great a picture might look without editing, Lightroom can help us enhance definition and recover details we didn’t know were there.
In our sample image, since we wanted to capture details in the sky at sunset, our subject is slightly underexposed. Previously in Lightroom, we could have used the Adjustment Brush to select the areas that we wanted to edit and then make the necessary changes to the highlights and shadows. While it was effective in some cases, it isn’t very precise and it would often be better just to send the image over to Photoshop to get the job done.
Now, with Luminance Range Masking, we can choose to have our adjustments appear only within the highlights or the shadows of a photo. This means that we can target specific parts of an image to brighten or darken, recovering details and adding definition that was missing. Best of all, we can save time by not having to send every image over to Photoshop whenever we need precision.