Download Sample Image
Click the link below to download the sample images and follow along with this tutorial.
DownloadTutorial Description
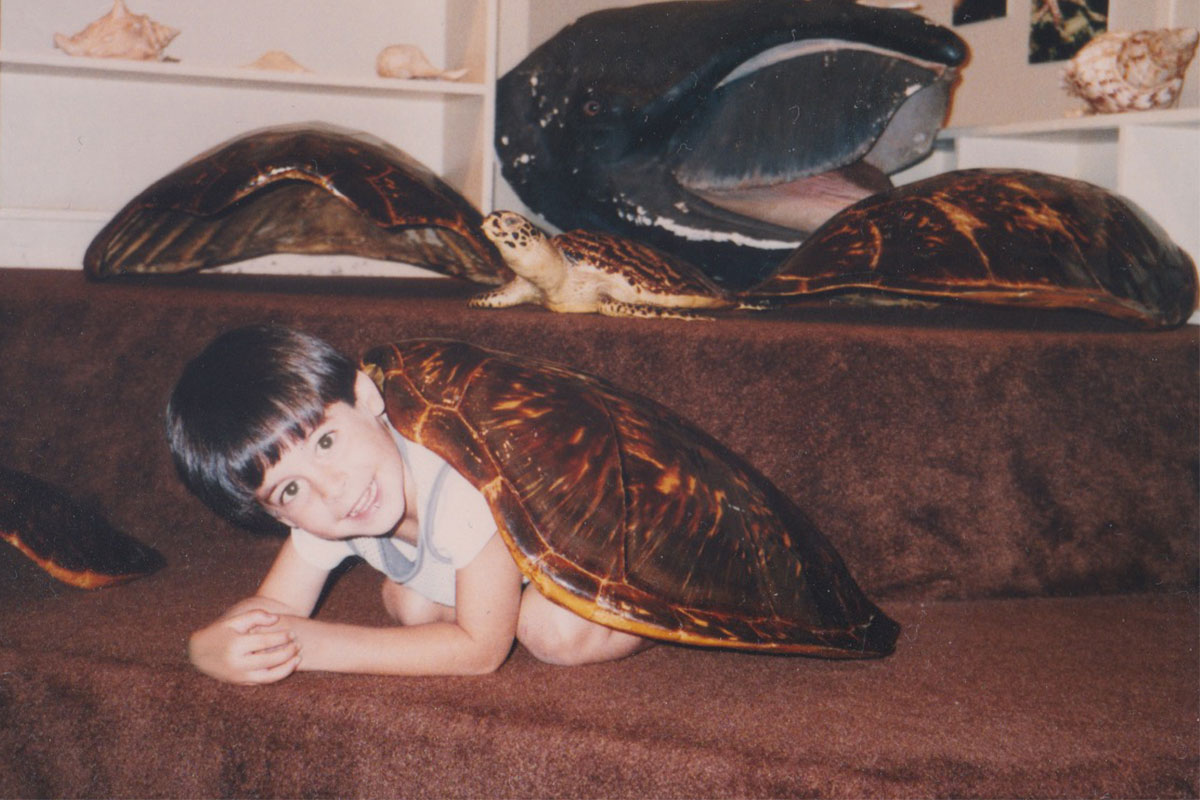
PHLEARN founder Aaron Nace sits down with his mom and shows her how to edit one of his childhood photos in Photoshop! Follow along and learn some easy techniques to crop scanned photos, remove minor distractions, remove red eye, and clean up marks on skin.
Take any old photograph, scan it, fix it up in Photoshop, and share some memories with friends and family!
Crop & Rotate
If you’re scanning old photographs into Photoshop, they might need some cropping and rotating to get them to the right orientation and aspect ratio.
In our example, the photo was originally taken in landscape orientation, but after scanning it, it appears on our computer in portrait orientation. Fortunately, this is an easy fix. Simply go to the Image menu, Image Rotation, and click on the rotation effect that you need. In our case, rotating the image 90 degrees clockwise will get it where it needs to be.
We also noticed a white line on the left side of the image that appeared as a result of the scanning process. This is a great time to Crop the image to both remove that line and create a better composition.
Remove Red Eye
Red eye isn’t as common a problem these days with higher-end digital cameras, but if you’re working with older photos, red eye can oftentimes be an issue.
Photoshop has a Red Eye Removal Tool that makes the job quick and easy. Select the Red Eye Tool from your toolbar and click and drag over the area of the eye that you want to fix. The tool will automatically adjust the colors, helping eyes look picture perfect!
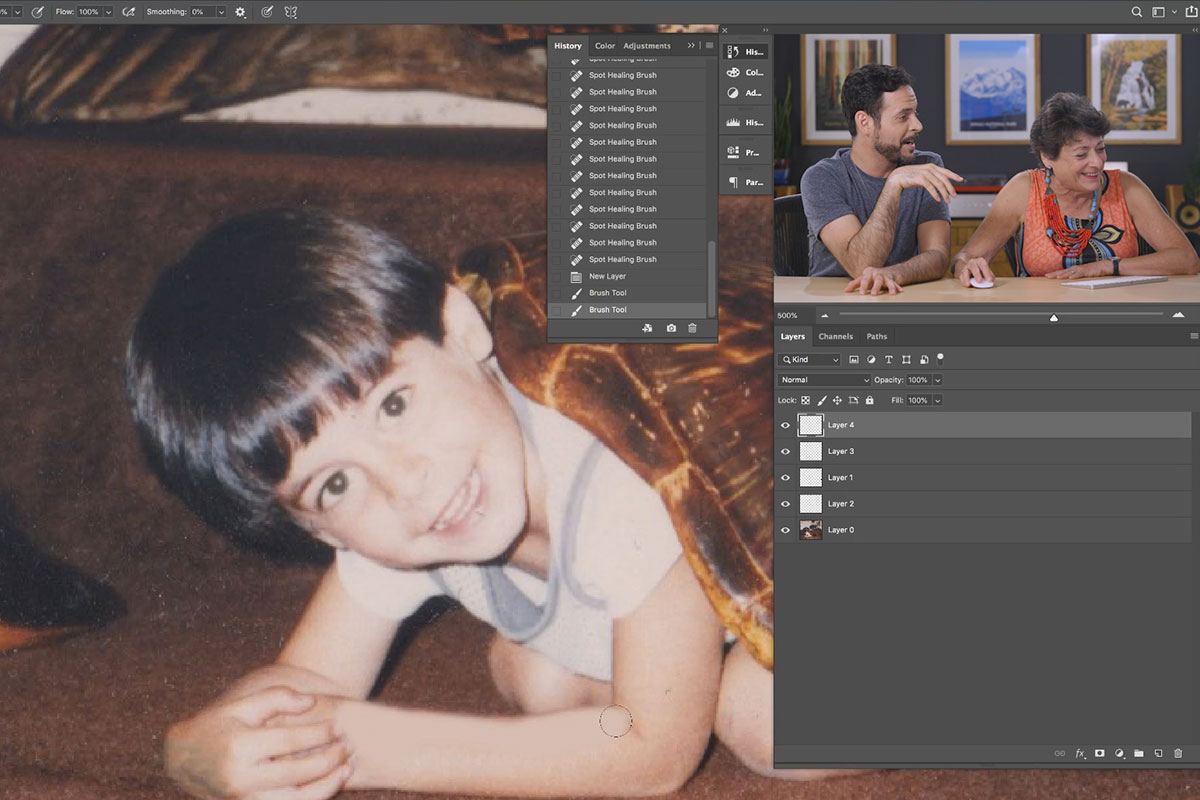
Remove Distractions
Photoshop is also great for making quick work of unwanted objects and distractions in photos. Create a New Layer and use the Spot Healing Brush (make sure the Sample option is set to Current and Below) to paint over anything you want removed. In our example, we were able to take care of some stamps on young Aaron’s hands and some small objects poking in frame. The Spot Healing Brush might take a few passes to get the results, just remember to always work on a new Layer and to paint with it in small areas.