
Download Assets
description
Discover a revolutionary way to banish unwanted objects from your photos! In this tutorial, we’ll show you how to use the new Generative Remove Tool in Lightroom Classic, so you can achieve clean, distraction-free images with ease.
Go PRO:
Explore all the new features in Lightroom Classic 2024 with our in-depth PRO tutorial Master Lightroom in 2024: Essential Tools & Techniques.
Artist Credit
Share


AFTER
BEFORE
Remove Any Distraction
Say goodbye to unwanted background elements! Lightroom Classic’s new Generative Remove tool uses artificial intelligence to effortlessly erase imperfections from your photos. We’ll walk you through the step-by-step process to get clean, professional-looking images in no time!
Getting Started
1. Open your image in Lightroom Classic’s Develop module.
2. Identify unwanted objects in your photo.
3. Look for the “Remove” icon on the right-hand side of the Develop module panels. It resembles a band-aid.

4. Adjust brush size and opacity as needed.
5. Simply paint over the objects you want to remove.
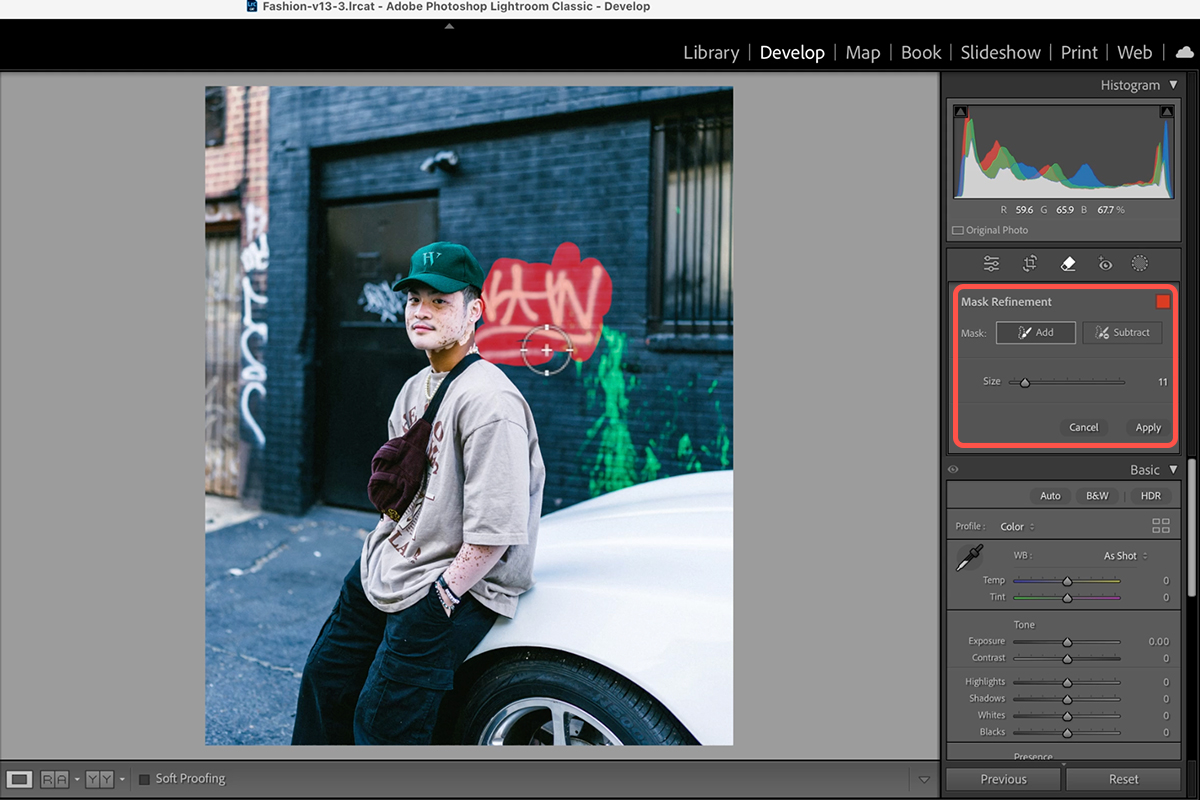
Refine and Apply
6. Use “Add” and “Subtract” brushes to fine-tune your selection.
7. Click “Apply” to let Generative AI work its magic.
8. Choose the variation you like best from the generated options.
Once you’re done, you can use the history panel to see the dramatic “Before & After.”
You can repeat the process as much as needed! From removing power lines to cleaning up busy backgrounds, this AI-powered tool empowers you to transform your photos into their best versions.


