BEFORE
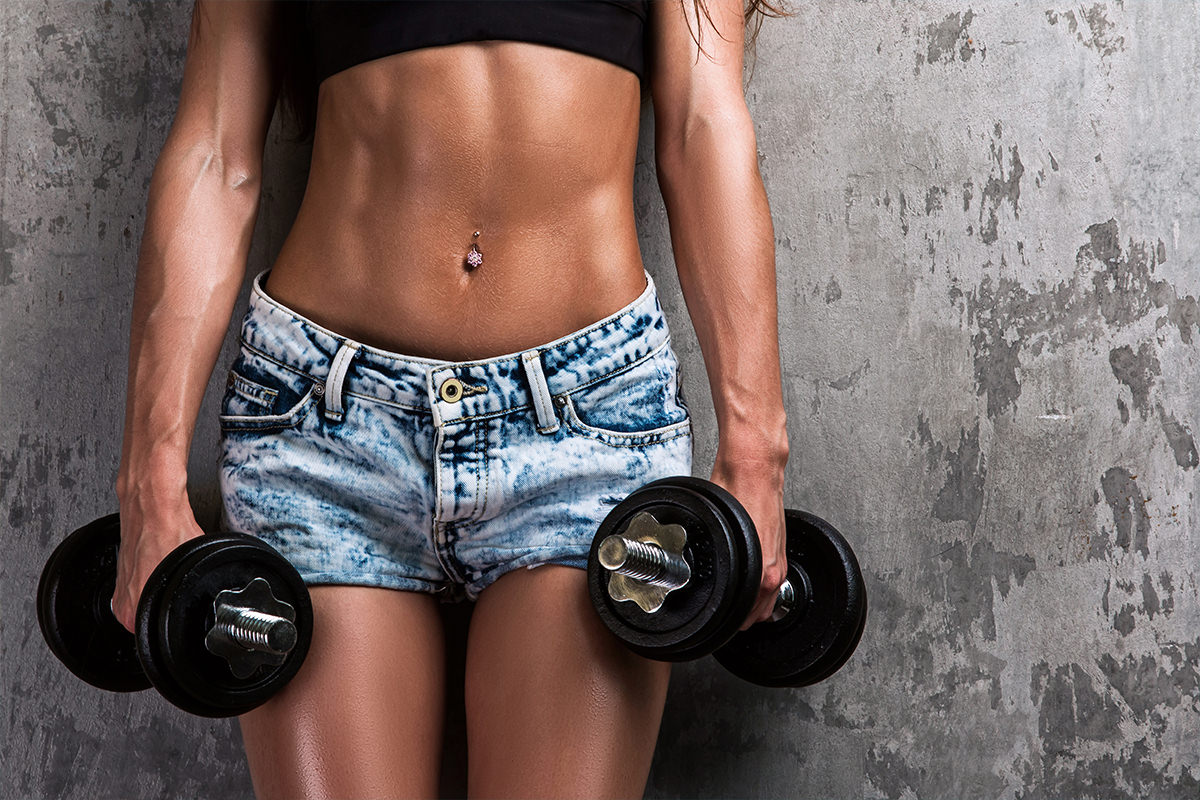
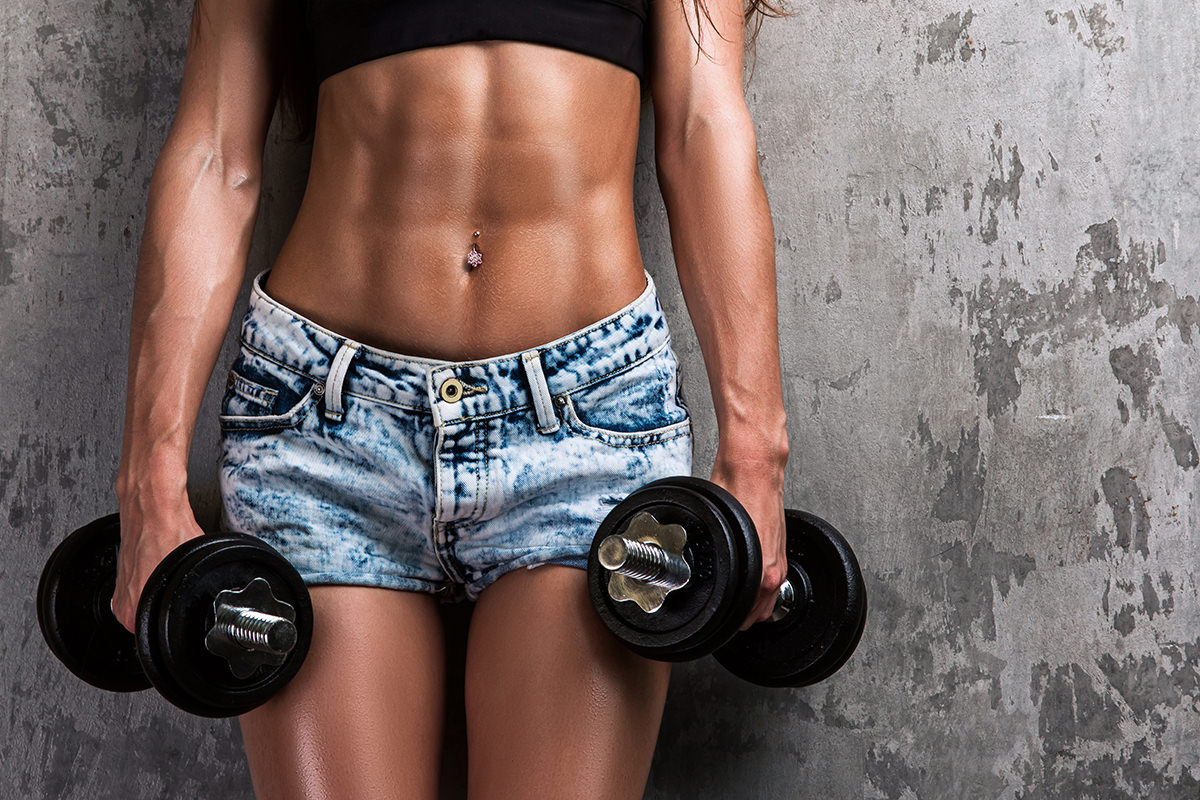
AFTER
Tutorial Overview
Why work out in the Gym when you can get perfect Six Pack Abs in Photoshop? Learn a Simple Technique to create abs in Photoshop!
How to Create Ab Shapes
To create shapes that look like abs, start by using the rounded rectangle tool. Create one Rectangle over the stomach and change the radius to look like part of the Body.
Duplicate the first shape to mirror the other side of the Body, then group the two shapes together. Next, duplicate this group twice and bring one group above and place one group below.
Select the top group of ‘Abs’ and press CTRL/CMD+T to bring up the Transform dialog. Next, hold CTRL/CMD+ALT+SHIFT and click-and-drag one of the top corners to activate the perspective Warp to make it look like the Abs taper inwards towards the top.
Do the same thing on the bottom set of abs, but bring in the bottom instead of the top.
Once all of the groups are transformed into the desired shape, group them all together, duplicate the group and merge it into one layer by pressing CTRL/CMD+E.
Next add a Gaussian Blur to the ab shapes to make them integrate into the Body.
How to Use Layer FX on Abs
After getting the abs shape defined, double-click on the layer or go to ‘FX-blending options’ at the bottom of the Layer Panel. Lower the ‘Fill Opacity’ to 0, making the layer invisible, but the layer FX visible.
Click on ‘Bevel And Emboss’ and use the ‘Emboss Style’ to add Highlight and Shadow to the shapes. Be sure to mimic the Angle of the Bevel And Emboss to match the lighting of the original photo.
Change the Highlight and Shadow Colors to match Skin tone by clicking on them and using the Eyedropper to sample Color from the actual Skin.
Each photo will require different settings, change Depth, Size, and Softness to get the most realistic results.
Finishing Touches
To finish the Abs Effect, create a Layer Mask on the layer and paint black on areas to Fade them into the Skin. Use the Transform command CTRL/CMD+T to Transform the ab shape into place, and change Opacity as needed.
If you find you still need to make changes to the Layer FX, simply double-click on the layer FX on the layer and make Adjustments until the abs look real!