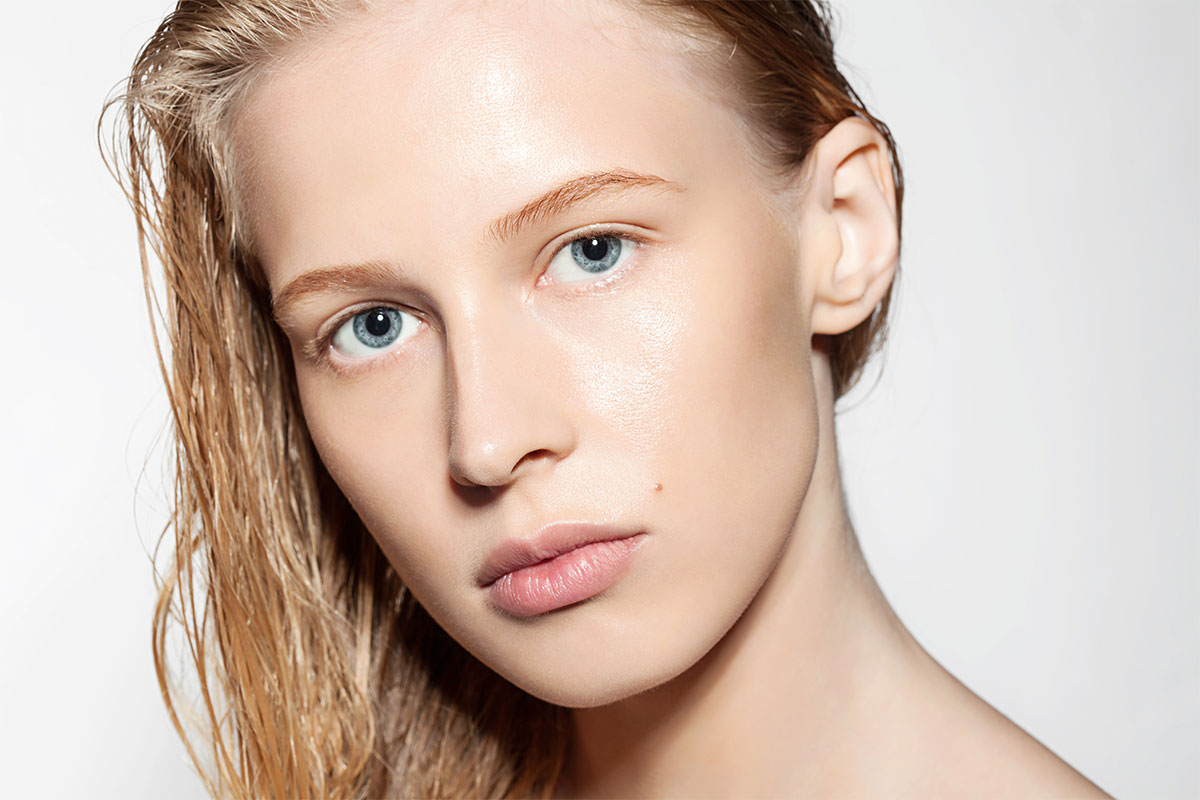
BEFORE
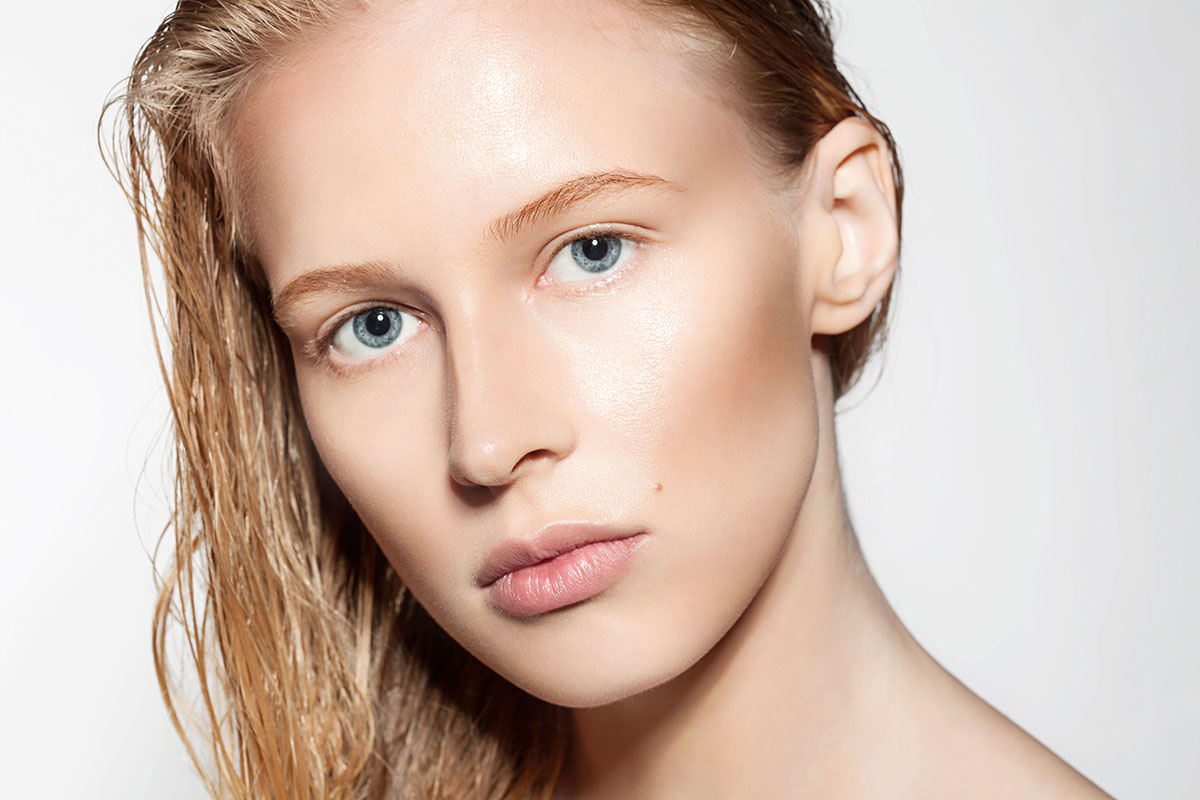
AFTER
Doing Our Research
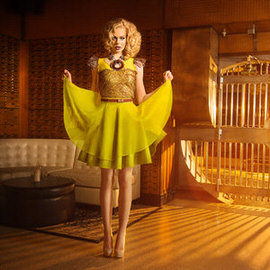
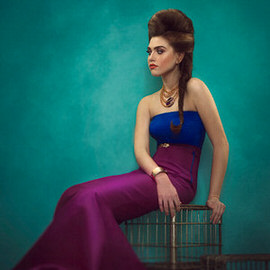
We specialize in many things here at Phlearn. Contouring Makeup isn’t one of them. We used the friendly internet to Google some references on how people actually contour makeup. Thankfully, it’s a lot easier to apply Makeup in Photoshop than it is to do it in real life. Here’s what we learned from the process, always look for references. Books, magazines, the internet, even just things right outside your window can be great Inspiration for your work. Sometimes it takes a little kick to get the creative juices flowing. After we gathered some references we were ready to go. We wanted to select Highlights and Shadows and then paint them on our subject’s Face. Then we decided that we’d have to blend everything together seamlessly.
Getting Started
We chose a reference image and dragged it into Photoshop to work as a sort of Guide. We started by analyzing the Shadows in our reference. We then created a New Layer and used our Brush Tool to mimic what we seen in our reference. We sample a Shadow color in our image and then began with contouring our subject’s cheek. We weren’t too concerned with precision because we knew that we’d be blurring everything later on. We then continue to paint a Shadow on the chin, around the eye, around the forehead, and down the nose into the eyebrow. That helped us conclude a rough draft of our dark Contour. Next we started on our light contour. We took the same process of sampling a Light Color from our subject and began painting on our subject. We started with the cheeks, the the chin, around the mouth and on the forehead. We tried to keep things as symmetric as possible, treating it as if we were real makeup artists.
Adding a Blur
We changed the blending modes on our dark layer to “Hard Light.” After we’ve changed our blending mode, we added a Gaussian Blur. This effect helped blend what we’ve painted. An obvious problem that arose was the Color. A simple Hue/Saturation Adjustment Layer helped us tone the Color down a bit and made the image a bit more realistic. We brought the Saturation down and the Lightness up to add realism to the photo. We then repeated this process for the Light contour of the image. Adding a Gaussian Blur and cranking up the radius until everything blended together.
Final Touches
We lower the Opacity of certain areas so that things blended together better. We then created a Layer Mask to paint black over the areas that we didn’t want the effect to be visible. Our end product is a stunning image with a subject who looks like she has makeup on. It’s crazy to think that we used a reference image from Google as a Guide to contouring makeup. Now it’s your turn to get out there and contour Makeup…in Photoshop of course 😉