Tutorial Description
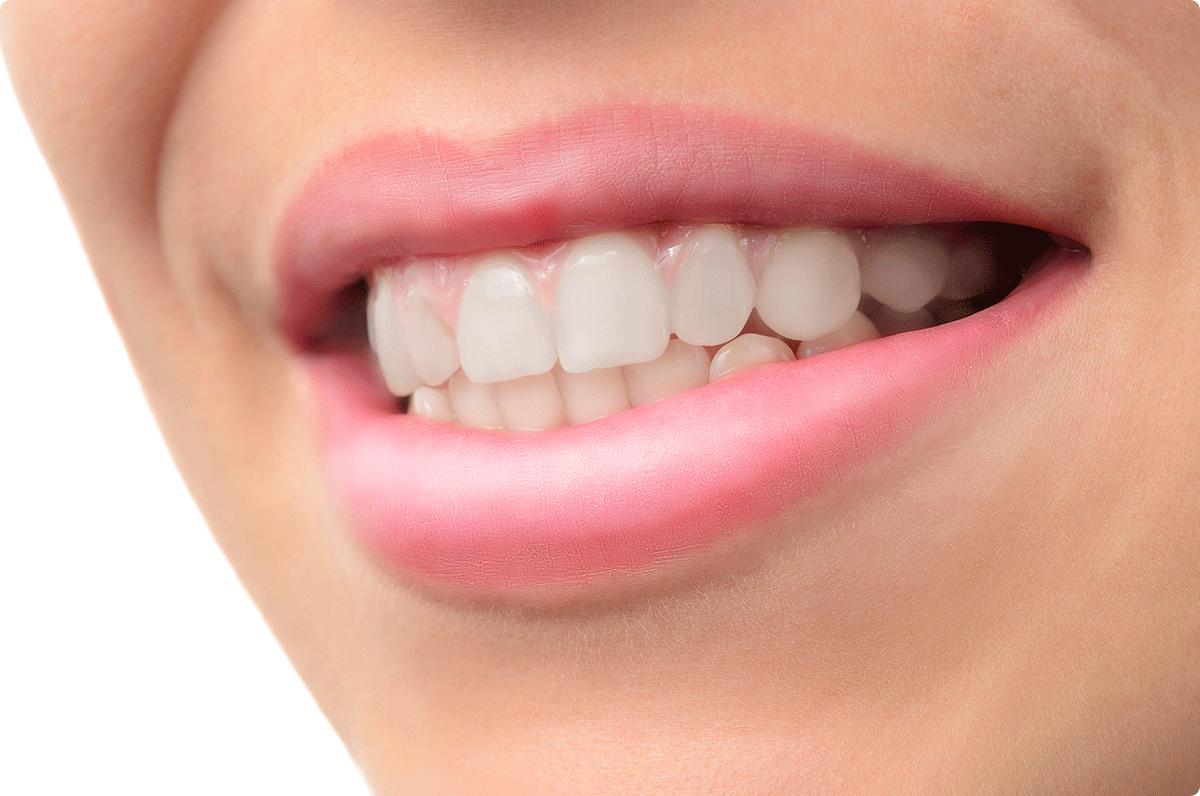
No reason to wait for the orthodontist, get those braces off today!
In this tutorial, you will learn how to use the Brush Tool to remove braces in Photoshop.
Photoshop Brush Tool vs. Clone Stamp & Healing Brush
There are a lot of great “advanced” tools in Photoshop like the Clone Stamp Tool and the Healing Brush Tool that work well for removing and retouching objects.
Those tools work by sampling an area of a photo and then covering up a blemish with the sampled area. Sometimes, there is not enough information to sample or the area of a photo that needs to be retouched is very detailed. In those cases, it can be much more effective to use the Brush Tool.
It seems too simple to work, but the brush tool is actually one of the most powerful retouching tools available in Photoshop.

Quick Tip: When the Healing Brush & Clone Stamp don’t work, grab the Brush Tool.
To use the brush tool as a retouching tool, simply sample a color by pressing ALT/OPTN and clicking on a color, then paint over the blemish or object you want to remove. In this tutorial, we are removing braces that cover up teeth. Because teeth are relatively simple and don’t contain much detail, it is relatively easy to paint teeth in Photoshop.
When painting over the braces, be sure to sample colors in the highlights and shadows of the teeth and paint so they have a three-dimensional appearance.
If you need to blend colors together, use a large soft-edged brush and paint with a flow of 10%. Sample and paint colors together until everything blends in.
This may sound difficult, but with a little bit of practice, you will be retouching with the Brush Tool like a PRO.