
Download Assets
Download Assets
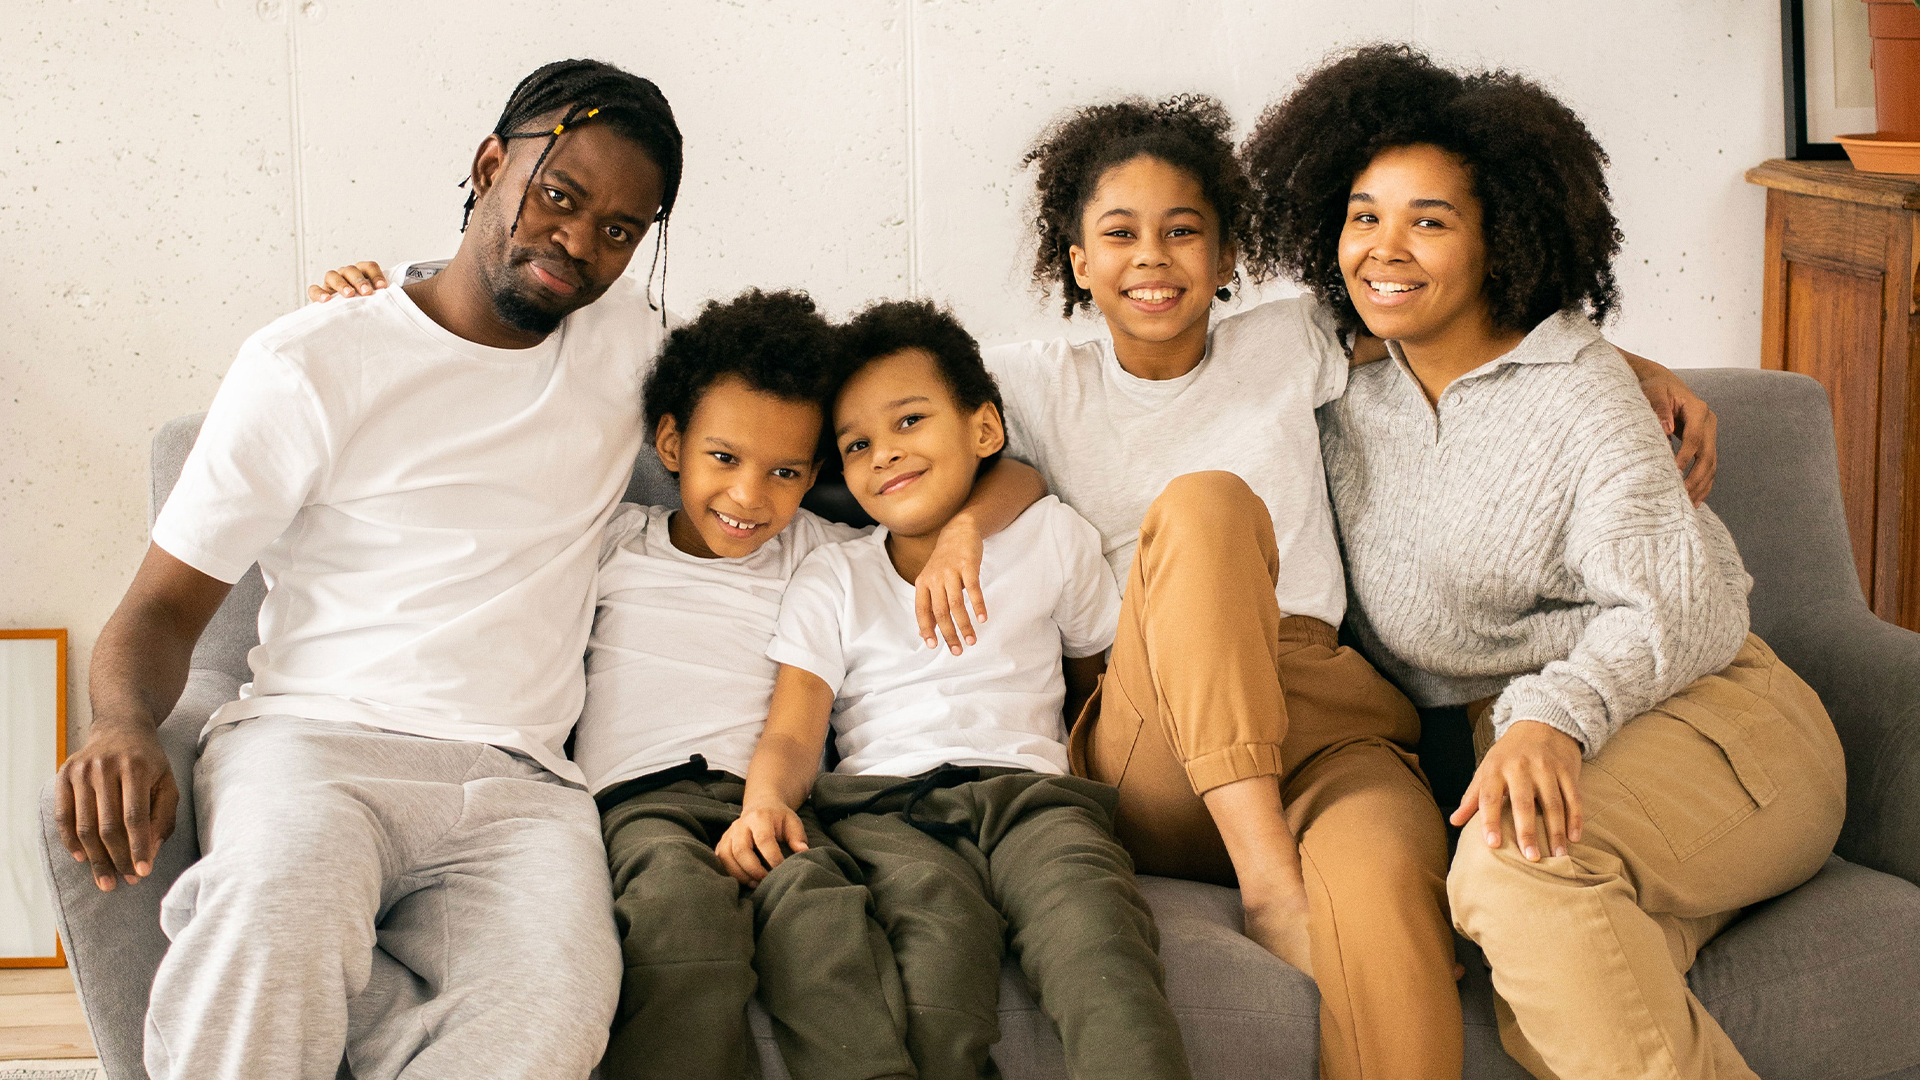
This tutorial includes 2 sample images, 1 sample PSD and 1 PDF guide. Downloads are free with a PHLEARN account.
- Download the sample images and PSDs from every free tutorial on PHLEARN
- New free tutorials published every week
- One free account — sign up once, then download anything
Free PDF Guide · 3 Pages
This Tutorial as a Step-by-Step PDF
Walks through dragging the good head over with the Marquee and Move Tools, lowering Opacity to line up the collar and eyes with Ctrl/Command+T, masking the square edge with a soft black brush at 0 Hardness, then Lasso and Generative Fill with an empty prompt on hair collisions and double ears. Keep it next to your keyboard.
description
Swap faces in Photoshop and the whole job depends on one thing: both frames coming from the same shoot, so the light already matches.
Face swapping in group photos can be challenging, especially when people have closed eyes or odd expressions. But with AI Generative Fill, it’s now easier than ever to get perfect results!
In this tutorial, we’ll show you how to use AI Generative Fill to swap faces in Photoshop, even in tricky areas like hair and overlaps. We’ll also cover common challenges encountered when editing group photos and how to fix them in a few easy steps.
Enjoying This Free Tutorial?
We publish a new free tutorial every week, each one with sample images and PSDs you can download and follow along with. Sign up and they land straight in your inbox, along with early word on sales, events and subscriber-only offers.
Artist Credit
- Monstera Production
Image sourced from Pexels.
How to Swap Faces in Photoshop Using AI Generative Fill
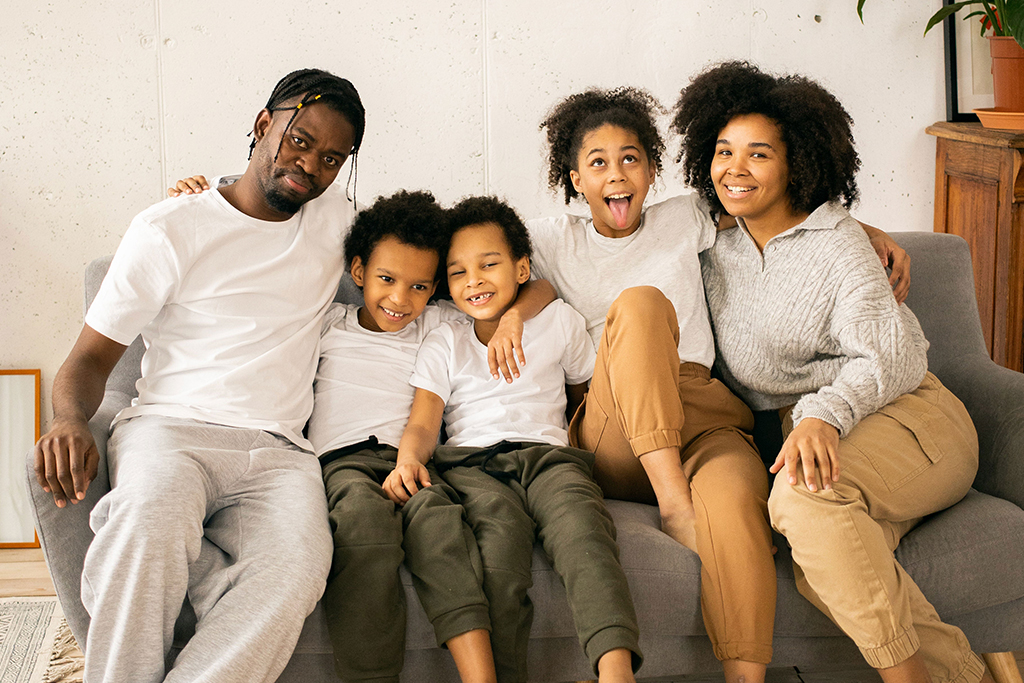
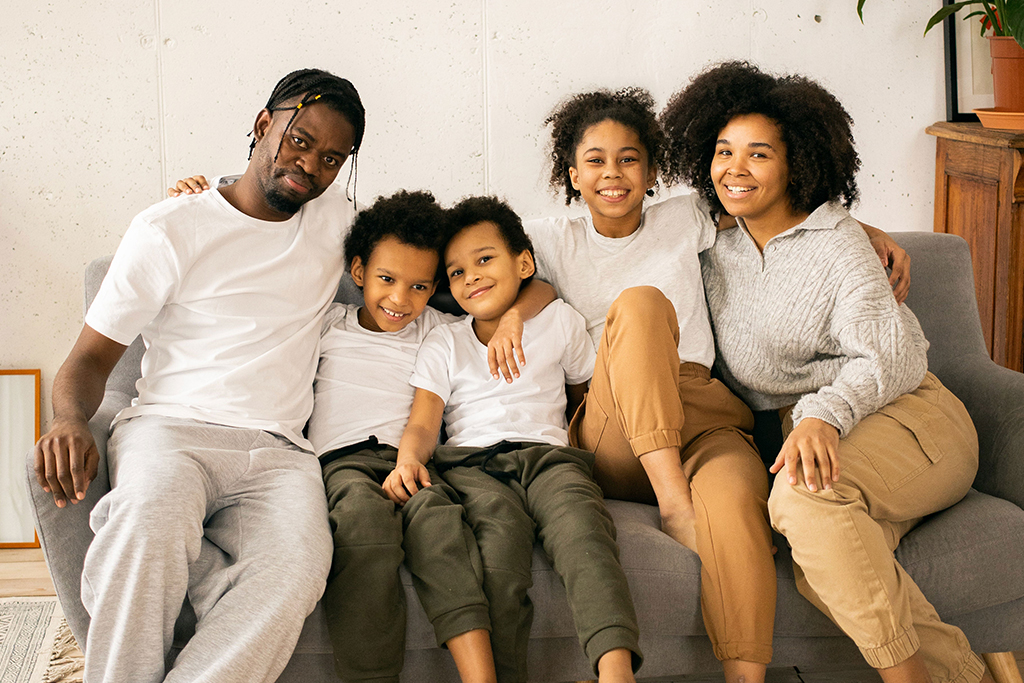
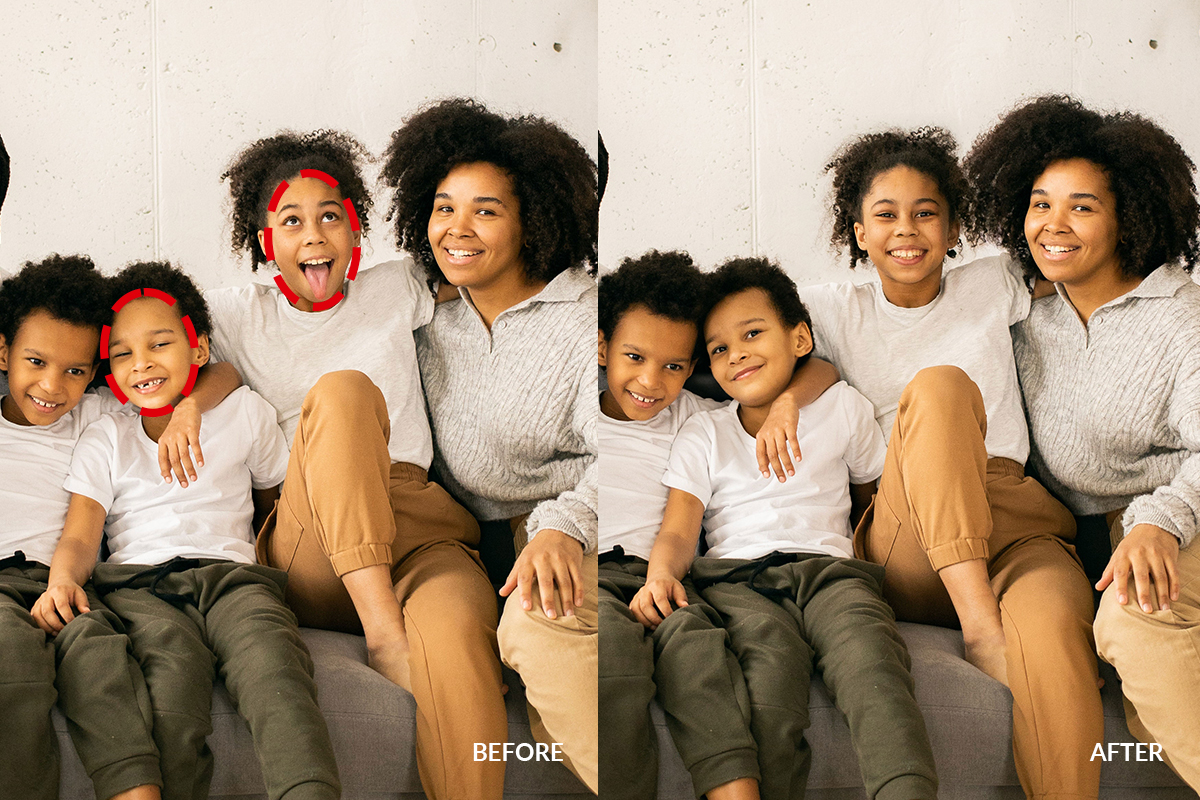
Every photographer has this shot. The group is finally standing still, the light is good, everyone is smiling — and one person blinked. The frame you love is unusable, and the frame where everyone’s eyes are open is the one where the smiles fell apart. Face swapping solves it. You borrow the good face from another frame of the same shoot, drop it onto the good frame, and blend the two together until nobody can tell there were ever two photographs.
This tutorial walks through that process from start to finish in Photoshop, using the Marquee Tool and the Move Tool to get the replacement face into position, Free Transform to match its size and angle, a layer mask to blend the edges, and Generative Fill to clean up the places where the two frames disagree — overlapping hair, doubled ears, and the seam along a collar.
Start With Frames From the Same Shoot
The single most important decision happens before Photoshop opens: which frame you pull the replacement face from. Use another exposure from the same session, ideally one taken seconds apart. The light will match, the white balance will match, the direction the shadows fall will match, and the subject’s clothing and hair will be in almost the same place.
A face pulled from a different day — or a different location, or a different lens — almost never blends. The color of the skin will be slightly off, the catchlights in the eyes will point the wrong way, and the softness of the light will not agree with the rest of the frame. You can fight all of that with adjustment layers, but it is hours of work to fix something that costs nothing if you simply shoot a few extra frames.
This is why photographers shoot groups in bursts. You are not looking for one perfect frame. You are collecting parts.
Open Both Frames Together
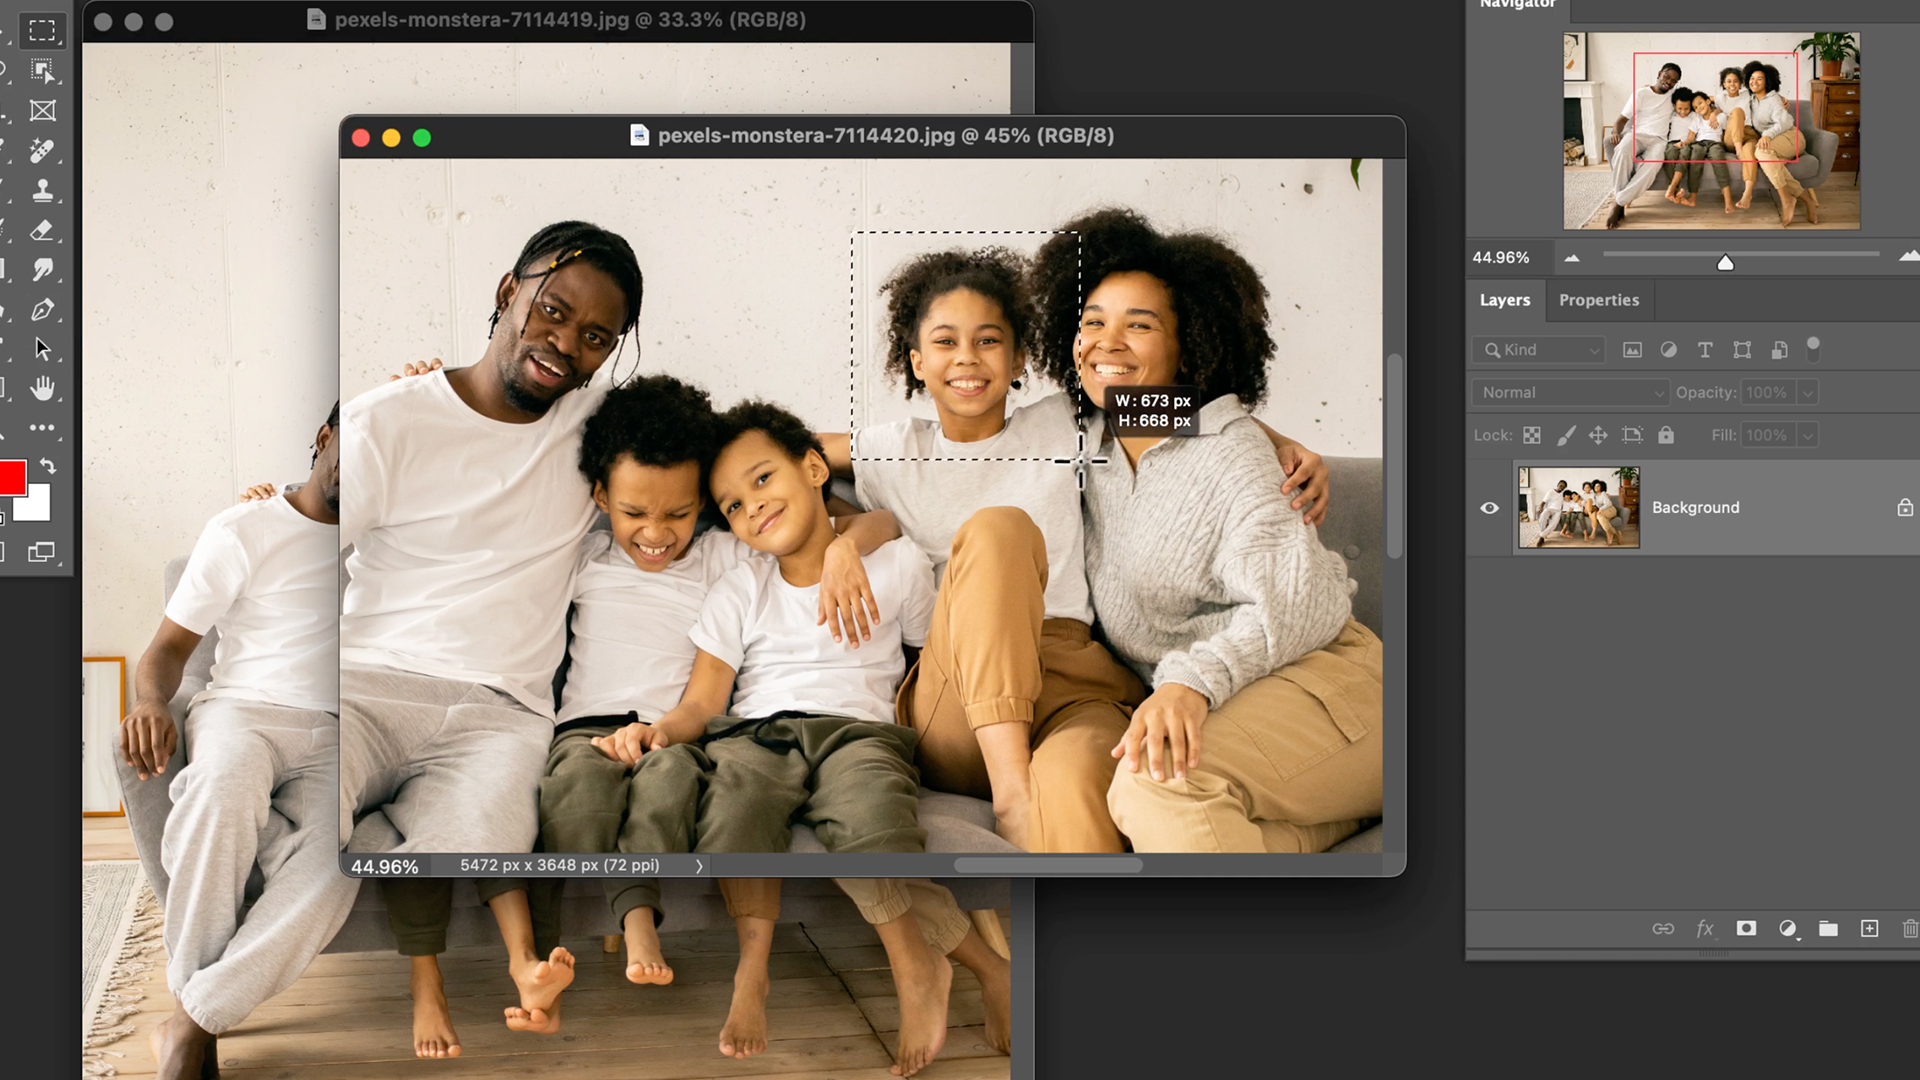
Bring both images into Photoshop as separate documents, or as two layers in the same document. Working with two tabs open side by side makes it easy to flip between them and confirm you are pulling the right face — in a group of five, it is surprisingly easy to grab the wrong person.
Move the Replacement Face Into Place
With both frames open, the actual transplant is quick.
-
Select the replacement face with the Marquee Tool
Draw a generous rectangle around the face you want to borrow. Do not try to be precise here — there is no need to trace the jawline or cut around the hair. A loose rectangle that includes some background and some shoulder is exactly right. All of the precision happens later with a mask.
-
Drag it across with the Move Tool
Switch to the Move Tool and drag the selection from one document onto the other. Photoshop drops it in as a new layer. If you are working inside a single document, copy and paste onto a new layer instead.
-
Lower the layer opacity to the 50s or 60s
This is the trick that makes the whole technique work. Click the word Opacity in the Layers panel and drag left to somewhere in the 50s or 60s (65 percent in the video). Now you can see both faces at once, which turns positioning from guesswork into simple alignment. Bring the opacity back to 100 percent only once everything lines up.
Match the Scale and Angle
The two frames were shot from marginally different positions, so the borrowed face will almost never be the right size straight away. Press Ctrl+T (Windows) or Cmd+T (Mac) to bring up Free Transform.
Move the Transform Reference Point
By default Photoshop scales from the center of the selection. That is rarely what you want here. Move the layer roughly into place, then drag the reference point down to the collar, the first thing to line up. If you do not see the point, click its icon at the top left of the options bar. Now when you scale, the layer scales from the collar, so the collar stays put. You can scale with the corner handles or, as Aaron prefers, click the W or H in the options bar and drag left or right.
Use the Eyes as Your Guide
With the collar lined up and both layers visible at reduced opacity, size the head until the eyes sit in about the same place in both photos. Too big and the eyes go way up; too small and they go way down. Keep the head as close to its real size as you can. Press Enter, then bring the opacity back to 100 percent. The collar is Aaron’s choice of reference, but the eyes or the mouth work too.
Rotate slightly if the head tilt differs between frames. Small rotations are normal — people move constantly during a group shot.
Blend With a Layer Mask
Bring the layer back to full opacity and add a layer mask. Right now the new head is a perfect square. Press B for the Brush Tool, right-click and bring Hardness all the way down to 0, make the brush fairly big, and paint with black to hide the square edge of the rectangle you pasted in.
Work from the outside in. Start well away from the face and paint back toward it, revealing the underlying image everywhere the two frames disagree. Keep the brush soft, at 0 Hardness, so the transition is gradual rather than a hard line. Because the collar sits in the same place in both layers, you can blend right up to it. Reduce the brush size as you get closer to the features.
Where to Stop
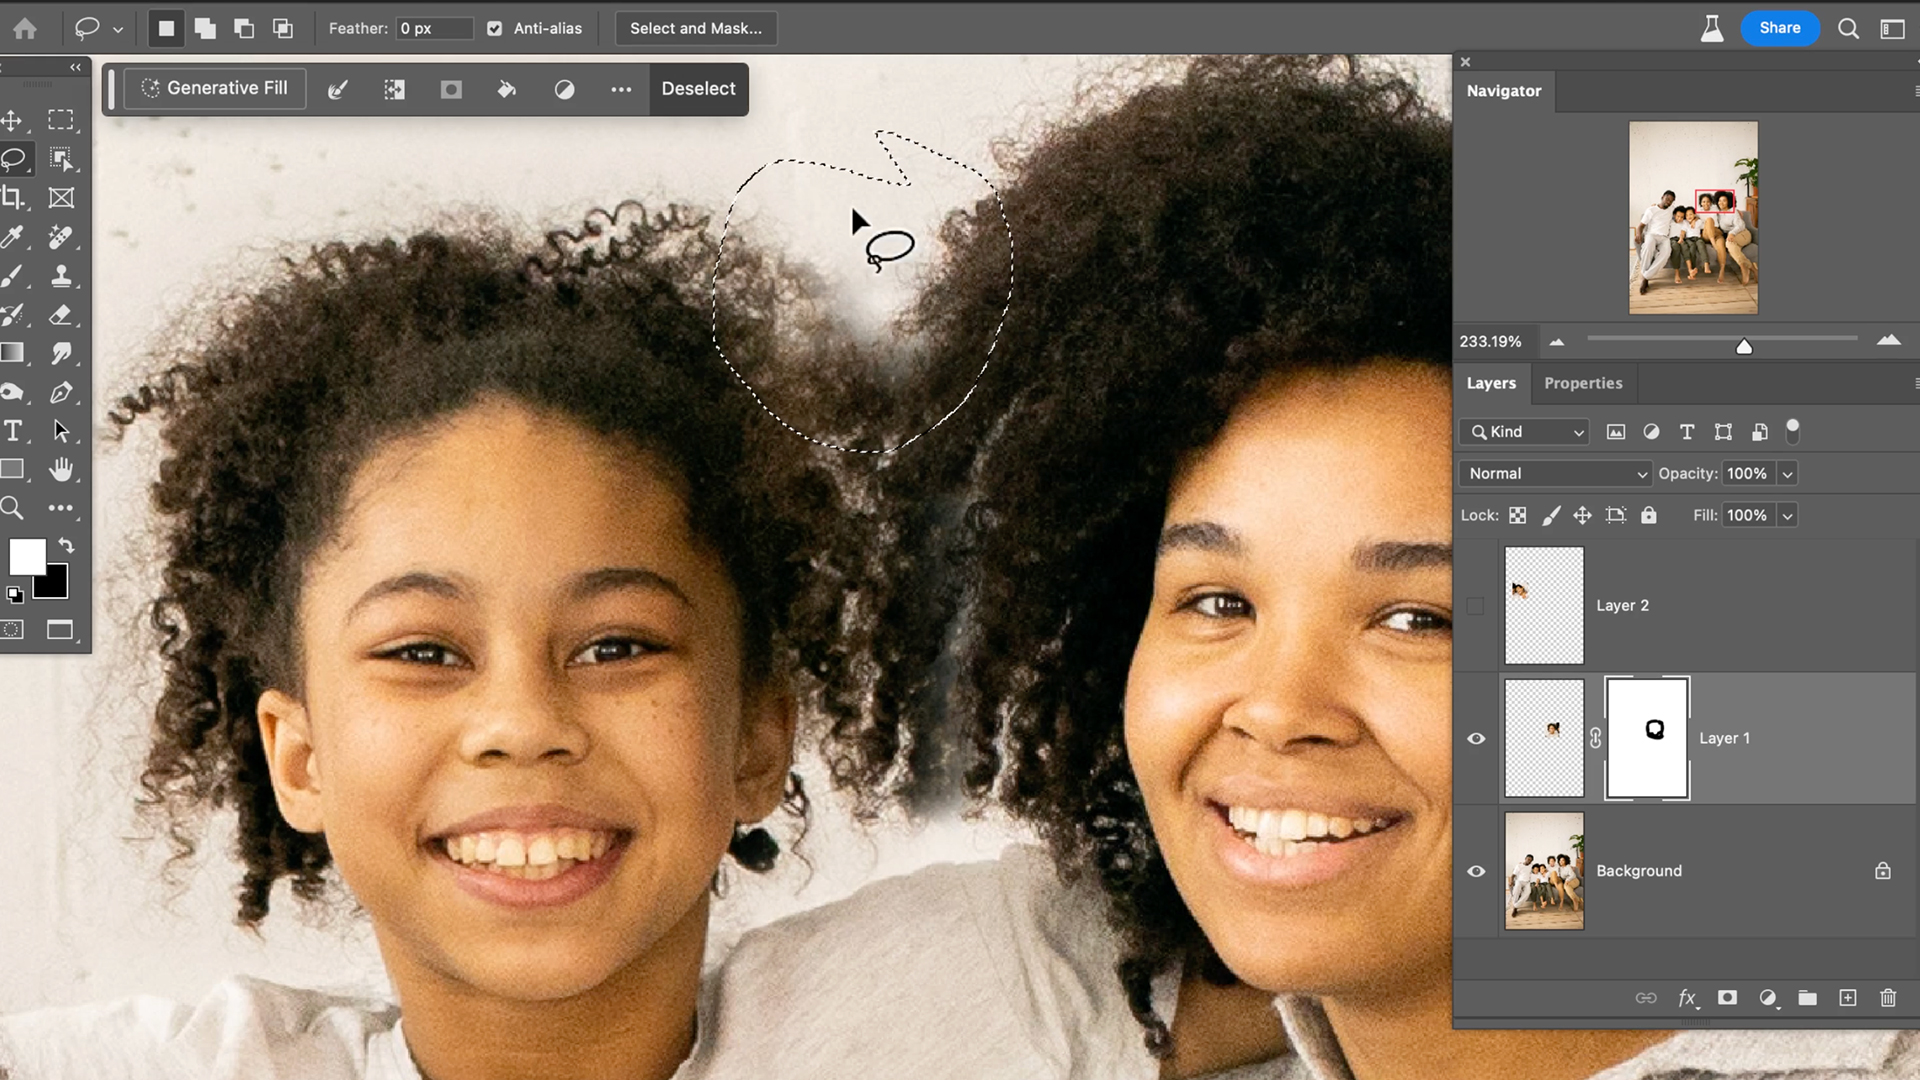
The goal is to keep the whole borrowed head and hide only the square edge around it, blending it as seamlessly as you can into the original frame. Where the hair of two people collides or an ear doubles up, painting the mask one way or the other cannot get it right. That is where Generative Fill comes in.
Toggle the layer visibility on and off as you work. Flipping between the two states is the fastest way to spot a transition that is not holding up.
Fix the Hard Parts With Generative Fill
Hair and ears are where face swaps fall apart. If the subject’s head moved between frames, the hair in the top layer will collide with the hair in the bottom layer, and you can end up with a doubled ear or a strand of hair that starts in one place and ends in another. Masking cannot solve this, because both versions are wrong.
Select the Problem Area and Leave the Prompt Empty
Make a selection around the trouble spot, click Generative Fill, and — this is the part people miss — leave the prompt box completely empty before pressing Generate. With no prompt, Photoshop is not trying to invent something new. It looks at everything surrounding the selection and fills the area with what belongs there. For a patch of hair or the edge of an ear, that is exactly the behavior you want.
Generate produces three variations. Cycle through them in the Properties panel and pick the one that reads best. If none of them work, press Generate again for three more — the results vary each time, and a second round often solves what the first could not.
If Generative Fill Refuses to Run
Photoshop will sometimes decline to generate on a selection that is mostly bare skin. If that happens, widen the selection to take in more of the surrounding area — hair, clothing, background — and try again. Giving the model more context to work from usually clears it.
Group and Clean Up
Once the swap is working, select the layers that make it up and group them together. Add a mask to the group itself. This gives you a second, non-destructive pass over the whole composite: you can soften an edge or bring back a piece of the original without disturbing any of the work underneath.
Then zoom to 100 percent and look at the seams. The places to check are the hairline, the edge of the jaw, the collar, and the skin tone across the transition. Anything that catches your eye at full zoom will catch a viewer’s eye too.
Keep the Swap Honest
This technique exists to rescue photographs, not to fabricate them. Borrowing a face from another frame of the same sitting — so the family portrait shows everyone with their eyes open — is retouching in the same tradition as removing a stray hair or a blemish. Everyone in the frame was there, in that light, in that moment. You are just choosing which fraction of a second each of them gets to be represented by.
Quick Reference
-
Pick a frame from the same shoot
Matching light and white balance do most of the blending for you.
-
Marquee the face and move it across
A loose rectangle is fine. Precision comes from the mask.
-
Drop opacity to the 50s or 60s to position
Seeing both faces at once turns alignment into a simple line-up.
-
Transform from the collar, match the eyes
Move the reference point off center and scale until the eyes align.
-
Mask with a soft black brush
Hide the square edge and keep the whole head.
-
Generative Fill with an empty prompt
Repairs hair collisions and doubled ears using the surrounding pixels.
-
Group and add a group mask
Gives you a final non-destructive pass over the whole composite.
Quick Reference: Keys, Menus and Settings
- Bring the face overM for the Marquee Tool, a box bigger than the head; Move Tool to drag it onto the other photo
- See through itClick and drag the word Opacity to the 50s or 60s
- Line it upCmd/Ctrl + T, reference point to the collar, drag W or H to scale; Enter/Return, Opacity back to 100%
- Blend the edgeLayer Mask icon, B, [ and ] for size, right-click for Hardness 0, paint black
- Fix collisionsL for the Lasso Tool, Generative Fill, Generate with no prompt
- Group and checkCmd/Ctrl + G, toggle the group; a mask on the group for touch-ups
Recorded in the Photoshop beta, with Generative Fill in the Contextual Task Bar.
Free Downloads
Follow Along on the Same Photos
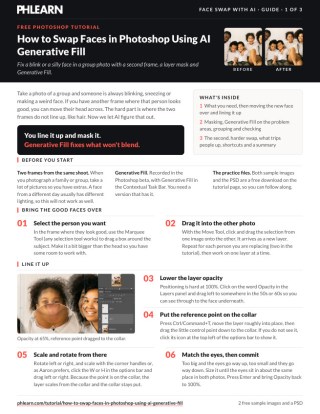
Get the two family photos from the same shoot, the finished layered PSD and the 3-page PDF guide. Free with a PHLEARN account.
Face Swaps in Photoshop: Common Questions
Where should the replacement face come from?
Another frame from the same shoot. A face from a different day usually has different lighting, so the blend will not hold as well. When you photograph a group, take a lot of pictures so you have extras.
How do I get the good face into the other photo?
Drag a box around the person with the Marquee Tool, a bit bigger than the head so you have room to work. Then click and drag it onto the other photo with the Move Tool. It arrives as a new layer.
How do I see both faces while lining them up?
Click the word Opacity in the Layers panel and drag left to somewhere in the 50s or 60s. Bring it back to 100% once the head is in place.
What should I line up first?
The collar. Press Cmd/Ctrl + T, drag the reference point down to the collar, then rotate and scale until the eyes sit in about the same place in both photos. Press Enter to commit.
How do I blend the edges of the new head?
Click the Layer Mask icon, press B for the Brush Tool, right-click and set Hardness to 0. Paint black around the square edge to blend one image into the other, keeping the whole head.
How do I fix hair that overlaps between the two frames?
Press L for the Lasso Tool and circle the trouble spot. Click Generative Fill in the Contextual Task Bar and hit Generate without typing anything. Photoshop fills it from what surrounds it.
What if the Generative Fill results are only okay?
Click through the variations in the Properties panel. If none look right, press Generate again; it reuses the same selection.
Why does Photoshop say the generated images were removed?
It happens sometimes when the selection is basically just skin. Make the selection bigger so it takes in more of the head, hair or shirt, and generate again.
I grouped the swap and then spotted a missed area. Now what?
Turn the group off and on to compare. If something looks wrong, add a layer mask to the whole group and paint black over that area.
Are the sample files free?
Yes, with a free PHLEARN account. You get 2 sample images, 1 sample PSD and 1 PDF guide: two frames from the same family shoot, the finished file and a 3-page step-by-step guide.
Master Photoshop, Lightroom and Photography
Join PHLEARN PRO for $12.99 a month or $99.99 a year. Cancel anytime, with a 100% money-back guarantee.





