
Download Assets
description
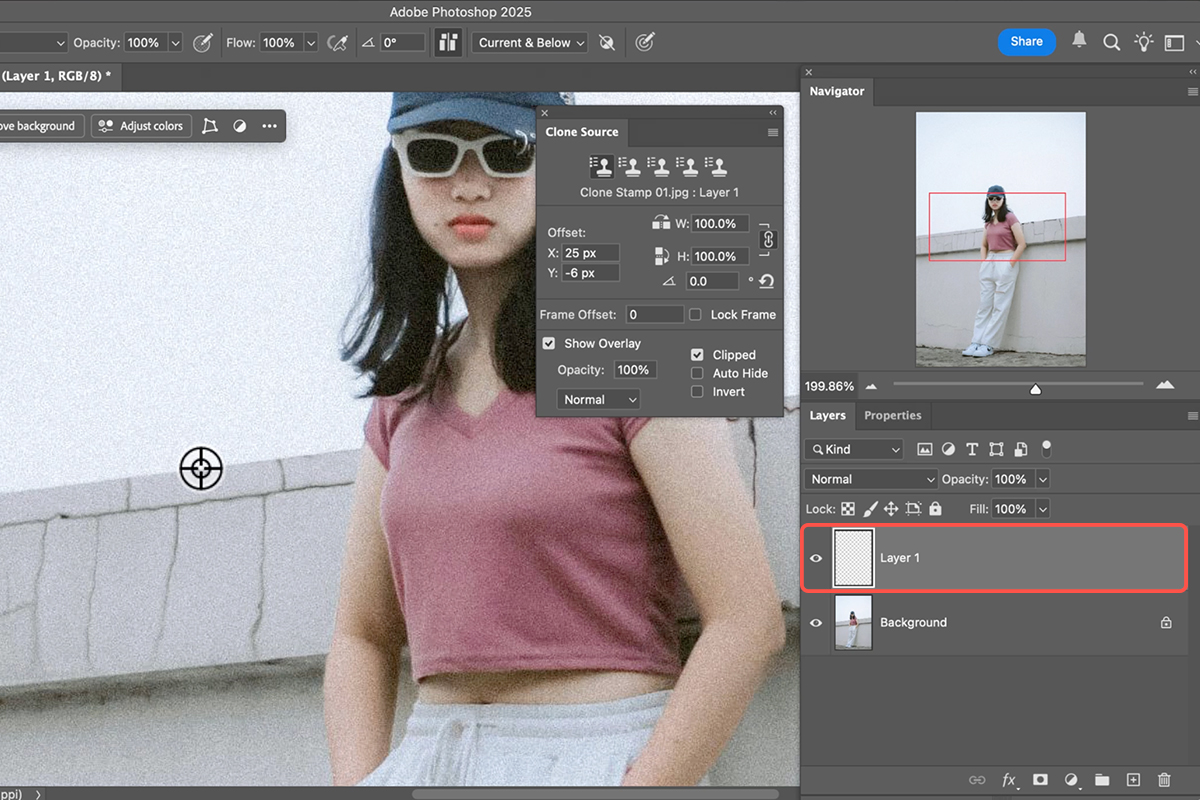
Learn how to effectively use the Photoshop Clone Stamp tool for object removal and image cleanup. In this tutorial we’ll cover essential settings like layer creation and sample source, plus pro tips for precision, such as using the ‘Show Overlay’ and leveraging multiple temporary layers.
Go PRO:
Dive deeper into the world of Photoshop with our in-depth PRO Photoshop Learning Path . Across 11 courses and 53 hours of engaging content, you’ll learn Photoshop’s ins and outs, master pro-level tools, and tackle fun and challenging projects..
Image Source
- Firman Fatthul
Image sourced from Pexels.
Share


AFTER
BEFORE
Clone Stamp Secrets
The Clone Stamp tool is a foundational and invaluable Photoshop skill, allowing you to seamlessly remove objects, repair cracks, and clean up images. In an era of generative AI, mastering this classic tool means you can handle simple clean-up tasks efficiently without using up your valuable generative credits or potentially having your image flagged as AI-generated. It offers complete, non-destructive control over your edits, ensuring professional results every time.
Setup & Settings
1. Begin by selecting the tool using the keyboard shortcut S.
2. Immediately create a new layer (never work directly on the background).
3. In the options bar at the top, change the Sample setting from its default “Current Layer” to “Current and Below” or “All Layers” to ensure you are sampling from the image data beneath your new, empty layer. For a visual aid, go to Window > Clone Source and ensure “Show Overlay” is turned on; this gives you a real-time preview of what you are cloning.

Cloning & Technique
4. To use the tool, hold down Alt/Option and click on the area you wish to sample (the source).
5. Release the key, and then click and drag over the unwanted area to paint the sampled texture over it. The key to a natural result is to continually re-sample different nearby sources by holding Alt/Option and clicking again, preventing repetitive patterns. For seamless blending, right-click on your image to adjust your brush hardness down (a soft brush blends edges better).
Advanced Non-Destructive Edits
For complex or advanced fixes, especially when precise alignment is needed, it is recommended to clone stamp on separate new layers for individual edits. If you clone stamp in the wrong location, simply hit V for the Move Tool and drag the content on that layer into the correct position. Once satisfied with multiple individual edits, you can select the layers and press Ctrl + E (Windows) or Command + E (Mac) to Merge Layers into a single, organized “Clone Stamp” layer. Use a Layer Mask to precisely hide cloned areas that accidentally spill over edges.


