
Download Assets
This tutorial includes 5 sample images, 1 sample PSD and 1 PDF guide. Downloads are free with a PHLEARN account.
- Download the sample images and PSDs from every free tutorial on PHLEARN
- New free tutorials published every week
- One free account — sign up once, then download anything
Free PDF Guide · 4 Pages
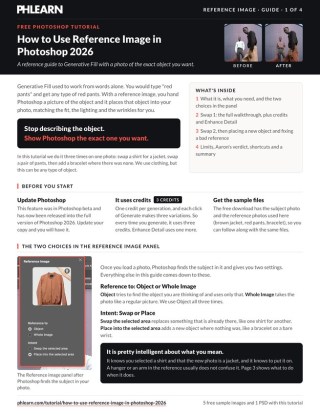
This Tutorial as a Step-by-Step PDF
Every step from the video in order: Select People for the shirt and pants, the Reference Image button, Object vs. Whole Image, Swap vs. Place, credits per generation, Enhance Detail, and cutting a reference out when the tool grabs too much. Keep it next to your keyboard.
description
Reference Image lets you swap a jacket, a bag or a chair for a specific one by dropping a reference photo into Generative Fill — then refine the selection and run Enhance Detail for a full-resolution result.
Enjoying This Free Tutorial?
We publish a new free tutorial every week, each one with sample images and PSDs you can download and follow along with. Sign up and they land straight in your inbox, along with early word on sales, events and subscriber-only offers.
Reference Image in Photoshop 2026 Turns Generative Fill Into a Precise Tool
Generative Fill has always had one frustrating limitation: you describe what you want in words, and Photoshop invents its own interpretation. Ask for “a brown leather jacket” and you get a brown leather jacket — just not the one you had in mind, and not the one the client already approved.
Reference Image in Photoshop closes that gap. Instead of typing a description, you drop in a photo of the actual thing you want, and Photoshop matches it. It’s the difference between describing a garment over the phone and holding it up.
What Changes When You Give It a Photo
The Prompt Stops Being a Guess
Text prompts leave every unstated detail to the model — cut, weight, sheen, color temperature. A reference photo settles all of them at once without you having to find the words.
It Still Adapts to Your Scene
This isn’t a paste. Photoshop reads the object in the reference and rebuilds it to fit your subject’s pose, your lighting and your perspective. That’s why the source photo doesn’t need to be shot at the same angle.
Iteration Gets Fast
Swapping one reference photo for another and regenerating takes seconds. For mock-ups, product variants or a client who wants to see three options, this is the whole point.
Select What You Want to Replace
The generation is only as good as the selection underneath it, so this first part matters more than it looks.
-
Open Your Image in Photoshop
Any photo with an object you want to change. Clothing is the obvious use, but the same workflow handles bags, furniture, signage and props.
-
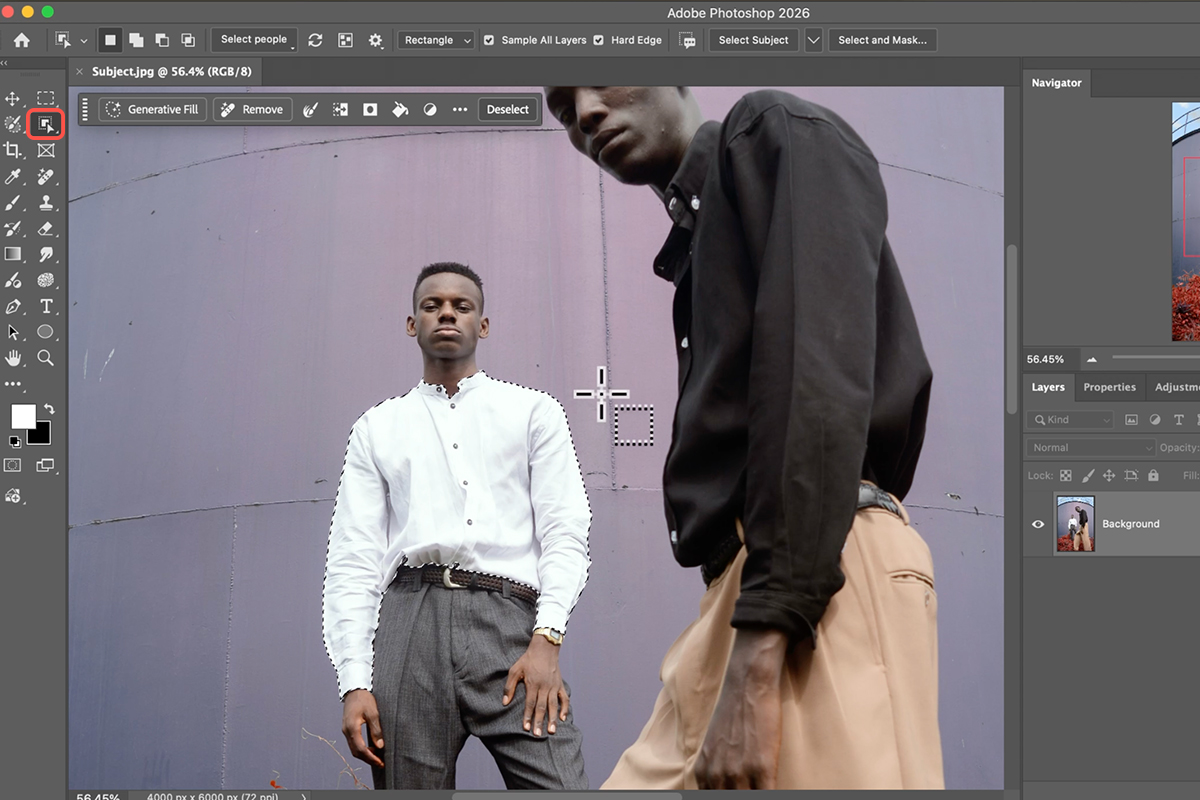
Grab the Object Selection Tool
Keyboard shortcut W. Hover over the item you want to replace and Photoshop outlines it. The Select People feature now goes further than it used to — it can isolate an individual garment like a coat or a hat rather than the whole person.
-
Clean Up the Edges With the Selection Brush
If the automatic selection misses something, paint over it with the Selection Brush Tool. Hold Shift to add to the selection and Alt/Option to subtract. A sleeve half-excluded here becomes a visible seam in the final result.
Drop In the Reference Photo
-
Open Generative Fill From the Contextual Task Bar
With the selection active, the Contextual Task Bar appears near your selection. Click Generative Fill.
-
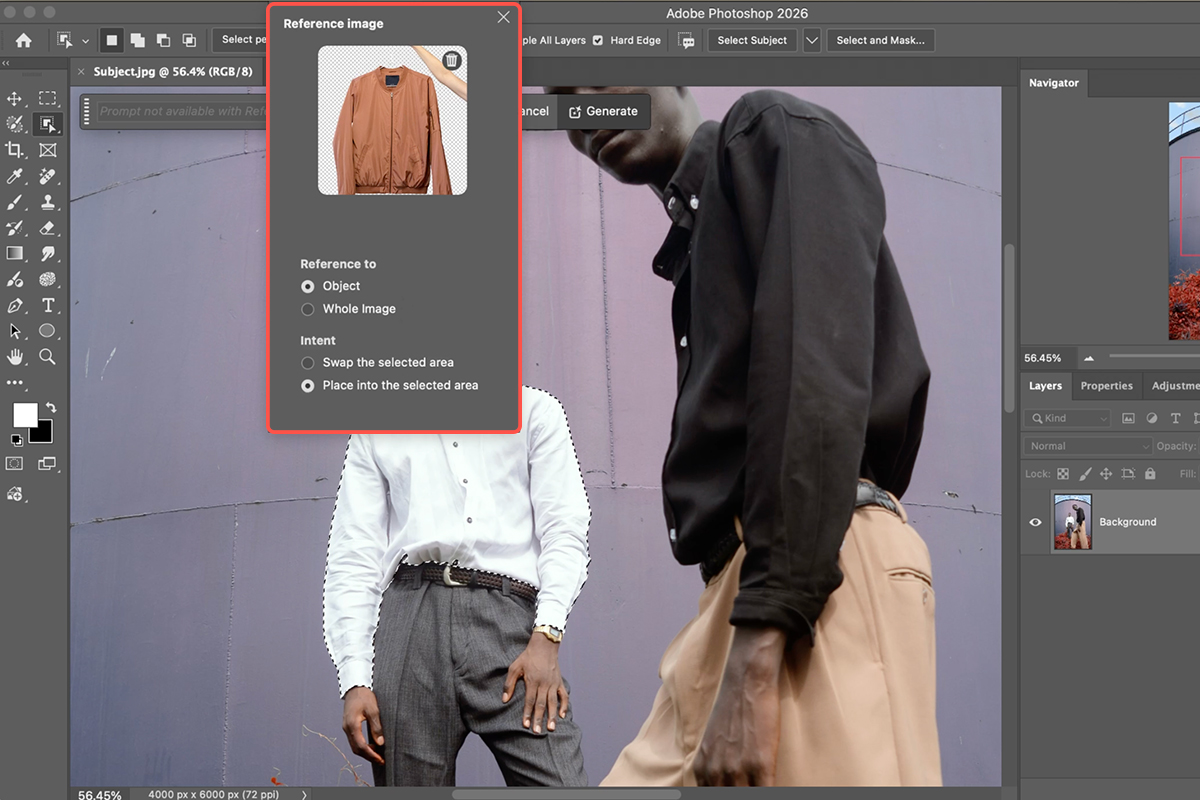
Click the Reference Image Icon and Drag Your Photo In
Next to the prompt box. Drag the photo of the object you want — the specific jacket, the specific chair — straight into it. Photoshop analyses the object in that image rather than the whole frame.
-
Click Generate
The selected area is rebuilt to match the reference. You can add a short text prompt alongside the image if you want to steer something the photo doesn’t communicate, but the image is doing most of the work.
Pick the Right Variation and Sharpen It
-
Toggle Through the Variations in the Properties Panel
Photoshop returns several versions. They differ more than a quick glance suggests — compare each one against the lighting direction and perspective of your original shot rather than picking the first that looks plausible.
-
Run Enhance Detail on the Version You Keep
Generative results come back at a lower resolution than your file. Enhance Detail rebuilds them at full resolution, which is the difference between something that survives a print crop and something that only holds up on screen.
-
Refine the Blend on the Layer Mask
Every generative layer arrives with its own mask. Paint on it to fix a hard edge or recover something the fill covered that it shouldn’t have. If the result is wrong in a way a mask can’t fix, Cmd/Ctrl+Z and try a different reference photo — it’s faster than fighting a bad generation.
What to Watch Out For
A Reference Photo With Too Much in It
If the reference shows a full outfit on a mannequin in a busy shop, Photoshop has to decide which object you meant. Crop the reference to the one thing you want first.
Lighting That Fights Your Original
Photoshop adapts a lot, but a reference lit hard from the left will fight a subject lit softly from the right. A reference shot in similar light needs far less correction afterwards.
Skipping Enhance Detail
Easy to forget, and it doesn’t show at fit-to-screen. Zoom to 100% before you decide the edit is finished.
Letting It Replace the Selection Skills
The AI is doing the fill, not the isolation. A sloppy selection produces a sloppy swap no matter how good the reference photo is, and manual masking is still the skill that rescues the shots this tool can’t handle.
When Speed Is the Actual Feature
We normally argue for learning selections and masking by hand, and that hasn’t changed — manual control is what gets you through the work that generative tools fumble. But a tool that turns a clothing swap from an afternoon into a minute earns its place on the days when the deadline is the constraint.
The useful way to think about Reference Image in Photoshop is as a first draft generator. It gets you to something to react to almost immediately, and reacting to a real image is a much better way to find what you actually want than staring at a blank prompt box.
Try It on a Shot of Your Own
Select the object with the Object Selection Tool, tidy the edges with the Selection Brush, open Generative Fill, drag in a reference photo, generate, pick the best variation and run Enhance Detail. Download the five free sample images and work through the exact swap from the video first — then try it on a shot where the client changed their mind about the wardrobe, which is the situation this feature was built for. For the full picture of selections, masking and compositing, our PRO Photoshop Learning Path is where to go next.
Quick Reference: Keys, Menus and Settings
- Select the clothingW Object Selection tool > Select People, hover the shirt or pants, click
- Open the toolGenerative Fill in the Contextual Task Bar > Reference Image > Choose Image
- Two choicesReference the Object (not the whole image); Swap the selected area for clothes, Place into the selected area for something new like a bracelet
- GenerateNo prompt with a reference; Firefly Fill and Expand, three variations, one credit each
- Higher qualityPick a variation, click Enhance Detail in Properties (one more credit)
- CompareToggle the generative layer’s eye
- A small objectSelection Brush over the spot, then Generative Fill > Reference Image > Place
- The tool grabbed the hand tooOpen the reference in Photoshop, Object Selection on the item, Add Layer Mask, File > Export > Quick Export as JPEG, use that file
Mac first, then Windows where they differ.
Free Downloads
Follow Along on the Same Photos
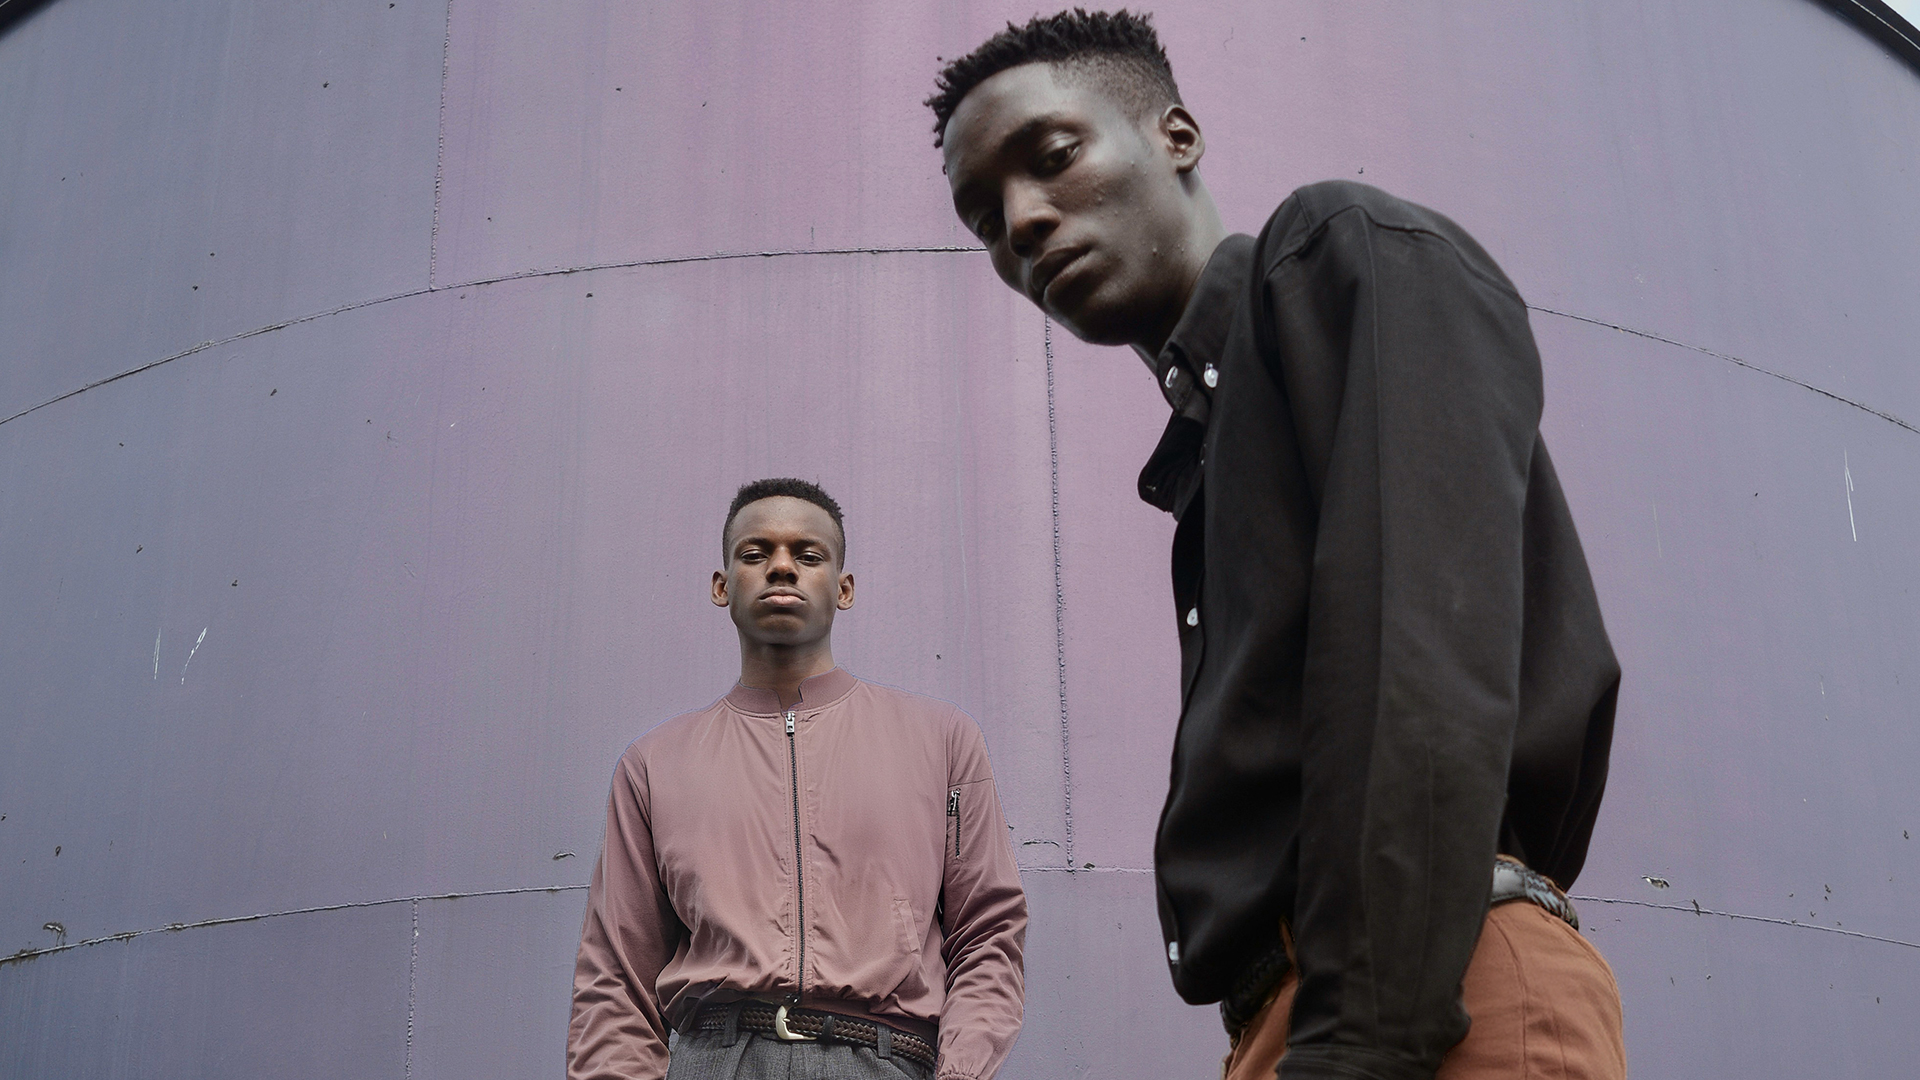
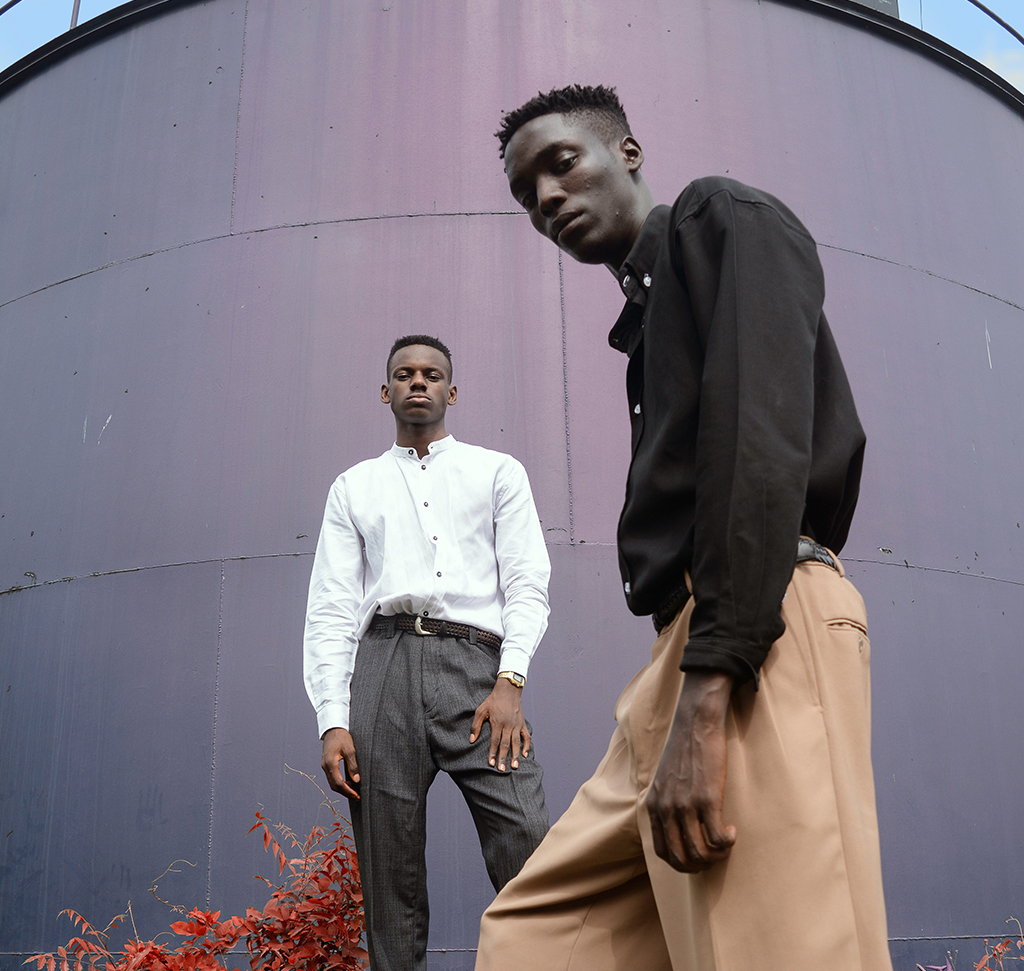
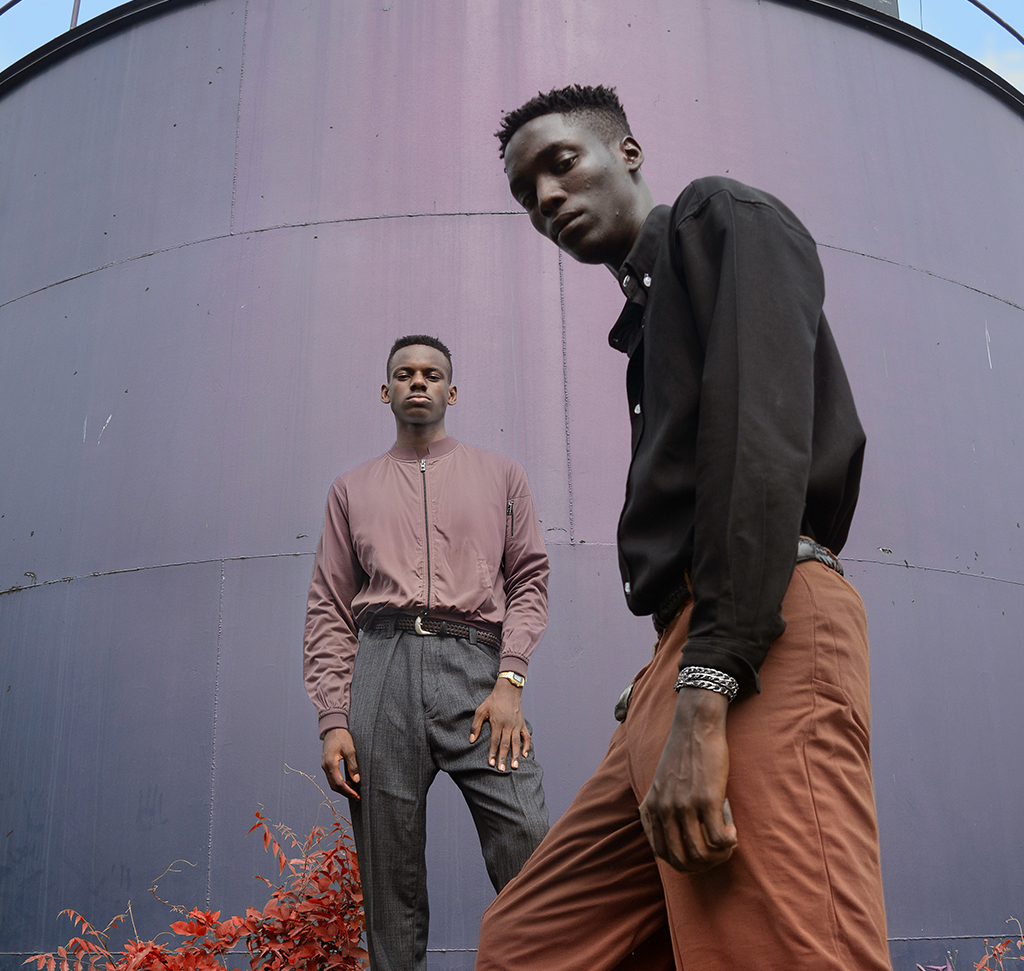
Get all 5 sample images (the scene, the jacket, the pants and both bracelets), the layered PSD and the PDF guide. Free with a PHLEARN account.
Reference Image: Common Questions
What does Reference Image do?
Generative Fill used to work from a text prompt: “red pants” gave you any red pants. With a reference image you hand it a photo of the exact jacket, pants or bracelet, and it puts that object into your photo. It started in the beta and is now in the full Photoshop 2026.
How do I select the clothing to replace?
Press W for the Object Selection tool and turn on Select People. Hover over a person and the tool offers their parts individually; hover the shirt or the pants and click. A selection is always step one.
Object or Whole Image?
Object. It finds the item in your reference photo (the jacket, not the hand holding it). Whole Image treats the reference as a plain picture.
Swap or Place?
Swap the Selected Area replaces one thing with another, like a shirt for a jacket, and works best. Place into the Selected Area is for adding something that isn’t there yet, like the bracelet on a bare wrist.
How many credits does it use?
It uses Firefly Fill and Expand at one credit per generation, and you get three variations, so three credits each time. Enhance Detail is one more. The shirt plus pants in the video came to seven. Hover the credit icon to check.
Why did it change the color of my reference?
It adjusts the object to fit the scene’s light and color, and there’s no control over that yet. In the video it suited the shot; if you need the exact color, the tool isn’t there yet.
The result looks soft. How do I sharpen it?
Pick the variation you like and click Enhance Detail in the Properties panel. It rerenders at higher resolution so the fill matches the rest of the photo.
It put the hand in with the bracelet. What then?
Delete that layer, open the reference photo in Photoshop, select the bracelet with the Object Selection tool, click Add Layer Mask and Quick Export it as a new JPEG. Use that cut-out as the reference and it places only the bracelet.
Are the sample files free?
Yes, with a free PHLEARN account. You get all 5 sample images, the layered PSD and the PDF guide.
Master Photoshop, Lightroom and Photography
Join PHLEARN PRO for $12.99 a month or $99.99 a year. Cancel anytime, with a 100% money-back guarantee.





