Create a Visual Effects Composite Portrait – Light My Fire
-
Add to
favorites
-
DifficultyMedium
-
Length1.5 hours
-
Videos4
-
Software
DESCRIPTION
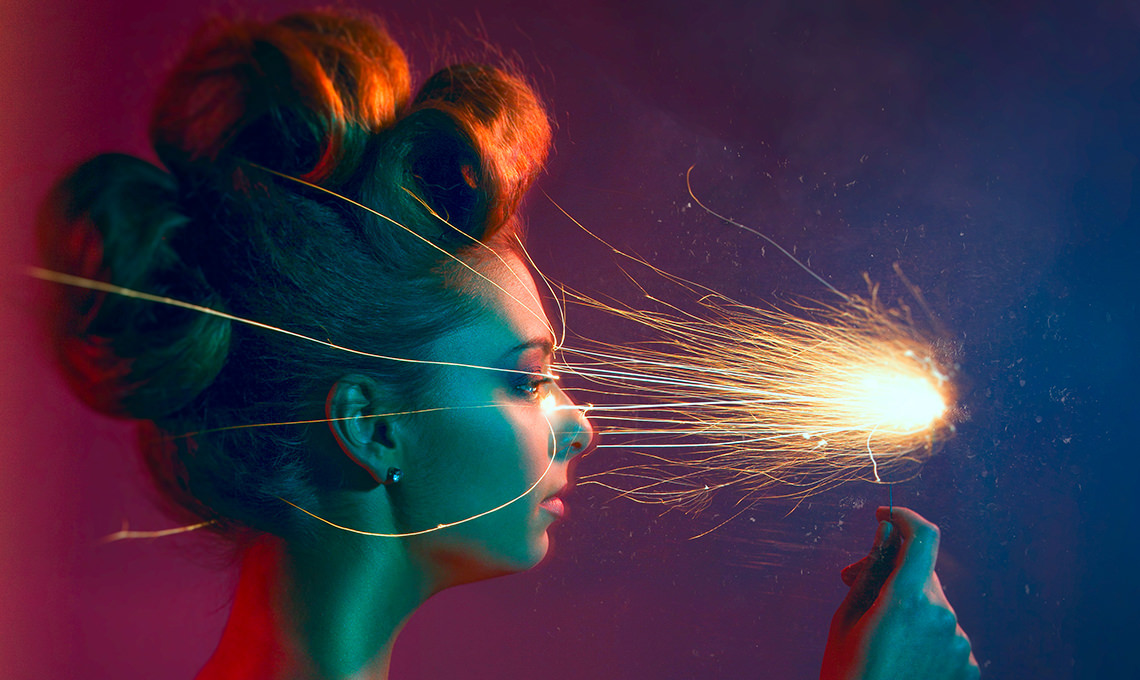
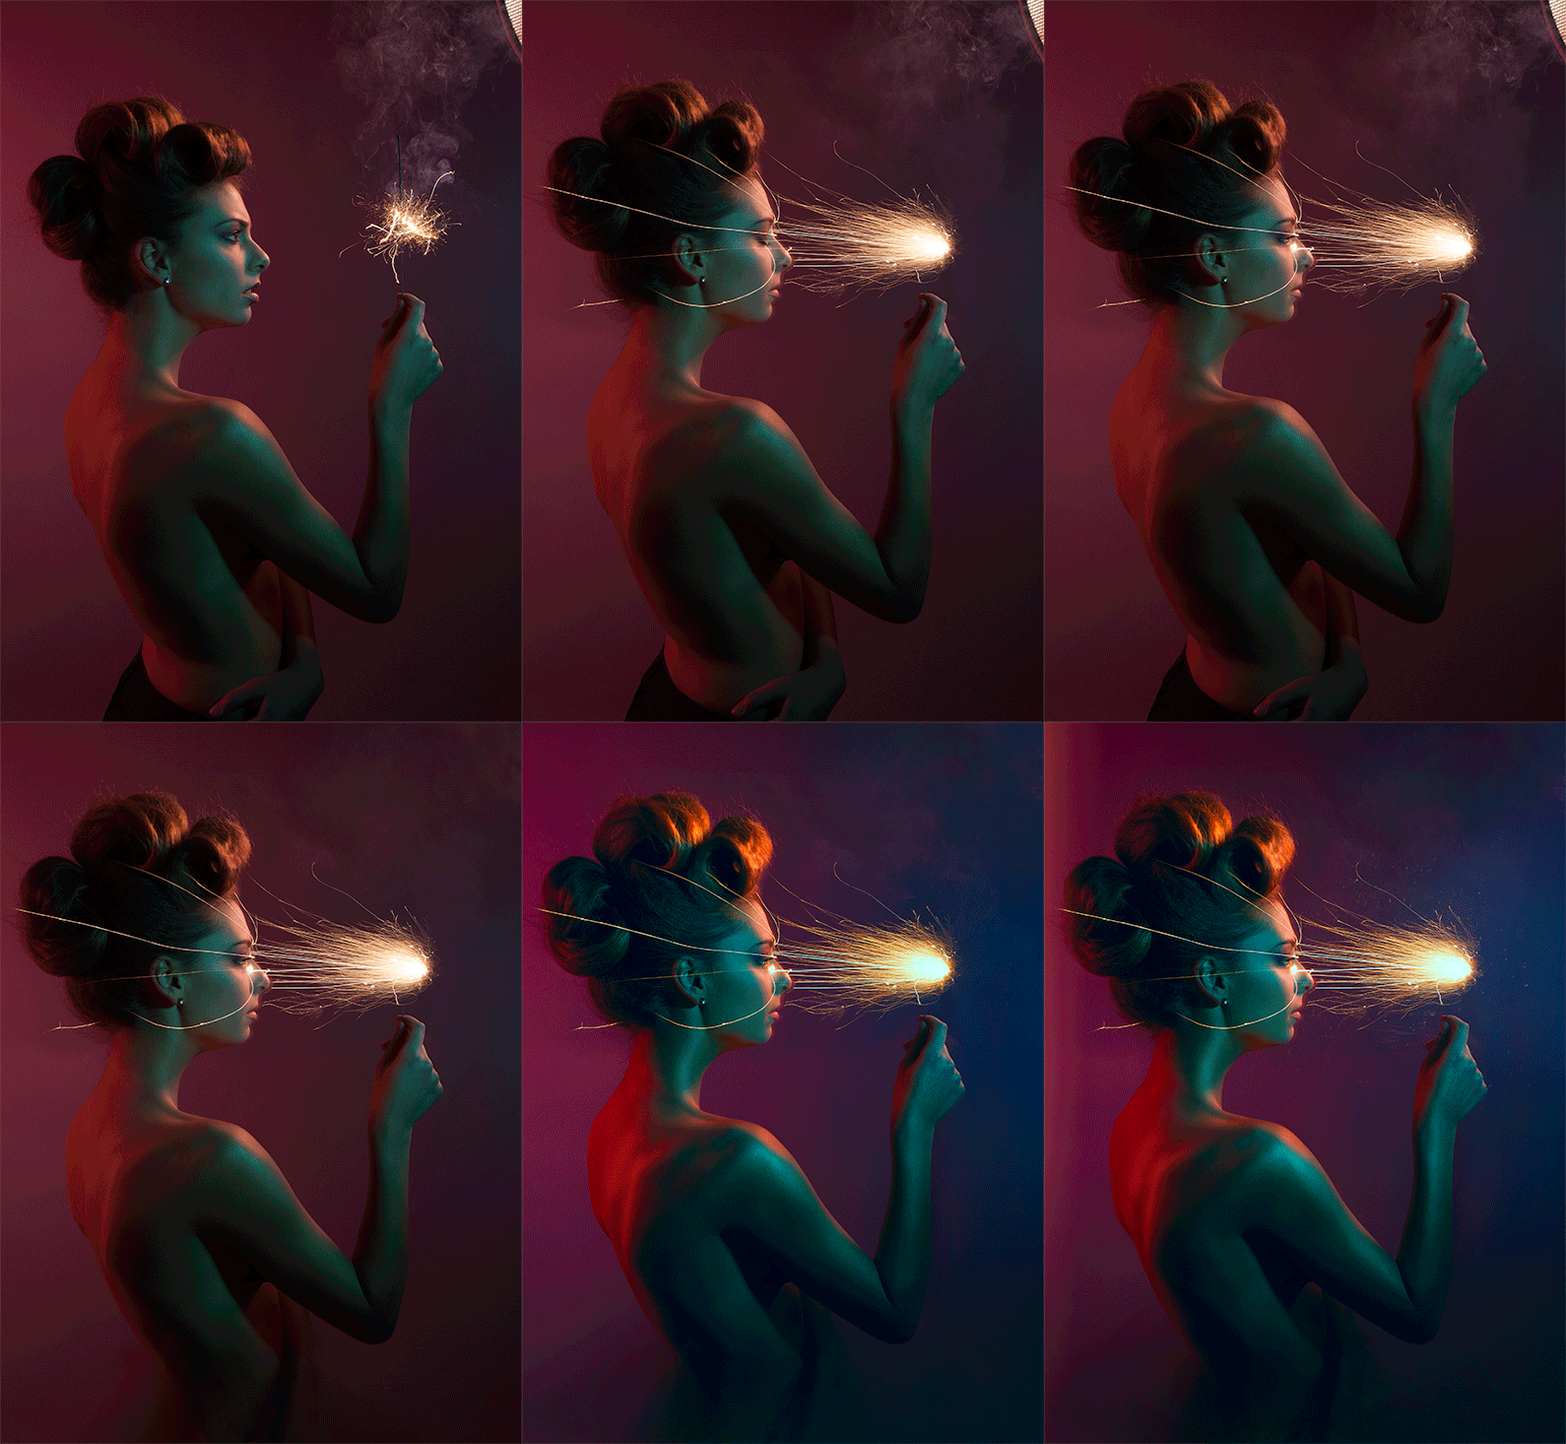
This Phlearn PRO Tutorial shows you some of the tricks for using Photoshop to make the riskiest shoots less dangerous so you can create more impactful images. Learn about advanced color modes, compositing images, dodging, burning, selective blurs and more.
THIS COURSE INCLUDES
- 7 Sample Images
- 1 Photoshop Brush
Share
Course Downloads
Learn Special Effects.
Blend and Composite
Learn the secrets to compositing and blending multiple photos together to create seamless, stunning effects. From start to finish, you will see how each image is adjusted and combined using Photoshop.
LAB Color Mode
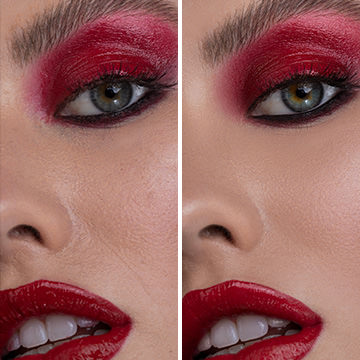
Use the principles of color theory and discover the advantages of working in LAB Color Mode. Bring more dynamic color to your images, even if the colors you want aren’t originally in the image.
Add Texture
Learn in detail how to use texture images to add effects to your images. Plus, receive 4 high-resolution Phlearn PRO Textures with this tutorial that you can use on any image!
Create Blurs
Use a creative blur to help draw attention to specific parts of your images. In this tutorial, you will learn the most important parts of using a blur and how to make it look as though it is a part of the original photo.
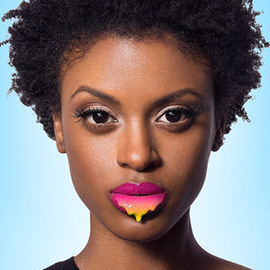
Light My Fire
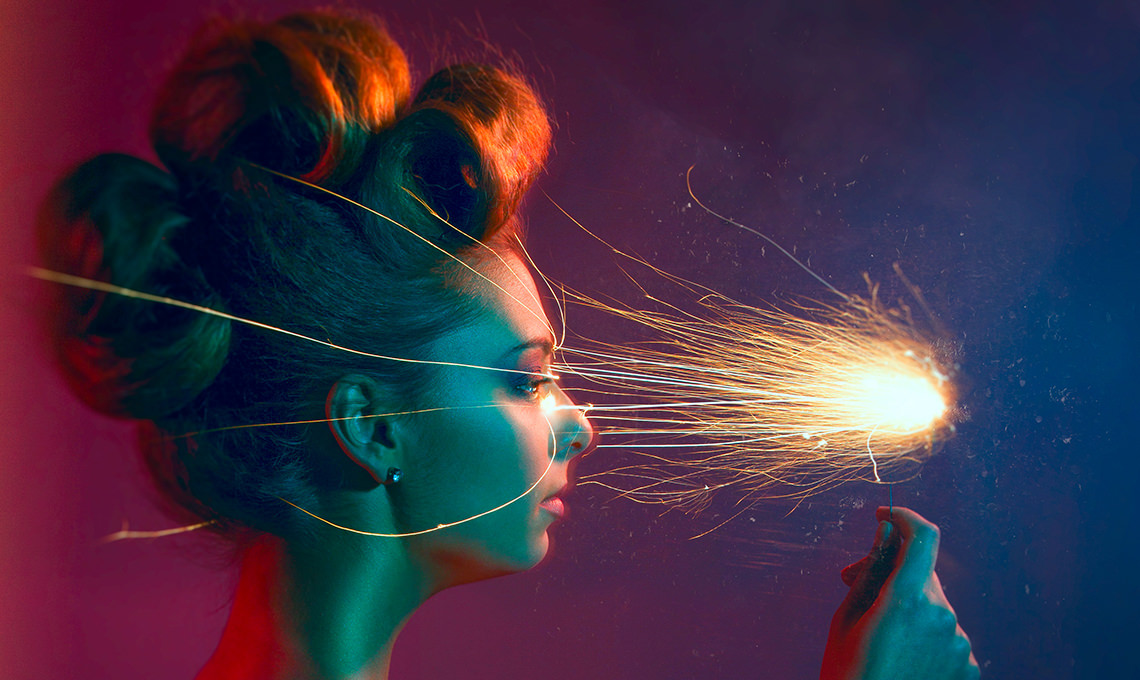
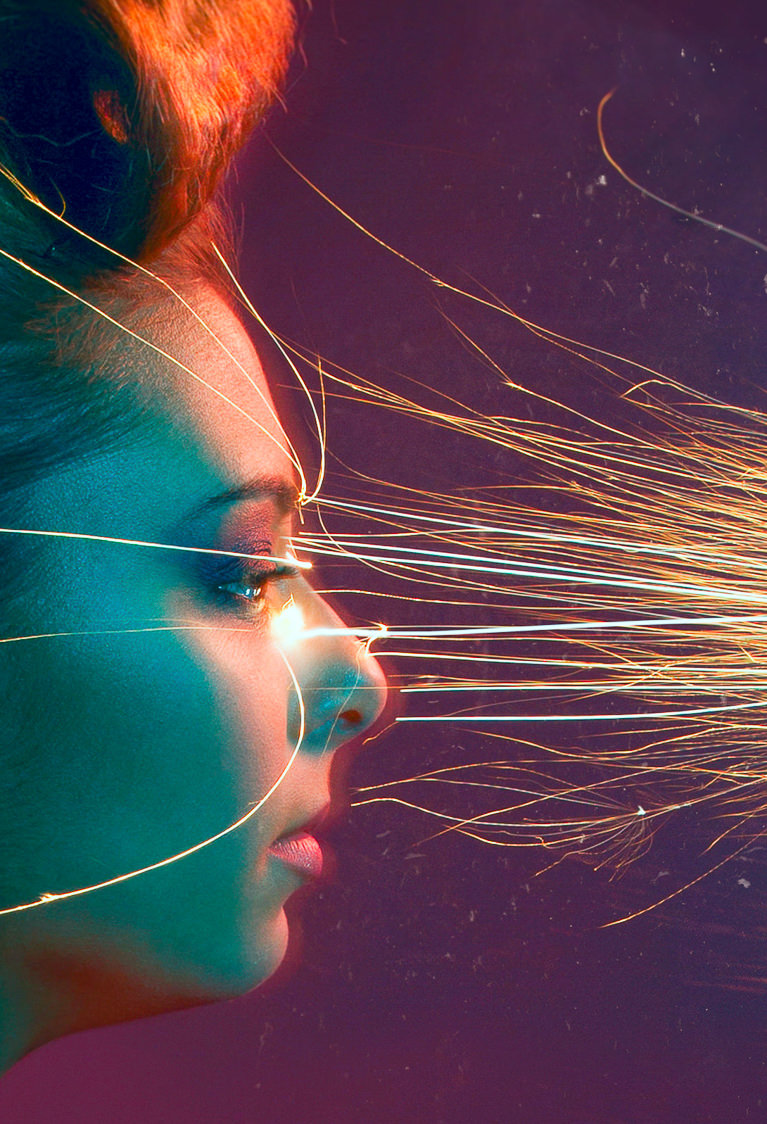
No on was injured in the making of this tutorial… thanks to Photoshop!
Dodge and Burn
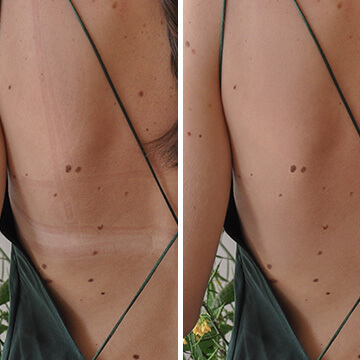
Learn how to expertly dodge and burn to draw attention to your subject using multiple layers. Alter the highlights and shadows to create extra details in specific areas. Use what you learn to add style and interest to any image.
Custom Photoshop Brushes
Create your own Photoshop brushes so you’ll always have the right brush for the job. Custom brushes are excellent for advanced retouching and adding special effects to your images.
Focus Attention
Learn how to draw attention to a particular area of an image, so the viewer will always focus where you want them to.
Shape Your Subject
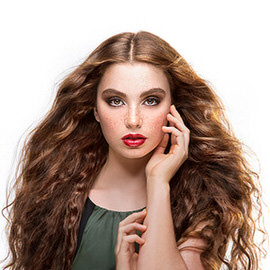
Make your subject look their best without looking unnatural using the liquify tool properly. Use what you learn to dramatically alter the shapes and tone a person bringing attention to the right places.
Reviews
New & Popular Tutorials
Training Site in
the World
Tutorials!
Ratings
and Counting
Subscribers






loved it!! the behind the scenes video is a must watch as well
Each step is necessary to obtain a great final art!! thanks
Just starting on this one. I was wondering if I should really take the Pro Subscription since I’m starting to know Photoshop quite well and I’ve followed many tutorials already. But each time, I keep learning new stuff that I didn’t even know I needed to learn ! Like the way to crop at 2’20… Wow ! How come I’ve never wondered about it before ? Thanks Phlearn !
I loved it! Thank you 🙂
How much amazing!! very professional and creative post, thanks for sharing your technique with us. Please keep it continue for help us.
wonderful to see this creativity thanks for sharing Aaron. also like the new website design
Great one. I didn’t get though how you still had the Rgb photo? I only had the Lab one. How can I save it or where can I find it???
Nice