
THIS COURSE INCLUDES
- 3 Lessonsfollow-along
- 42mof captioned HD video
- Beginnerno experience needed
- 213 Sample Imagesto follow along
Join PHLEARN PRO for instant access to this course and every tutorial on PHLEARN.
- Stream in up to 4K on any device
- Closed captions and chapters on every course
- Download all sample images and PSDs
- New PRO tutorials every month
- Cancel anytime
Description
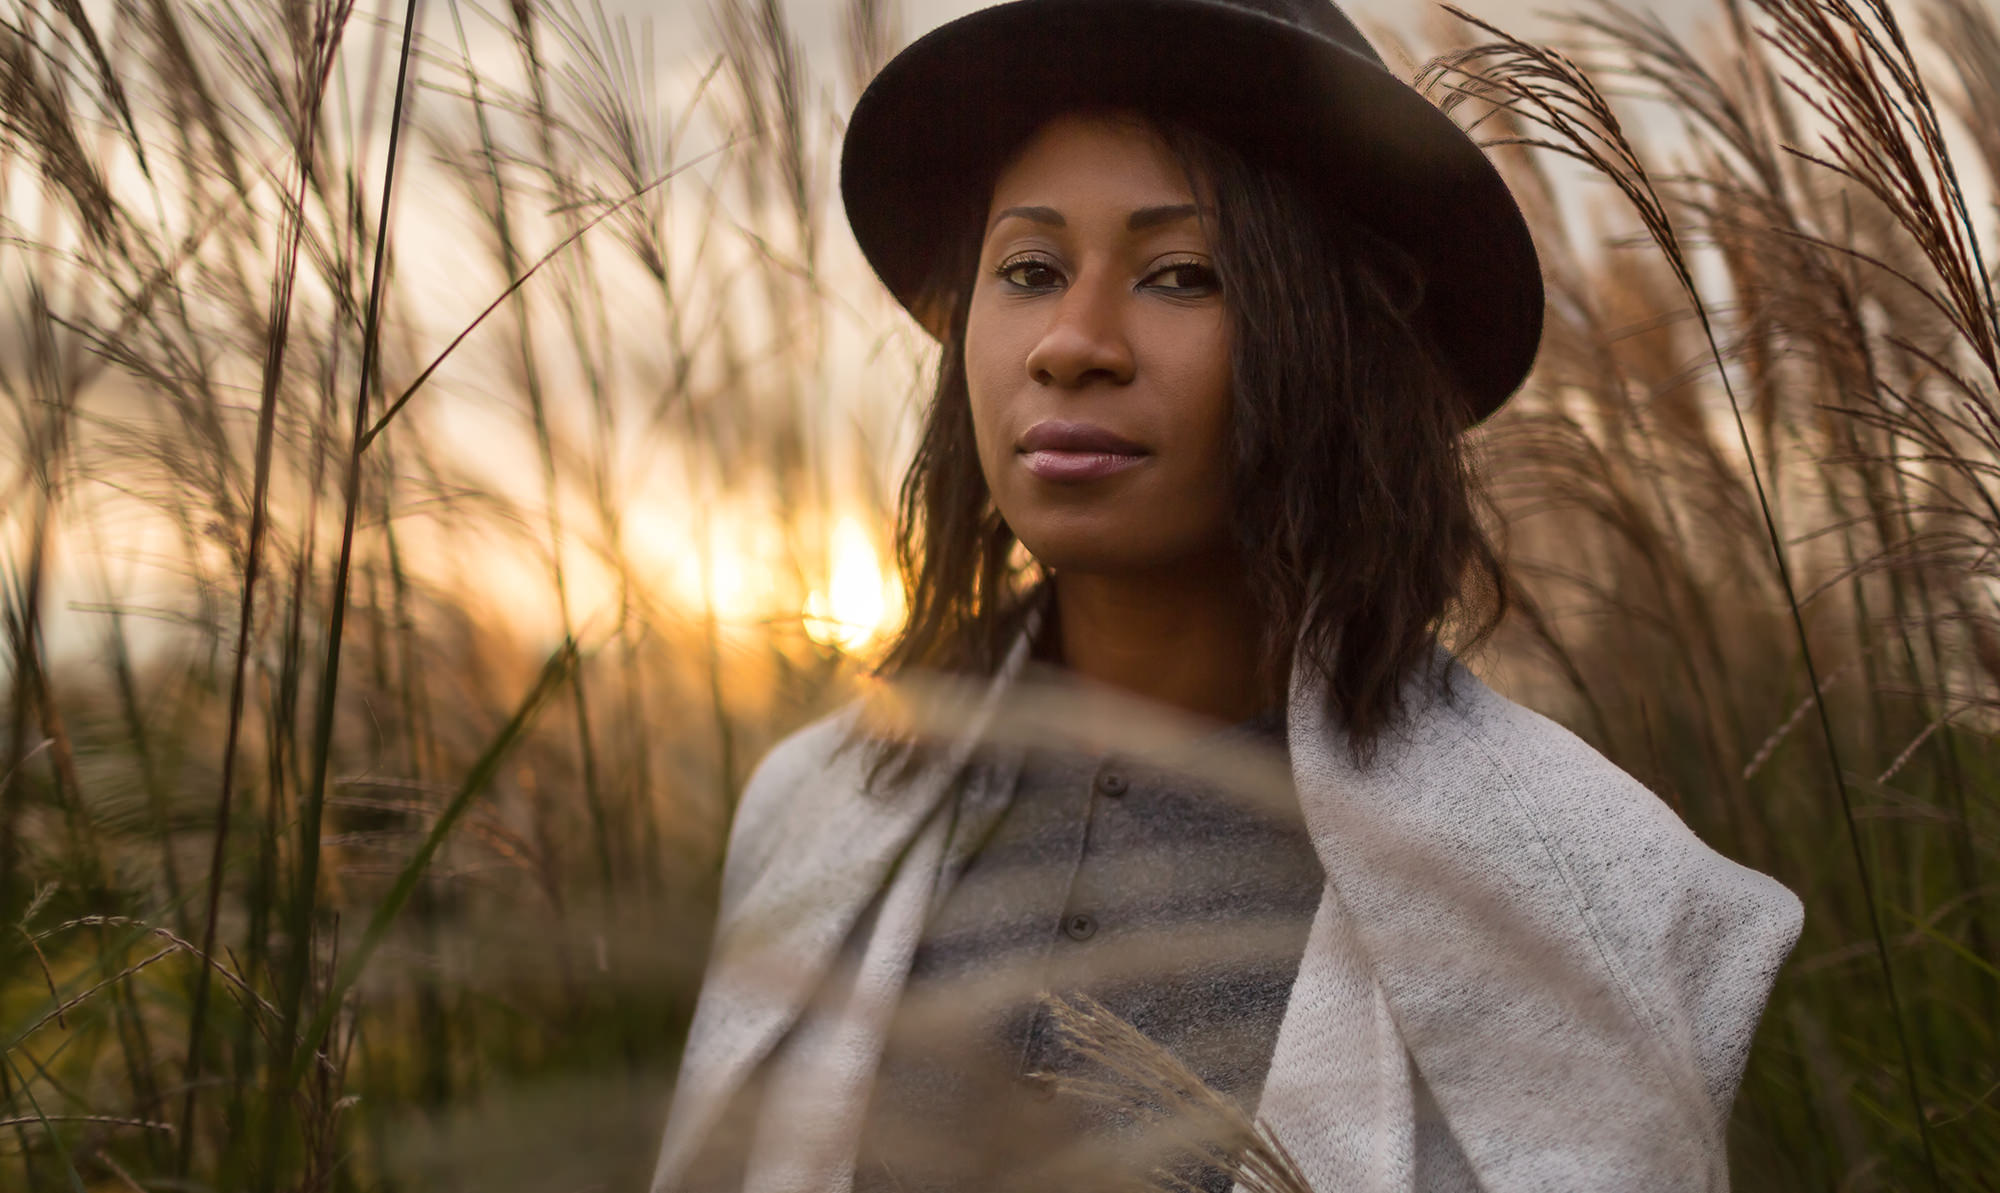
Learning to retouch photos in Lightroom Classic with local adjustments can help rescue details and remove distractions. From skin retouching to adjusting exposure, we’ll cover all the bases and show you how to do so while only affecting a specific part of your image. Follow along with the included RAW Photos.
What You’ll Learn
- Rescue detail and remove distractions locally
- Retouch skin and adjust exposure in specific areas
- Use Graduated and Radial Filters for precision edits
Course Downloads
Rescue Details & Remove Distractions

Local vs. Global Editing
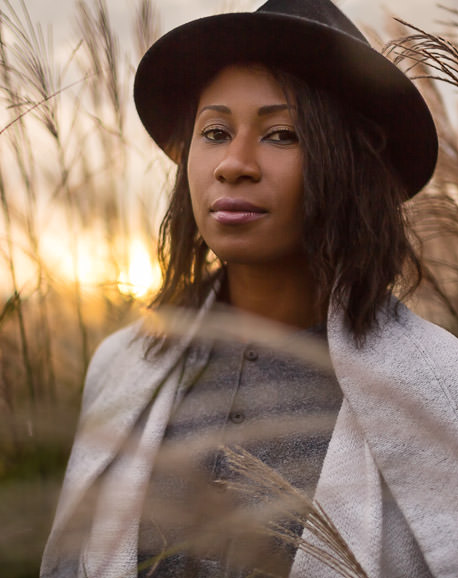
Global edits are adjustments that will affect an image as a whole; to retouch photos in Lightroom Classic you will mostly work locally. Local editing involves making isolated adjustments to just a portion of an image. Sometimes you’ll want to make changes to just the subject, just the background, or to small details in a photo. Understanding the importance of both local and global editing will give you the ability to have complete control over your final picture, pixel-to-pixel.
Quickly Solve Problems
Photo editing is problem solving, and so is learning to retouch photos in Lightroom Classic. What do you do if your background is properly exposed but your subject’s face is a little too dark? Or there are some small distractions threatening to draw the viewer’s attention? We’ll show you some quick and effective methods for solving these problems and more using the local editing tools in Lightroom.
Retouch Photos in Lightroom Classic
You can retouch photos in Lightroom Classic without ever leaving it. Lightroom Classic is a versatile software that can take you all the way from import, through editing, and to the final export of a photo. In this tutorial, we dive into the editing options that Lightroom has to offer, showing you how to make adjustments to exposure, remove distractions, and apply creative coloring.
Make Improvements, Instantly
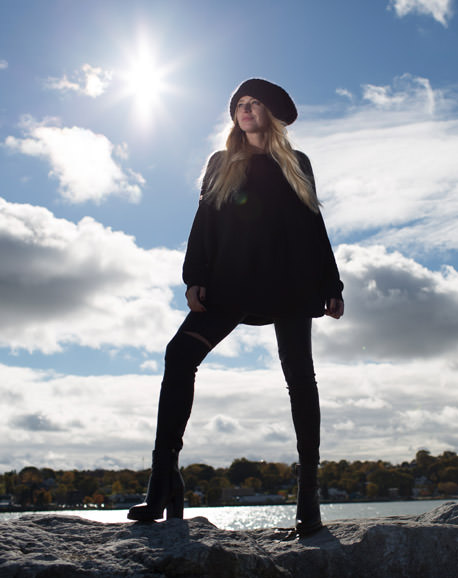
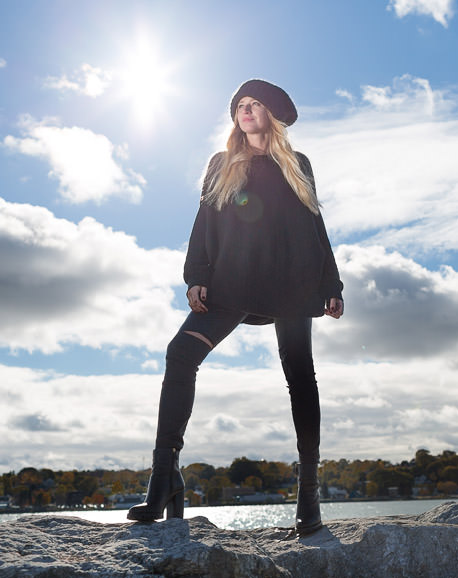
Since everything you need to retouch photos in Lightroom Classic is built in, the editing process fits seamlessly into our workflow. Edits can be done quickly and with a professional finish.
Edit Non-destructively
Dial in the look you want without ever having to worry about losing information from your original image. Lightroom allows you to reset any setting at any time or you can start from scratch if you decide to go in a different direction.
Easy Spot Removal
Quickly and easily retouch photos in Lightroom Classic so people and environments look their best using the built-in Spot Removal tool in Lightroom. Remove blemishes and distractions in an instant with clean, professional-looking results.
Quick & Easy Edits
Lightroom is great for workflow and organization, but it also has powerful options for photo editing. Learn how to make both local and global adjustments to help your images shine!
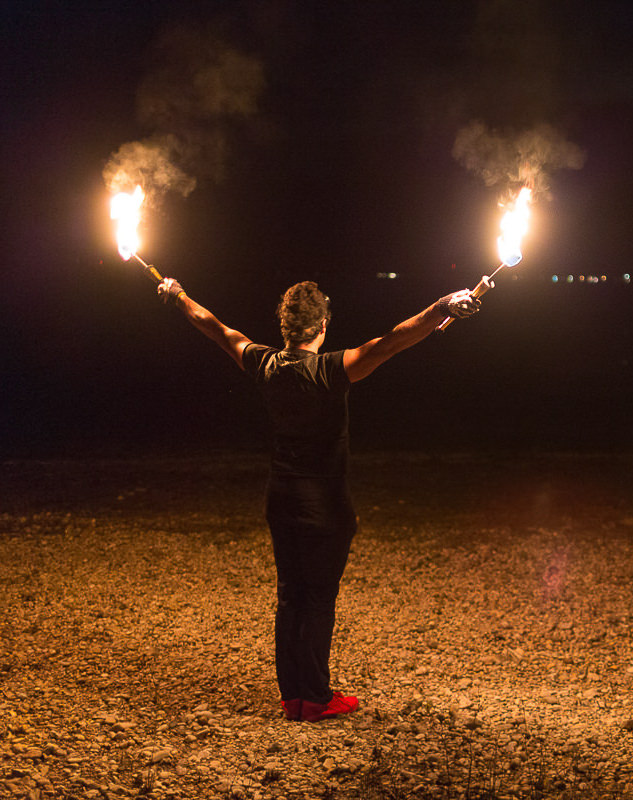
Adjustment Brush
When the Graduated and Radial Filters can’t get the job done, the Adjustment Brush is the most precise way to retouch photos in Lightroom Classic. Using this tool, you can paint over any areas of an image that you wan’t to be affected by your edits.
Graduated and Radial Filters
The Graduated and Radial Filter tools let you retouch photos in Lightroom Classic and to make highly-customizable, powerful masks to a select portion of an image. These can tackle a surprising number of editing challenges, from faces to landscapes.
The Perfect Composition
From the Rule of Thirds to the Golden Ratio, when you retouch photos in Lightroom Classic you have the tools that allow you to find the perfect composition for your image. Learn how to analyze a photo and crop a photo to improve composition and help guide the viewer’s eye.

Class Instructor
Aaron Nace
PHLEARN Founder & Lead Instructor
Aaron Nace is a photographer, digital artist, and the founder of PHLEARN. He has been teaching Photoshop, Lightroom, and photography since 2011, and has taught at Adobe MAX for more than eight years.
Aaron publishes a free tutorial every week and a new in-depth PRO course every month.
- 2M+YouTube subscribers
- 160M+video views
- 1,000+tutorials published
- 15years teaching Photoshop
Reviews
There are no reviews yet.


Unlock This Course & Every PRO Tutorial.
200+ courses. 1,000+ practice files. One membership.

Unlimited access to every PRO course
New PRO courses every month
Layered PSDs and RAW files to follow along
100+ Lightroom Presets, LUTs, Actions and Brushes
Stream in up to 4K, with captions and chapters
Watch on any device: desktop, tablet or phone
4.93 average from 3,900+ reviews · 2M+ students