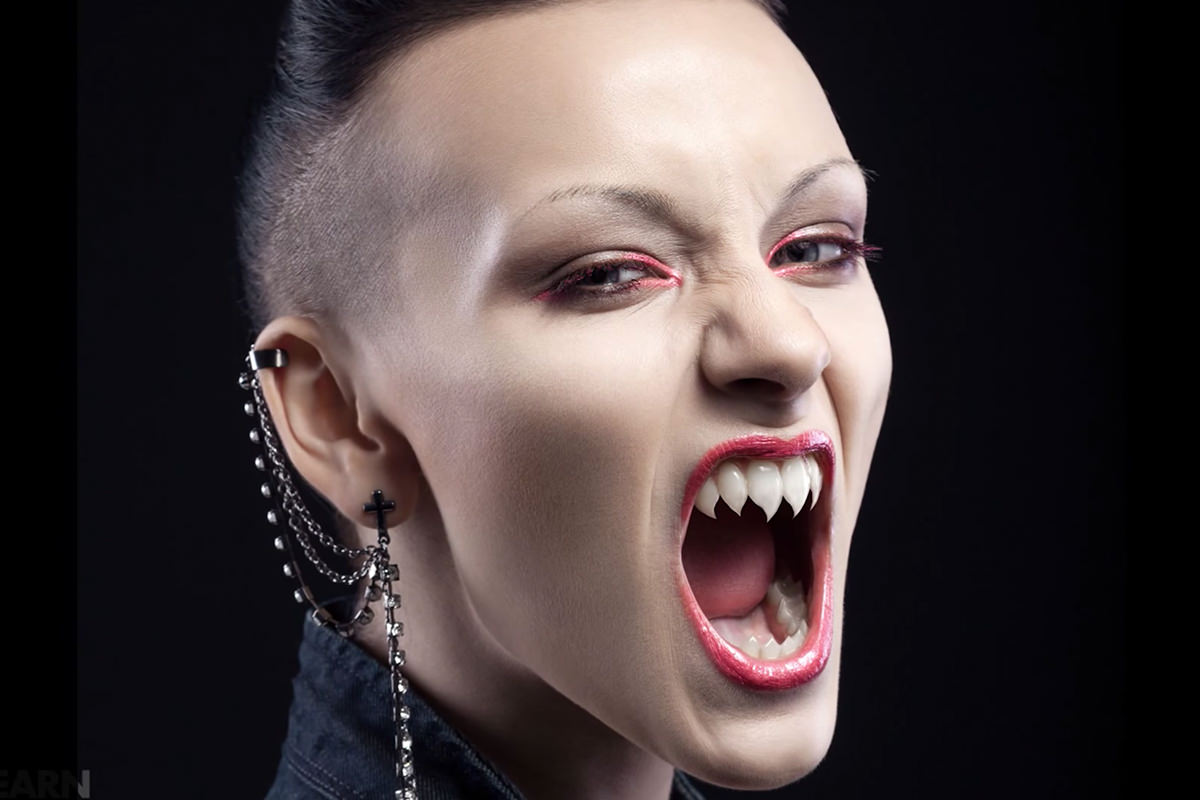


Making Sharp Teeth in Photoshop
Are you ready for our fourth and final Halloween episode?? Learn how to shape teeth into sharp fangs to give your images some real “bite!”
Shaping and Coloring
Start by Sketching out what shape you want the teeth to be. You can do this with just a simple Brush Tool to get an idea of what you’d like. Then, use the Pen Tool to trace the Outline of the teeth. Once that is complete you can sample Colors and paint with the Brush Tool (Hold alt/opt and click to sample). You can also use the Clone Stamp tool to sample things like specific Highlights.
Tips and Tricks
- If you are clone stamping a Highlight, use the Lighten Blend Mode to help eliminate any dark areas.
- The Pen Tool produces a very sharp result which most likely won’t match the original tooth. It’s important to add the proper amount of blur to make your new teeth look real, and this can be done with a Gaussian Blur.
- Ultimate rule for faking teeth: don’t make them too perfect!! feel free to add little ridges and imperfections by selecting chunks with the Lasso Tool and then painting them out with a Layer Mask.
- For a quicker and not as thorough method, use the Liquify Tool to shape the teeth. This is best for the bottom row of teeth.









Enjoying This Free Tutorial? Go Further with PRO.
Unlock Full Sample Files, PSDs, and Hundreds of Masterclasses!

Download full project assets, original PSDs, and RAW images for every lesson
Unlimited access to our complete library of PRO Photoshop & Lightroom courses
Instant 4K Ultra HD streaming on all devices, anytime, anywhere
Full access to our entire library of Photoshop Actions, Presets, and LUTs
Flexible monthly and annual membership plans
Cancel anytime with zero hassle or commitments