
The Ultimate Guide to Smart Objects in Photoshop
-

-
Add to
favorites

-
DifficultyMedium
-
Length4 hours
-
Software
Description
Explore the power of Smart Objects in Photoshop! Learn to create vector logos, design realistic mockups, and build massive layouts that automatically update across all your files. Plus, package your assets like a pro so client delivery is seamless every time. Included downloadable PDFs will keep you on track every step of the way!
THIS COURSE INCLUDES
- 20 Sample Images
- 8 Sample PSDs
- 2 PDF Guides
Work Smarter Not Harder
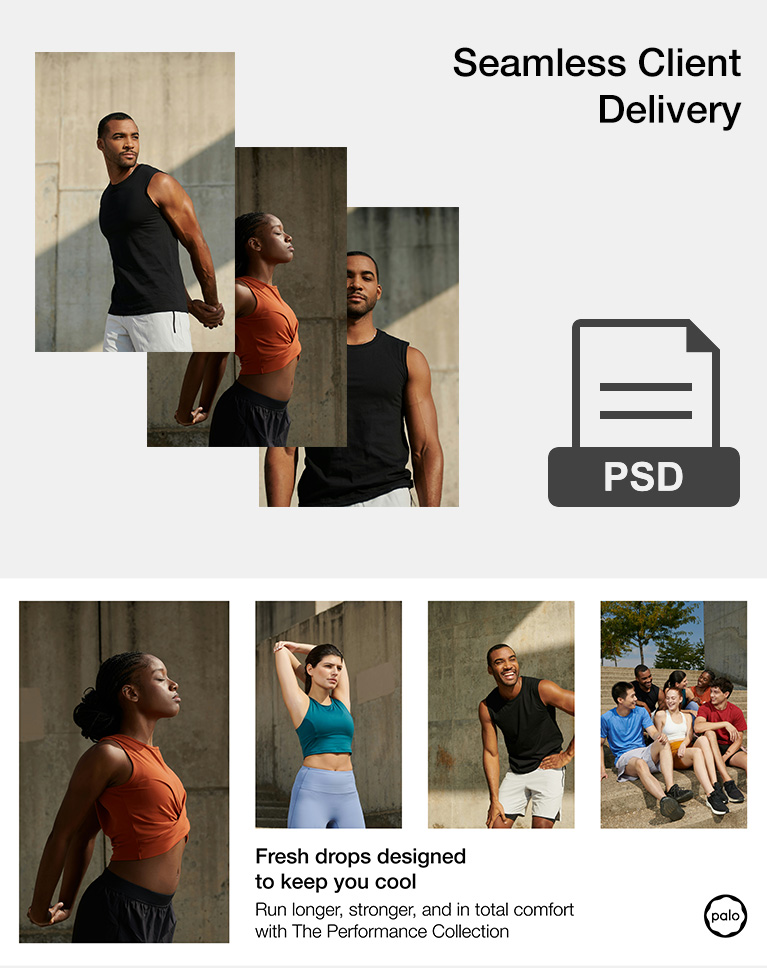
Smart Objects Explained
Whether you’re just starting out or a seasoned professional, Smart Objects are the best way to edit in Photoshop. Turning a layer into a Smart Object lets you scale, warp, and add filters—all while keeping your original image completely untouched.
Start-to-Finish Workflow
In this tutorial, you’ll follow one continuous project from start to finish: building a complete brand campaign for Paolo Yoga. Instead of working on standalone images, you’ll see firsthand how Smart Objects connect every phase of production, keeping your workflow non-destructive and organized from the initial design all the way to final delivery.
Workspace Setup
Set yourself up for success before jumping into design work! We’ll walk through customizing and reorganizing your Photoshop workspace. You’ll learn how to arrange essential panels, tools, layers, and paths to clean up clutter and build a smooth, efficient layout tailored for real-world production.
Creating Vectors
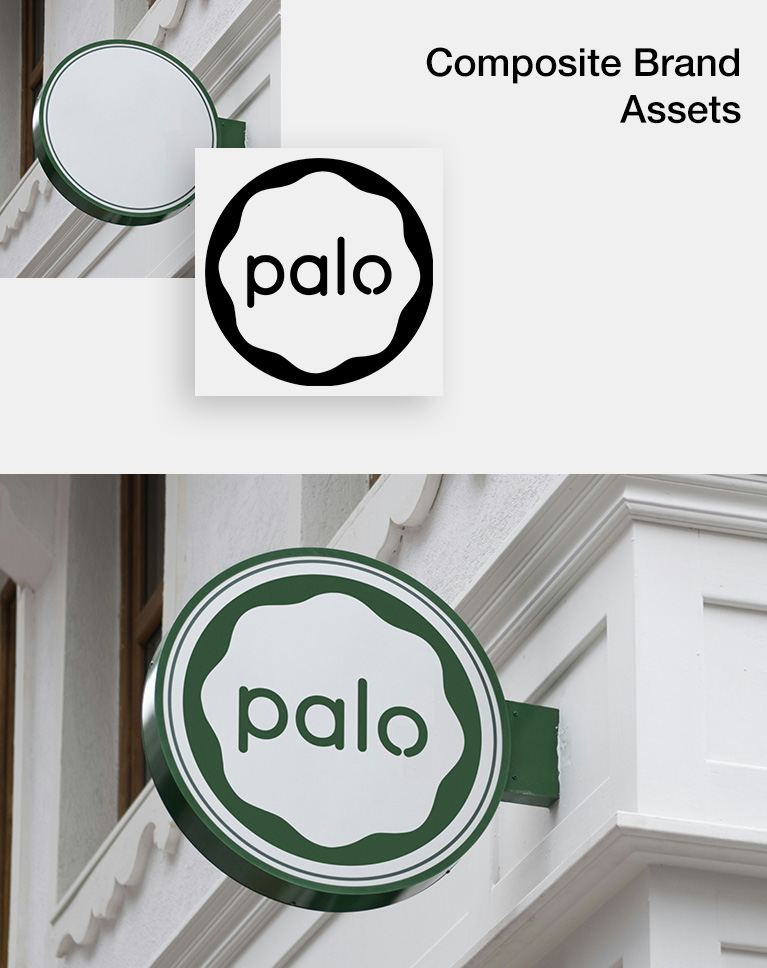
Learn how to transform flat JPEG graphics into clean, infinitely scalable vector shapes in Photoshop. Using the Object Selection Tool, Select and Mask, and custom Work Paths, you’ll refine rough edges into smooth selections. Then, fill your paths and draw precise vector elements using essential shape tool keyboard shortcuts.
Seamless Placement
We’ll show you how to place your logos onto complex photographic surfaces, warp graphics into seamless 3D perspective, and match color tones effortlessly. Plus, we’ll use non-destructive Smart Filters to recreate true camera focus, depth of field, and natural photo grain—making your final mockups look totally authentic.
Match Perspective
Warping flat graphics into true 3D perspective can be tricky, but using smart guides makes matching perspective effortless. You’ll learn how to build a simple shape guide, convert it into a Smart Object, and use Free Transform to automatically map your logos directly into the scene’s exact angle, all while keeping your design work completely non-destructive.
Non-Destructive Edits
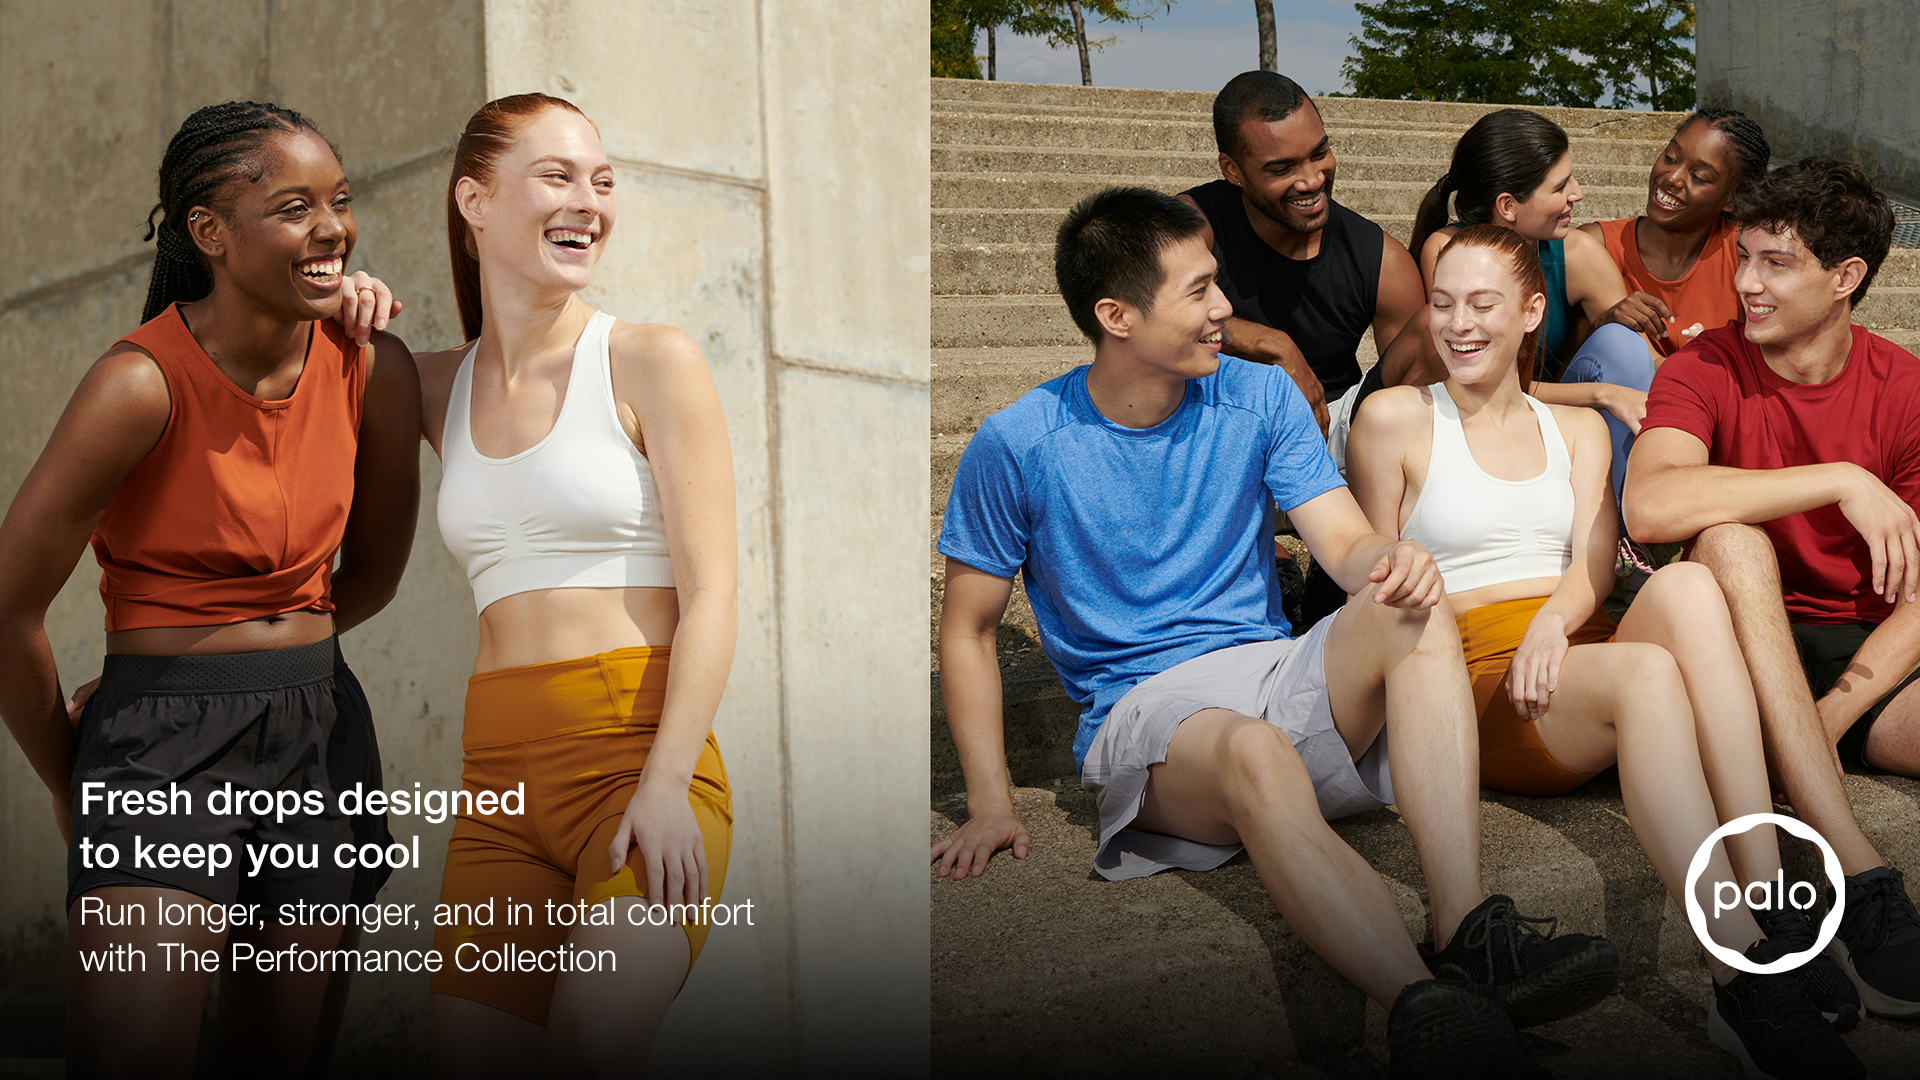
Scale Without Sacrifice
Use Smart Objects to resize and transform images without losing quality. Master a key part of a non-destructive, professional workflow!
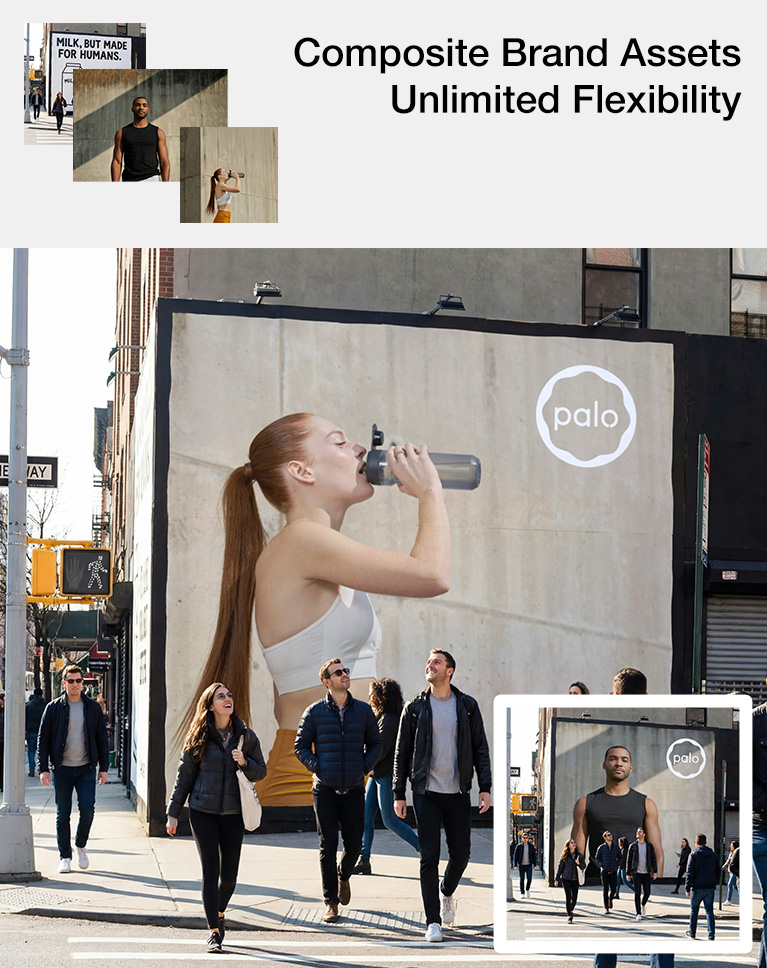
Building Mockups
We’ll teach you how to clean up existing graphics on real-world mockups while keeping essential structural details like frames and shadows completely intact. Plus, you’ll master using Group Masks to instantly isolate your workspace, making it effortless to keep all your design elements perfectly contained within the target area.
Adding Textures
You’ll learn how to bring realistic texture into your designs by setting your Smart Objects to the Multiply blend mode. This allows natural photographic highlights, shadows, and subtle surface imperfections from the background to bleed right through your graphics, while Select and Mask refines the edges for a totally seamless finish.
Build Grid Templates
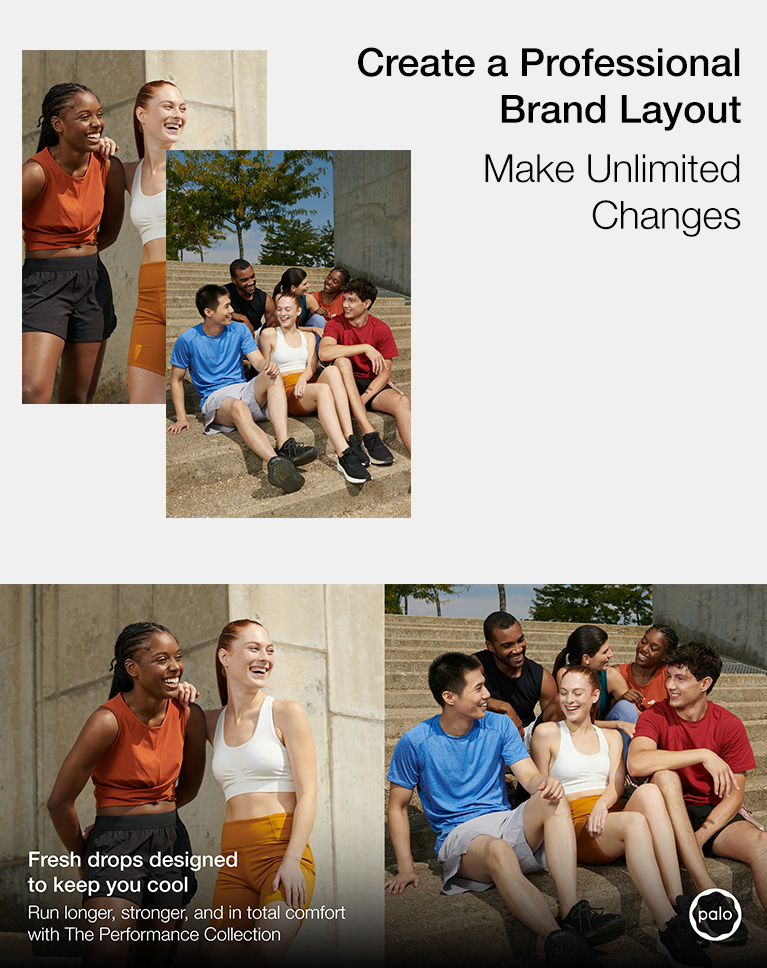
You’ll learn how to build solid layout foundations by creating a high-resolution, reusable canvas and setting up a structural grid using vector placeholders. By focusing on composition, proportion, and layer organization first, you’ll establish a completely scalable layout framework before ever dropping in a single photo.
File Delivery
You’ll learn how to package and embed Linked Smart Objects so your files never break when sharing them with clients. Discover why missing-link errors happen and master two simple ways to deliver clean, self-contained Photoshop documents every single time.
PDF Guide Included
As a bonus, we’ve included a quick-reference Cheat Sheet PDF packed with the essential takeaways from this course. It covers core workflows, key concepts, and must-know keyboard shortcuts to speed up your process. Keep it handy whenever you need a quick refresher while working on your own projects!
Photoshop Learning Path
If you want to learn more about Photoshop we highly recommend checking our Photoshop Learning Path. Across 11 courses and 53 hours of engaging content, you’ll learn Photoshop’s ins and outs, master pro-level tools, and tackle fun and challenging projects.

Aaron Nace
PHLEARN Founder & Lead Instructor
Aaron Nace is a photographer, digital artist, and founder of PHLEARN. Driven by a deep passion for image creation and a dedication to sharing knowledge, he founded PHLEARN in 2011 to empower creators around the globe. With over 2 million YouTube subscribers, 8+ seasons speaking at Adobe MAX, and hundreds of tutorials published, Aaron continues to produce free weekly lessons alongside new in-depth PRO courses every month.
Special thanks to Declan Sun, Acme Studio, Eric Human, and Leire Cavia. Images for this PRO course were sourced from Unsplash.
Reviews





Unlock This Course & Every PRO Tutorial.
Get Instant Access with PHLEARN PRO!

Instant streaming in 4K Ultra HD on any device, anytime
Download full project assets, original PSDs, and sample images
Unlimited access to all PRO Photoshop, Lightroom, and Retouching courses
Includes full access to Photoshop Actions, Lightroom Presets, and LUTs
Flexible monthly and annual plans to fit your workflow
Cancel anytime with zero hassle or fees
I have been watching the Pro tutorials for many years and I think this one is my favorite. A great mix of technical and artistic/creative information combined with workflow and asset management tips. Fun to watch and I am about to open Photoshop to use this information for a project I have been meaning to start for some time. And despite Aaron’s self-doubt, the explanations of smart object interactions are very clear and easy to understand. I have only ever used smart objects to hold smart filters, not realizing how much more powerful they are! Great job – I am looking forward to the next one already.
I especially appreciated this one because of its focus on process. Retouching is fun, but the real nuts and bolts of professional design are building files that are organized, editable, and easy to hand off. That kind of practical workflow knowledge is incredibly valuable. I’d love to see more tutorials like this!
Great job!!!
Aaron, In regards JPEGs. To paraphrase George Orwell’sAnimal Farm. “All smart objects are created equal. but some smart objects are more equal than others.”
Wow, learned a lot and superbly presented. Thanks! Found the camera operator’s work to be unsettling. Asked AI and it said: What you are describing is often called “yo-yo zooming” or “trombone zooming,” and you are entirely right to find it distracting. In professional video production, the golden rule of camera movement is that every movement must be motivated. When a camera zooms constantly without a narrative reason, it draws the viewer’s attention to the camera itself rather than the information being presented. Here are the professional best practices for changing framing during a tutorial or presentation …
Wow, this tutorial is fantastic! Smart Objects are incredibly powerful. Amazing!