
Download Assets
This tutorial includes 2 sample images and 1 PDF guide. Downloads are free with a PHLEARN account.
- Download the sample images and PSDs from every free tutorial on PHLEARN
- New free tutorials published every week
- One free account — sign up once, then download anything
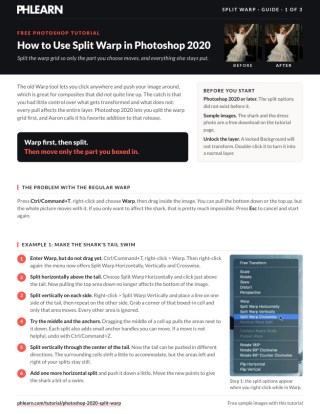
Free PDF Guide · 3 Pages
This Tutorial as a Step-by-Step PDF
The guide walks through both examples: Ctrl/Command+T, right-click > Warp, then Split Warp Horizontally and Vertically to box in the shark’s tail, spreading out the dress with splits that hold the top half still, Remove Warp Split, a second pass on the arm and Ctrl/Command+H to hide the grid. Keep it next to your keyboard.
description
Split Warp gives the classic Warp tool something it never had: the ability to isolate exactly which part of an image gets transformed while leaving everything else untouched. Two real examples — adjusting a shark’s tail, and fixing a dress and arm in a composite — show how much more control that adds, including isolating a single limb without dragging the face along with it.
Enjoying This Free Tutorial?
We publish a new free tutorial every week, each one with sample images and PSDs you can download and follow along with. Sign up and they land straight in your inbox, along with early word on sales, events and subscriber-only offers.
How to Use Split Warp in Photoshop 2020
Split Warp gives the classic Warp tool something it never had before: the ability to isolate exactly which part of an image gets transformed while leaving the rest completely untouched. Two real examples — adjusting a shark’s tail, and spreading out a dress in a portrait and then fixing the arm — show how much more control this adds over the traditional warp.
Getting Started: How Traditional Warp Falls Short
Before splitting anything, it helps to see the limitation Split Warp actually solves.
-
Try the Standard Warp Tool First
Press Ctrl/Cmd + T, right-click, and choose Warp. Clicking and dragging moves parts of the image around, but the transformation affects the entire layer at once — there’s no way to isolate just one object, like a shark, without disturbing everything around it.
Splitting the Warp Grid to Isolate an Area
Split Warp solves that by letting you divide the warp grid into independent sections before you start dragging anything. Aaron calls it customizable warp in the video.
-
Add a Horizontal Split
Enter Warp mode again and right-click: the menu now offers three splits, horizontally, vertically and crosswise. This time choose Split Horizontally. Place the split line above the area you want to isolate — for instance, just above a subject’s tail. Now, pulling one section down no longer affects the section on the other side of the split.
-
Add Vertical Splits to Box In the Area
Right-click again and add a Split Vertically line on each side of the area you want to isolate. With horizontal and vertical splits framing that section, grabbing its corner only affects that boxed-in region — everything outside it stays exactly where it is.
Using Anchor Points to Fine-Tune Each Section
Each split creates small anchor points that can be dragged individually. Pushing the center of a split cell up pulls neighboring cells down slightly to accommodate the change, which is what lets an isolated area move naturally instead of stretching in an obviously artificial way. If a move isn’t helpful, undo it with Ctrl/Cmd + Z.
Refining Movement with Additional Splits
Adding more splits around the same isolated area unlocks finer control over exactly how it bends or moves.
-
Split Again for More Precise Movement
Right-click and split vertically once more, this time through the center of the area you’re animating — the middle of a tail, for example. Pushing this new section in different directions lets that specific part move while cells further out stay anchored in place.
-
Combine Horizontal and Vertical Splits for Complex Motion
Add another horizontal split and nudge it to introduce a slight curve or swaying motion. Combining multiple splits like this is what makes it possible to give something like a tail the impression of movement without distorting the rest of the image.
Hiding the Warp Grid to Check Your Work
Press Ctrl/Cmd + H to temporarily hide the warp mesh and anchor points so you can see the actual result without the grid lines in the way. Pressing it again brings the grid back. The first time you do this, Photoshop may ask whether to hide Photoshop or hide extras — choose Hide Extras.
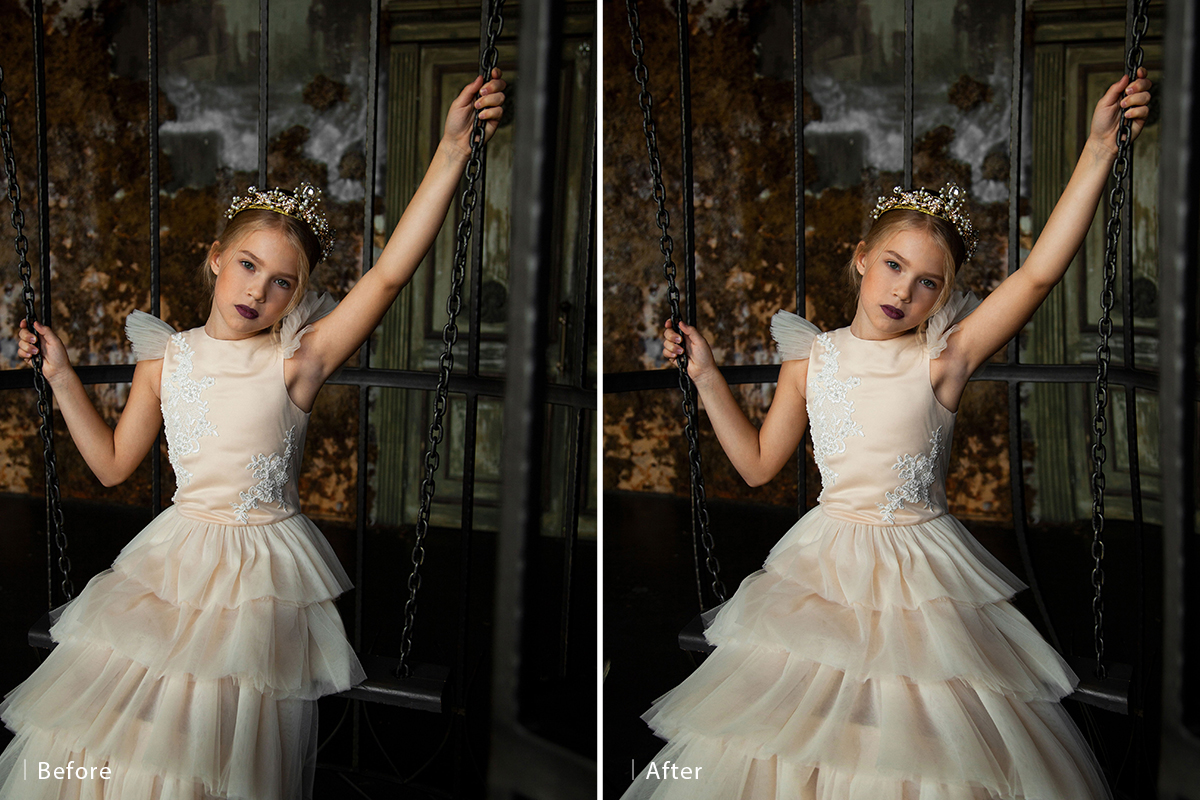
Using Split Warp to Spread Out a Dress
The second example applies Split Warp to a more common real-world problem: making a piece of clothing look like it’s spreading out further, without dragging the rest of the subject along with it.
-
Unlock the Background Layer
If the layer is locked, double-click it to convert it into a regular layer first — Free Transform (Ctrl/Cmd + T) is not available on a locked Background layer.
-
Warp First, Then Split
Enter Warp mode with Ctrl/Cmd + T, right-click to choose Warp, then split the grid horizontally. Place a split point where you don’t want any movement to occur — for example at about waist level, so the top half of the photo stays completely still while the lower half of the dress moves. If the top still shifts as you work, add a second horizontal split; the area between the two can then move a little while the top stays put.
Isolating and Removing Splits as Needed
Add a vertical split, move its point over, and pull the corner of the image out to spread the dress. If something gets dragged along, split there too: Aaron adds another vertical split by the chain link and pulls that part back in. Then, to take out a split you no longer need, right-click it and choose Remove Warp Split and finish adjusting the points.
Isolating a Single Limb Without Affecting the Face
The same approach fixes a stretched arm that resulted from the earlier warp, using splits placed carefully to protect nearby detail.
-
Box In the Arm with Multiple Splits
Split the grid vertically once, then horizontally twice, and vertically again around just the arm — keeping a split boundary between the arm and the face so pulling the arm inward doesn’t distort the face at all.
Why This Approach Works
What makes Split Warp meaningfully different from the traditional Warp tool isn’t a new distortion algorithm — it’s isolation. Traditional Warp treats the whole layer as one connected surface, so any pull ripples across the entire image. Splitting the grid into independent cells breaks that surface into sections that can move on their own, which is exactly what makes it possible to animate a tail without disturbing a background, or stretch a dress without dragging along a subject’s face. For a deeper look at another Photoshop transform tool built around similarly precise, localized control, this guide to getting the most out of the Liquify tool covers a lot of the same isolate-and-adjust thinking applied to a different kind of distortion.
Final Thoughts
Both examples here come down to the same core habit: warp first, then split, then decide exactly which cells should move and which should stay locked in place. That’s the difference between a warp that ripples unpredictably across an entire photo and one that targets precisely the detail that needs adjusting. It’s a skill worth practicing on low-stakes images before relying on it inside a real composite, and it pairs naturally with other precise transform techniques, like the object rotation and placement covered in this guide to rotating and compositing objects the right way.
Quick Reference: Keys, Menus and Settings
- WarpCmd/Ctrl + T, right-click > Warp; Esc cancels
- Split the gridRight-click again > Split Warp Horizontally, Vertically or Crosswise
- Undo a moveCmd/Ctrl + Z
- Hide the gridCmd/Ctrl + H; choose Hide Extras the first time
- Unlock the layerDouble-click the locked Background layer
- Remove a splitRight-click the split > Remove Warp Split
No AI, no generative credits.
Free Downloads
Follow Along on the Same Photos
Get the shark photo and the dress portrait Aaron reshapes with Split Warp, plus the 3-page PDF guide. Free with a PHLEARN account.
Split Warp in Photoshop 2020: Common Questions
What does Split Warp do?
It splits the Warp grid into cells, so only the part you box in moves and everything else stays put. Aaron calls it customizable warp, and it arrived in Photoshop 2020.
Where are the split options?
Press Cmd/Ctrl + T, right-click and choose Warp, then right-click again. The menu offers Split Warp Horizontally, Vertically and Crosswise.
Why won’t Free Transform work on my photo?
The Background layer is locked, so Cmd/Ctrl + T does nothing. Double-click the Background layer to turn it into a normal layer first.
Do I split before or after dragging?
Warp first, then split, then drag. Place your splits where you don’t want any movement before you start moving points.
Why do the cells next to mine still move a little?
Neighboring cells shift slightly to accommodate the move, while areas outside your splits stay still. Add another split to hold them.
The top of my photo still shifts. What do I do?
Add a second horizontal split. The area between the two splits can move a little, but the top really won’t.
How do I take a split back out?
Right-click the split and choose Remove Warp Split, then finish adjusting the points.
How do I hide the warp grid to check my work?
Press Cmd/Ctrl + H, and press it again to bring the lines back. The first time, Photoshop may ask whether to hide Photoshop or hide extras; choose Hide Extras.
Can I undo a move while I’m still in Warp?
Yes. Cmd/Ctrl + Z undoes the last move, and Aaron uses it a couple of times on the shark. Esc cancels the whole warp.
Are the sample files free?
Yes, with a free PHLEARN account. You get 2 sample images and 1 PDF guide: the shark photo, the dress portrait and a 3-page guide to both examples.
Master Photoshop, Lightroom and Photography
Join PHLEARN PRO for $12.99 a month or $99.99 a year. Cancel anytime, with a 100% money-back guarantee.





