

THIS COURSE INCLUDES
- 10 Lessonsfollow-along
- 12h 1mof captioned HD video
- Advancedfor experienced editors
- 12 Sample Imagesto follow along
Join PHLEARN PRO for instant access to this course and every tutorial on PHLEARN.
- Stream in up to 4K on any device
- Closed captions and chapters on every course
- Download all sample images and PSDs
- New PRO tutorials every month
- Cancel anytime
DESCRIPTION
Welcome to part three of our best-selling series Retouching 101-301. Retouching 301 is where you master the art of retouching as we put all of our new skills and knowledge to the test.
* This tutorial is part of the Retouching 101-301 Bundle
What You’ll Learn
- Color correct and color tone skin naturally
- Retouch child portraits with a gentle touch
- Remove wrinkles from clothing for a polished shot
Table of Contents
-
01 - Introduction: Color Correction & Color Toning15:53m
-
02 - Retouching Child Portraits31:51m
-
03 - Retouch Clothing1:22h
-
04 - Color Tone Portraits1:00h
-
05 - Makeup Techniques1:34h
-
06 - Matching Skin Tone1:18h
-
07 - The Face Aware Liquify Tool14:32m
-
08 - Retouch and Shape Hair1:55h
-
09 - Conceptual Portrait (Exercise 1)2:22h
-
10 - Portfolio Headshot (Exercise 2)1:28h
Course Downloads
Learn Advanced Retouching.
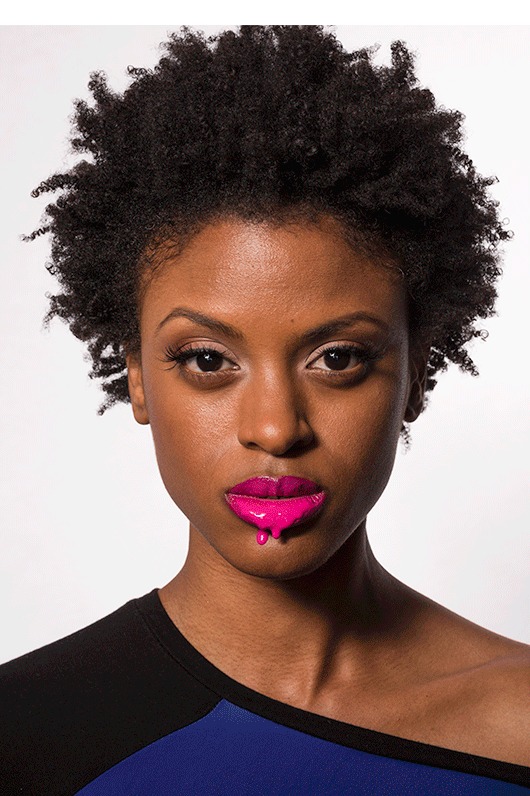
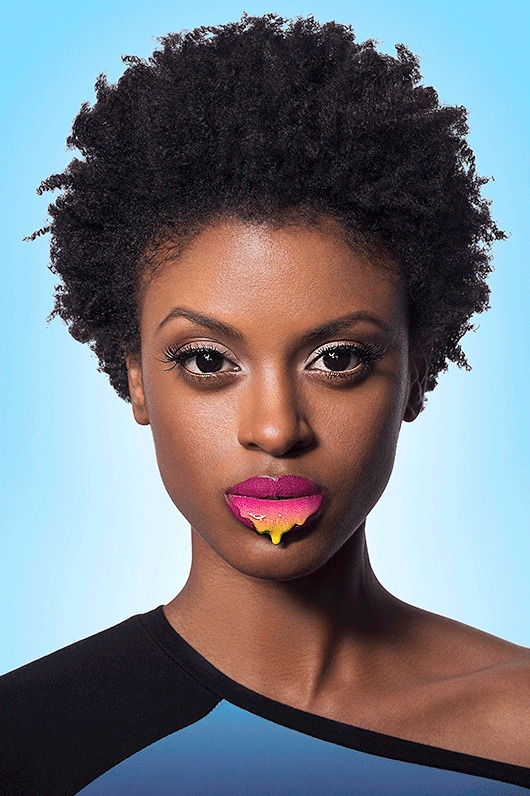
Retouching 301: How to Properly Work with Color
Retouching 301 begins with a discussion on color. What is proper skin tone and how can you make sure your images aren’t too red or too green? We teach you how to use the included Skin Tone Chart to analyze and correct skin tone. Learn workflow tips and tricks to achieve better color in your portraits!
Included Skin Tone Chart and Color Swatches
Skin tone can be tough to perfect, a little too much red or green and skin starts to look weird. The included Skin Tone Chart & Swatches provide you with a quick-reference guide on proper skin tone. Compare highlights, mid-tones, and shadows to achieve proper color.
Children
Children don’t tend to have many of the skin blemishes that adults do—acne and wrinkles haven’t had time to leave their mark. When retouching children, it is mostly about correcting light and color. In Retouching 301 we show you how to use Lightroom and Photoshop to add style and focus to children’s portraits.
Perfect Hair Retouching
Learn how to keep hair under control by following along with the entire Retouching 301 process. Create individual strands of hair using special Photoshop Brushes and remove hair from unwanted areas.
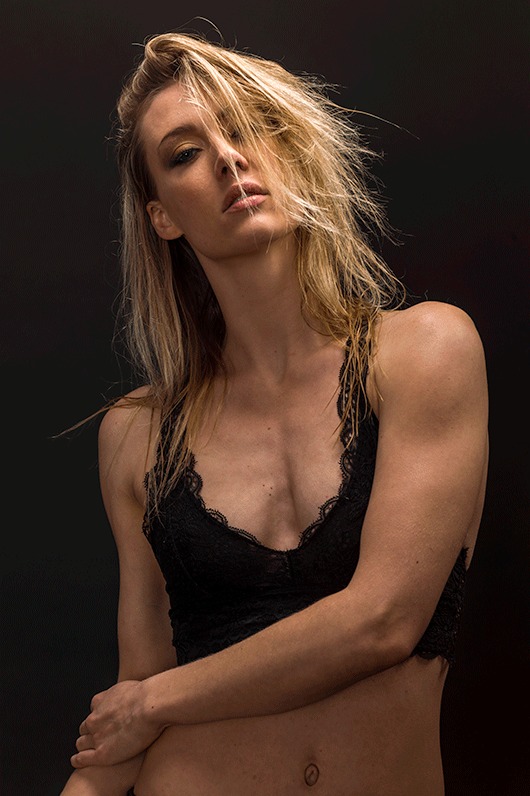
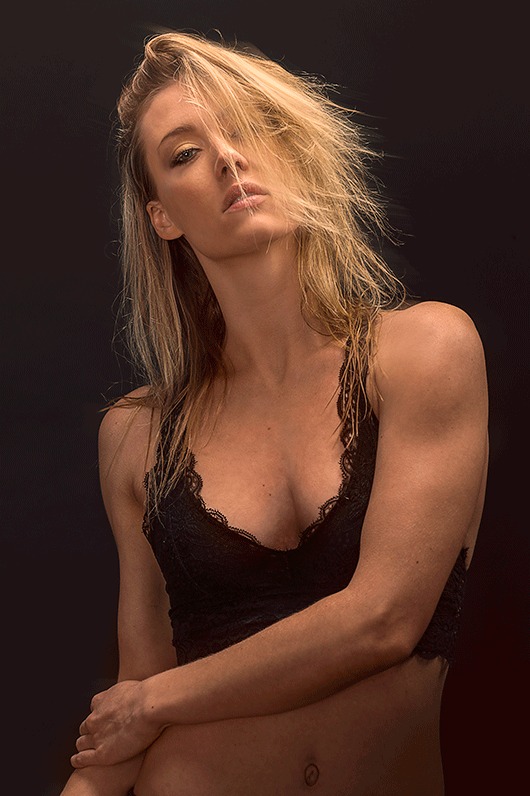
Color-Tone Portraits in Retouching 301
Portraits can be retouched in several ways. You can focus on realism, or you can go for style. The easiest and most effective way to add style to a portrait is through color-tone. We show you how to add color to highlights, mid-tones, and shadows separately for more impact. Retouching 301 shows you how to use Gradient Maps to color-tone and how to load color-toning presets.
Add “Digital Makeup” in Photoshop
Having a world-class makeup artist on every shoot would be nice, but that is not always the case. Learn to use the same principles a makeup artist uses to add and enhance makeup in Photoshop. Retouching 301 shows you how to analyze photos of makeup and all the tools required to apply it digitally.
Face-Aware Liquify
New to Photoshop CC 2015, Face-Aware Liquify gives you the ability to transform and enhance facial features to an incredible degree. Make changes to eye height, size, width, tilt and distance using simple sliders. The tool also includes enhanced control over the nose, mouth, forehead, chin and face shape.

Killer Color
Learn how to work with color, lighting, and special effects to give your images a unique style and professional finish.
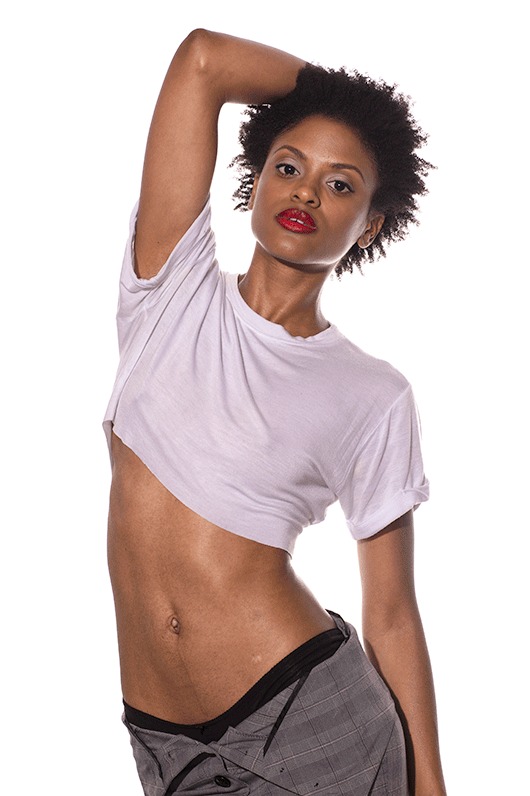

Retouching Clothing
A great portrait will only go so-far if the person is wearing wrinkled, stained, or misfitting clothing. Learn tips-and-tricks for transforming clothing into a thing of beauty. Re-create collars, sleeves, colors and weaves in the Retouching 301 lesson dedicated to retouching clothes.
Two Full-Length Exercises
Combine everything you learn from Retouching 301 sections 1-8 to retouch two portraits from start to finish. Where do I start? How do different techniques tie together? What don’t I know? Follow along the entire retouching process from Camera RAW to Exporting the Final Photos.
16-Bit RAW Files Included
With 26 straight-out-of-camera RAW images included, you’ll be able to retouch in 16-bit for the full experience. The capability of this Retouching 301 collection makes nothing impossible.
Do I need a tablet to retouch?
Short answer – no, but there is nothing like having the best tool for the job. The micro-adjustments that the Wacom Tablet make possible are unparalleled. Pressure sensitivity gives you optimum control over all of your Photoshop tools; opacity, flow, and size.

Class Instructor
Aaron Nace
PHLEARN Founder & Lead Instructor
Aaron Nace is a photographer, digital artist, and the founder of PHLEARN. He has been teaching Photoshop, Lightroom, and photography since 2011, and has taught at Adobe MAX for more than eight years.
Aaron publishes a free tutorial every week and a new in-depth PRO course every month.
- 2M+YouTube subscribers
- 160M+video views
- 1,000+tutorials published
- 15years teaching Photoshop
Reviews
There are no reviews yet.
Master Photoshop, Lightroom and Photography
Join PHLEARN PRO for $12.99 a month, or $99.99 a year (save 36%). Cancel anytime, with a 100% money-back guarantee.





