Download Sample Images
Download the Sample PSD
Click here to download the complete PSD file for this tutorial.
description
Learn how to make ultra-detailed selections of hair using Channels in Photoshop! Perfect cutouts, every time.
Share
Quickly Cut Out Hair in Photoshop
The Challenge of Selecting Hair in Photoshop
Tools like the Pen Tool are great for making smooth, accurate selections of objects, products, and even parts of people like arms and hands.
Tools like Select Subject and the Magic Wand Tool are designed for speed, automating much of the process at the cost of losing a lot of the detail.
Let’s take a look at how an automated tool like Select Subject holds up when tasked with selecting multiple people in a portrait that has a lot of soft edges and fine details in their hair.
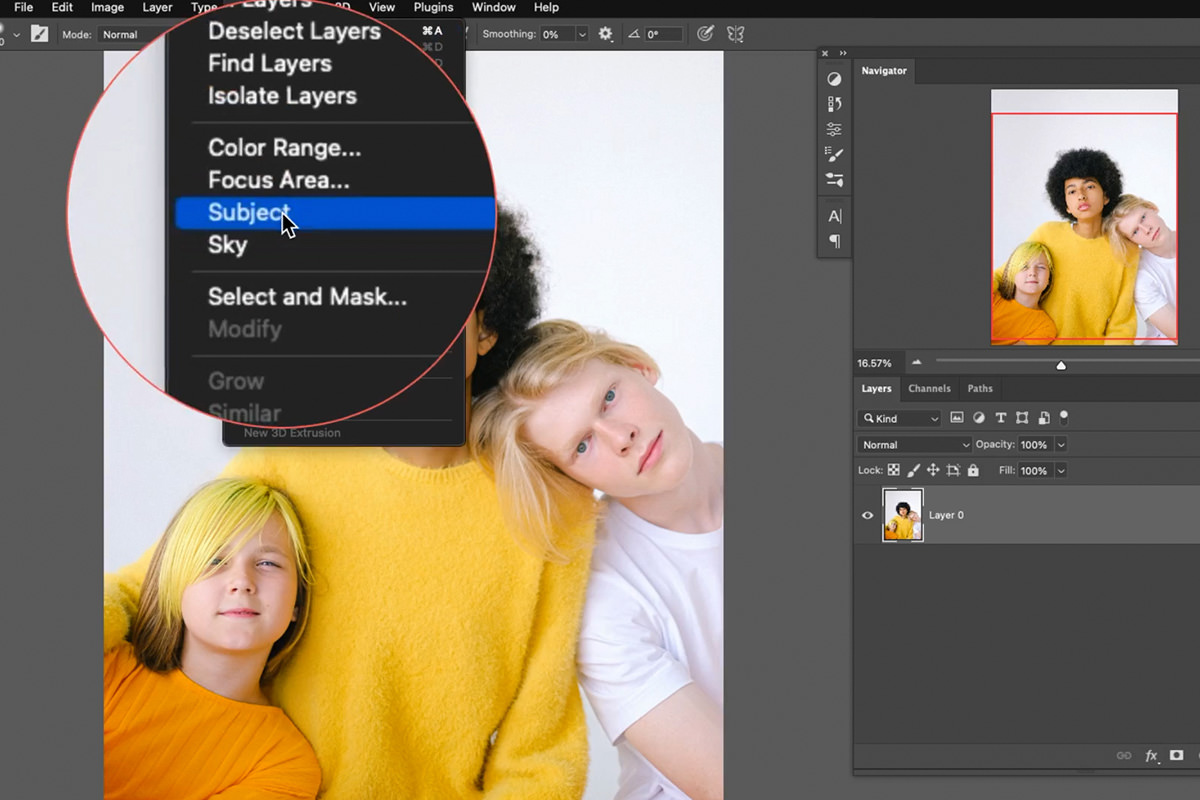
Open the Select menu and click on Subject.
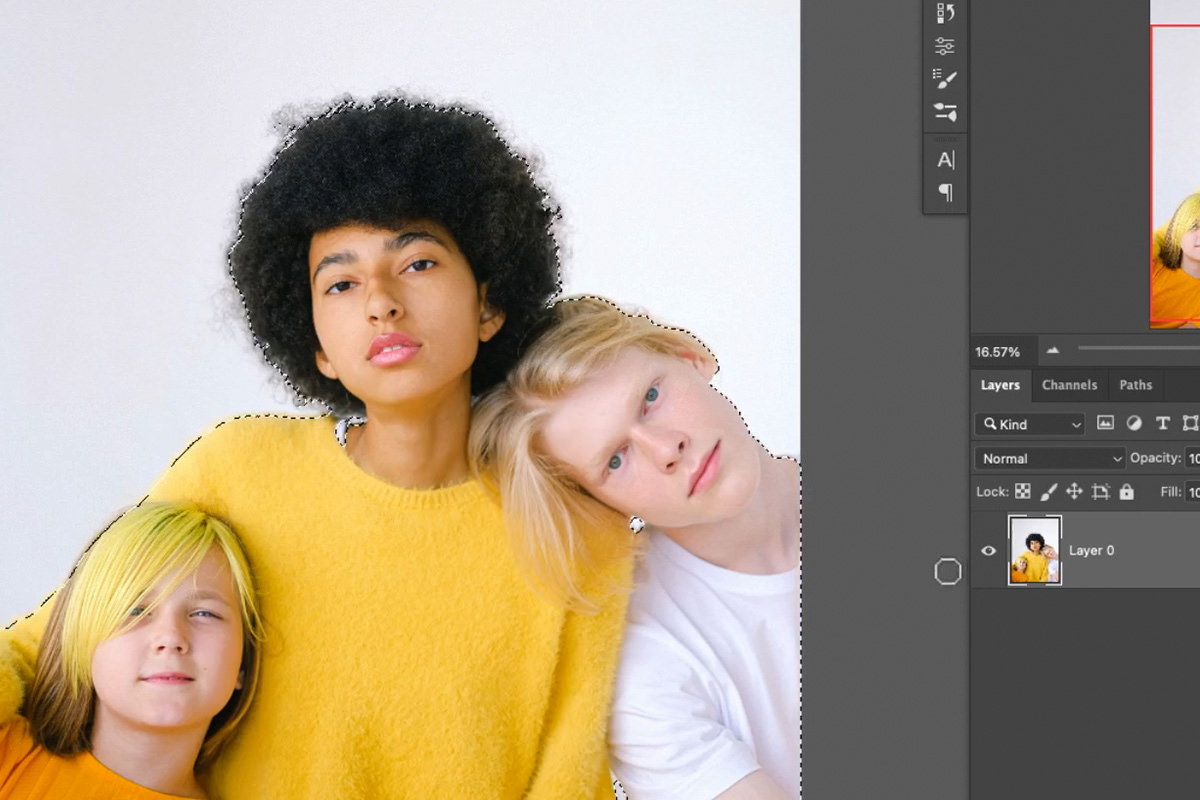
Photoshop will automatically try to identify, and make a selection around, what it determines to be the subjects in the photo. And overall, it does a pretty decent job.
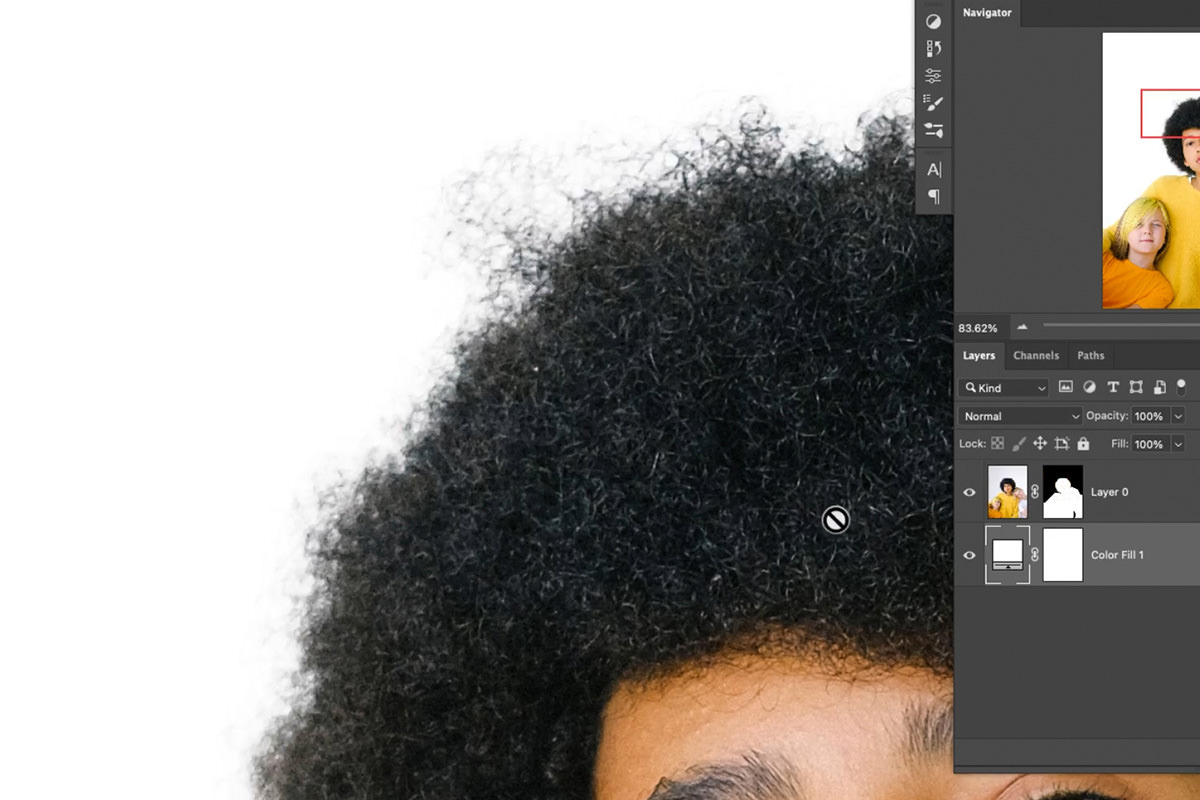
But upon closer inspection, a lot of the finer details along the hair and softer edges are cut off. This result might be okay depending on what level of detail you need for the final image.
If you’re doing professional work, the more detail you can get, the more realistic and less Photoshop-ed the final result will look.
This is where Channels comes in!
Selecting Hair with Channels
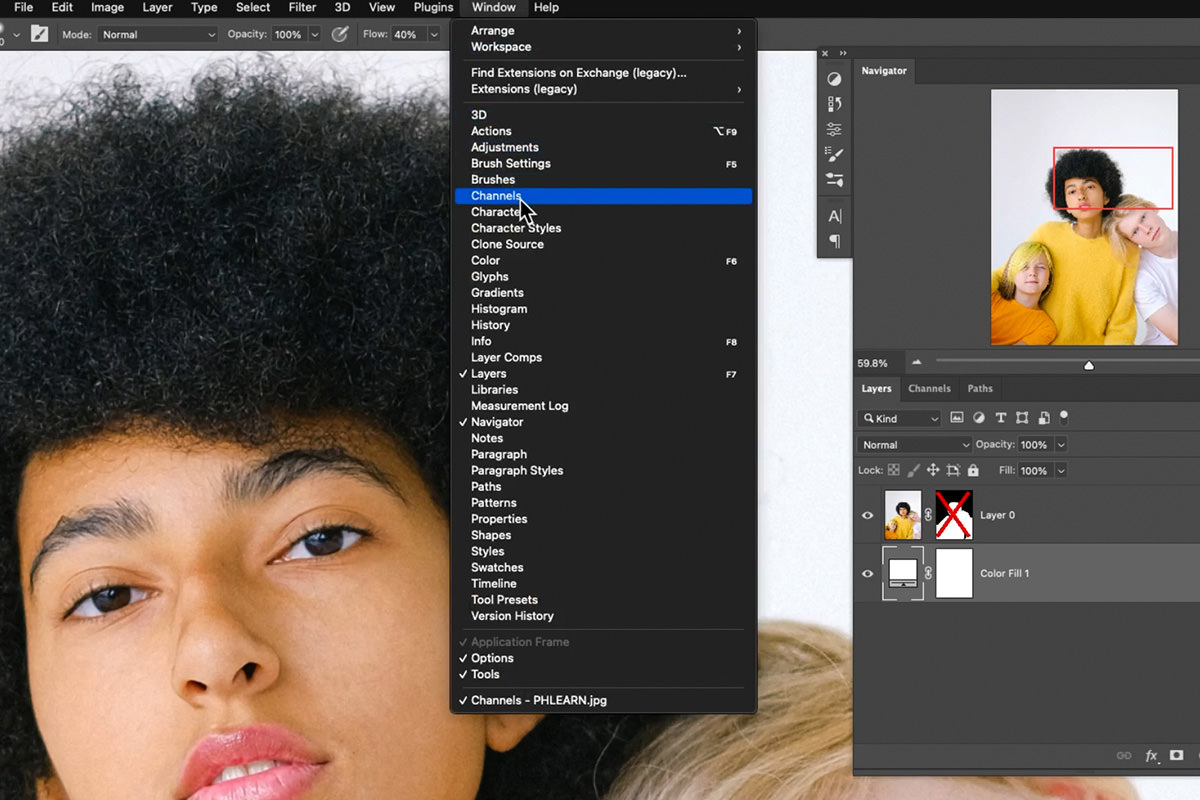
To open the Channels panel, click on the Channels tab next to the Layers tab. Or you can open the Window menu, and select Channels.
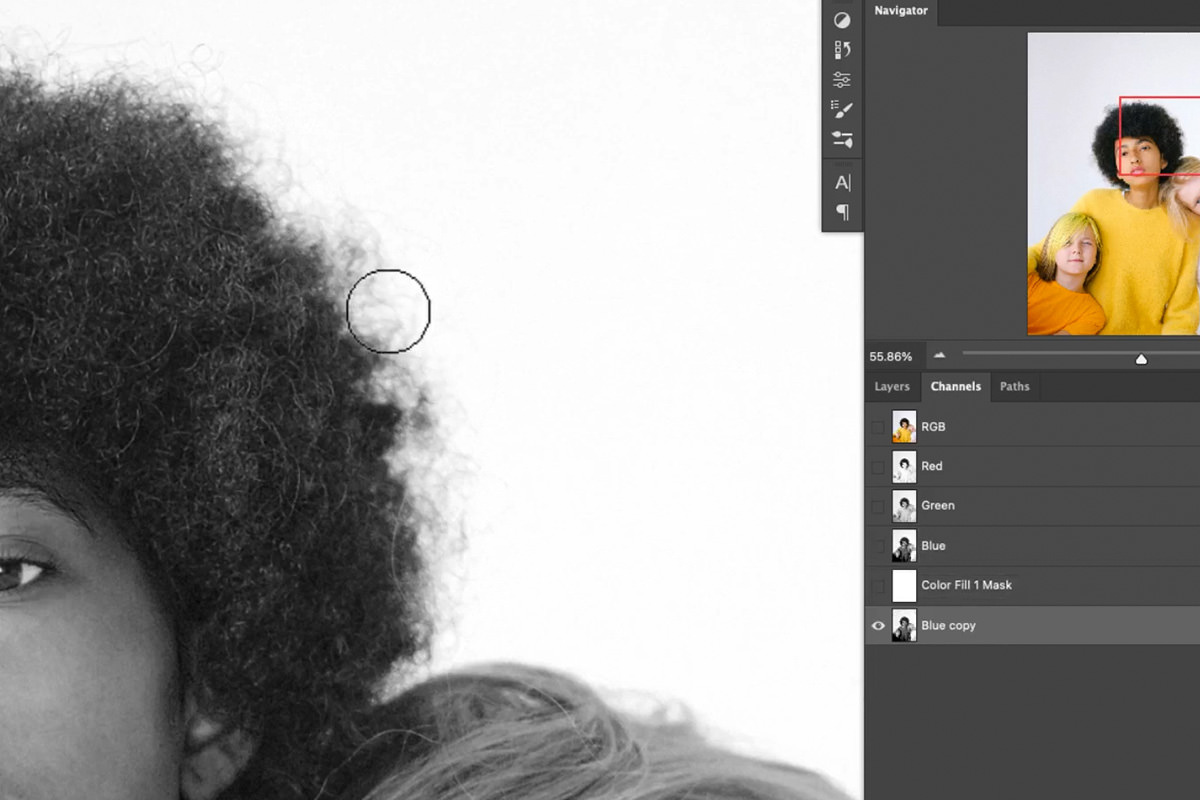
The Channels panel shows a break down the different color channels that make up the image. In this case (and as long as you’re working in RGB), those channels are red, green, and blue.
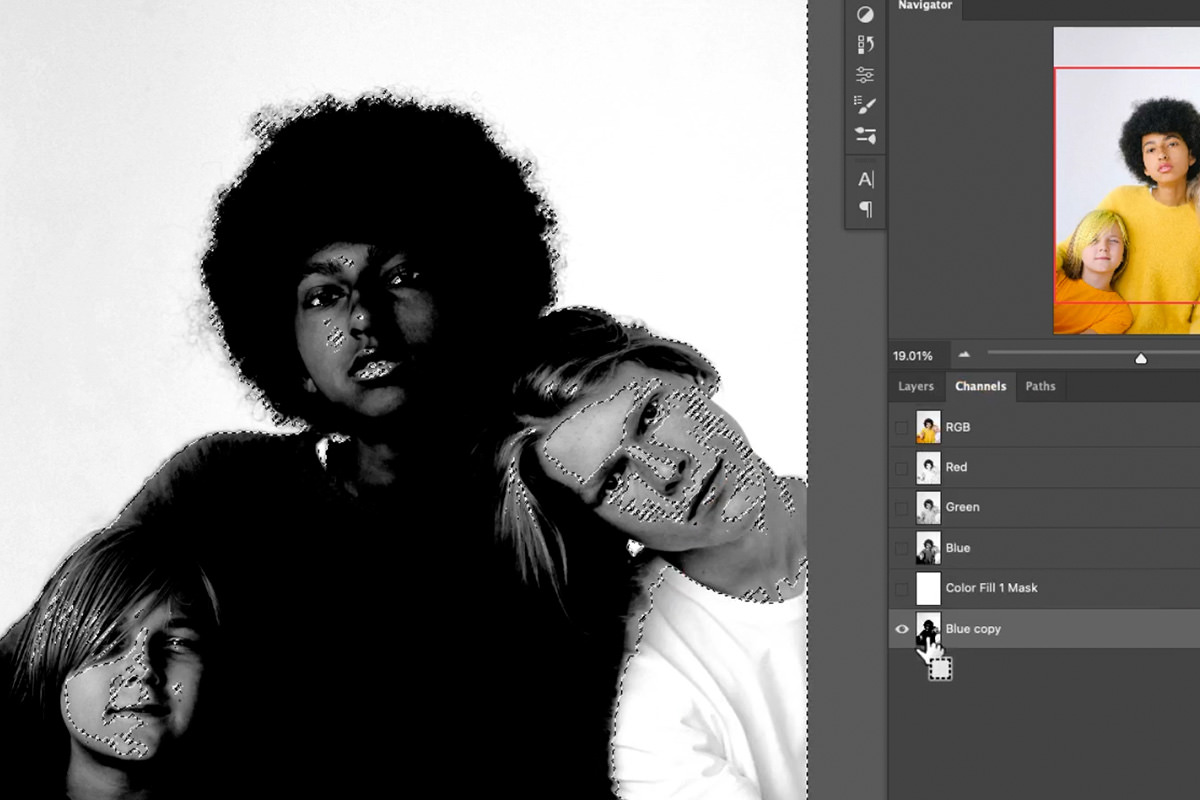
Using Channels to make selections is all about identifying the color channel that contains the most contrast–the lightest lights and the darkest darks.
In our example image, the blue channel showed the most amount of contrast between the subjects and the background. Once you’ve identified the channel with the most contrast, duplicate it. (Making any changes to an original color channel can distort the colors in your project.)
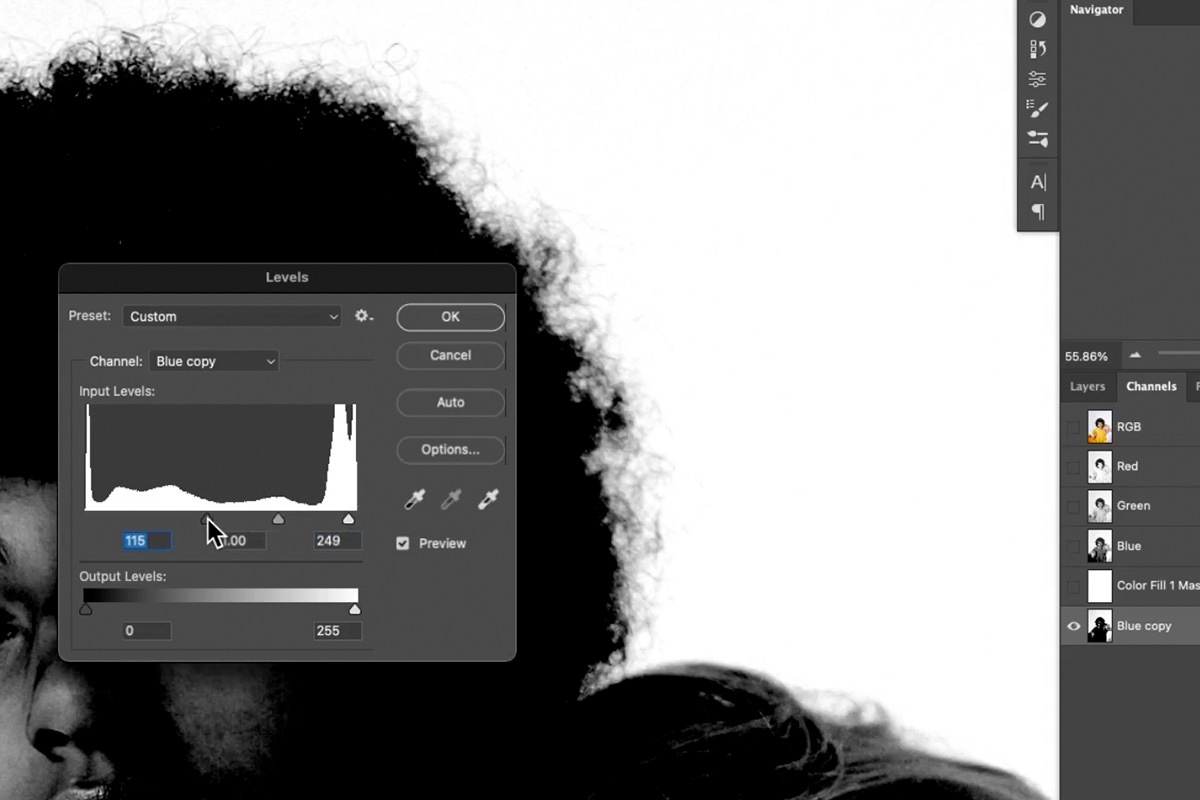
Once you’ve duplicated the blue channel, add a Levels Adjustment, moving the dark slider to the right and the light slider to the left to further exaggerate the amount of contrast.
Since masks use white and black to determine what is and isn’t selected, you’ll want each element to be as close to pure black or pure white as possible.
Once you’ve dialed up the contrast, hit CTRL or CMD and click on the copy of the blue channel. This will convert the channel into a selection.
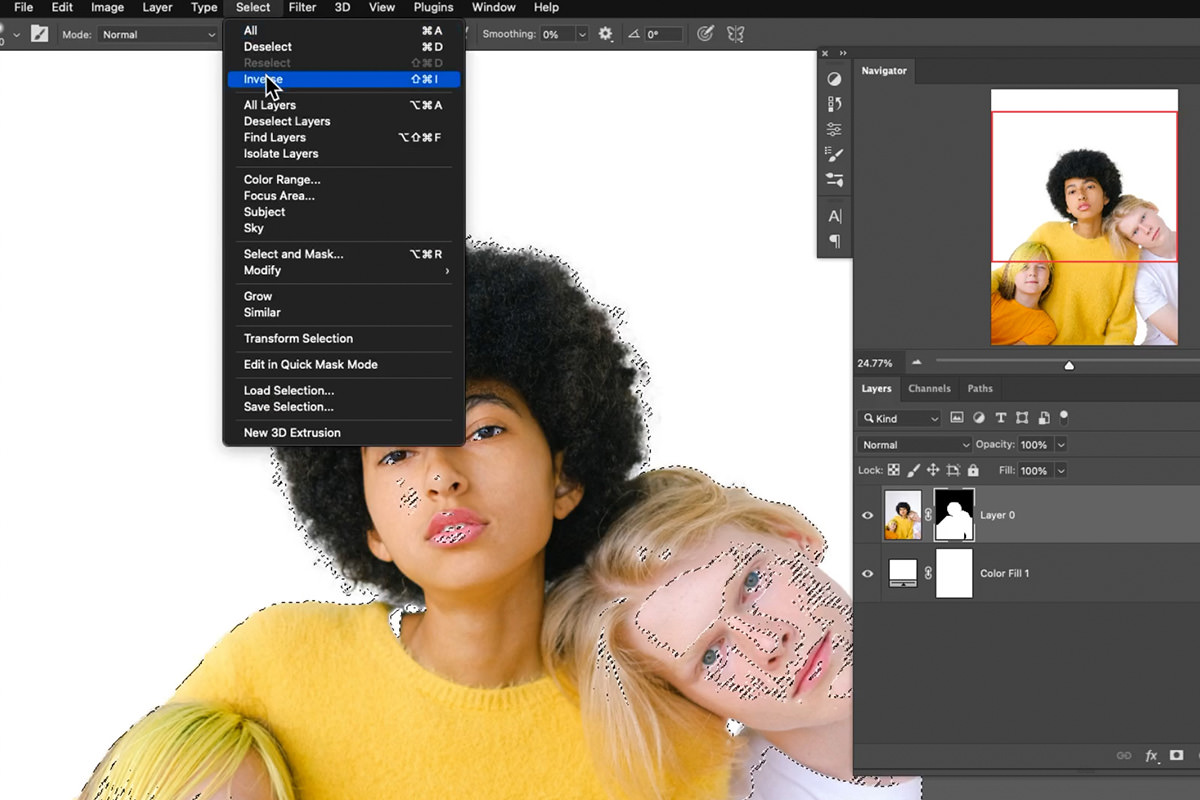
By default, Photoshop will select the lighter areas and not select the dark areas, so we’ll need to Inverse the selection in order to select the subjects.
Open the Select menu, and click on the Inverse option.
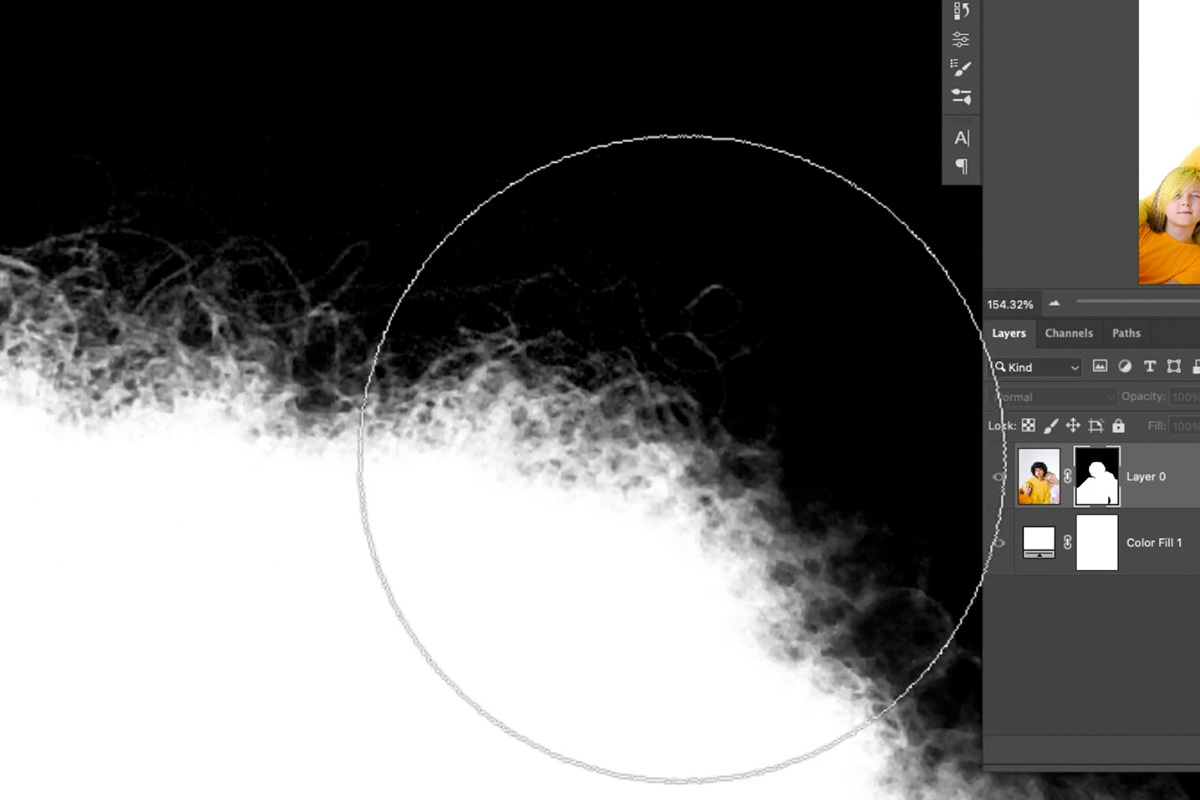
Now with the subject selected, click on the Layer Mask of the image, and paint with white along the edges of the subjects, paying close attention to the finer details in the hair.
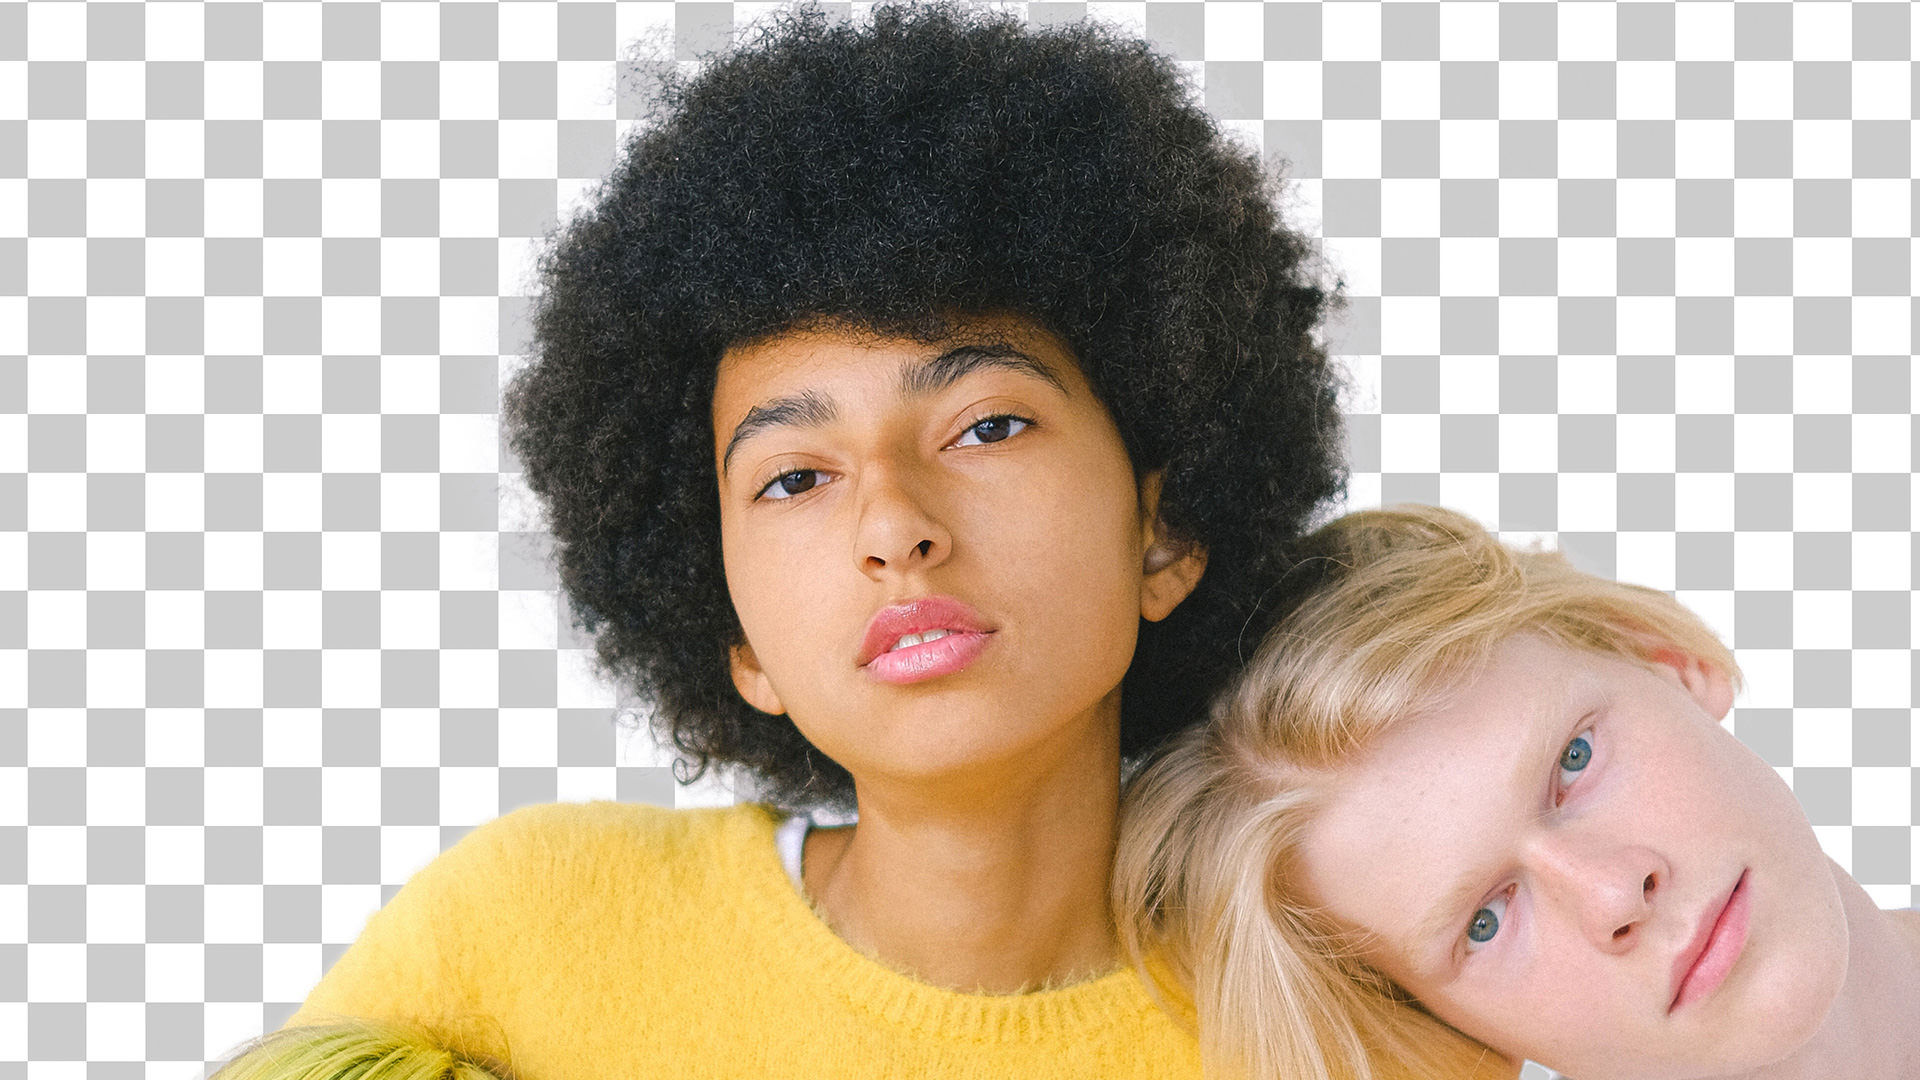
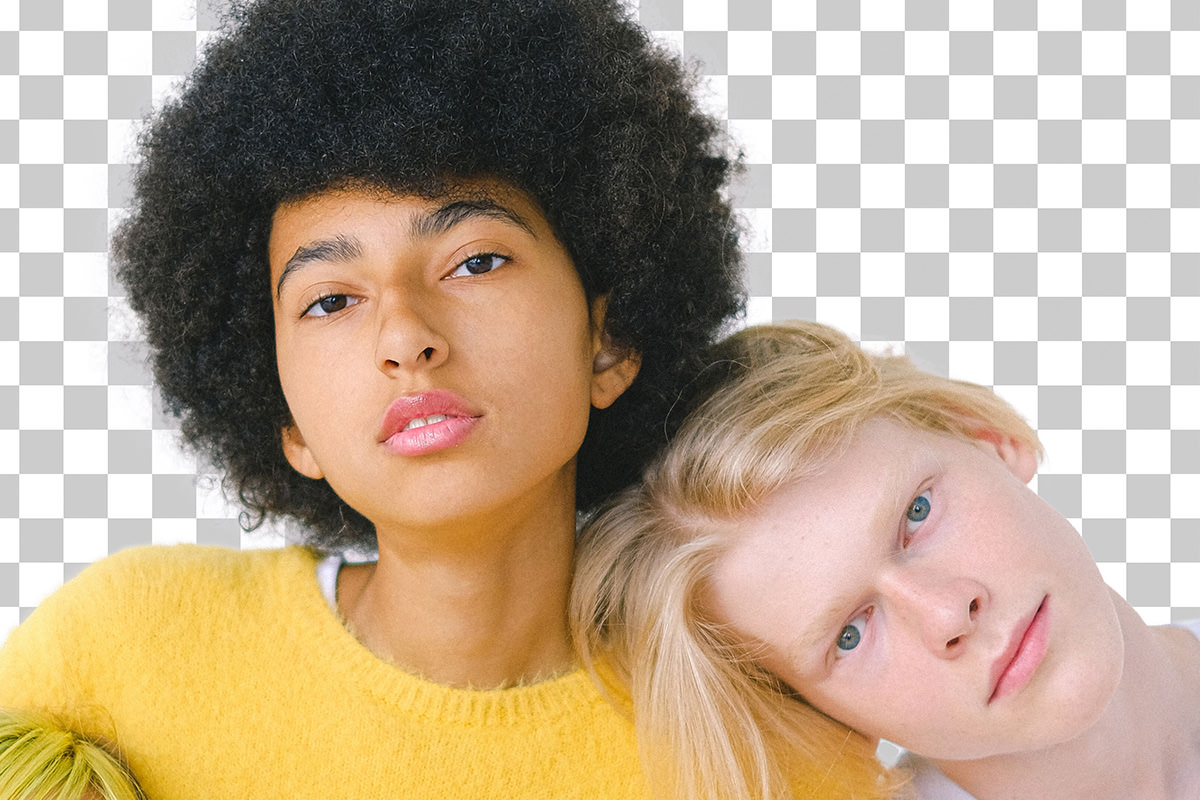
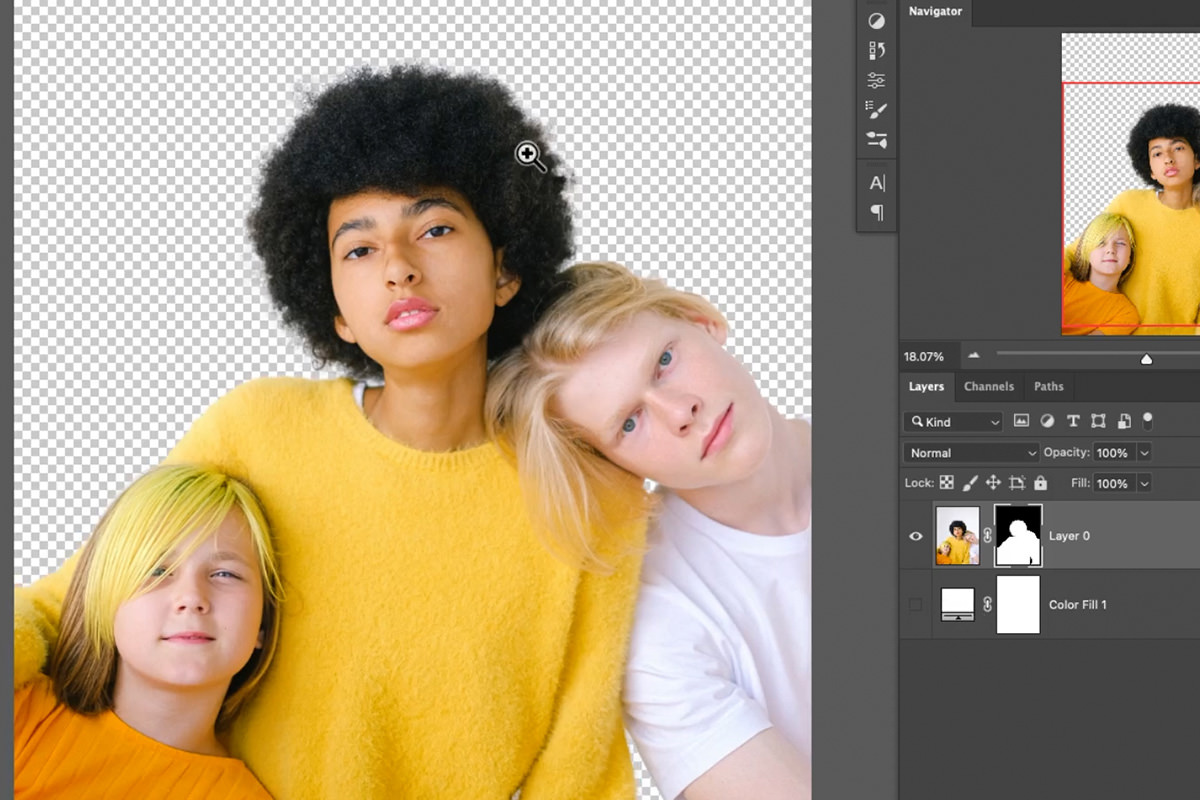
Once you’re finished, you should have an ultra-detailed selection with almost every strand of hair accounted for! Now you can place the subjects over a new background image or solid colored background.
