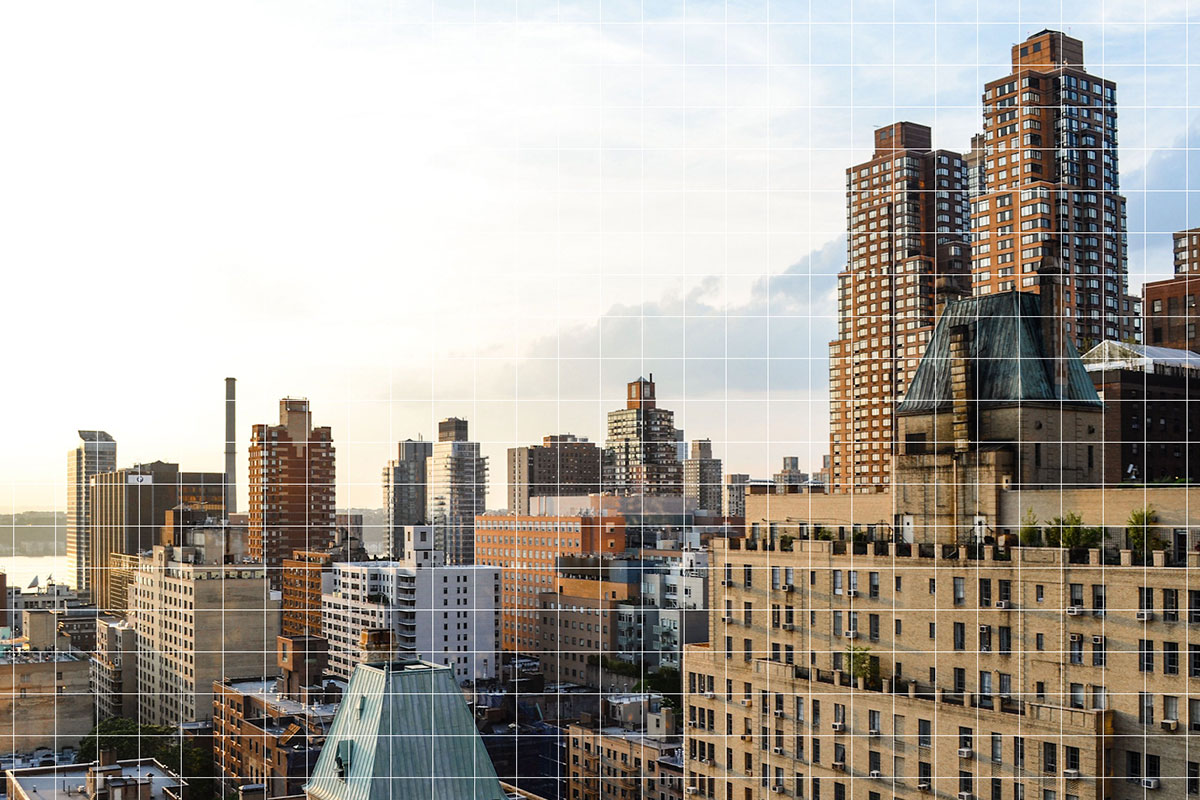

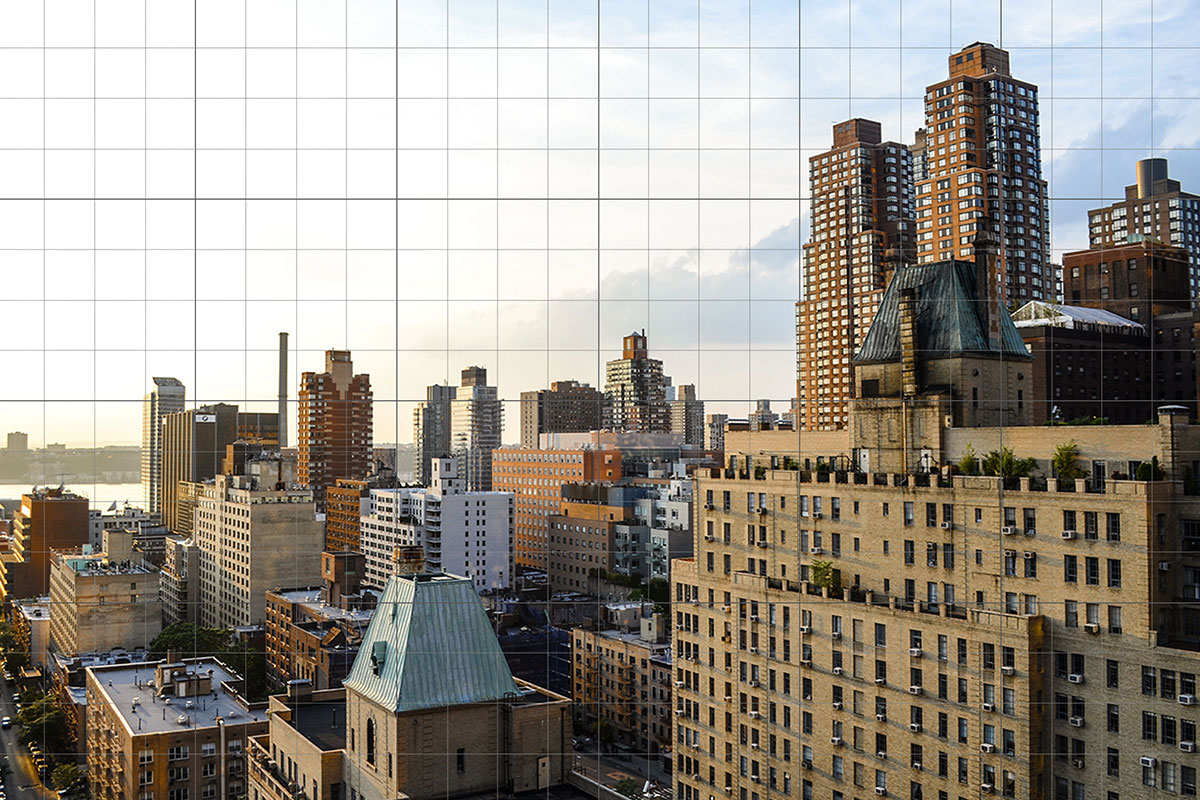
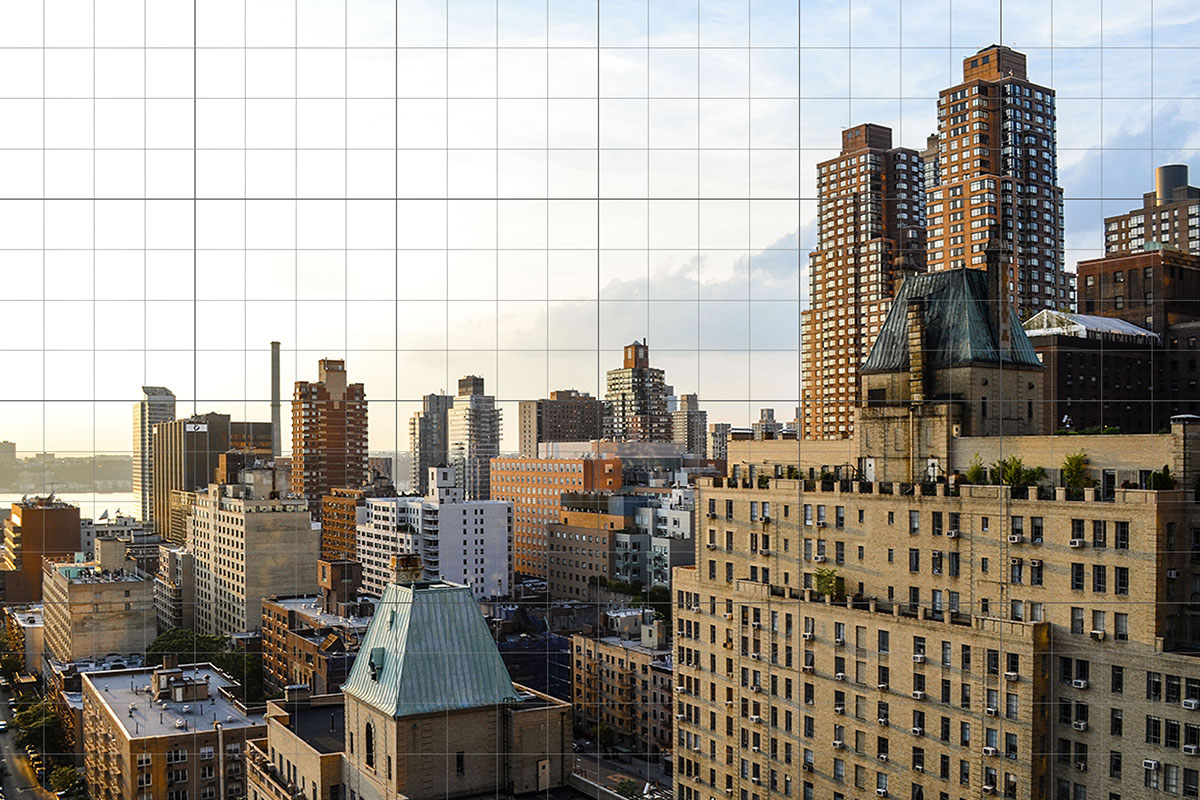

BEFORE
AFTER USING RULERS & GRIDS TO FIX PERSPECTIVE
Download Sample Images
Click the link below to download the sample images and follow along with this tutorial.
DownloadTutorial Description
When photographing architecture and interiors, keeping horizontal and vertical lines straight will help structures look more sturdy and impressive. But oftentimes, different kinds of distortion (due to the properties of the lens or the perspective of the camera) can cause lines to appear crooked.
Luckily, Photoshop can help! Learn how to use tools like Rulers, Guides, and Grids to help make precise adjustments to perspective, straightening out lines and improving composition.
Rulers & Guides
Photoshop has a handful of tools that can help you make sure things are straight, aligned, and evenly distributed in your photos. If you want to quickly check to see if something is straight, go to View and enable the Rulers option. Once enabled, measurements will appear along the vertical and horizontal edges of the Photoshop canvas.
To create a custom Ruler, simply click on either of the measurement bars and drag the cursor over your image. A blue Ruler will appear that you can place anywhere over the photo. Dragging from the left will create a vertical line and dragging from the top will create a horizontal line.
You can use custom Rulers to see what edges need adjustment in your images. Then use the Transform tool to scale, rotate, skew, and adjust perspective accordingly.
Grids
If you’re working with an image that has a lot of lines and edges, it might be a little too tedious to make a custom Ruler for each. In cases like this, we recommend creating a custom Grid.
To toggle a Grid, select the View menu, click on Show, and select the Grids option. You should see a grid appear over your entire image.
The best part about Grids is that the size and color is customizable via the Photoshop Preferences dialog. Under Guides, Grids, and Slices, you can adjust the frequency of grid lines, their color, and the number of subdivisions, if any.
This view is great for when you’re trying to get the perfect composition and perspective in an image with a lot of vertical edges, like in an image of a city skyline.
Adjusting Perspective
Once you’ve created a Ruler or Grid, Photoshop has a few tools that can help you adjust composition and perspective.
The Transform Tool (CTRL or CMD + T) is the most common. Using this tool, you can rotate your image, scale it, skew it, and use more precise options like Perspective Transform.
There’s also an automated tool that can make the process even easier! First, make a duplicate of your background Layer by creating a new Layer, then going to the Image Menu, and select Apply Image. Within the dialog, change the Blending Mode to Normal and click Okay.
Now with the duplicate Layer selected, go to the Filter menu and select Camera RAW Filter. Adobe Camera RAW will open and you can use this dialog to make a number of changes to your photo, whether you’re working with RAW or JPEG.
For this example, we’re mostly concerned with Transform Tool within Adobe Camera RAW. Select the Transform Tool in the top toolbar and additional option will appear in the right sidebar.
The ‘A’ symbol will apply an automatic perspective adjustment to your photo. Other options will place priority on straightening horizontal lines, straightening vertical lines, or forcing both into perspective (If you choose the last option, you’ll likely need to crop your photo.) Try each and see which gives you the best result, then click OK to exit the Camera RAW dialog.








Enjoying This Free Tutorial? Go Further with PRO.
Unlock Full Sample Files, PSDs, and Hundreds of Masterclasses!

Download full project assets, original PSDs, and RAW images for every lesson
Unlimited access to our complete library of PRO Photoshop & Lightroom courses
Instant 4K Ultra HD streaming on all devices, anytime, anywhere
Full access to our entire library of Photoshop Actions, Presets, and LUTs
Flexible monthly and annual membership plans
Cancel anytime with zero hassle or commitments