
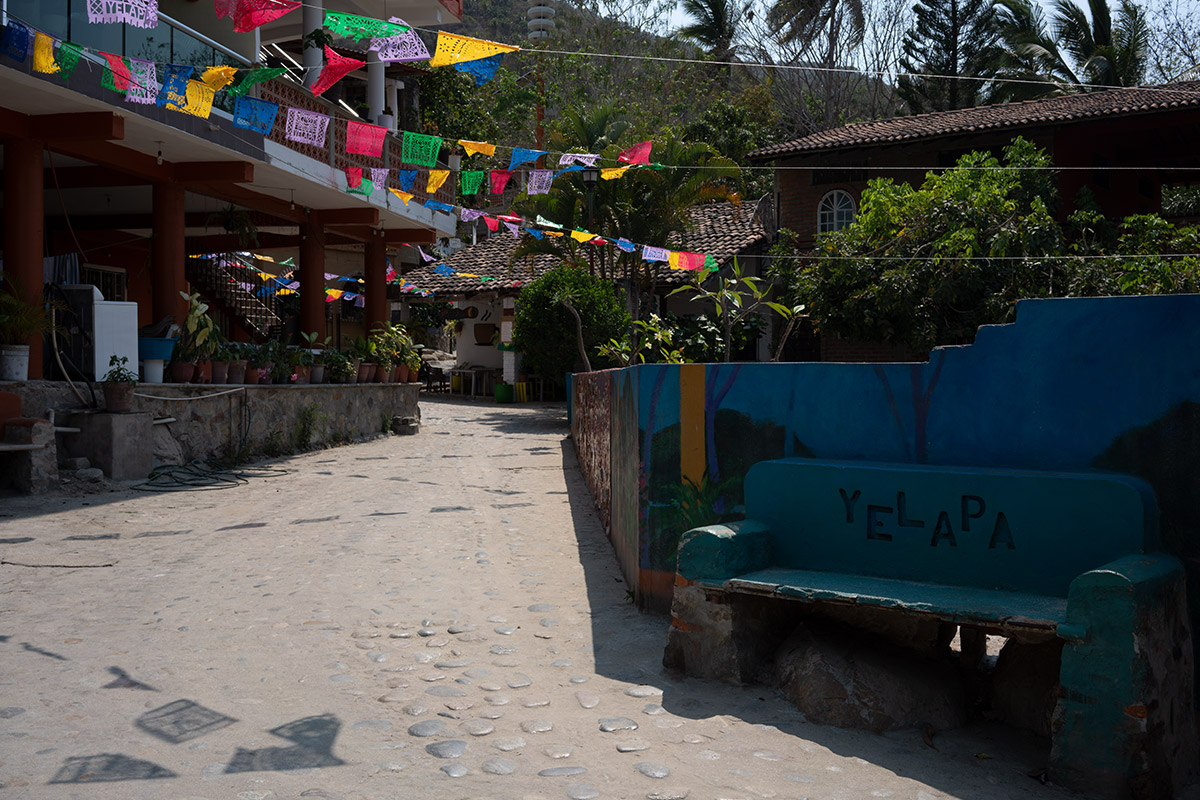
BEFORE
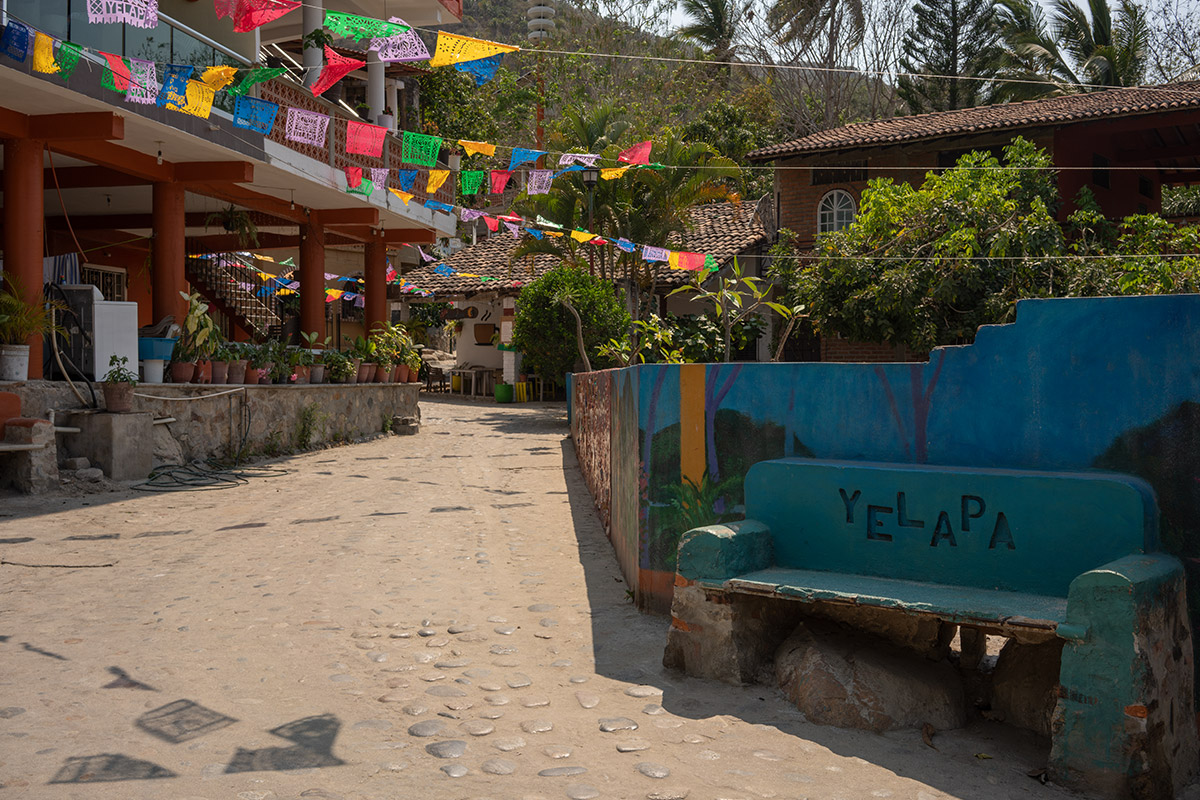
AFTER ADJUSTMENTS IN ADOBE CAMERA RAW
Download Sample Images
Click the link below to download the sample images and follow along with this tutorial.
DownloadTutorial Description
White balance can be tricky to get right. Sometimes we forget to change our camera setting or the automatic white balance misses the mark. Fortunately, Photoshop makes it easy to adjust white balance and bring back rich, realistic colors.
Follow along as we explain how to use the powers of Photoshop and Adobe Camera RAW to make quick adjustments to your RAW images for perfect color, every time.
And this is only the beginning. If you want to take your RAW photos to the next level, check out How to Master Adobe Camera RAW (ACR) in Photoshop. Learn how to take advantage of every bit of information in your RAW images, for perfect exposure and beautiful colors.
What is White Balance
It’s pretty easy for our brains to process and color casts from environmental light. That’s why white paper looks perfectly white to us all the time, whether we’re inside our homes by the fireplace or we’re outside on a sunny day.
It’s not as easy for cameras to do the same thing. If you’ve ever taken a picture outside on a sunny day or indoors at night with your white balance not set properly, you’ve likely seen an image that has comes out too warm (orange) or too cool (blue).
Fortunately, missing on white balance doesn’t mean you missed the shot completely. Especially if you’re shooting in RAW format. Photoshop and Adobe Camera RAW both have useful tools for color correction to help get colors back to normal.
Adobe Camera RAW
Adobe Camera RAW is a RAW processing tool that’s available in both Lightroom and Photoshop. ACR gives you access to a lot of great tools to make both basic and advanced adjustments to your RAW photos. And working with RAW will guarantee that you’re editing with the most amount of image data available.
Opening a RAW image in Photoshop is as simple as dragging it from your Finder or Windows Explorer window into the Photoshop workspace. The photo will automatically open up within Adobe Camera RAW. If this is your first time working with RAW in Photoshop, be sure to click on the image profile at the bottom of the window (in our example, the profile link says Adobe RGB (1998): 16 bit…). The Workflow Options dialog will pop up and, at the bottom, be sure to check the Open in Photoshop as Smart Objects box. This will allow you to double-click on your image Layer at any time to get back to Adobe Camera RAW to make changes.
Within Adobe Camera RAW, you’ll notice that the White Balance adjustment is the first option in the column of sliders in the tool panel.
The White Balance drop-down box has options for presets that cover a wide variety of standard lighting situations (daylight, tungsten, fluorescent, etc). Below that, you can manually adjust both the color temperature and the tint of the image. Is the image too warm? Drag the Temperature slider to the blue side. Too cool? Send it the other way.
Once the white balance has been dialed in, you can also make other basic adjustments like raising the exposure and shadows or lowering the highlights. RAW files give us a lot of room to work as creatives so be sure to utilize tools like Adobe Camera RAW whenever you can!


