Step-by-Step Tutorial
Open Image In Photoshop
First, place an image into Photoshop by locating the top of the workspace.
Select File and within the drop-down tab select Open…
A window will appear which will allow the desired image to be chosen.
Simply select the image and hit Open in the right bottom corner of the window.
Another way to import an image is by dragging and dropping the files into the workspace.
Using the Crop Tool
The Crop Tool allows an image to be trimmed to a specific area of an image or a specific size. This tool is very helpful when an individual wants to crop a photo for print.
Locate the left side of the workspace where the Tool Bar is located.
The Tool Bar allows access to multiple tools that can be used to customize an image.
The Crop Tool is identifiable by a square-shaped symbol with notches on opposite ends. This tool is located under the Lasso Tool, at the top of the Tool Bar.
Once located, select the Crop Tool.
Notice the top of the workspace where the Crop Tool can be customized.
The first setting is the Preset Aspect Ratio, which specifies what type of cropping will be applied to the image.
Select the arrow within Preset Aspect Ratio and select Original Ratio.

Now, notice two empty boxes divided by two arrows, which are located next to the Aspect Ratio setting. This area allows the height and the width of the trim to be specified.
For this image, select the Clear button next to the boxes if there are any numbers in those boxes.
Notice how a transparent grid appears over the image. Any part of the image that is within the grid will be included in the crop.
Deselect the Delete Cropped Pixels and Content-Aware options at the top of the workspace.
Position the mouse over the top of the image and notice that the mouse has changed into a double-sided arrow.
By moving the mouse around the image, the mouse will change indicating which way the crop can go based on where the mouse is currently located.
Notice the extra headroom at the top of the image. In this case, the individual needs to be more isolated from the background.
With the mouse positioned at the top of the image, the mouse turns into a straight-line double arrow. One arrow points up while the other points down. This indicates that the mouse can currently be used to be trim in those two directions.
With the mouse positioned, simply click and drag the mouse down to the crop balances the portrait.

Once the area is properly sized, select the check mark shaped symbol at the top of the workspace or hit the Enter or Return button on the keyboard.
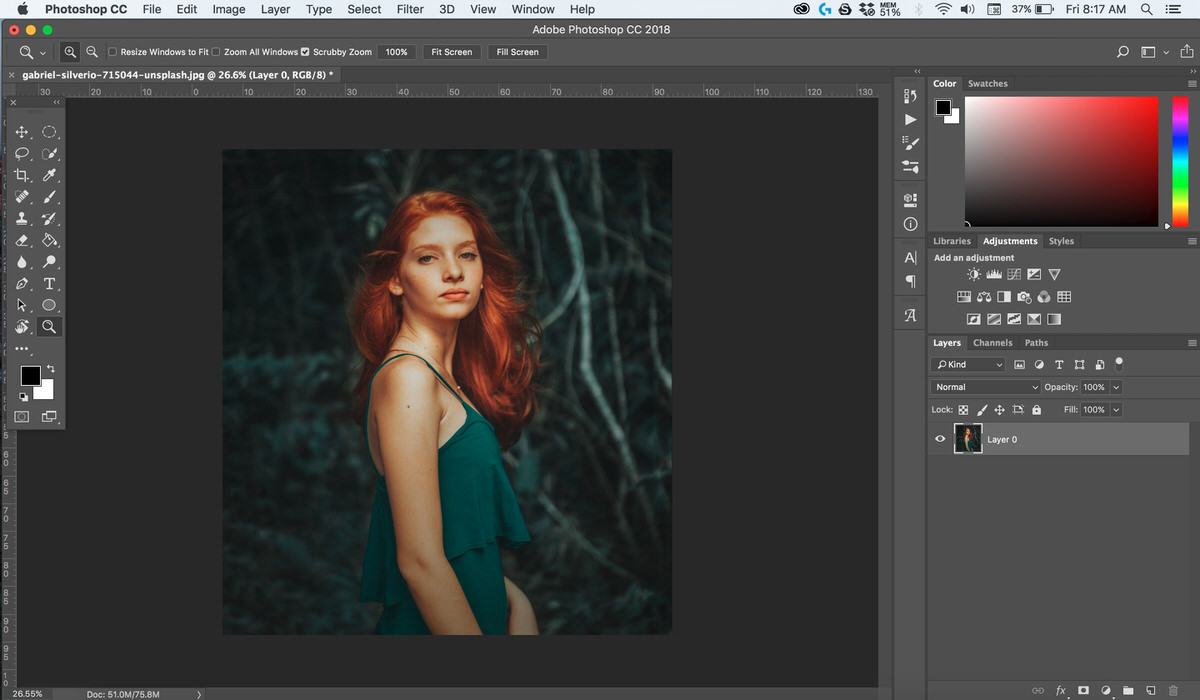
The image will appear with the applied crop.
Crop Tool Settings
While the Crop Tool is selected, click and drag the top left and right corners down temporarily.
Now, locate the top of the workspace where the Crop Settings are located which is identified by a gear-shaped symbol.
Once located, select the Crop Settings symbol and a drop-down tab will appear.
The settings presented customize the preview of the desired crop.
First, select and deselect the Use Classic Mode check box.
Notice how the corners of the crop preview transform from solid cornered edges to edges with a pinpoint.
Now deselect the checkbox.
Select the Show Cropped Area, which reveals any part of the image that is not included in the current crop. If this option is not checked, the sections of the image that will be cropped out will not be viewable.
Now, select the Auto Center Preview, which automatically centers the previewed crop.
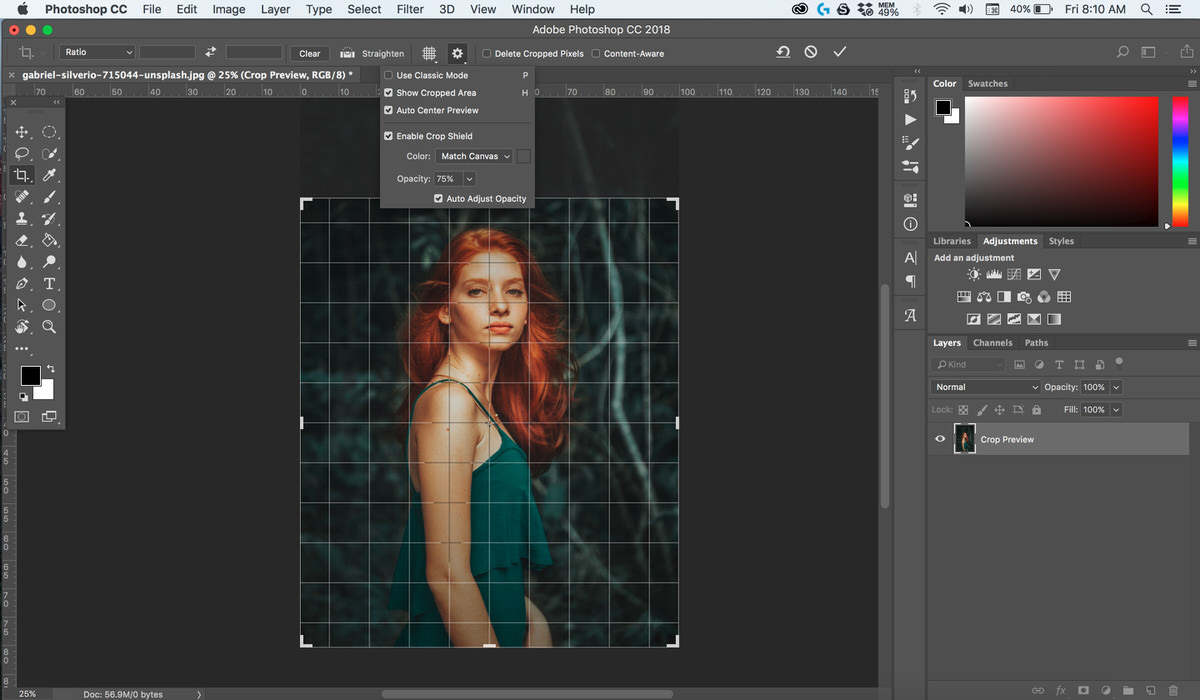
Select the Enable Crop Shield checkbox in the drop-down tab.
This setting allows the cropped area to be darkened while still previewing the entire image.
In the Color drop-down tab, allows two options. The first is Match Canvas, which will automatically choose the background as the canvas fill. The second option, Custom, allows any color to fill in the cropped out area while previewing the crop. If that option is selected, a Color Picker window will appear asking what color the cropped out area should be indicated by. Once the color is chosen in the Color Picker window, simply select OK.
In this case, select Match Canvas and notice how the previewed cropped out area looks.
Change the Opacity to 75% so previewed cropped out area is darkened enough but not completely.
Notice how the grid darkens the area outside of the grid as the mouse is moved and released. This indicates that the area will be cropped out of the frame.
Lastly, select Auto Adjust Opacity. This setting allows the cropped out area to not be darkened while the edges of the crop are being adjusted.
Now, deselect the Settings drop-down tab.
3.1 Crop Tool Settings: Grid Overlay
There are numerous types of Setting that the Crop Tool provides such as the Overlay Options, which allows multiple styles of grids can be used when positioning and cropping an image
To change the current grid, select the Crop Tool in the Tool Bar on the left side of the workspace or try using the Crop Tool shortcut by hitting C on the keyboard.
At the top of the workspace, locate the Overlay Options, which is identifiable by a gridded square-shaped symbol. This is located on the right side of Straighten.
Select the Overlay Options logo.
A drop-down tab will appear that gives different options to view the grid.
Different styles provide different perks such as the Rule of Thirds grid. This grid would be helpful for position subjects within the crop.

Select any style of a grid to view or try hitting O on the keyboard to cycle through each style.
There is also the option to not have a grid overlay on the image, which is indicated by Never Show Overlay.
If a grid is desired but not while viewing the image, select Auto Show Overlay
If an individual would always want the grid to be viewable, select Always Show Overlay.
Any of these settings are optional.
3.2 Delete Cropped Pixels and Content-Aware.
The last two settings are the Delete Cropped Pixels and Content-Aware.
If the Delete Cropped Pixels box is checked, the selected crop will delete the cropped out area, which is referred to as destructive cropping. If the box is not checked, the crop can be adjusted back to its original crop without any pixels deleted.
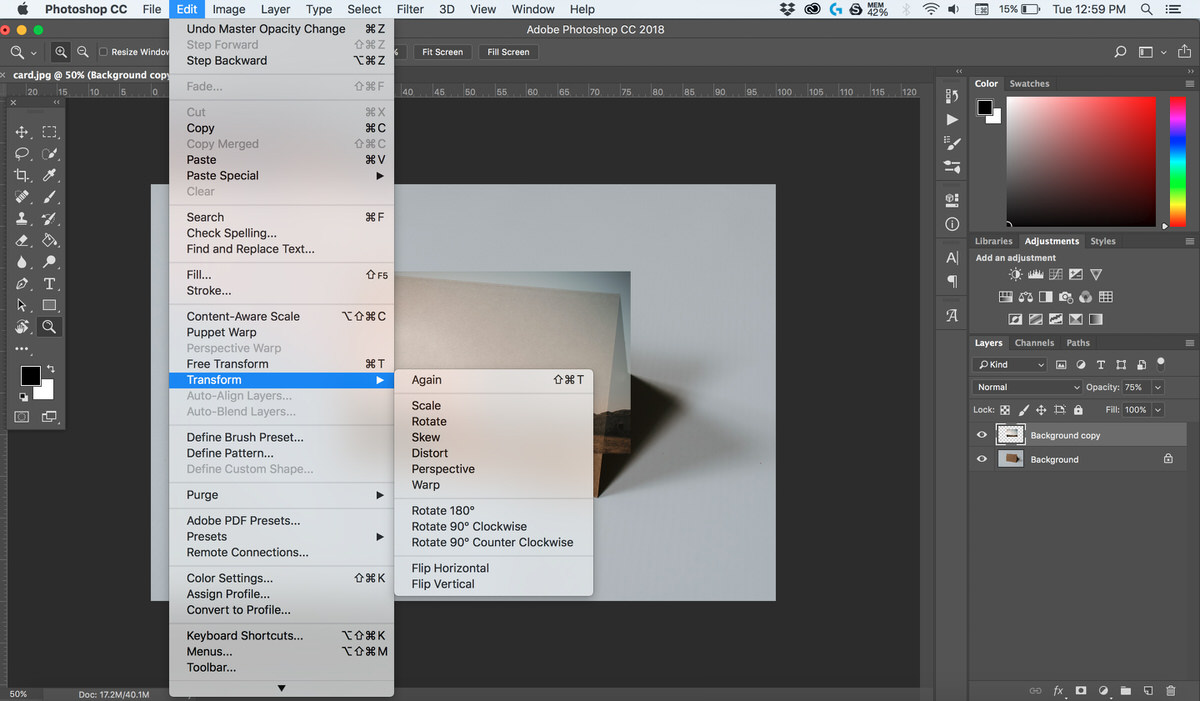
The Content-Aware feature allows an image to be straightening and then the corners not filled in with an image to be automatically be filled.
Select the Content-Aware box.
Position the mouse over one of the image corners so the mouse turns into a curved with an arrow on either side. This indicates that the image can be turned.
Simply click and drag the image so the image is not straight.
Expand the edges out future then the image.
Once the image is positioned, select the checkmark at the top of the workspace.
Photoshop automatically processes the image, sources textures and patterns throughout the image to then be filled into the areas where the image doesn’t fill. Also, notice how the crop layer in the Layers Panel also previews the changes.
Crop To Size
If an image needs to be cropped to a specific size for printing, the Preset Aspect Ratio allows any size to be indicated for a crop.
To crop an image, locate the top of the workspace and simply select the Preset Aspect Ratio drop-down tab.
An array of different sizing options will appear.
Photoshop automatically provides some cropping ratios such as cropping an image into an 8 x 10 ratio or allows custom ratios to be created.
The Ratio option allows any custom size to be applied.
Select Ratio as the setting.
Now, simply type in 2 as the width and 2 as the height.

The image will preview a 2 x 2 crop. If satisfied, simply select the check mark in the top right of the workspace or hit Return or Enter on the keyboard.
Crop To Selection
Photoshop has multiple different ways to crop to a selection other than by using the Crop Tool.
Another easy way to crop is with the Rectangle Marquee Tool, which is located at the top of the Tool Bar on the left side of the workspace. This tool is recognizable by the dotted outlined rectangle symbol.
Once located, select the Rectangle Marquee Tool.
Notice how the mouse has transformed into a plus sign.
Position the mouse over the image and simply click and drag the mouse over the image to isolate the individual.
Once positioned, locate the top of the workspace and select Image.
Within the Image tab, select Crop.
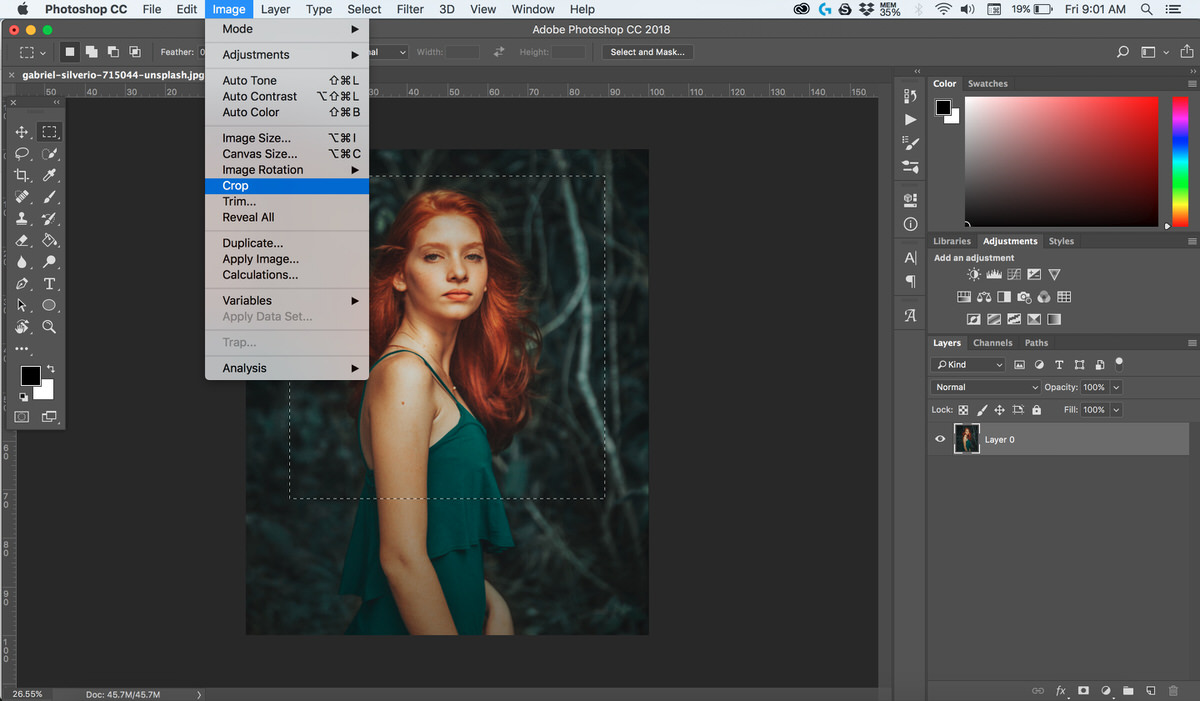
The image is now cropped to the selection.