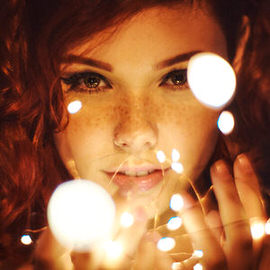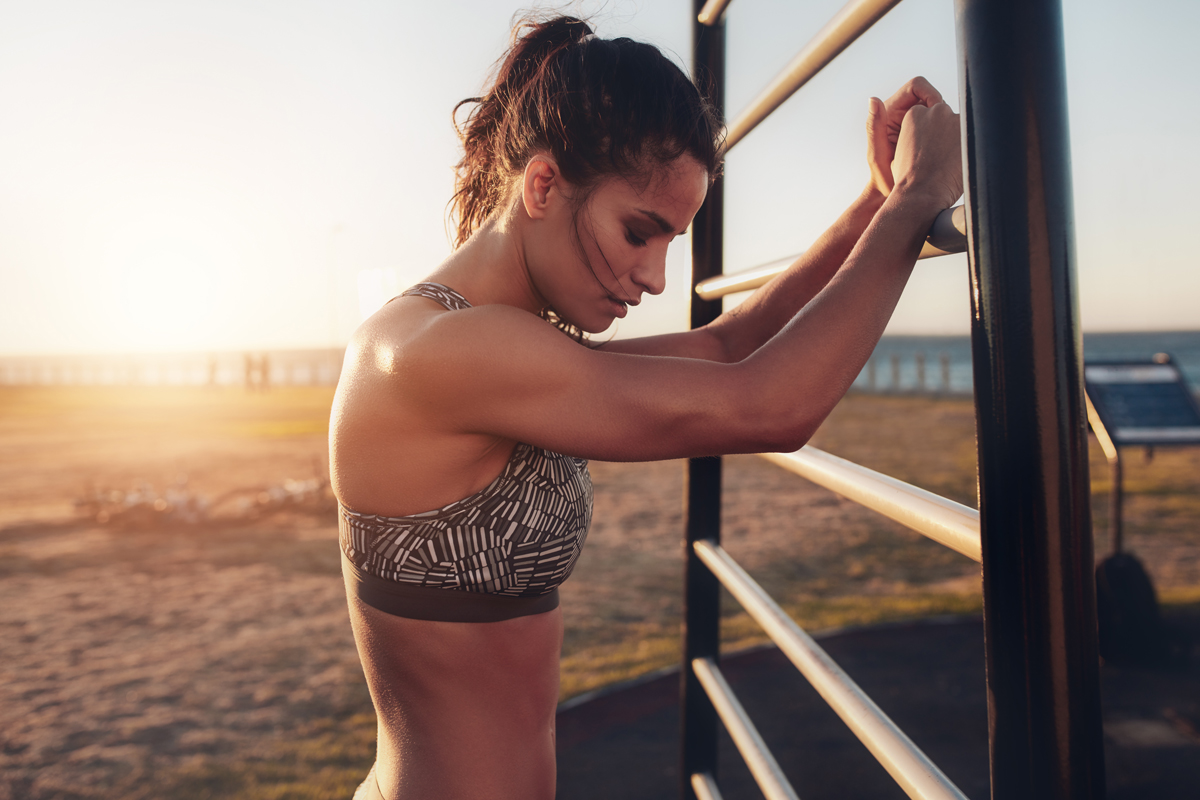
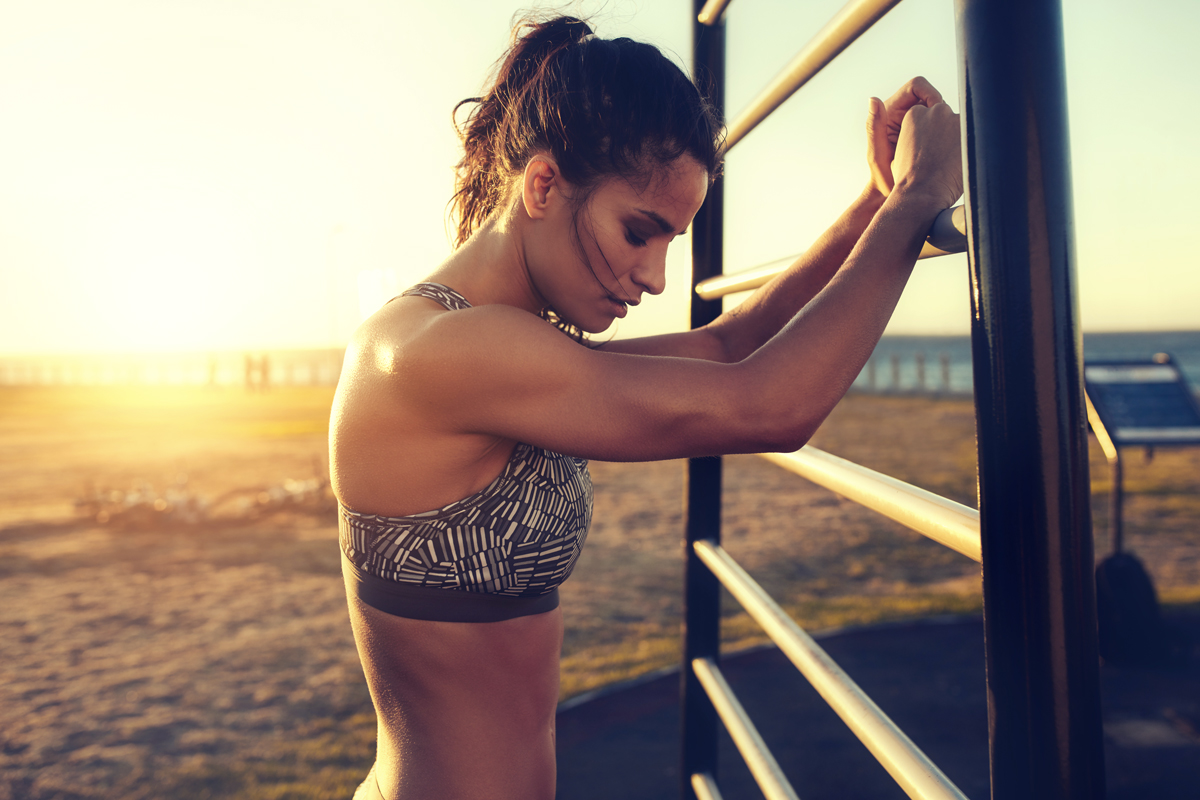
BEFORE
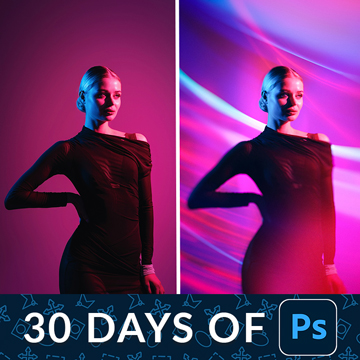
AFTER
Tutorial Description
Apply Image is a very powerful Tool when used correctly in Photoshop. Learn how to use Apply Image to Color highlights and shadows separately in Photoshop!
What is Apply Image?
The Apply Image command allows you to place a copy of your image on either a layer or Layer Mask using a variety of blending modes and settings.
When using Apply Image you can choose to apply a single layer or a merged copy of everything you see onto a new layer.
For instance, if you need to liquify your image and need all of your changes on a single layer, you can Apply Image using a Merged copy onto a New Layer. This is like taking a snapshot of your photo and sticking it on a New Layer!
Apply Image on a Layer or Layer Mask
Apply Image can be used on a layer or layer mask, allowing you to control the visibility of a layer.
A completely white layer mask will make the layer completely visible, and a black layer mask will make the layer invisible.
When applying an image onto a layer mask, the lighter parts of the image will be visible and the darker parts will be invisible.
You can use this method to make a layer only visible in the Highlights or shadows of an image, giving you more control over blending.
Color Tone using Apply Image
To Color Tone using Apply Image, create a Color Balance Adjustment Layer and start by Coloring the ‘Highlights’. In this example we add red and yellow to the highlights, giving them a warm feel.
You will notice that the Color Balance layer will effect the entire image. To constrain the Color Balance layer to just the highlights of the image, click on the Layer Mask and go to Image – Apply Image. Choose a Merged Copy or the Background layer, check Multiply blending mode and then apply the effect.
That layer will now be visible only in the Highlights of the image. To reduce visibility even more, simply duplicate the process.
To make a layer only visible in the Shadows – click on the layer mask and go to ‘Image – Apply Image’. Choose ‘Merged’ or ‘Background’, click on Multiply and check ‘Invert’. Now the layer will be restricted to just the Shadows. To further restrict the visibility of the layer, simply repeat the previous step.