Download Assets
description
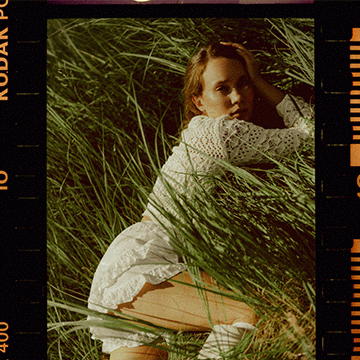
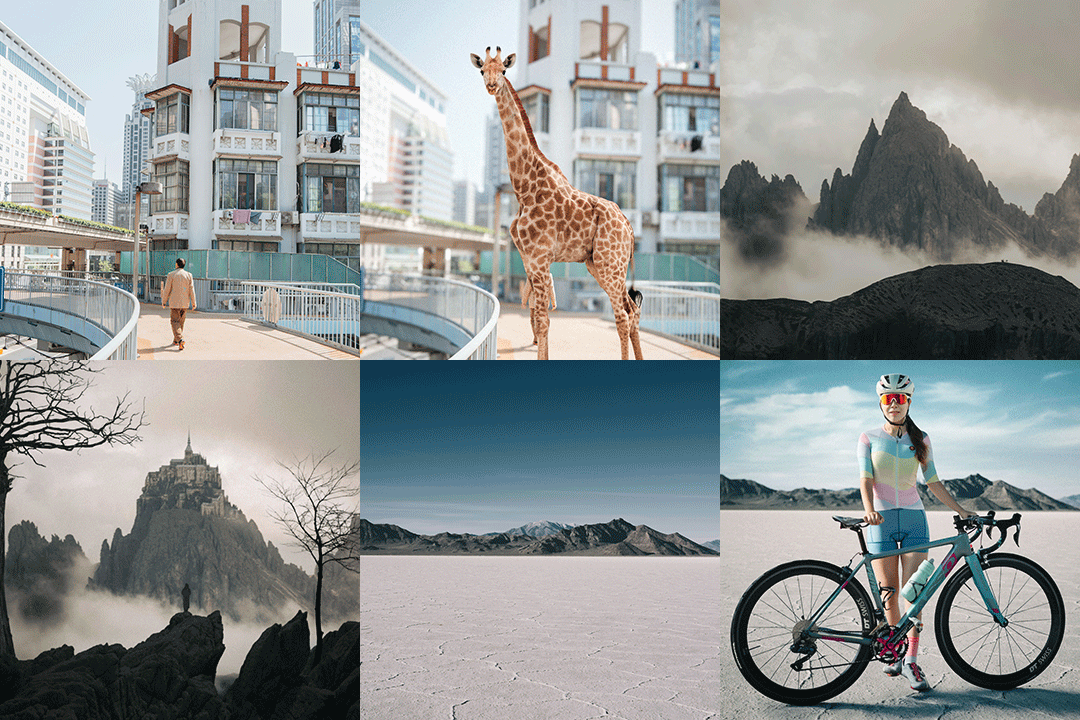
Learn the art of blending images in Photoshop! In this tutorial we’ll show you how Blend If allows you to control how two images interact based on their brightness. From adding stars to a night sky to creating vintage color tones, this tool is your key to endless creative possibilities!
Go PRO:
Interested in learning more about Photoshop? Explore our exclusive Photoshop Learning Path. From the fundamentals to advanced techniques, this comprehensive guide will help you make the most of this powerful software and bring your creative vision to life.
Image Source
Share
AFTER
BEFORE
Blend If: Beyond Layers
Blend If is one of the most useful tools in Photoshop, but one that not many people know about. Follow the guide below to unlock its potential and create stunning, unique effects in your images.
Prepare the Layers
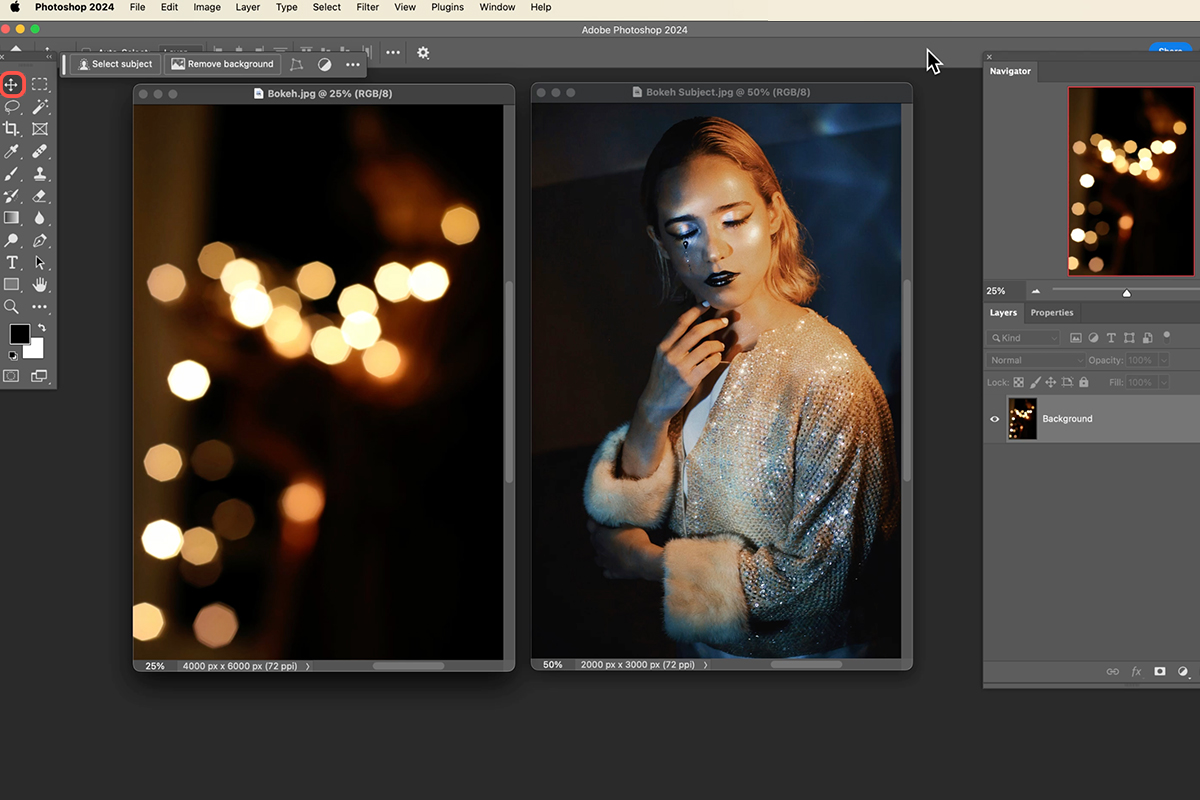
1. Open the images you want to use in Photoshop.
2. Select the Move Tool (Keyboard Shortcut “V”) and drag the desired image (e.g., the “bokeh” image) from one window to the other.
3. Press F for full-screen mode.
4. Press Ctrl+T (Windows) or Command+T (Mac) to transform the image, resize it as needed, and position it appropriately.
Access Blend If
5. Double-click on the layer containing the image you want to blend (e.g., the “bokeh” layer) in the Layers panel.
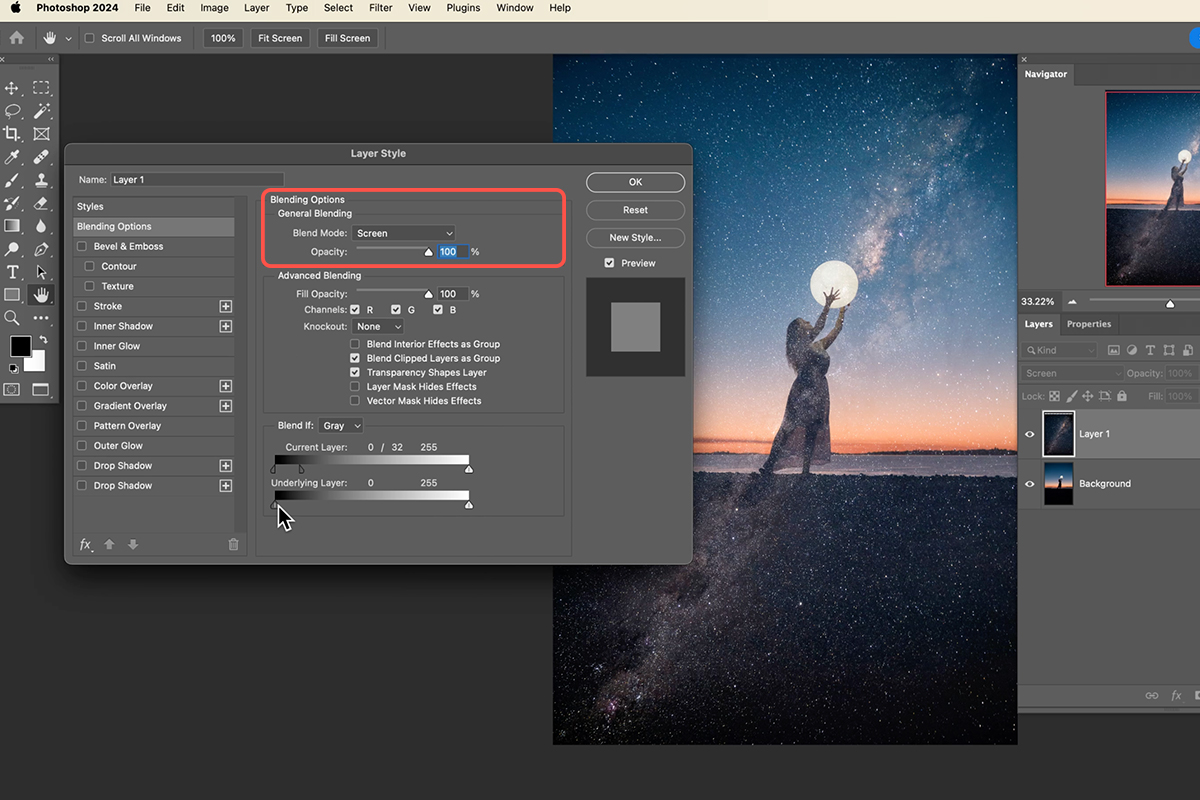
6. This will open the Layer Style dialog box. Locate and select “Blend If” within the dialog.
Adjust Blend If Sliders
To control the visibility of the current layer based on its own brightness, utilize the “This Layer” sliders within the Blend If dialog. Drag the left slider to make the current layer transparent in its darker areas. Conversely, drag the right slider to make it transparent in its lighter areas.
If you want to control the visibility of the current layer based on the brightness of the layer beneath it, use the “Underlying Layer” sliders within the Blend If dialog. Drag the left slider to make the current layer transparent in areas where the underlying layer is dark. Conversely, drag the right slider to make it transparent in areas where the underlying layer is light.
Refine and Apply
To further refine the blending effect, explore the Layer Style dialog. Experiment with different Blend Modes, such as “Screen,” to alter how the layers interact. Adjust the layer’s Opacity to control the overall intensity of the blended image. Finally, use the Free Transform tool (Keyboard shortcut “Ctrl/Command + T” ) to fine-tune the position, scale, and rotation of the blended layer for optimal placement within your composition.
Additional Techniques
For even greater control, consider utilizing Layer Masks. These masks allow you to selectively hide or reveal portions of the blended image with precision. Additionally, you can apply a Gradient Map layer and then leverage Blend If to control how the colors introduced by the Gradient Map interact with the brightness values of the underlying image, creating unique and sophisticated color effects.


