

Download Assets
Download Assets
This tutorial includes 1 sample image and 1 sample PSD. Downloads are free with a PHLEARN account.
- Download the sample images and PSDs from every free tutorial on PHLEARN
- New free tutorials published every week
- One free account — sign up once, then download anything
Watch the Full Series
30 Days of Photoshop · 2025 EditionOur most-watched series, updated for 2025 — watch all 30 free
description
Export settings in Photoshop decide what everyone else actually sees — and exporting is the step most likely to undo the twenty-seven days before it. A carefully graded image sent without a colour profile arrives looking worse than one that was never graded at all.
Every finished edit should produce two files: a layered .psd you can go back into, and a flattened JPEG you can send. Learn the Export As settings that make the second one look like the first — quality, resizing, and the two colour boxes that matter.
This is Day 28 of 30 Days of Photoshop, 2025 Edition — our most-watched series, rebuilt from the ground up for today’s tools.
Continue Watching 30 Days of Photoshop
JOIN 30 DAYS OF PHOTOSHOP (FOR FREE!)
Ready to jump in? Sign up and we’ll email you a printable calendar and daily class schedule so you can get started right away!
Image Source
Photoshop Export Settings: Every Edit Should Produce Two Files, Not One
Photoshop export settings are the part people rush, and getting them wrong is what quietly costs them work. The discipline is simple: a layered .psd you can go back into, and a flattened .jpeg you can send. One is the archive, one is the delivery, and they are not interchangeable.
Getting your Photoshop export settings right is what makes the second file look the way the first one did. Most of the ways an image goes wrong between your screen and someone else’s happen inside that one dialog box.
Why Two Files
The .psd Is Your Ability to Change Your Mind
Layers, masks, adjustment layers and Smart Objects all survive. Flatten to a JPEG and every one of those decisions is baked in permanently.
The .jpeg Is What Everyone Else Can Open
Small, universally viewable, and correct on any device once the colour profile is handled. Nobody wants a 400MB layered file emailed to them.
Saving Only One of Them Is the Mistake
Keep only the JPEG and the edit is over. Keep only the PSD and you have nothing to deliver. The two-file habit takes ten extra seconds and removes an entire category of regret.
Save the Layered File First
-
Go to File > Save As
Cmd/Ctrl + Shift + S. Do this before you export anything — it’s the version you’ll want back.
-
Choose Photoshop From the Format Dropdown
That’s the .psd. TIFF can also hold layers, but .psd is the standard and the most compatible option inside the Adobe ecosystem.

Export the Flattened Version
-
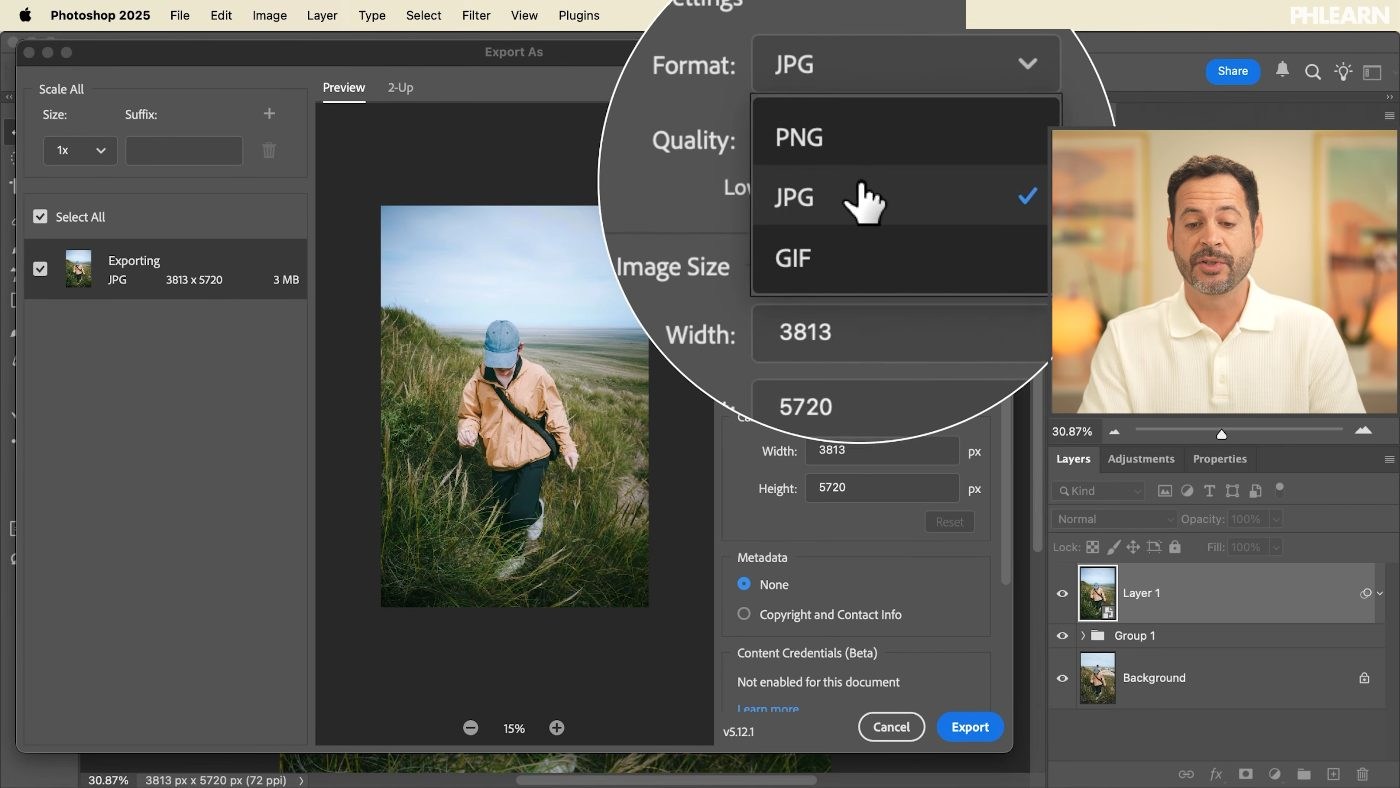
Go to File > Export > Export As
Not Save As again. Export As is the dialog with the settings that matter, and for almost every delivery the format you want is JPEG.
-
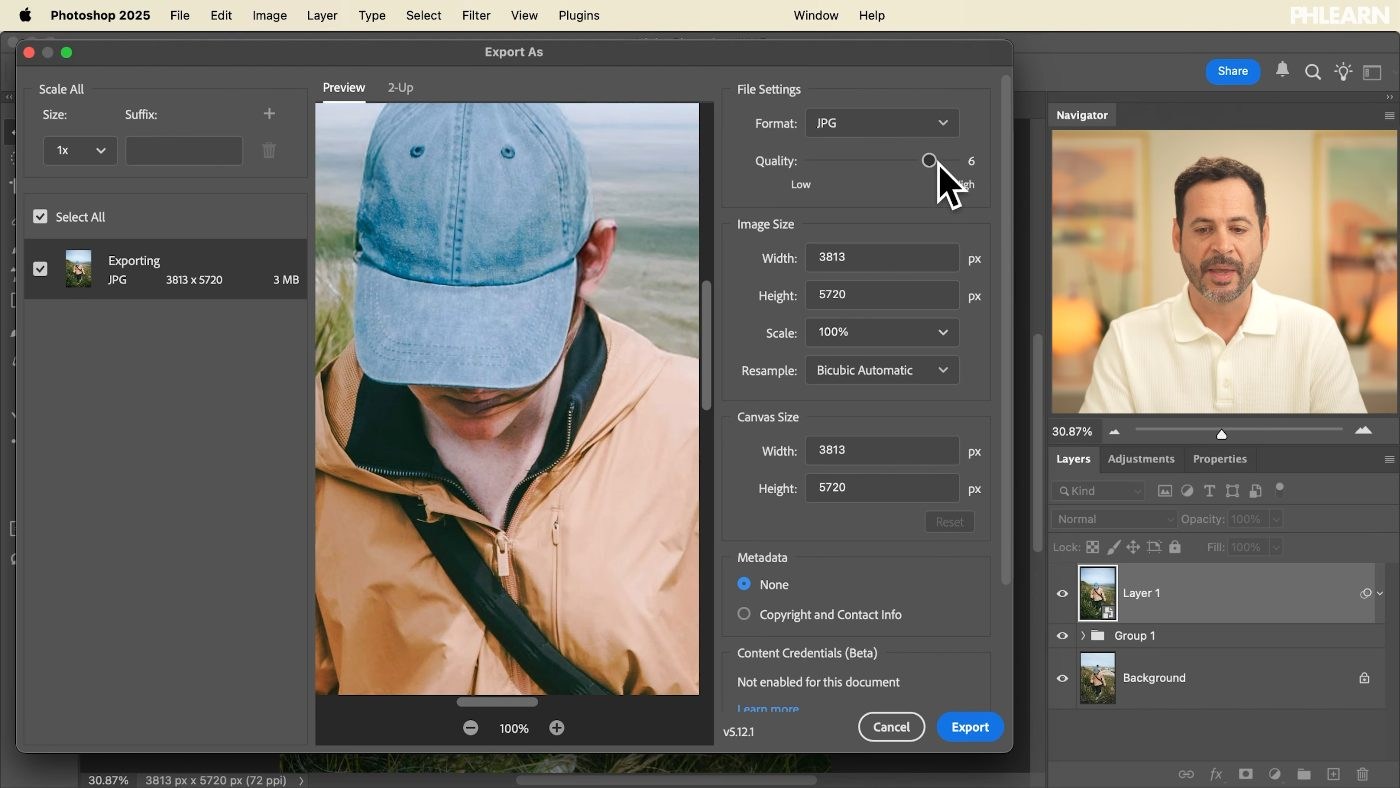
Set the Quality Slider Between 5 and 7
This is the fidelity-versus-file-size trade, and 5 to 7 is the range where the compression stops being visible but the file is still sensible. Pushing it to 10 usually buys you nothing you can see and a much larger file.
-
Set Width and Height for Where It’s Going
A web image doesn’t need print dimensions. Export As will also generate several sizes at once — useful when the same shot has to go to a site, a social post and a client folder.
-
Tick Convert to sRGB and Embed Color Profile
The two boxes that decide whether your colours survive the trip. Skip them and a carefully graded image can arrive dull or shifted on someone else’s screen — which is almost always what happened when an export “looks different” from the file you were editing.
Give the Output Its Own Folder
-
Click Export and Choose a Dedicated Export Folder
Keep finished JPEGs separate from working PSDs. It sounds like housekeeping, but mixing them is how the wrong version gets sent — and the wrong version is always the one that goes out.
When JPEG Isn’t the Right Answer
JPEG covers most deliveries, but three cases are worth knowing before you commit your Photoshop export settings.
You Need Transparency
JPEG has no alpha channel — a transparent background will come out white. Export PNG instead.
The File Is Going to a Printer or a Client’s Retoucher
TIFF holds far more data and survives being re-saved without degrading. JPEG loses a little every time it’s written.
It’s a Graphic Rather Than a Photograph
Flat colour, type and hard edges compress badly as JPEG and produce visible fringing. PNG handles them cleanly.
Where Exports Go Wrong
Colours Shift on Someone Else’s Screen
Convert to sRGB was unticked. This is the single most common export complaint and it has one cause.
The File Is Enormous
Quality is at 10 and the pixel dimensions are still full-size. Drop to 6 and resize for the destination.
You Can’t Get Back Into the Edit
Only the JPEG was saved. There is no recovery from this — save the .psd first, every time.
The Wrong Version Got Delivered
Working files and finished files were sitting in the same folder. Separate them.
Using Save As for the JPEG
It works, but you lose the resizing, the multi-size export and the explicit colour controls. Export As exists for a reason.
Why Exporting Deserves a Whole Day
It looks like the least interesting thing in this series, and it is the one most likely to undo the other twenty-seven days. An image that was graded carefully and then exported without a colour profile arrives looking worse than one that was never graded at all.
The other reason is reversibility. Every technique in 30 Days of Photoshop has been built on non-destructive editing — Smart Objects, masks, adjustment layers, Apply Image instead of Flatten. Exporting is the moment all of that becomes permanent, and the layered save is what keeps it from being the end of the edit. Your Photoshop export settings are the last decision in the file; the .psd is what lets you take it back.
Export One Image Properly Today
Open your most recent edit. Save As, format Photoshop, into your working folder. Then File > Export > Export As, JPEG, quality 6, resize for wherever it’s actually going, tick Convert to sRGB and Embed Color Profile, and export into a separate folder. Download the free sample images if you want something to practise on. If you’re preparing files for print, our PRO course How to Master Sharpening in Photoshop covers output sharpening, which is the step that comes right before this one.
Quick Reference: Keys, Menus and Settings
- Save the layered fileFile > Save As (Cmd/Ctrl + Shift + S), Format: Photoshop
- Open Export AsFile > Export > Export As, Format: JPEG
- Quality5 or 6; check the preview at 100%
- SizeWidth and Height or Scale; Resample: Bicubic Automatic; Metadata: None
- Keep the colorsConvert to sRGB and Embed Color Profile, both checked
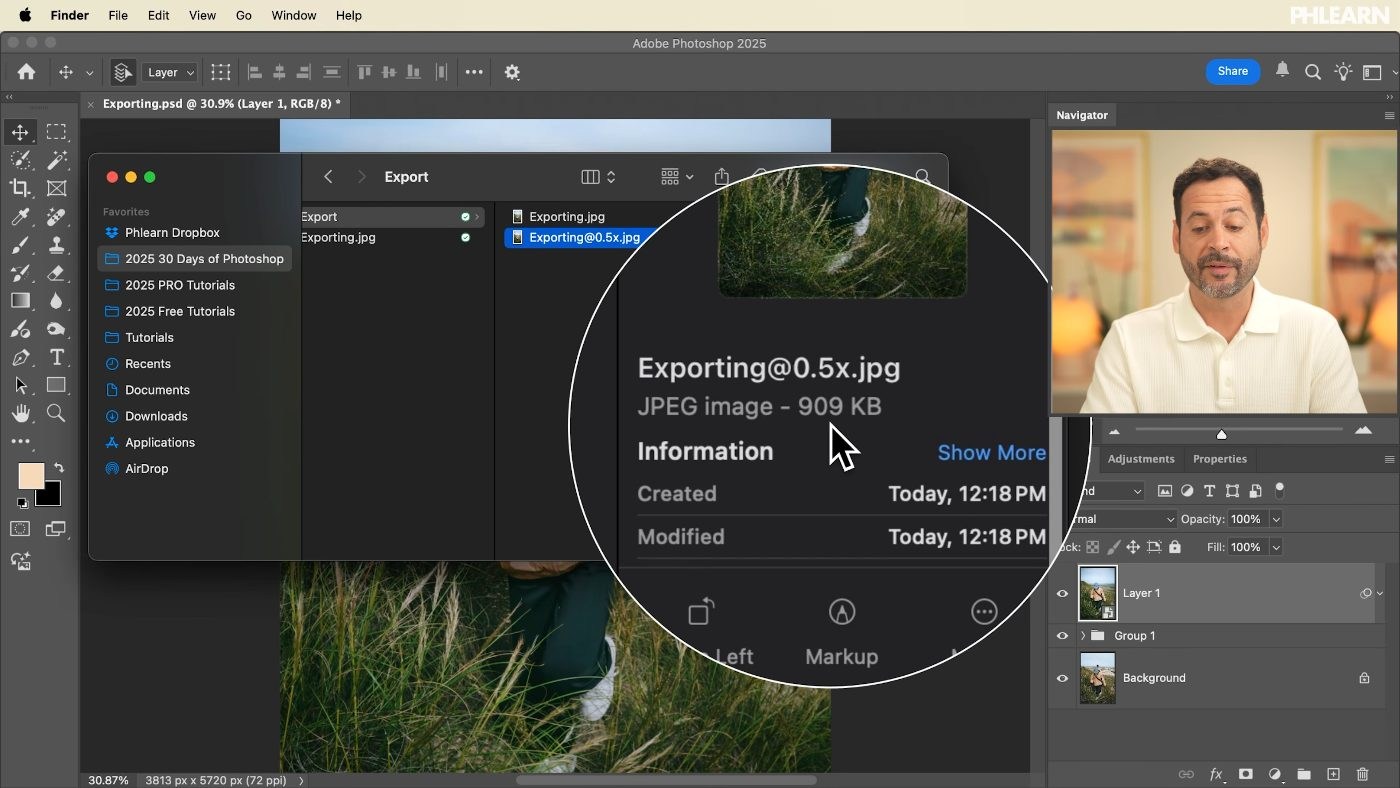
- Extra sizesPlus icon beside Size 1x, add 0.5x
- Where it goesExport into its own folder, separate from the PSD
Free Downloads
Follow Along on the Same Photo
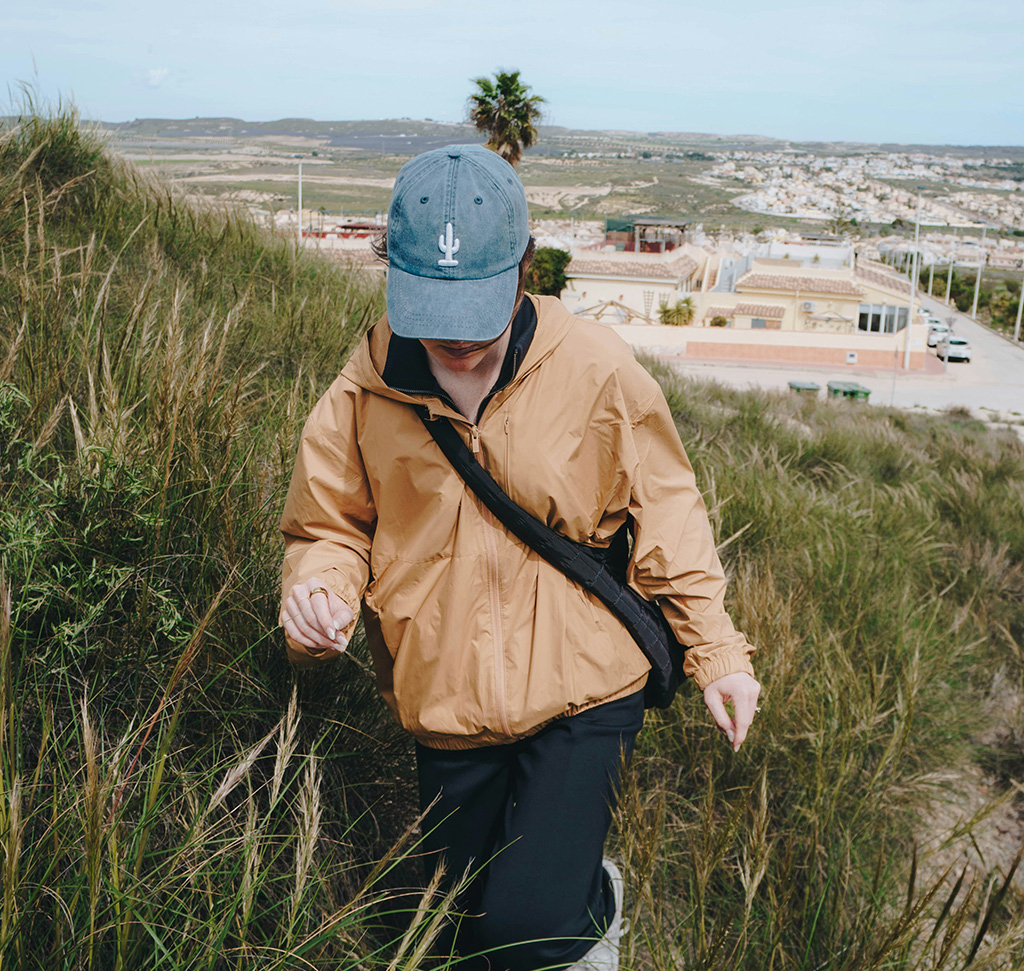
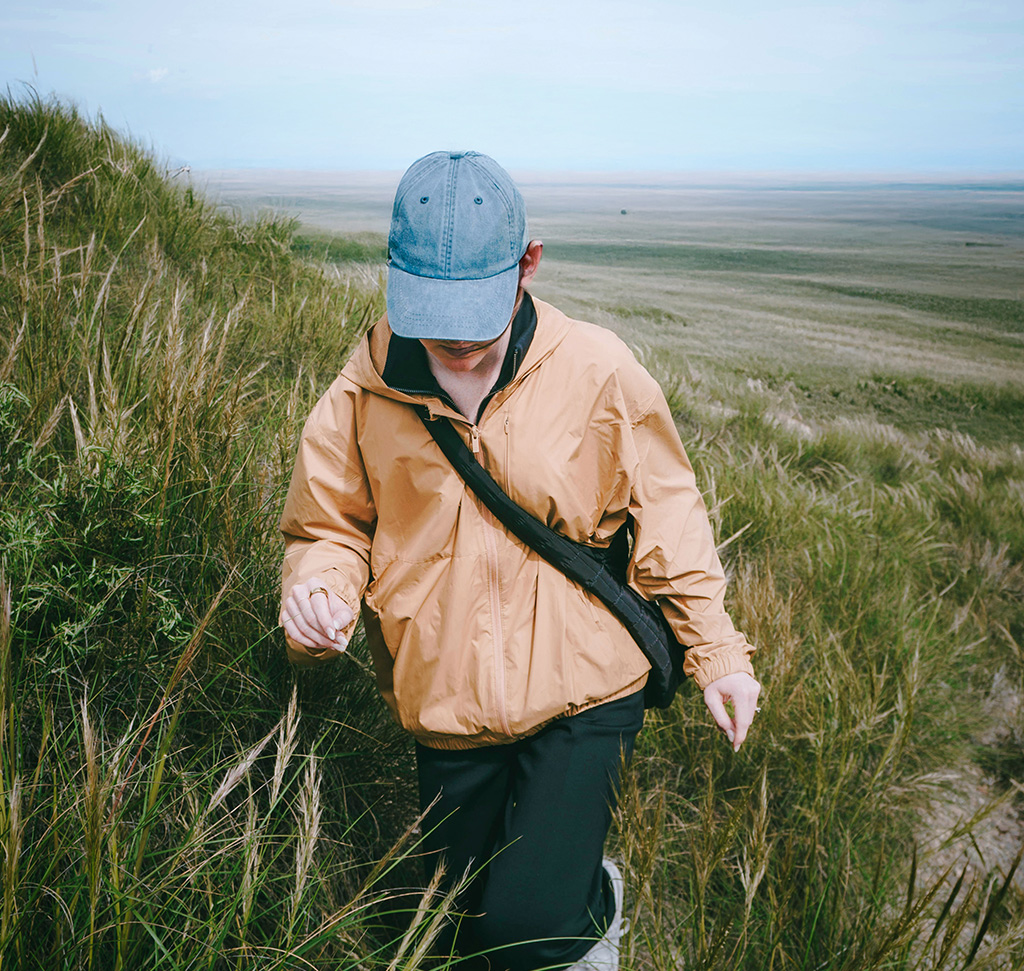
Get the hiking photo and the layered PSD of the edit, so you can save the working file and export a JPEG from the same edit. Free with a PHLEARN account.
Photoshop Export Settings: Common Questions
Why save both a PSD and a JPEG?
The PSD keeps every layer, mask and smart filter so you can change the edit later. The JPEG is the flattened copy you share for web, social or print. Keep only one and you either can’t deliver or can’t go back.
How do I save a layered file in Photoshop?
Go to File > Save As and choose Photoshop from the format list. That saves a PSD with all your layers intact.
What are Large Document Format, Photoshop PDF and TIFF for?
Large Document Format is only for files too big to save as a PSD, and Photoshop tells you when that happens. Photoshop PDF opens in PDF viewers. TIFF keeps layers and works in many programs, but inside Photoshop the PSD is the way to go.
Where are the export settings in Photoshop?
File > Export > Export As. Choose the format at the top right; most of the time that is JPEG.
What JPEG quality setting should I use?
A 5 or 6 is usually plenty. Zoom to 100% in the preview and you will rarely see a difference above that, while the file size keeps climbing.
When should I export a PNG or GIF instead of a JPEG?
Use PNG when you need a transparent background, since a JPEG fills it with white. GIF is for small animated files.
Why do my exported colors look different online?
Make sure Convert to sRGB and Embed Color Profile are both checked in Export As. Most web browsers use sRGB, so this keeps your colors as you edited them.
Should I resize the image when I export it?
For a web page or a smaller file, set Width and Height or pick a Scale such as 50%. Otherwise exporting at 100% is fine. In the video, Resample is Bicubic Automatic and Metadata is None.
Can I export several sizes at once?
Yes. In Export As, click the plus icon beside Size 1x and add a size like 0.5x. Both files export together, the smaller one with a 0.5x suffix.
Are the sample files free?
Yes, with a free PHLEARN account. You get 1 sample image and 1 sample PSD: the original photo and the layered edit, so you can save the working file and export the flattened version yourself.
Master Photoshop, Lightroom and Photography
Join PHLEARN PRO for $12.99 a month or $99.99 a year. Cancel anytime, with a 100% money-back guarantee.





