

Download Assets
This tutorial includes 1 sample PSD. Downloads are free with a PHLEARN account.
- Free sample files with every tutorial on PHLEARN
- New tutorials published every week
- Unlimited downloads with your free PHLEARN account
description
Every social platform covers part of your banner with its own interface, which is why each one publishes a template with guide layers. Aaron works inside those guides for Facebook, Twitter and YouTube, keeps text off the profile photo and button zones, fades a black fill into a gradient so headlines stay readable over a busy photo, exports through Save for Web with Convert to sRGB, and uploads each one.
Enjoying This Free Tutorial?
We publish a new free tutorial every week, each one with sample images and PSDs you can download and follow along with. Sign up and they land straight in your inbox, along with early word on sales, events and subscriber-only offers.
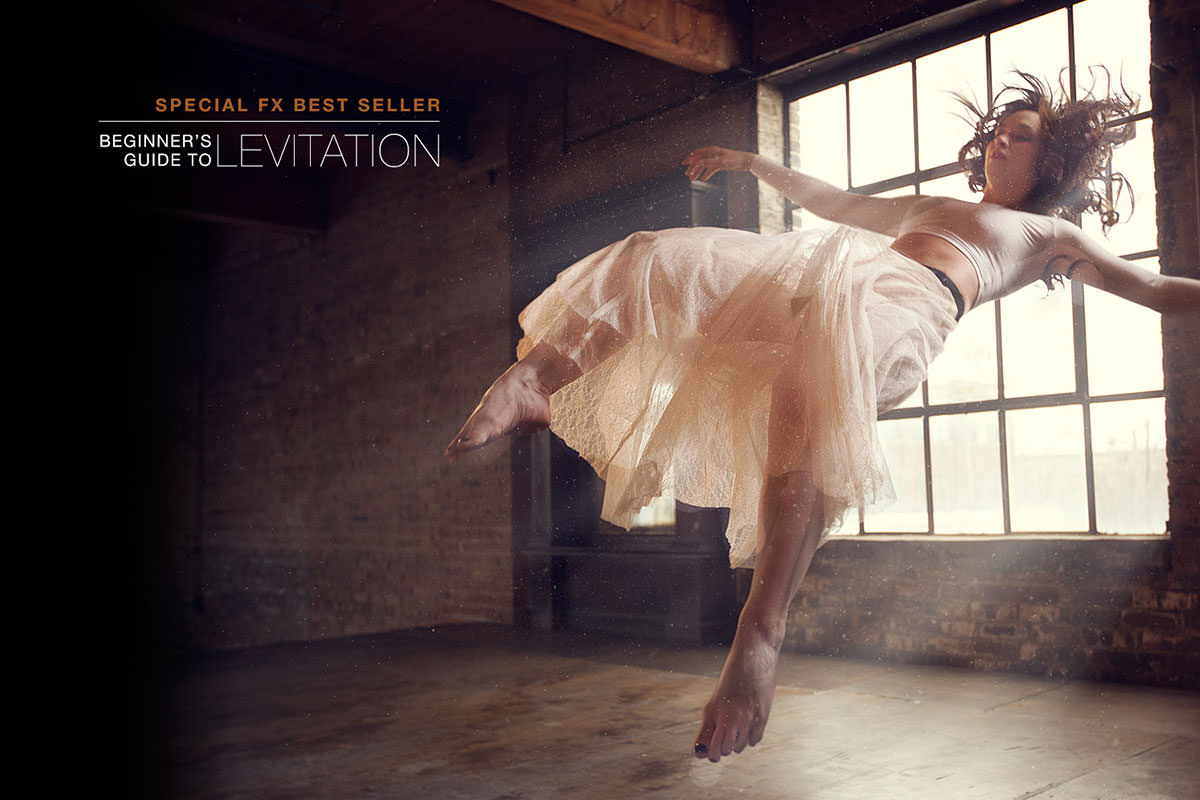
Facebook, Twitter, and YouTube each provide their own official banner template with guide layers marking exactly which areas get covered by profile photos, call-to-action buttons, or text overlays, so working inside those guides is what keeps a finished banner from looking cut off or blocked. This tutorial covers arranging content within each platform’s official template, using gradients to keep text readable over busy images, exporting with Save for Web, and uploading the finished banner directly to each social platform.
Starting With Each Platform’s Official Banner Template
Using the actual template file each social platform provides shows exactly which areas of a banner will be covered by interface elements like a profile photo or navigation buttons.
-
Download the Official Template for Each Platform
Download the official banner template PSD for Facebook, Twitter, or YouTube directly from that platform.
-
Open the Template and Review Its Guides
Open the template and identify the marked areas showing where a profile photo, call-to-action buttons, or other interface elements will cover the banner.
Arranging a Portrait and Text on a Facebook Banner
Dragging in a portrait, logo, and supporting text, then positioning them away from the marked profile photo and button areas, builds out a complete Facebook cover banner.
-
Drag In the Portrait and Text Layers
Shift-click the portrait, logo, and text layers in the source document and drag them into the Facebook banner template.
-
Position Content Away From Covered Areas
Move the portrait and text into open space on the template, avoiding the areas marked as covered by the profile photo and call-to-action buttons.
-
Scale and Align the Text Layers
Press Cmd/Ctrl+T to scale a logo or title layer, then Cmd/Ctrl+click multiple text layers and use the Move tool’s align options to line them up on the left edge.
-
Group and Fine-Tune Position
Cmd/Ctrl+click the aligned layers, group them together, and nudge the group’s position with the arrow keys for final placement.
Adding a Dark Gradient Behind Text on a Twitter Banner
Filling a selection with black, then fading it with a foreground-to-transparent gradient, darkens part of a busy background image just enough to keep overlaid text readable.
-
Position the Background Image
Drag in the background image and scale it to cover the visible area shown by the template’s guide.
-
Fill a Selection With Black
Make a selection over the area where text will sit, and press Shift+Delete to fill it with black on a new layer.
-
Fade the Black Fill With a Gradient
Select the Gradient tool set to foreground-to-transparent with black as the foreground color, then drag while holding Shift to create a smooth fade from solid black to transparent.
-
Add Text Over the Gradient
Drag in title and description text layers and position them over the darkened gradient area for readability.
Why a Gradient Works Better Than a Flat Black Box Behind Text
A solid black rectangle placed directly behind text would create a harsh, obviously artificial edge cutting across the banner’s background image. Fading that black fill into transparency with a gradient instead blends the darkened area smoothly into the rest of the image, keeping text legible without an abrupt visual break.
Framing a YouTube Banner Around Its Text and Logo Safe Area
Darkening the edges of a YouTube banner with black fills and gradients on both sides keeps logo and text elements inside the platform’s marked safe area, where they’ll display correctly across devices.
-
Scale the Main Image to Fill the Canvas
Drag in the main image and scale it up so it fills the entire YouTube banner canvas.
-
Fill the Edges With Black
Select the areas outside the text and logo safe zone and fill them with black on a new layer.
-
Add Gradients Fading Into the Image
Use the Gradient tool to fade the black fill on both sides into transparency, blending it into the main image.
-
Place Logo and Text Within the Safe Area
Position logo and text elements specifically within the marked text and logo safe area so they remain visible across different YouTube viewing devices.
Why Text and Logo Safe Areas Matter Across Devices
A YouTube banner displays differently depending on whether it’s viewed on a desktop, tablet, phone, or TV, with each device cropping the visible area differently. Keeping logos and text confined to the marked safe zone ensures those elements stay visible no matter which device someone is using, even though some background image content near the edges may not show up on smaller screens.
Exporting the Finished Banner for the Web
Hiding the guide layer and exporting through Save for Web, with Convert to sRGB enabled, produces a properly color-corrected file ready to upload.
-
Hide the Guide Layer
Turn off visibility on the template’s top guide layer before exporting, since it’s only meant to be visible while designing.
-
Export With Save for Web
Go to File > Export > Save for Web, confirm Convert to sRGB is checked, and save the file as a JPEG.
Why Convert to sRGB Matters for the Export
An image edited in a wider color profile can shift noticeably once viewed in a browser, since browsers like Firefox, Chrome, and Safari all read images using the sRGB color space regardless of the profile the file was saved in. Enabling Convert to sRGB inside Save for Web ensures the banner’s colors display correctly and consistently once it’s live on a social media page.
Uploading the Finished Banner to Each Social Platform
Each platform’s own cover or banner upload option accepts the exported file directly, applying it immediately to the profile.
-
Upload to Facebook
On Facebook, click Change Cover, choose Upload Photo, select the exported file, and save changes.
-
Upload to Twitter
On Twitter, go to Edit Profile, choose to change the header photo, upload the file, and apply it.
-
Upload to YouTube
On YouTube, open channel settings, select Edit Channel Art, choose the file from the computer, and confirm.
More Free Photoshop Tutorials
To build on the layout and export techniques used here, check out these free tutorials:
- How to Select Subjects and Refine Edges in Photoshop
- Three Ways to Use Blend If in Photoshop
- Curves vs Levels in Photoshop: What the Difference Actually Is
Why This Approach Works
Starting from each platform’s own official template is what guarantees a banner’s important content avoids being covered by a profile photo, buttons, or interface chrome that varies by platform. Using a black-to-transparent gradient instead of a flat solid fill behind text is what keeps darkened areas looking like a natural part of the image rather than an obviously pasted rectangle. Exporting with Convert to sRGB enabled is what keeps colors accurate once the banner is viewed in a web browser, since browsers read images using that specific color profile regardless of how the file was originally saved.
Final Thoughts
Each platform has its own quirks, safe areas, and covered zones, but the same basic workflow, template, arrange, darken for readability, export, and upload, applies across all of them. Keeping a set of ready-made templates on hand makes it quick to refresh social media banners any time there’s a new product, sale, or announcement to promote.
New Free Tutorials View All »











Enjoying This Free Tutorial? Go Further with PRO.
Unlock Full Sample Files, PSDs, and Hundreds of Masterclasses!

Download full project assets, original PSDs, and RAW images for every lesson
Unlimited access to our complete library of PRO Photoshop & Lightroom courses
Instant 4K Ultra HD streaming on all devices, anytime, anywhere
Full access to our entire library of Photoshop Actions, Presets, and LUTs
Flexible monthly and annual membership plans
Cancel anytime with zero hassle or commitments