How to Make Beer Look Amazing in Photoshop
Product photography can be very difficult to master. Every Highlight, Shadow, and reflection show up in perfect detail and can make or break an image.
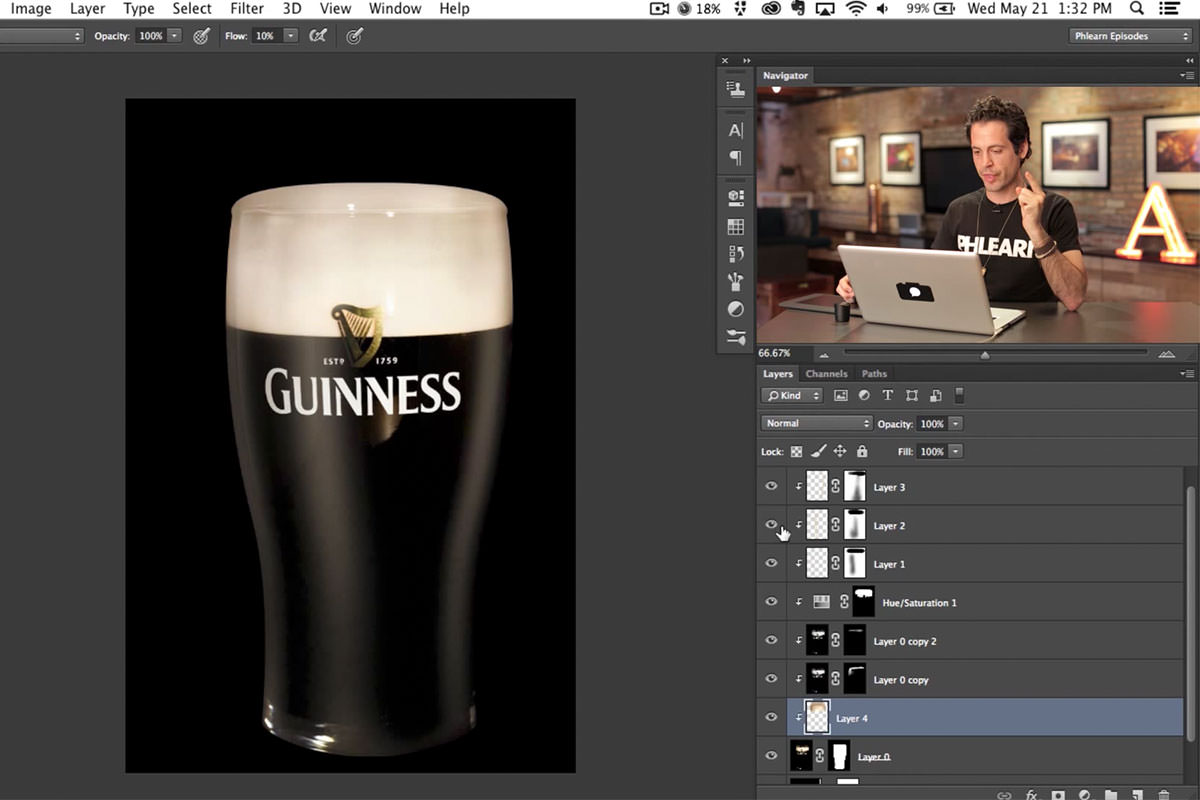
In this two part series, How to Make Beer Look Amazing in Photoshop, we show you how to take a normal photo of a Guinness and make it really stand out. You will learn how to cut the beer out from the Background, how to create Highlights on the glass, how to give the beer a proper “head”. In part two you will learn how to create bubbles and precipitation on the glass, create a Reflection of the glass and add a nice glow to the background.
Cut Out the Beer from the Background
The first step in creating this amazing image is to cut the beer glass out from the Background. The first reason why we need to cut the beer out of the background is that we will wind up replacing the background and need clean lines to do so.
By cutting the beer glass out we also make creating the highlights on the glass much easier. We also use the “cut out” process to define the head of the pour.
To cut the glass out of the Background we use the Pen Tool combined with an awesome technique that only requires creating a path over half of the glass and then duplicating the selection over the other half. This technique requires less work and is guaranteed to be symmetrical.
Creating Highlights on the Glass
After cutting out the beer glass we use the sections from the edges to create the highlights. Highlights on glass will follow the Contour of the original glass.
Once the selections have been made we fill them with a Light Color, change the layer Blend Mode to “Screen”, clip the selections to the beer layer and blur each Highlight.
Creating the Head
The last thing we cover in this episode is creating the “head” of the beer pour. The head on a Guiness pour is a detail that can’t be missed if you want to properly represent the brand. We use the original Pen path we made to cut out the beer and fill it in with a Color we borrow from the rest of the head.
At this point there is no definition in the head and we lose all detail from the glass. We take care of this by duplicating the glass over top of the head and changing the Blend Modes until the highlights and Shadows show through. This is a vital step in making the end image look real.
Join Us for Part
Join us for part two of this episode where we cover how to add bubbles and condensation to the glass, create a Reflection of the glass, and create a background glow to help define the bottle.