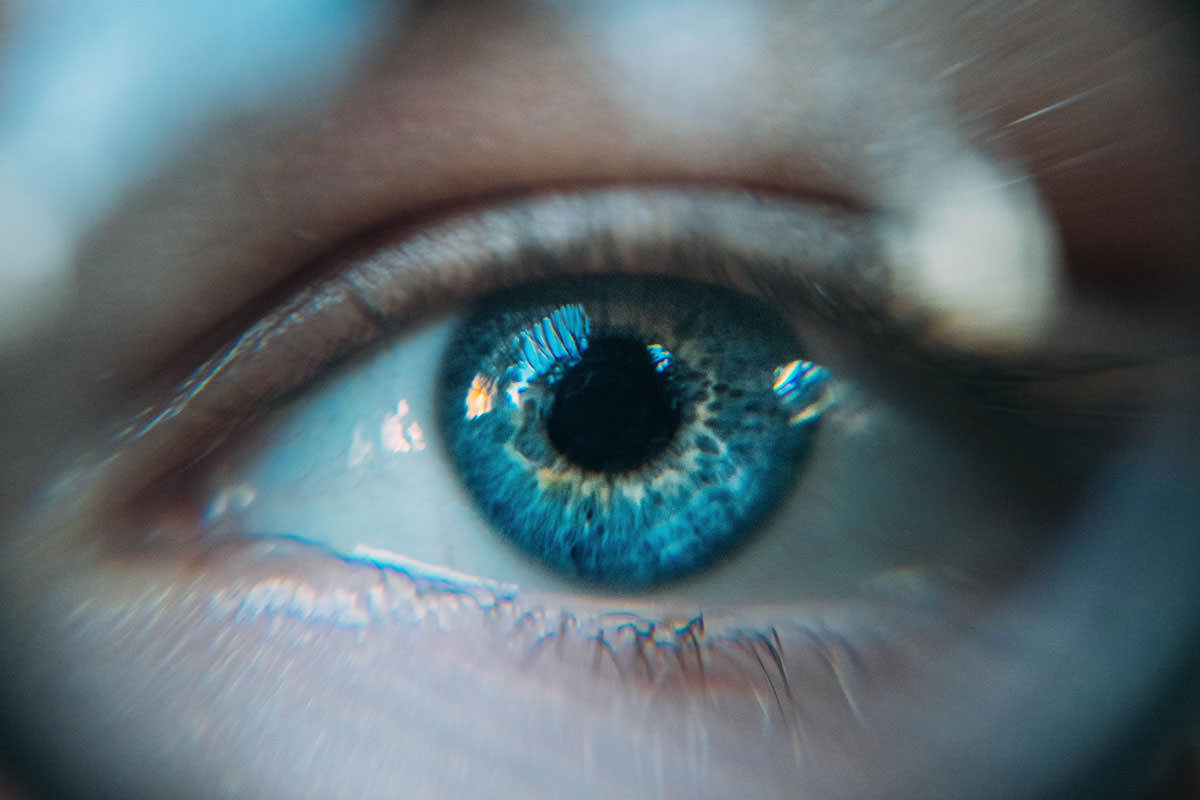
BEFORE
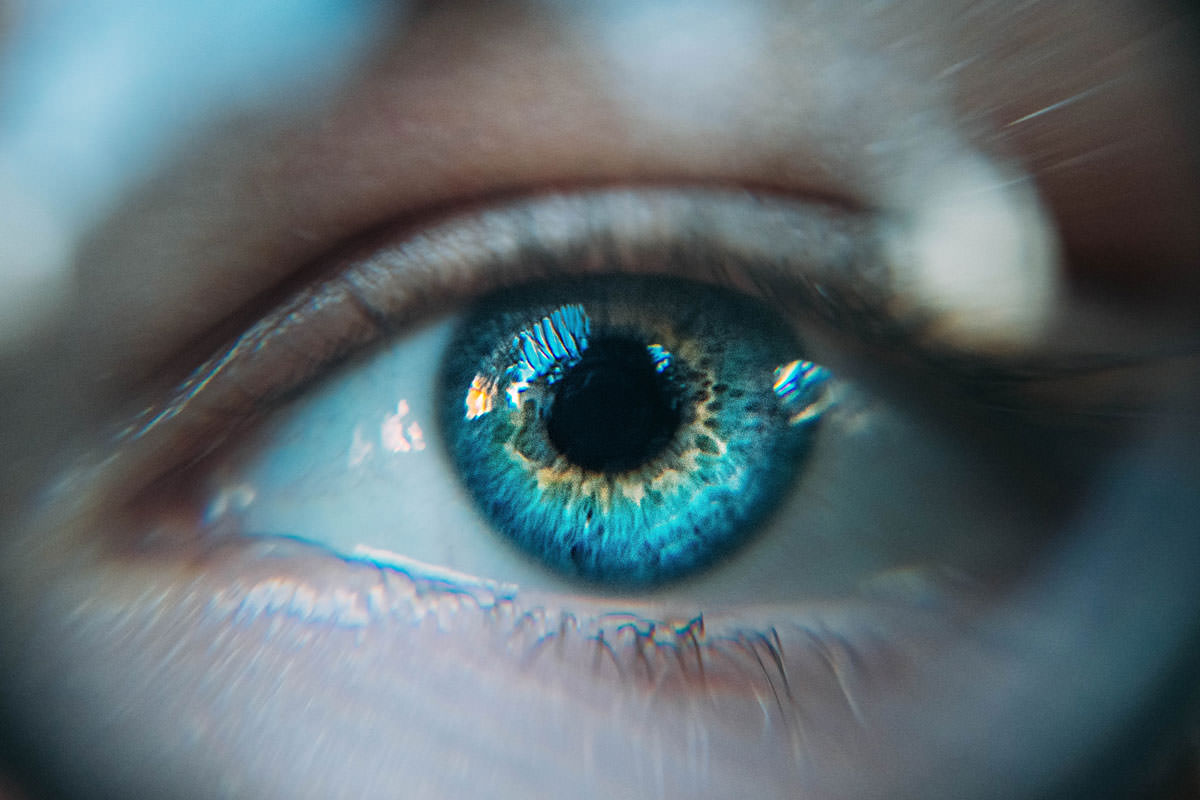
AFTER
Download Sample Images
Click the link below to download the sample images and follow along with this tutorial.
DownloadDescription
Eyes are detailed, complex, and often the main focal point of a portrait. In this tutorial, learn how to adjust the highlights and shadows, add and enhance colors, and apply professional sharpening to help any set of eyes look extraordinary.
Curves
Controlling the highlights and shadows in an image can help bring out more detail and create more visual interest. We can use a Curves Adjustment Layer to enhance some areas of the eye by adding additional shape to the highlights.
Add a Curves Adjustment Layer over top of your image and, in the Curves dialog, drag the midpoint up slightly. You’ll notice that the entire image will get a bit lighter. In order to target specific areas where we want these highlights to appear, invert the Layer Mask by hitting CTRL or CMD + I. This will fill the Layer Mask with black, making the Curves Adjustment Layer invisible. Hit B for the Brush Tool and then paint with white on the Layer Mask of the Curves Adjustment Layer where you want to enhance the highlights in the image.
Be sure to try to lighten areas that already have highlights and follow the natural curves of the eye. Your goal should be to have a nice balance of highlights, midtones, and shadows.
Solid Color Fill
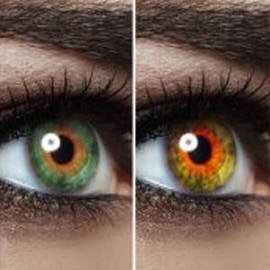
Eyes will often contain multiple colors and a gradient from light to dark. We can use Solid Color Fill Layers and Blending Modes to either enhance the original colors or completely change the colors in the eye.
Create a Solid Color Fill Layer over your image and choose a color that you’d like to integrate into the eye. Change the Blending Mode to either Overlay or Soft Light (Both work in a similar way but Soft Light will have a slightly more subtle effect.) Like we did with the Curves Adjustment Layer, select the Layer Mask and hit CTRL or CMD + I to invert it, making the Solid Color Fill Layer invisible. Using the Brush Tool, you can paint white on the Layer Mask to integrate the new colors into any parts of the eye that you wish.
Unsharp Mask
Eyes are typically the most important areas to sharpen in a portrait. Once all of your highlight and shadows adjustments and coloring are complete, create a new layer, and go to the Image menu and select Apply Image. This will create a copy of all visible layers onto the new layer you just created.
Next go to Filter, Sharpen, and to Unsharp Mask. A dialog will appear that will allow you to dial in the amount of sharpening you feel is appropriate for the eyes. Once you’ve adjusted the Unsharp Mask settings to your taste, hit okay. Since we only want this sharpening to appear over the eyes, select the Layer Mask of the sharpened layer, invert it, and use the Brush Tool to paint white over the areas that you want the sharpening to be visible.