
Tutorial Description
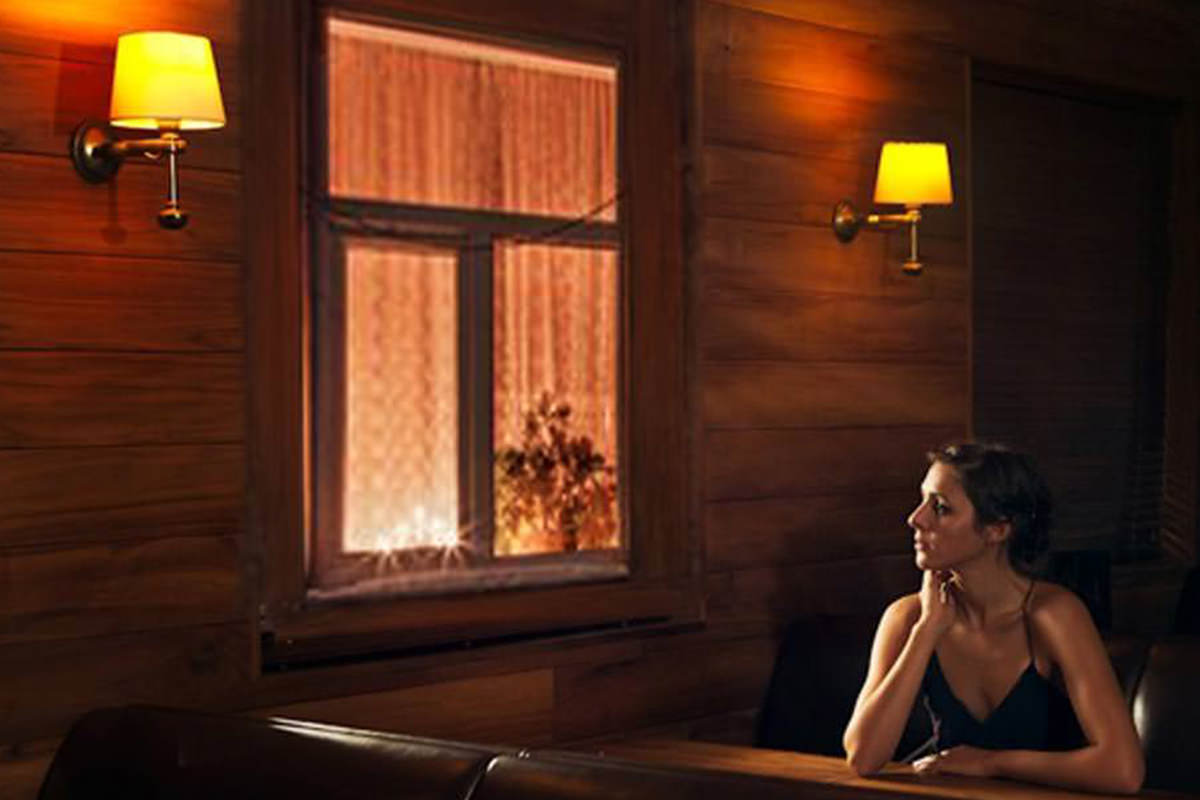
When there is a need to replace a window in Photoshop, or bringing part of one photo into another, it is absolutely necessary that you match the colors and perspective to make it look like it belongs there. We start with two photos, with two completely different Angles of perspective. By using the Transform Tool, we can pull the edges of the window from Baarnijs’ photo and Warp it to match the leading lines of Claude’s. This brings the perspective together, but our colors and Exposure still look out of place. To match our Colors, we can pull up a Curves Adjustment Layer and apply a Clipping Mask. Clipping Masks are a Tool we use very regularly. With the Clipping Mask applied, the Curves layer is visible ONLY where the new window is visible. We can then adjust the colors to match without worrying about affecting the rest of the photo.
Building a Frame From Pixels
The border around the window still doesn’t mesh with it’s surroundings. By using the Transform Tool, we can take one of the wooden boards that make up the wall and create a custom window Frame from scratch. The Colors and Exposure of the Frame can then be matched to the rest of the photo using another Curves Adjustment Layer.
Window Image
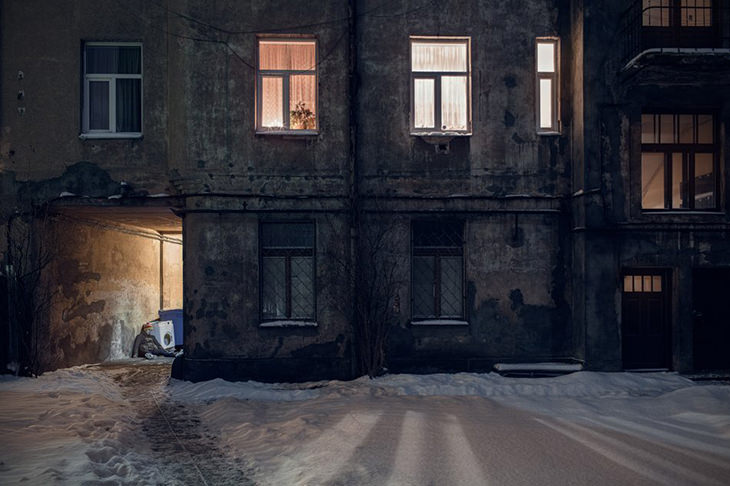
Image by Baarnijs