DOWNLOAD SAMPLE IMAGES
description
Learn to transform your photos using Lightroom Classic’s powerful AI Masking tools. This tutorial covers automatically selecting and enhancing subjects, people’s features and landscape elements. Plus, discover how to sync these AI edits across an entire photo series for a fast, consistent workflow!
JOIN 10 DAYS OF AI (FOR FREE!)
Ready to jump in? Sign up and we’ll email you a printable calendar and daily class schedule so you can get started right away!
Image Source
- lhon karwan
- Micah & Sammie Chaffin
Images sourced from Unsplash.
Share
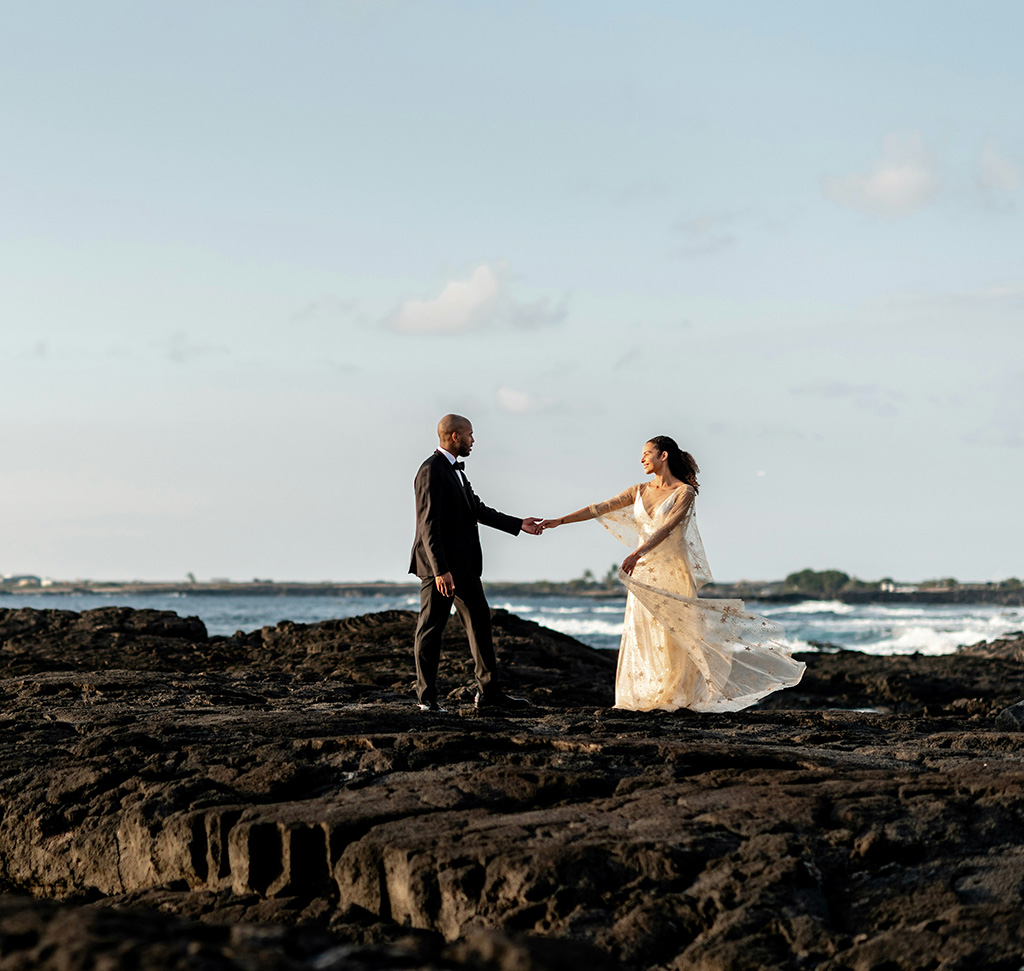
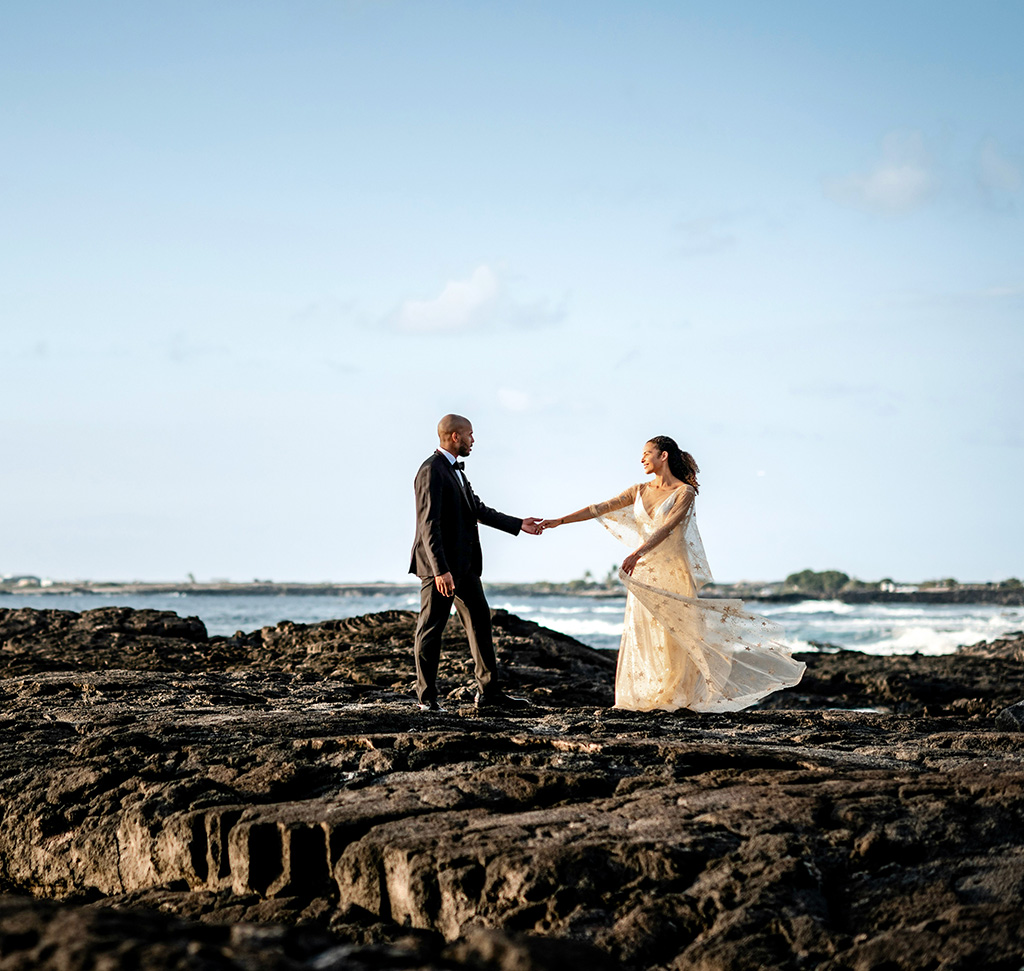
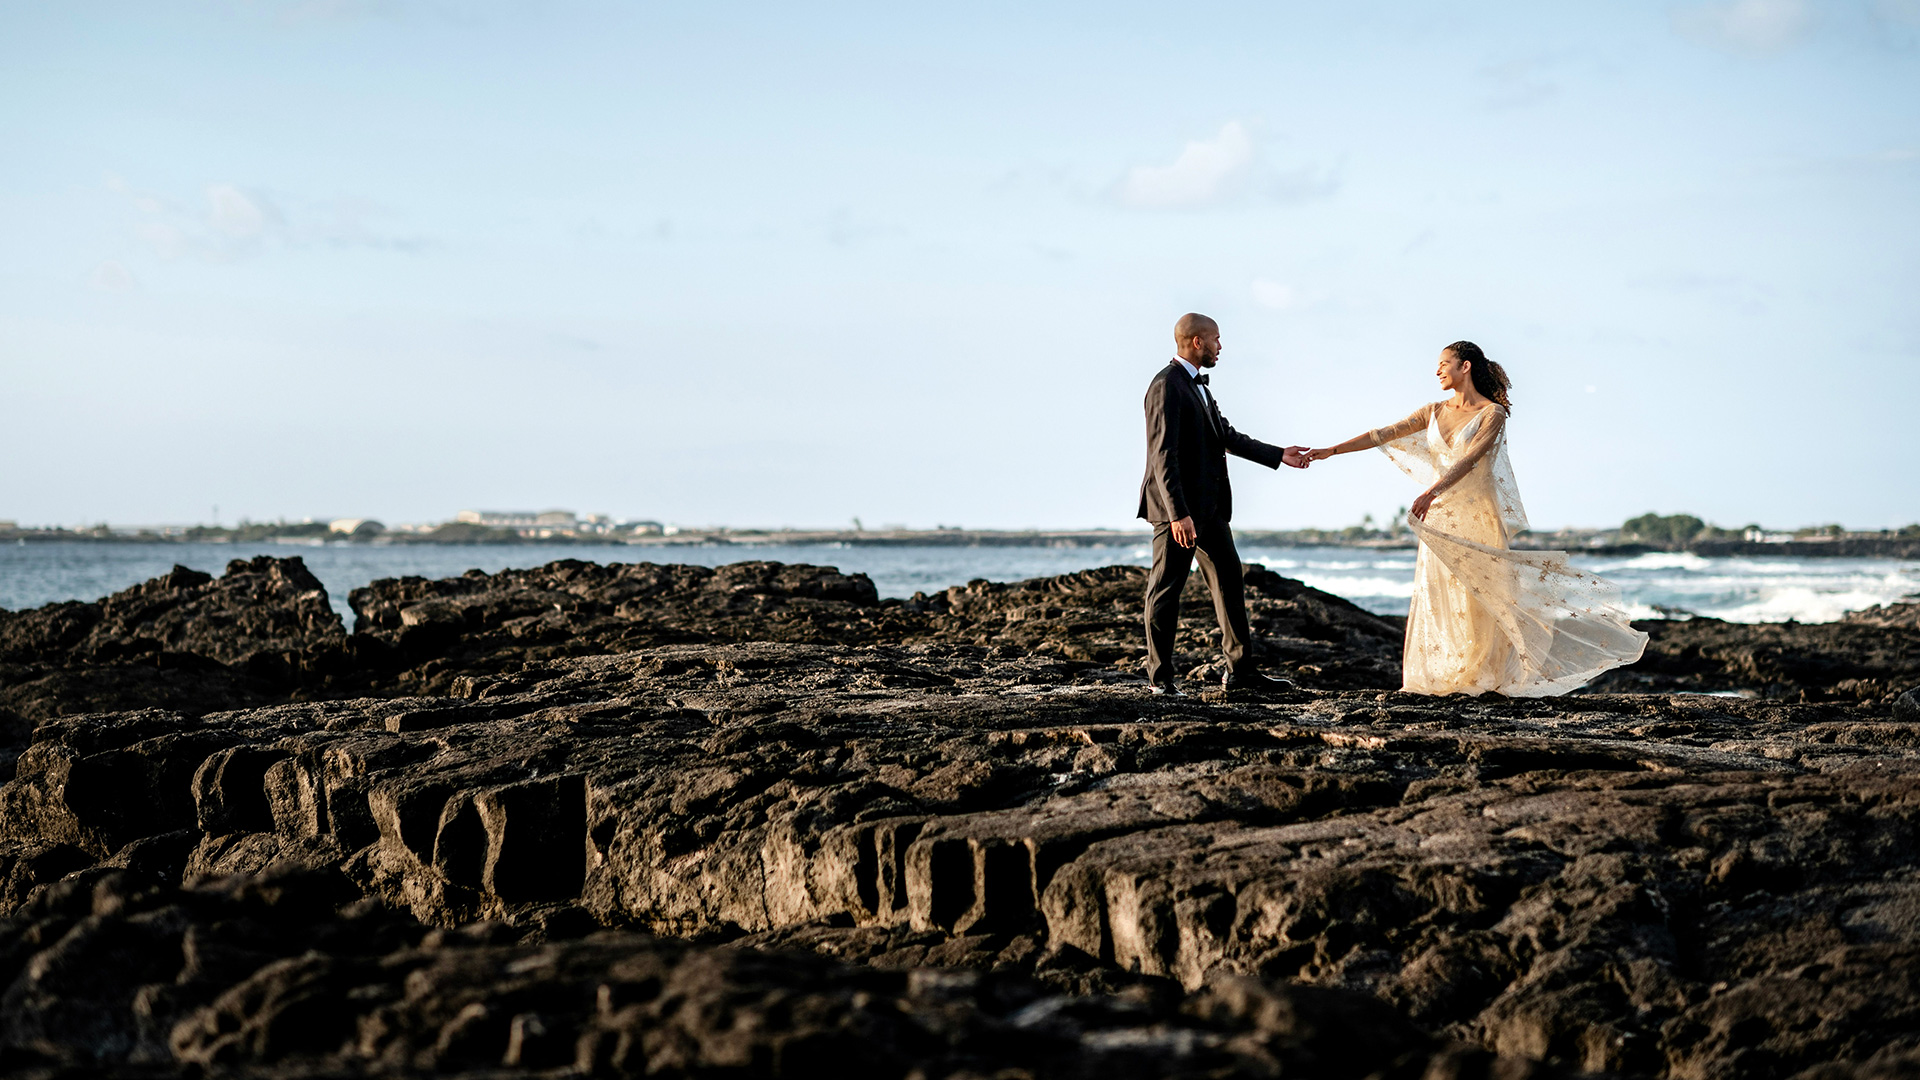
AFTER
BEFORE
Master AI Masking
Lightroom Classic’s new AI Masking tools make photo editing much better for photographers! Their selection accuracy means you can fix up different areas of your photo one by one, making sure every detail looks great. Best of all, you can quickly use these AI masks on many photos at once, saving a lot of time.
The Masking Panel Tour
To begin editing, select your image and enter the Develop Module. The masking tools are located on the right-hand side. The panel offers powerful automatic selection options:
Select Subject: Finds the primary person, object, or animal in your frame.
Select Sky: Isolates the entire sky area.
Background: The inverse of the subject selection.
Landscape: A powerful tool that detects features like Sky, Water, and Natural Ground simultaneously.
People: Allows you to target specific features on a person, such as facial skin, hair, and clothes.
You can show or hide the selection overlay (which appears red by default) by pressing the keyboard shortcut O.
Isolate Your Subject
The first step in a typical portrait workflow is to make the subject pop.
1. Start by creating a new mask and choosing Background. Lowering the exposure of the background (the Tone tab) helps the subject stand out.
2. To add a natural highlight behind the subject, use the Subtract function and choose a Radial Gradient. Drag this gradient out behind the subject and use the exposure slider to make that specific area slightly brighter.
3. Next, use Select Subject to create a mask for your main focus. Here you can lift shadows, refine highlights, adjust color temperature for a warmer look, and add subtle detail using Texture and Clarity adjustments.
4. For even more precise control, use Select People to target features like Clothes (to boost saturation) or Skin/Hair (to brighten shadows without affecting the clothes).
Synchronize Photo Edits
One of the biggest advantages of editing in Lightroom is the ability to transfer complex AI masks across multiple photos.
1. Once you have finished editing your primary image, switch back to the Library Module. 2. Select your primary (edited) image, then hold Shift and select the other photos in the series.
3. Go to Sync Settings at the bottom of the interface. Ensure that all options, including Masks, are checked, and click Synchronize. The AI will quickly update the masks on all selected images, applying the exact same local adjustments perfectly to each photo. If you need to make changes later (e.g., adjust the brightness of the hair mask), simply edit the primary photo again, select the series, and repeat the Synchronize process.
Landscape AI Edits
For landscape photography, the built-in detection is incredibly efficient. Go to Create New Mask and select the Landscape option, which will generate separate masks for Sky, Water, and Natural Ground.
Sky: Adjust the Color Temperature to make it cooler or add a subtle green tint for a more natural blue.
Natural Ground: Boost the Exposure slightly and significantly increase the Clarity to bring out detail and texture in the foreground.
Adding Light: You can also use a Radial Gradient mask positioned off-center to simulate a natural light source or glow over the landscape. If you don’t want this glow to affect people in the scene, simply click Subtract and choose Select Subject from the mask settings.
That’s a wrap on AI Masking! Tomorrow, we will dive into more powerful AI tools available in Lightroom Classic, including Lens Blur for professional-grade depth of field and the powerful Denoise function.


