

Download Assets
This tutorial includes 1 sample image, 1 sample PSD and 1 PDF guide. Downloads are free with a PHLEARN account.
- Download the sample images and PSDs from every free tutorial on PHLEARN
- New free tutorials published every week
- One free account — sign up once, then download anything
Free PDF Guide · 5 Pages
This Tutorial as a Step-by-Step PDF
Every step from the video in order: installing the beta, the Dynamic Text button and its four shapes, the rounded rectangle and ellipse behind the text, the Move tool’s align buttons, the Properties options, and rotating with Cmd/Ctrl. Keep it next to your keyboard.
description
The updated Dynamic Text tool in Photoshop Beta snaps type into Circle, Arch and Bow shapes as a live, fully editable layer — no paths, no warping.
Enjoying This Free Tutorial?
We publish a new free tutorial every week, each one with sample images and PSDs you can download and follow along with. Sign up and they land straight in your inbox, along with early word on sales, events and subscriber-only offers.
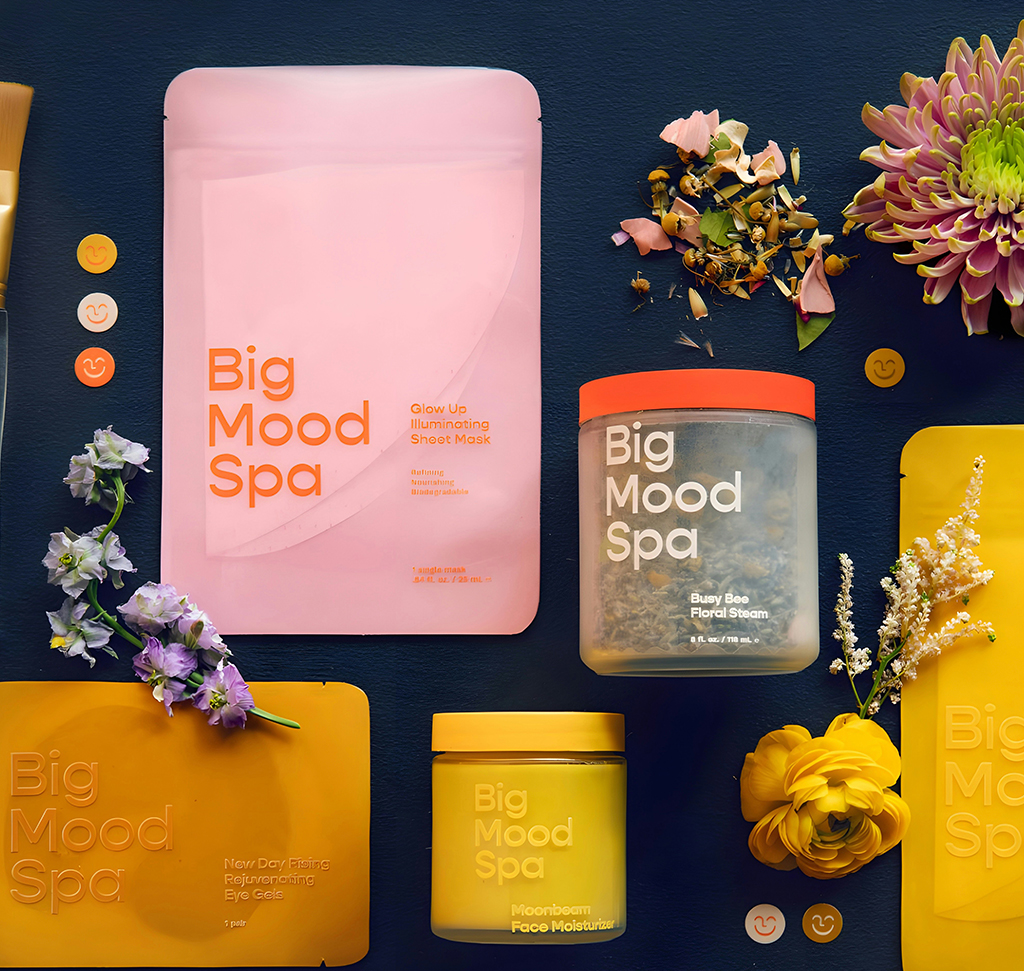
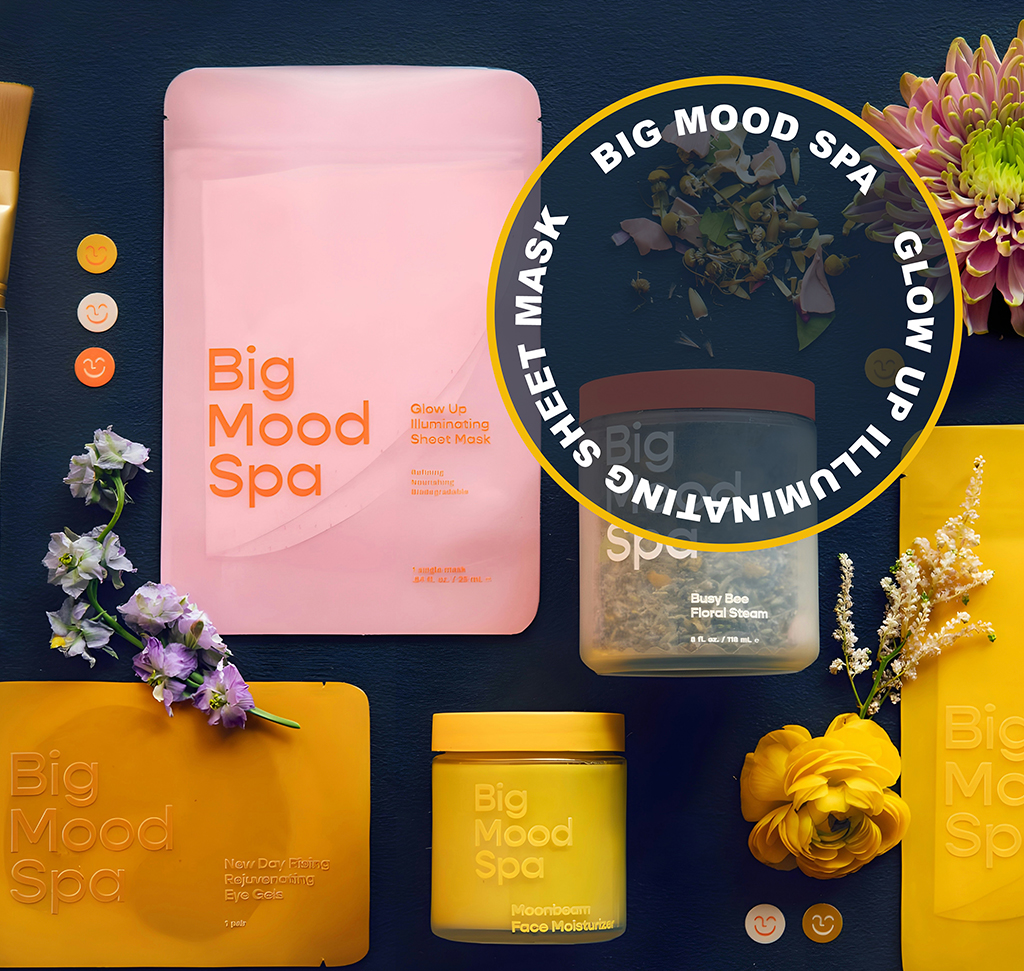
The Updated Dynamic Text Tool Puts Type Into Shapes, Unwarped
Fitting text to a circle used to be a small ordeal: draw a path, place type on it, discover the spacing is wrong, adjust the path, watch the type reflow badly, warp it instead, then find the warp is baked in and the whole thing is stuck.
The 2026 Dynamic Text update in Photoshop Beta replaces that with a menu. Choose Circle, Arch or Bow, and the type snaps into the shape as a live, editable object — font sizes adjust to fill the space, the bounding box stays draggable, and nothing is committed until you say so.
What Changed in the Dynamic Text Tool From the 2025 Version
Three Shapes Instead of One Block
The previous release offered a rectangular block and that was it. Circle, Arch and Bow are the new additions, and between them they cover most of what people were building by hand.
The Type Resizes Itself to Fit
Rather than reflowing awkwardly, the text scales to fill the shape. Change the shape’s proportions and the type rebalances instead of overflowing.
It Stays Editable
The layer behaves like a smart vector object. Words, font, shape and proportions can all change afterwards — which is exactly what a warp transform never allowed.
Get the Beta and Set Up Your Type
This is Beta-only for now, so step one is installing the right application.
-
Install Photoshop Beta From Creative Cloud
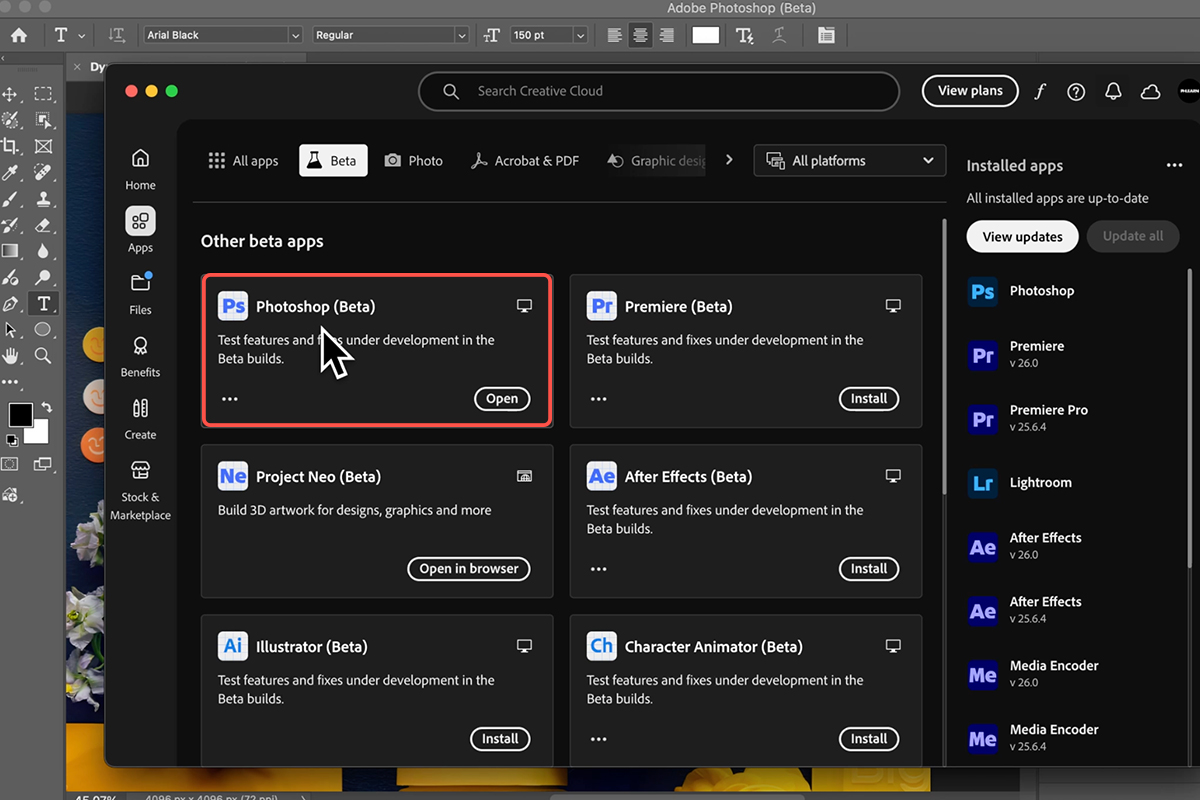
Open the Creative Cloud desktop app, go to All Apps, then the Beta apps tab. Photoshop Beta installs alongside your regular version rather than replacing it, so there’s no risk to your production setup.
-
Create a Text Layer With the Type Tool
Press T, then click and drag to make a bounding box rather than clicking once. A dragged box gives you a paragraph text layer, which is what the shape options need to work with.
-
Type or Paste Your Content
Get the words in before choosing a shape. It’s much easier to judge which shape suits the copy when the copy is actually there.
Apply a Shape
-
Find the Lightning Bolt Icon
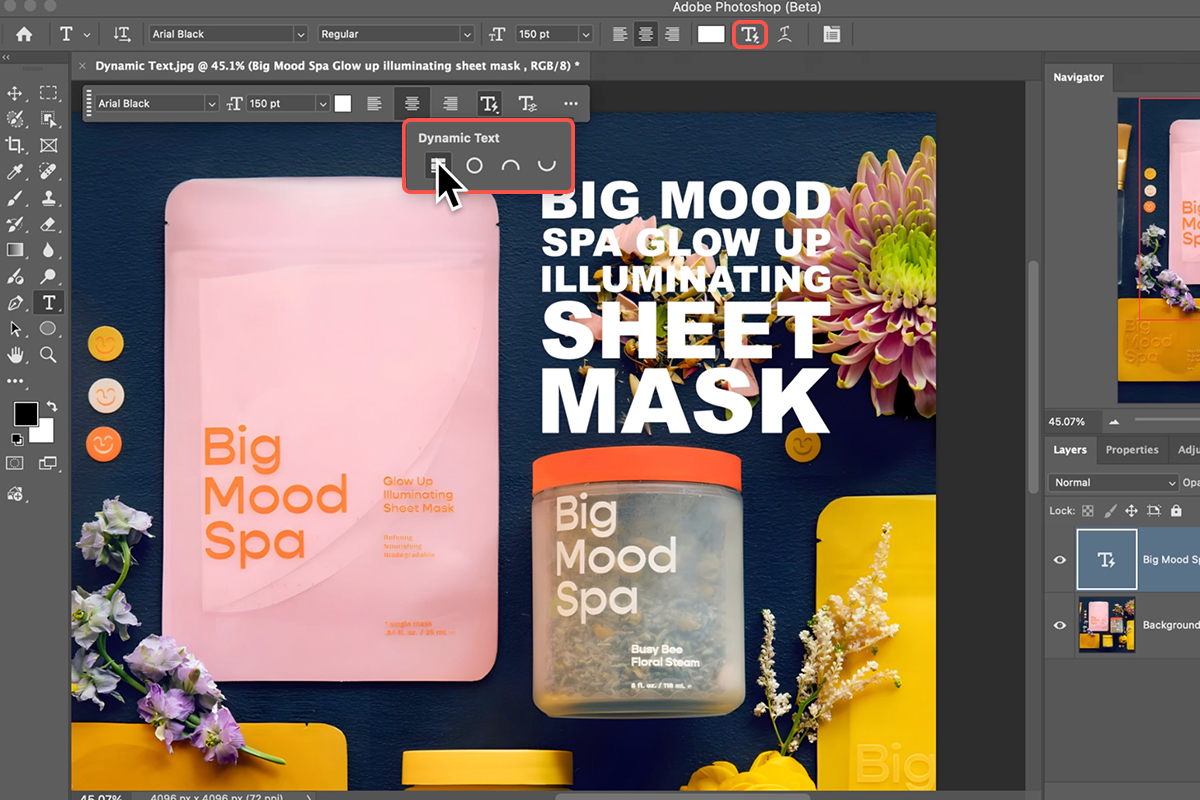
With the text layer selected, look at the Contextual Task Bar or the Options Bar along the top. The Dynamic Text control is the lightning bolt. Click it to open the shape menu.
-
Pick Circle, Arch or Bow
The type snaps into the shape immediately, sizing itself to fill. Try all three — they read very differently with the same words, and it costs nothing to switch.
-
Drag the Corners to Change the Proportions
Pull the bounding box wider or taller and the layout shifts between horizontal and vertical in real time. This is the fastest way to find the version that fits your composition, and it’s live rather than a transform you have to commit to.
Align It With the Rest of the Design
-
Select the Text Layer and the Shape Behind It
Hold Cmd/Ctrl and click both layers in the Layers panel. Circular type over a circular badge only looks right when the two centres agree exactly, and eyeballing it never quite gets there.
-
Centre Them With the Move Tool
Press V and use the alignment icons at the top — horizontal centres and vertical centres. Two clicks, and the concentricity is exact.
Refine and Commit
-
Open the Properties Panel for the Finer Controls
While the dynamic text is active, Properties gives you the options that matter most on circular type: flip the direction, and set whether the type sits above, below or centred on the path. Text running along the bottom of a circle almost always wants flipping.
-
Rotate the Whole Shape
Hold Ctrl/Cmd while using the Type Tool and drag a corner. This turns the entire arrangement rather than the individual characters, so the spacing survives intact.
-
Commit With the Checkmark or Cmd/Ctrl + Enter
Both commit without breaking the text flow. Clicking away elsewhere can leave the layer in an odd state, so use one of these two.
Things to Watch For
Clicking Instead of Dragging With the Type Tool
A single click gives you point text, which doesn’t have a bounding box for the shape options to use. Always drag.
Aligning by Eye
Circular type magnifies a few pixels of offset into something obviously wrong. Use the alignment icons.
Forgetting It’s Beta
These shapes don’t exist in the release version, so a PSD built with them won’t behave the same for a collaborator who isn’t on Beta. Worth knowing before sending a file out.
Choosing the Shape Before the Words
How much text there is changes which shape works. Write first, shape second.
Why Live Beats Baked
The old way of doing this — warp transforms, type on a path — produced a result and then locked it. Any change meant starting again, so people settled for the first version that looked acceptable.
Tools that stay live change what you’re willing to try. When switching from Circle to Arch costs one click, you actually compare them; when it costs redoing fifteen minutes of work, you don’t. That’s the real gain here, and it’s worth noticing wherever Adobe replaces a destructive step with a live one.
Build Something With It
Install Photoshop Beta, press T and drag a box, type your copy, click the lightning bolt, pick Circle, Arch or Bow, drag the corners to fit, align it against your background shape with the Move Tool, then flip or reposition on the path in Properties and commit with Cmd/Ctrl + Enter. Download the free sample image and PSD and build the exact version — then try it on a badge or a poster of your own, where circular type does the most work. To go further across Photoshop, our PRO Photoshop Learning Path runs to 11 courses.
Quick Reference: Keys, Menus and Settings
- Get the betaCreative Cloud > All Apps > Beta > Photoshop Beta (the shapes have since shipped in Photoshop 2026)
- TypeT, drag a box, paste or type; Dynamic Text button in the Contextual Task Bar or options bar
- The four shapesBlock, Circle, Arch, Bow; the layer gets a lightning bolt
- Reflow a blockDrag a corner of the bounding box; vertical or horizontal, the words refit
- A shape behind itRectangle or Ellipse tool (hold Shift for a circle); Fill from the image with the eyedropper, lower Fill, round the corners by dragging the corner widget
- Align text and shapeCmd/Ctrl-click both layers, Move tool, Align Horizontal Centers and Align Vertical Centers
- Path optionsProperties > Dynamic Text: shape, above/centered/below the path, text direction
- Rotate the circleWith the Type tool, hold Cmd/Ctrl outside a corner and drag
- CommitThe checkmark in the options bar (Enter adds a line; Cmd/Ctrl + Enter also works)
Mac first, then Windows where they differ.

Free Downloads
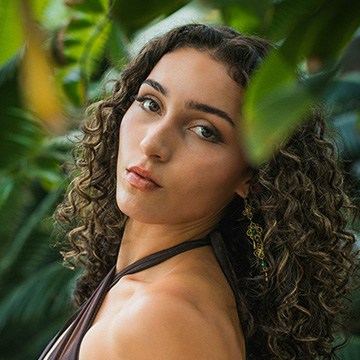
Follow Along on the Same Photo
Get the sample image, the PSD with the block and circle text groups, and the PDF guide. Free with a PHLEARN account.
Dynamic Text Shapes: Common Questions
What changed in Dynamic Text?
The 2025 version had one job: fit the words to the box. The update adds shapes. Click Dynamic Text and choose Block, Circle, Arch or Bow, and the text wraps itself around that shape while staying fully editable.
Do I still need the beta?
When this was recorded the shapes were only in Photoshop Beta (Creative Cloud > All Apps > Beta, available to anyone with a Photoshop subscription). They have since shipped in the full Photoshop 2026, so update and check the Dynamic Text button.
What does Block do?
It sizes each word to fill the box and reflows them when you drag the bounding box, so you can go from a wide layout to a tall one by dragging a corner. It does the graphic design work for you.
How do I get text in a circle?
Select the text layer, click Dynamic Text and choose Circle. Making circular text used to be one of the harder things in Photoshop; now it’s one click. Arch and Bow work the same way.
My text isn’t centered on the shape behind it. How do I fix that?
Cmd/Ctrl-click both layers, switch to the Move tool and use the align buttons in the options bar: Align Horizontal Centers and Align Vertical Centers. Then scale the shape with Cmd/Ctrl+T and Option/Alt to keep it centered.
Can the text go inside the circle or read the other way?
Yes. In the Properties panel under Dynamic Text you can change the shape, put the text above, centered on or below the path, and flip the text direction.
How do I rotate the circle of text?
While the Type tool is active, hold Cmd/Ctrl, move the cursor just outside a corner until it becomes a curved double arrow, and drag. Add spaces between words with the Type tool if you want a gap on the path.
Why does Enter add a line instead of finishing?
Because you’re still editing text. Click the checkmark in the options bar to commit (Cmd/Ctrl+Enter works too). The result is a vector, so you can resize it any time without losing quality.
Are the sample files free?
Yes, with a free PHLEARN account. You get the sample image, the PSD and the PDF guide.
New Free Tutorials View All »






Enjoying This Free Tutorial? Go Further with PRO.
200+ PRO courses. 1,000+ practice files. One membership.

Unlimited access to every PRO course
New PRO courses every month
Layered PSDs and RAW files to follow along
100+ Lightroom Presets, LUTs, Actions and Brushes
Stream in up to 4K, with captions and chapters
Watch on any device: desktop, tablet or phone
4.93 average from 3,900+ reviews · 2M+ students