Download Sample Images
description
Photoshop includes hundreds of tools to help you create great images. While every tool can be useful in certain situations, there are only a select few that are essential to getting the absolute most out of the program.
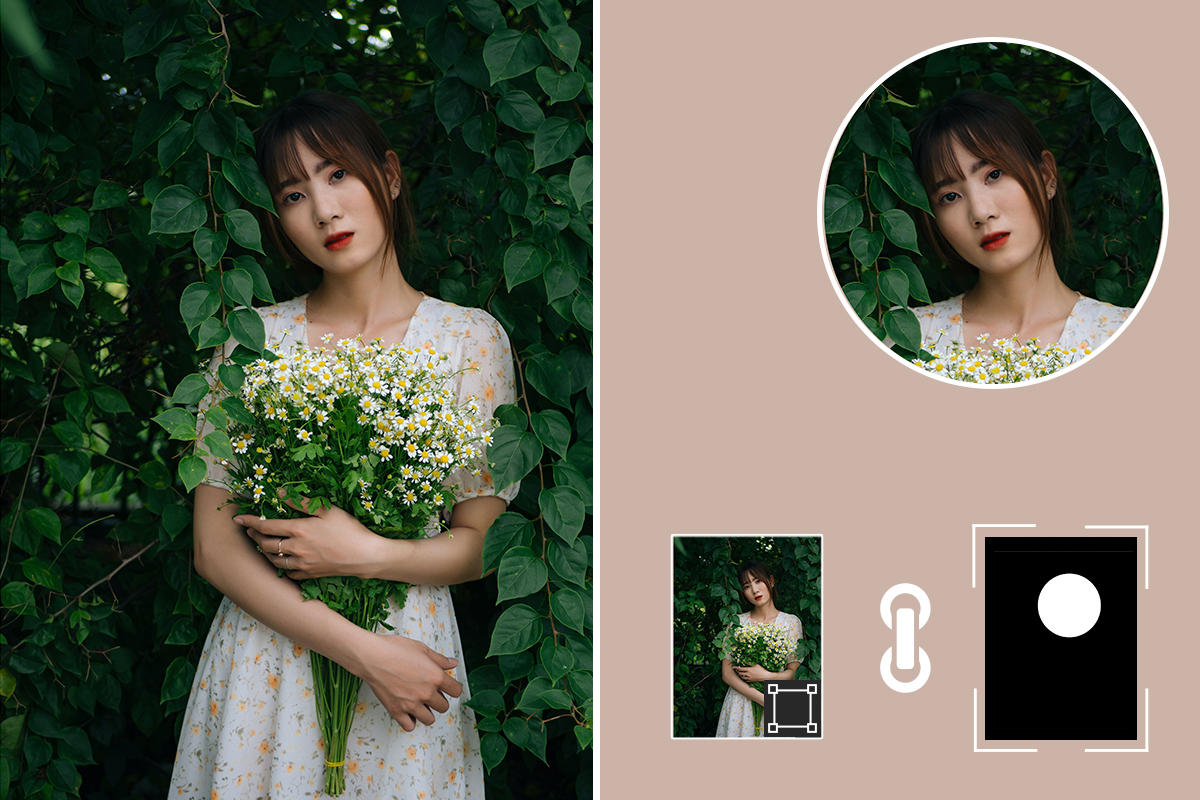
Layer Masks are a foundational piece of the visual artist’s Photoshop workflow. From hiding and revealing parts of a Layer, to creating more advanced Selections, to working non-destructively, Layer Masks can help us do quite a bit. Follow along as we break down our top 10 tips to mastering this essential Photoshop tool.
If you don’t believe just how important Layer Masks can be, then check out our PRO course How to Master Layers & Groups in Photoshop.
Share
10 Tips to Master Masks
What Are Layer Masks Anyway?
Let’s start things off the most important question: what the heck are Layer Masks anyway? If you know Photoshop, you likely know about Layers and how they can be stacked on top of each other to create different effects. Layer Masks are a tool that can be added to any Layer that allow us to hide and show parts of that Layer with any amount of precision that we choose.
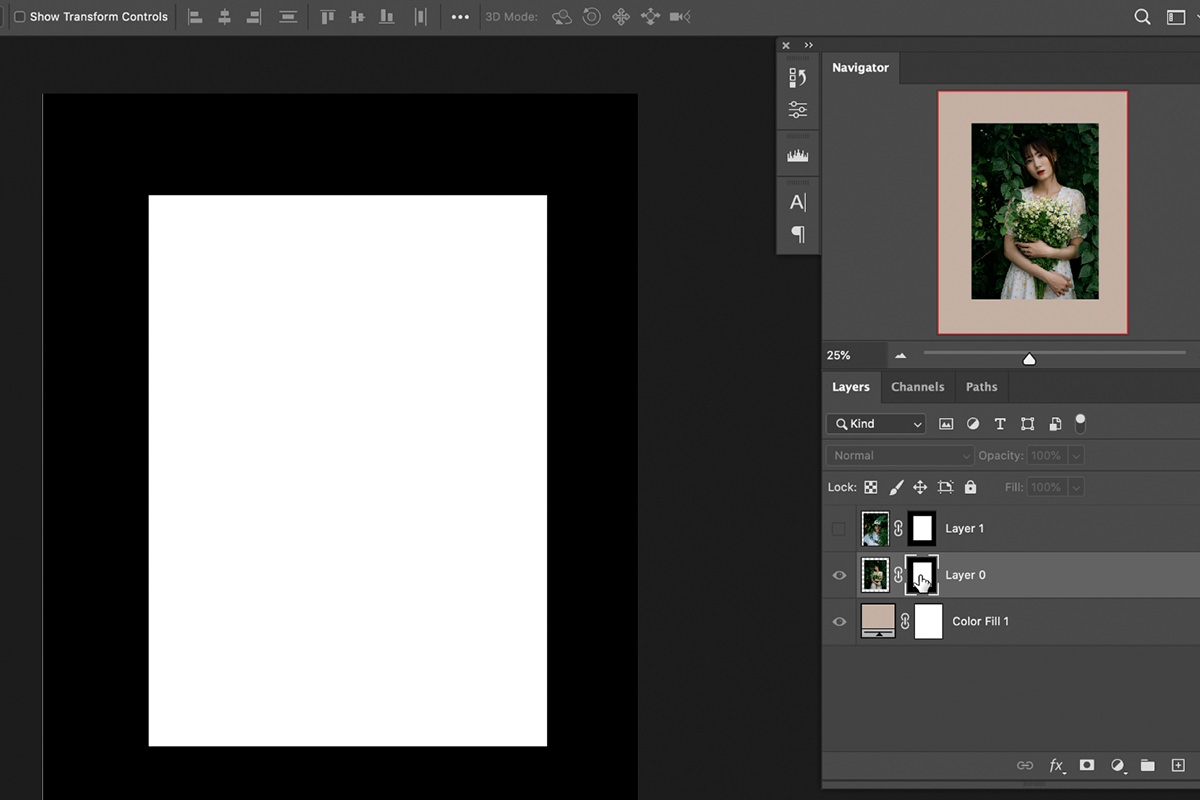
The most important thing to remember when using and learning Layer Masks is that black conceals and white reveals.
So, if you want to hide part of a Layer, you’ll need to change that area of the Layer Mask from white to black. If you want to show part of a Layer, you’ll need to change it from black to white.
Keeping this in mind, let’s get into our top 10 tips mastering Layer Masks!
1. Start with a Black or White Layer Mask
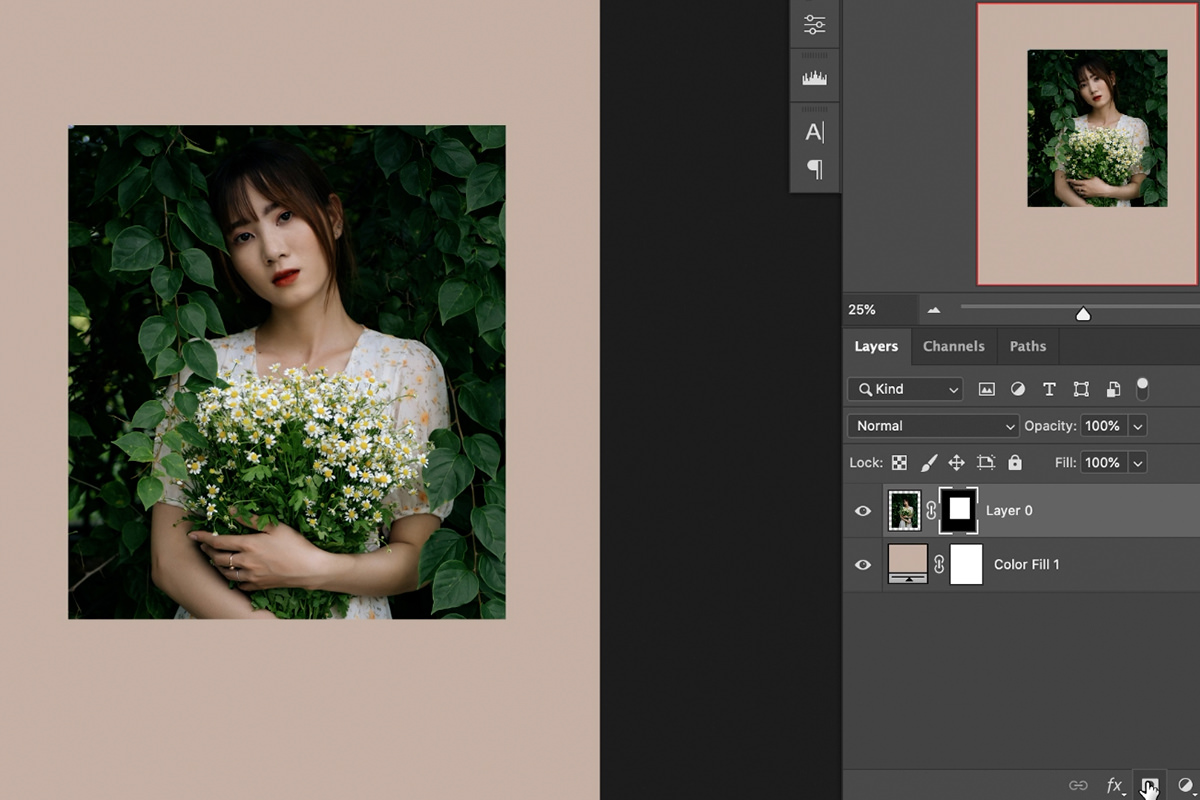
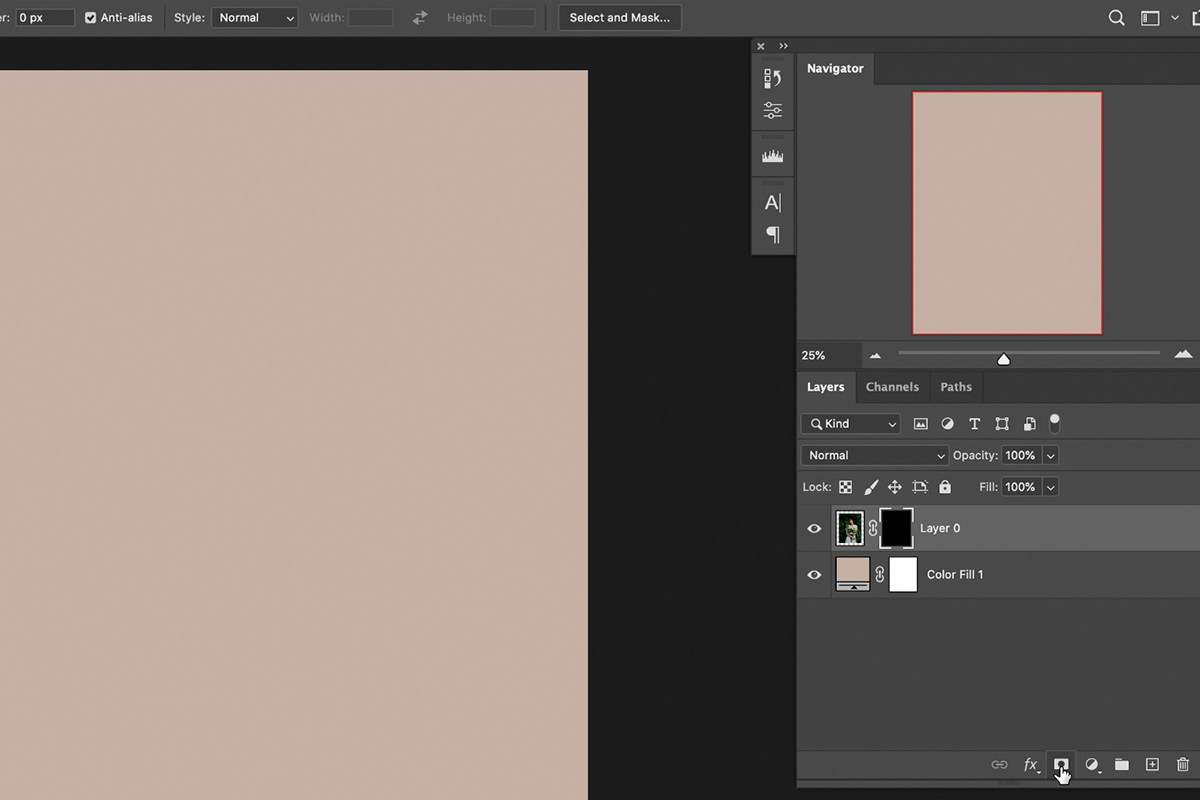
Oftentimes you’ll either want to start with a Layer completely hidden or completely visible depending on how much of it you want to integrate into the overall image. By default, clicking on the Add a Layer Mask icon will create a new, white Layer Mask. This means that the Layer you add the mask to will remain completely visible.
But what if you want that entire Layer to be hidden? You could create a white Layer Mask and then fill the Layer Mask with black. But, if you want to save a few clicks and keystrokes, you can also hold the ALT key while clicking on the Add a Layer Mask icon. This will create a new, black Layer Mask, making that entire Layer invisible.
2. How to Move Layers & Layer Masks Independently from One Another
It’s pretty common that once you’ve made a Layer Mask, you might want to adjust the framing and composition of the content of that Layer Mask. That means you’ll either need to move the Mask without moving the contents of the Layer or vice versa.
By default, Layers and Layer Masks are linked, meaning that when you move or transform one, the same movement or transformation will happen to the other.
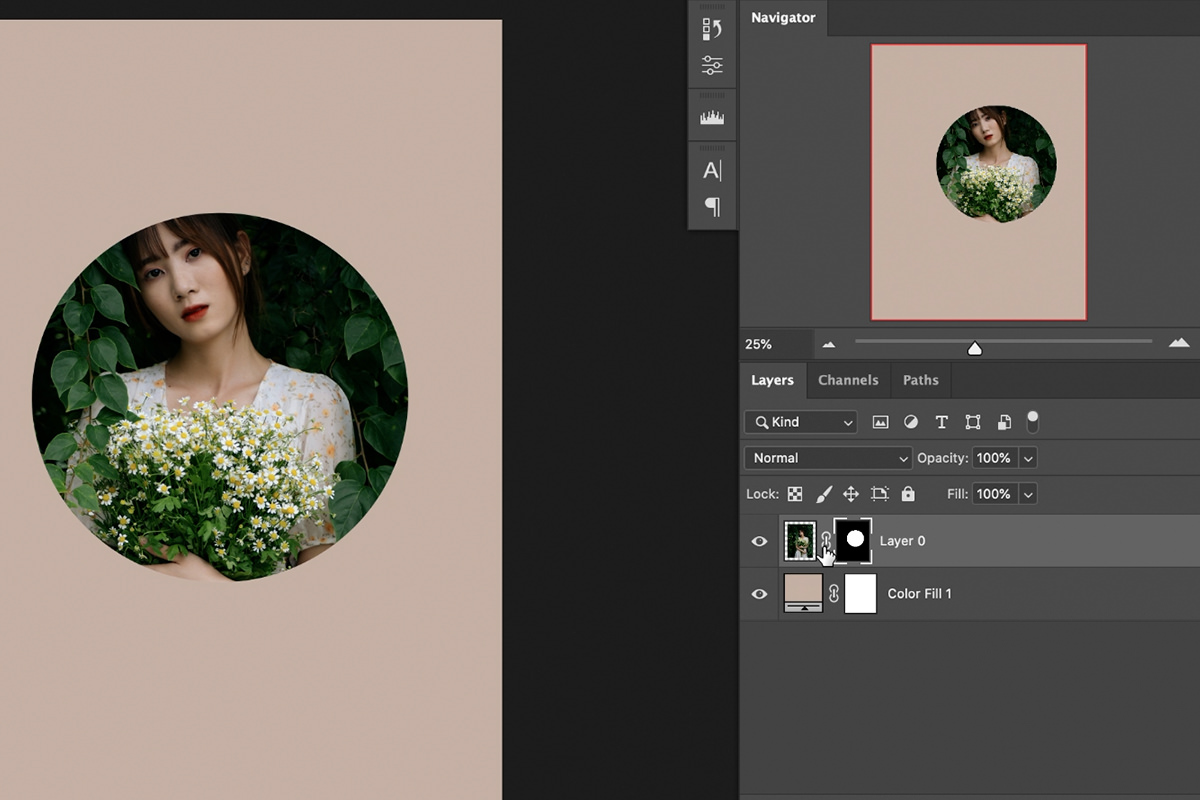
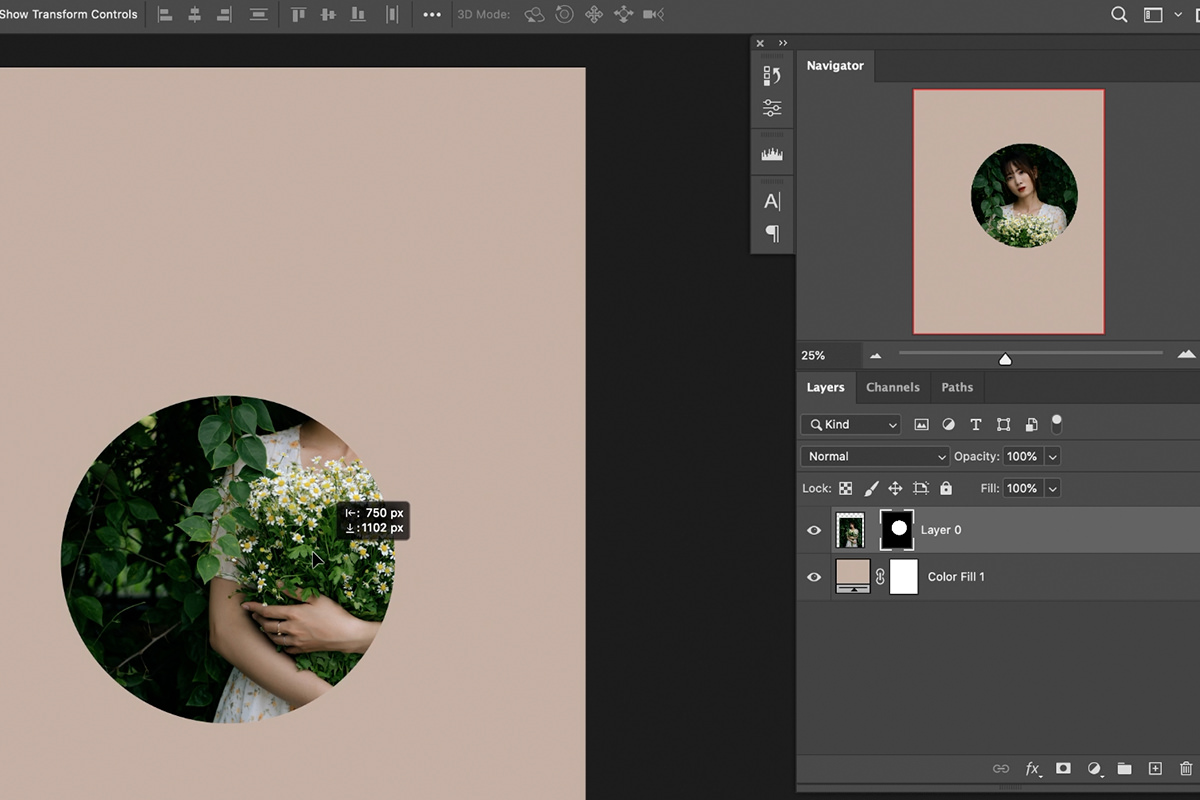
If you want to be able to move or adjust each independently, simply click on the chain icon in between the Layer preview and the Layer Mask preview.
Doing this allows you to move or transform either the Layer or the Layer Mask without moving or changing the other element. Now you can, for example, move the Layer Mask to adjust what part of the image is visible.
3. How to Turn Any Selection into a Layer Mask
You can create Layer Masks that come in a wide variety of shapes and forms. In fact, any Selection you make in Photoshop can be converted into a Layer Mask that hides or shows the exact details and areas you want.
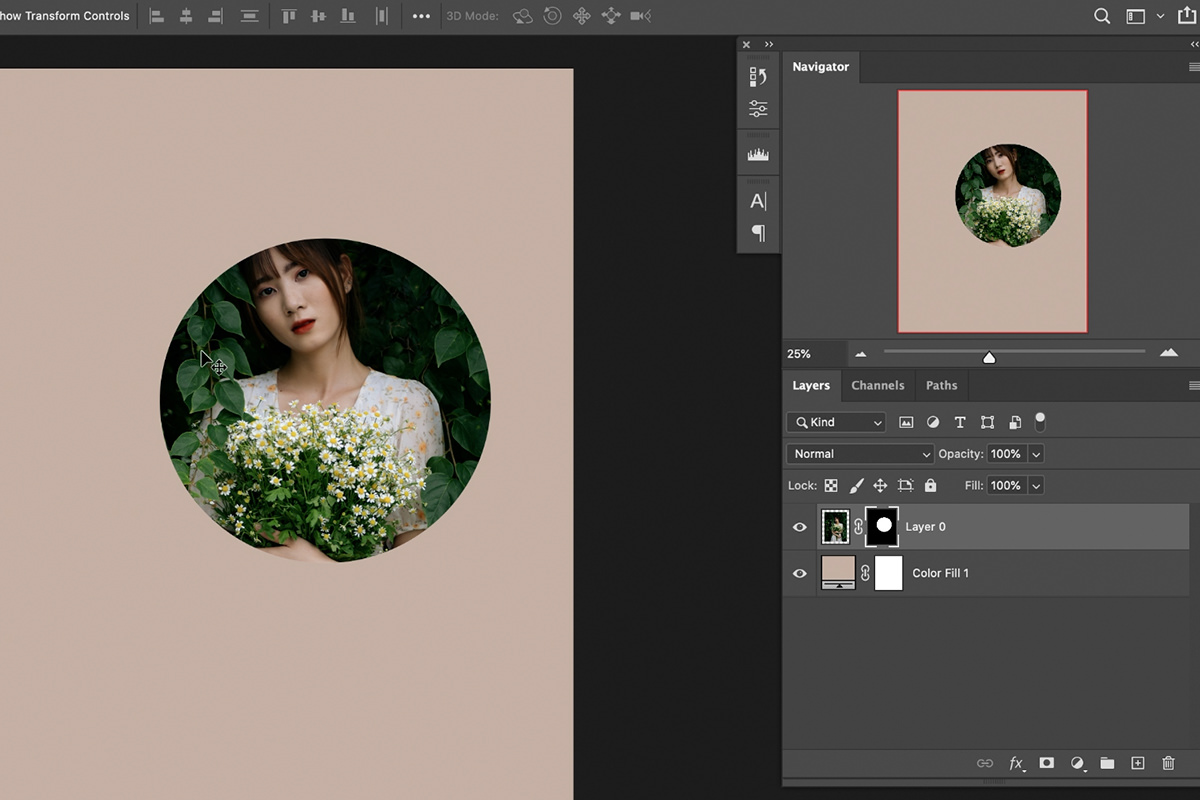
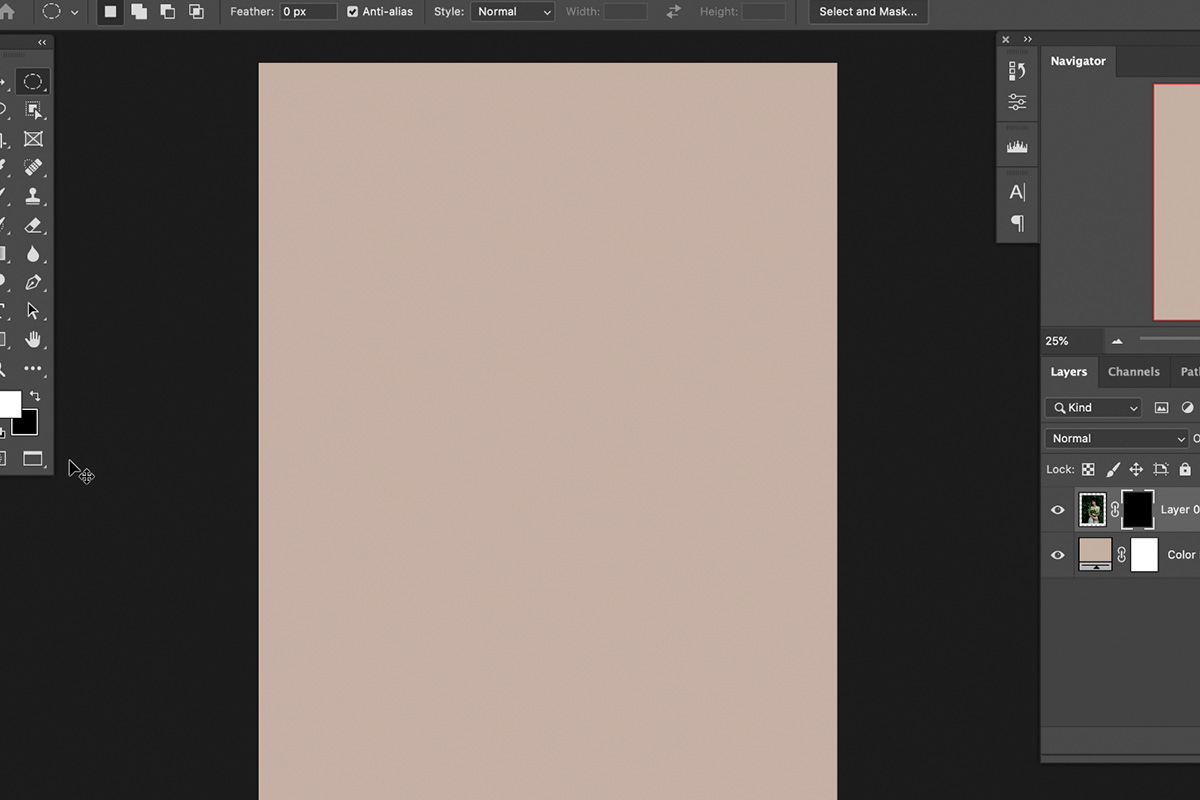
Creating a Layer Mask from a Selection couldn’t be easier. Use any tool you want to create a Selection (we chose the Elliptical Marquee Tool in our example) and then, with that Selection active, click on the Layer you want to apply the Mask to and then click on the Layer Mask icon.
Photoshop will automatically create a Layer Mask using the Selection you defined.
4. How to Invert a Layer Mask
Occasionally you’ll make a Layer Mask but, for one reason or another, it’s the opposite of what you intended. You can quickly change black to white and white to black on a Layer Mask by inverting it.
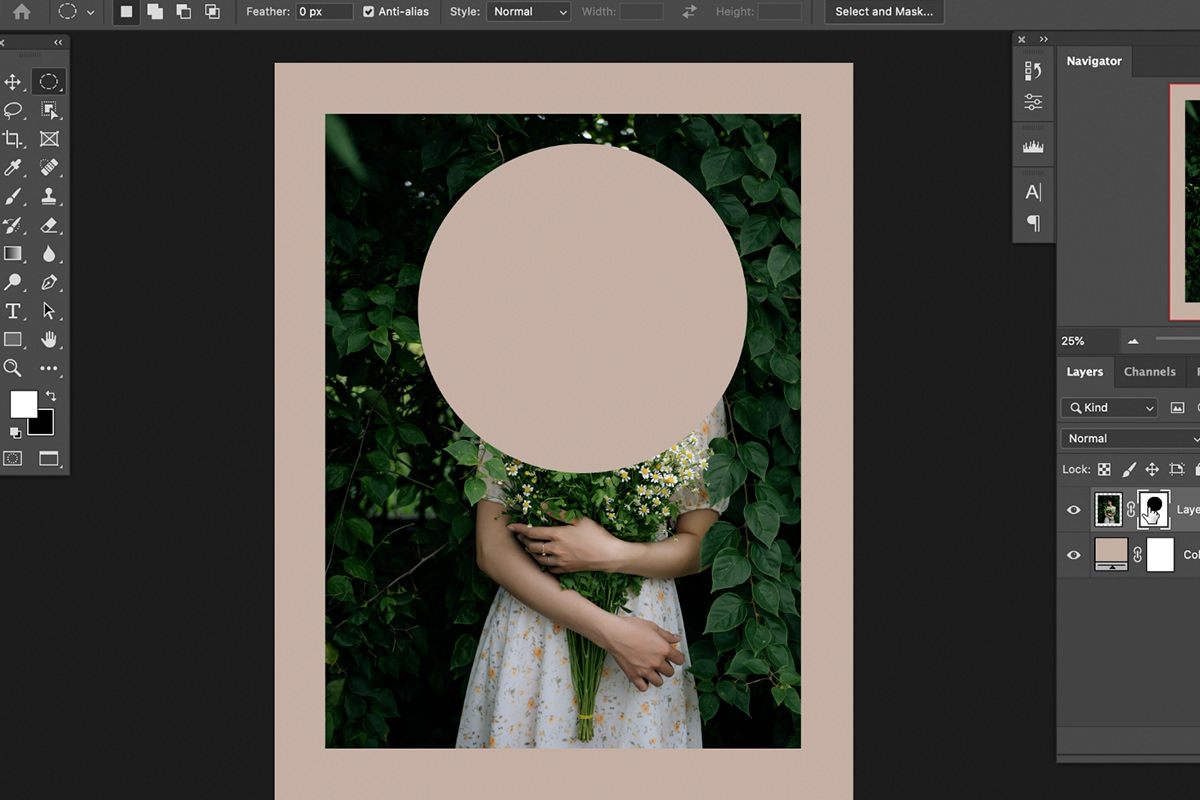
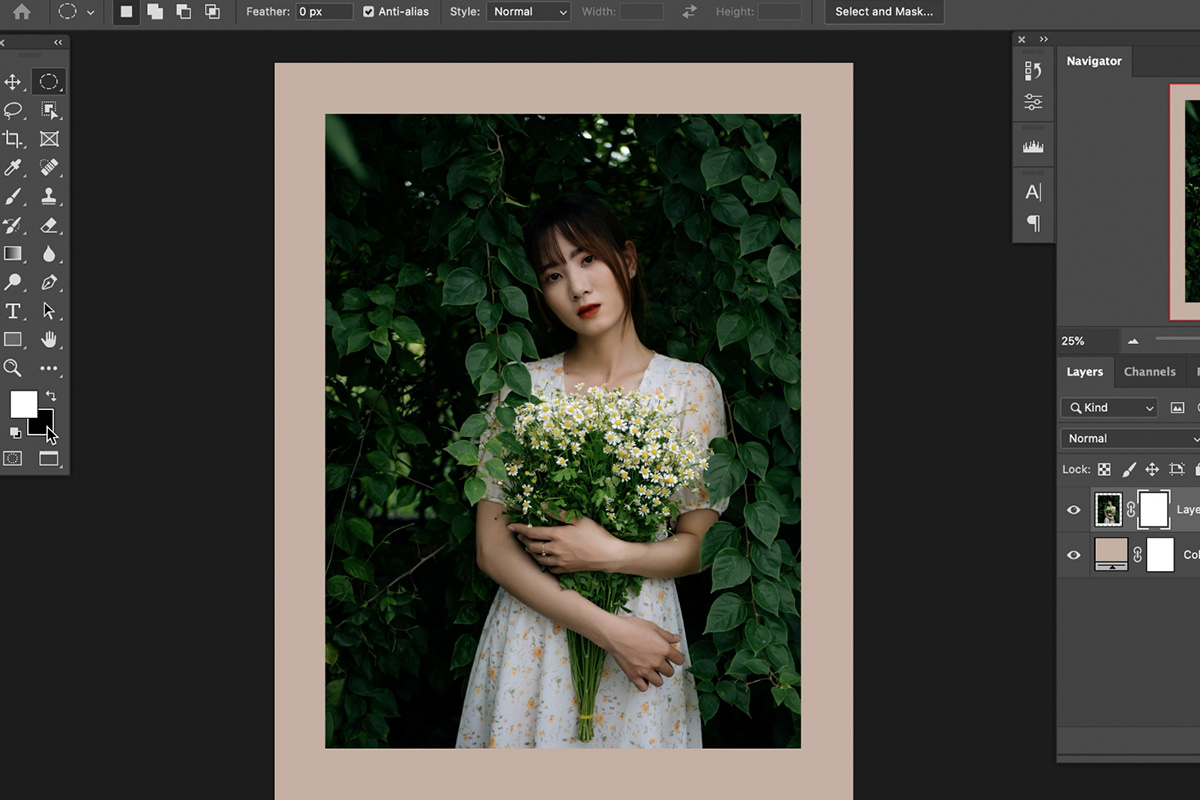
To invert a Layer Mask, select it and hit CTRL or CMD + I. This will create the exact opposite of the original Mask. Using our Elliptical Marquee created Mask from the previous example, inverting the Mask makes the rest of the portrait image visible while leaving the elliptical Selection we created invisible.
5. How to Fill a Layer Mask with Black or White
Since Layer Masks work primarily in black and white (grays can be used as well which will create a similar effect as changing the Opacity), we can use the default color options in Photoshop along with some easy keyboard shortcuts to quickly fill a Layer Mask. By hitting D you can set the foreground and background colors back to their defaults, black in the background and white in the foreground.
Then, with a Layer Mask selected, you can hit CTRL or CMD + DEL to fill the Later Mask with the foreground color (white by default).
Want to fill it black? Select the Mask again and hit ALT or OPTN + DEL to fill it with the background color (black by default).
6. How to Create a Layer Mask with a Keyboard Shortcut
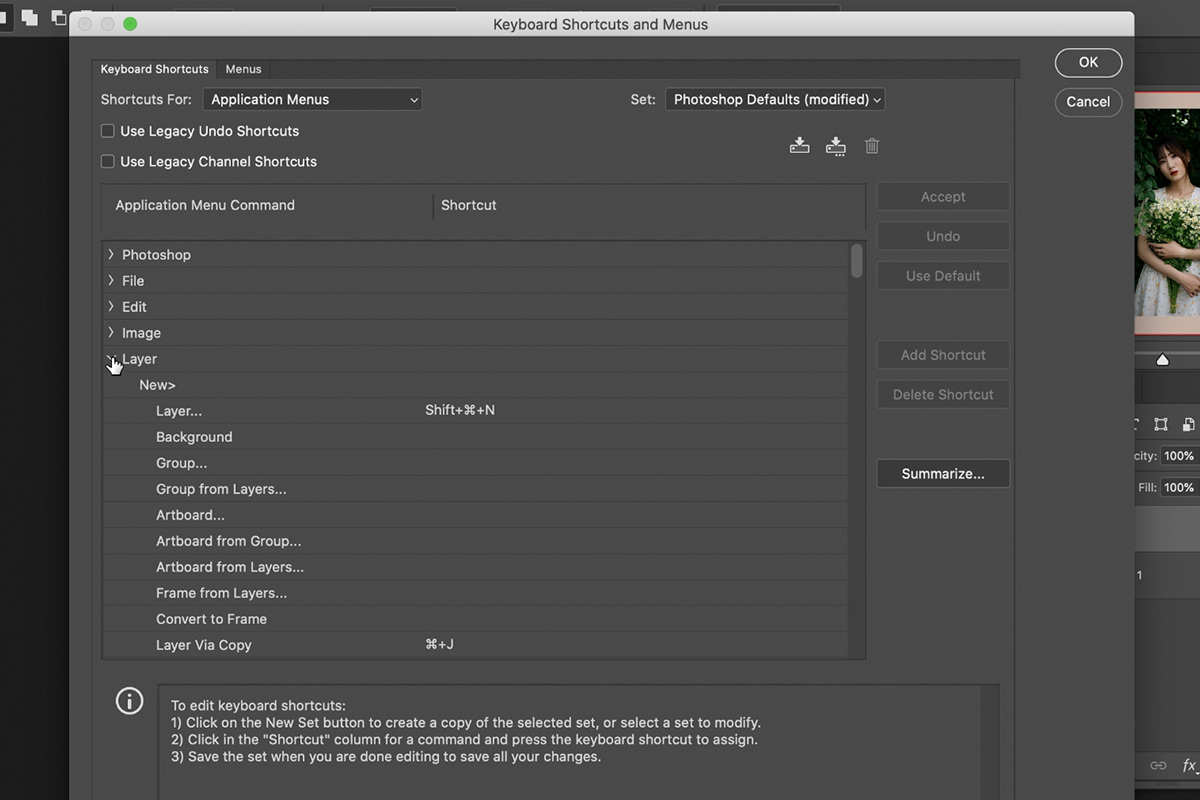
As important as Layer Masks are, Photoshop does not have a default keyboard shortcut assigned to creating them. Luckily, we can create our own custom keyboard shortcut that will allow us to work even more efficiently with these tools. Open the Edit menu and select Keyboard Shortcuts near the bottom of the list.
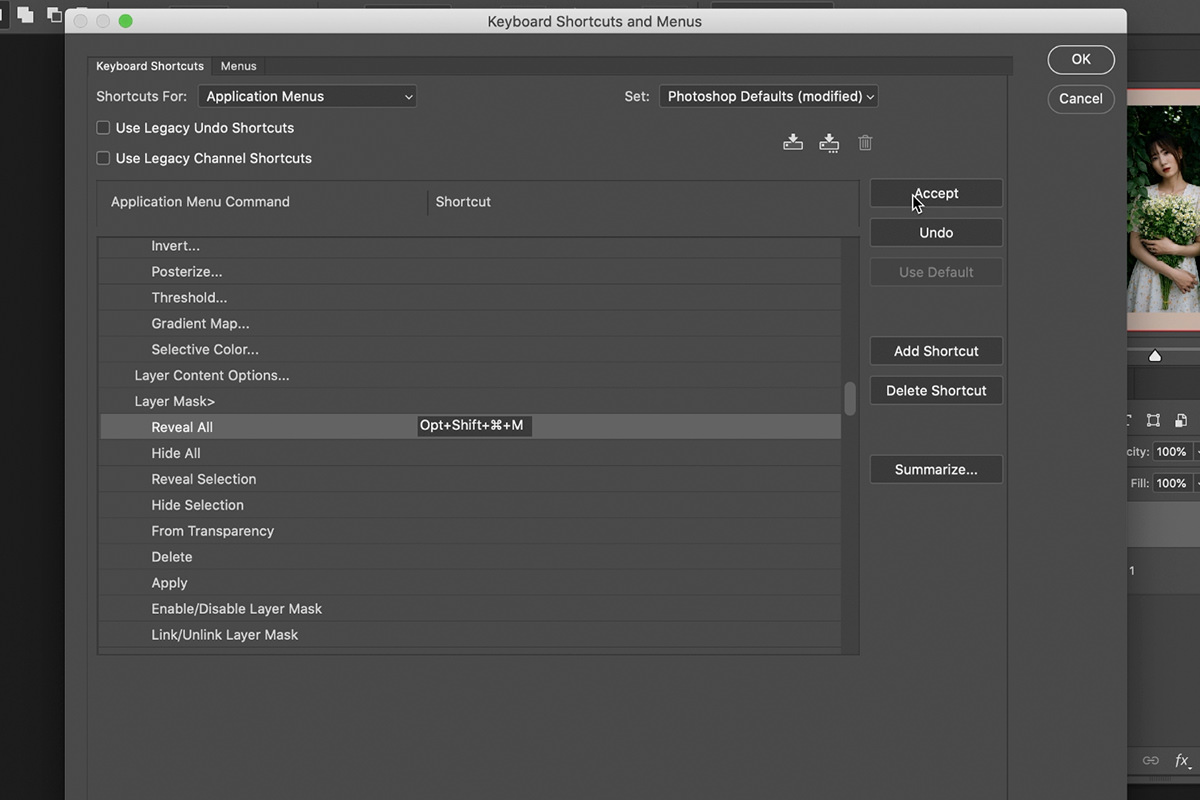
The Keyboard Shortcuts and Menus dialog will open. Find and open the drop-down list of Layer commands and then locate the section for Layer Masks. Here we can assign shortcuts to commands like Hide All or Reveal All (which are for creating a black or white Layer Mask respectively).
We have our custom shortcut set to Reveal All when hitting CTRL + ALT + SHIFT + M (PC) or CMD + OPTN + SHIFT + M (Mac). With this we can simply select any Layer we want, hit the keyboard shortcut, and a new, white Layer Mask will appear on that Layer.
7. How to Copy a Layer Mask from One Layer to Another
Want to take a Layer Mask from one Layer and use it on a different Layer? Easy! Let’s say we want to copy our Layer Mask from our portrait image over to another portrait we just brought into the project.
You can copy the Layer Mask from any Layer by holding ALT and then clicking and dragging the Layer Mask over the Layer you want to apply it to.
Once copied, an identical Layer Mask will be applied to the new image.
8. Some Helpful Layer Mask Shortcuts
There are a number of helpful keyboard shortcuts available that make it easier to work with and around any Layer Masks.
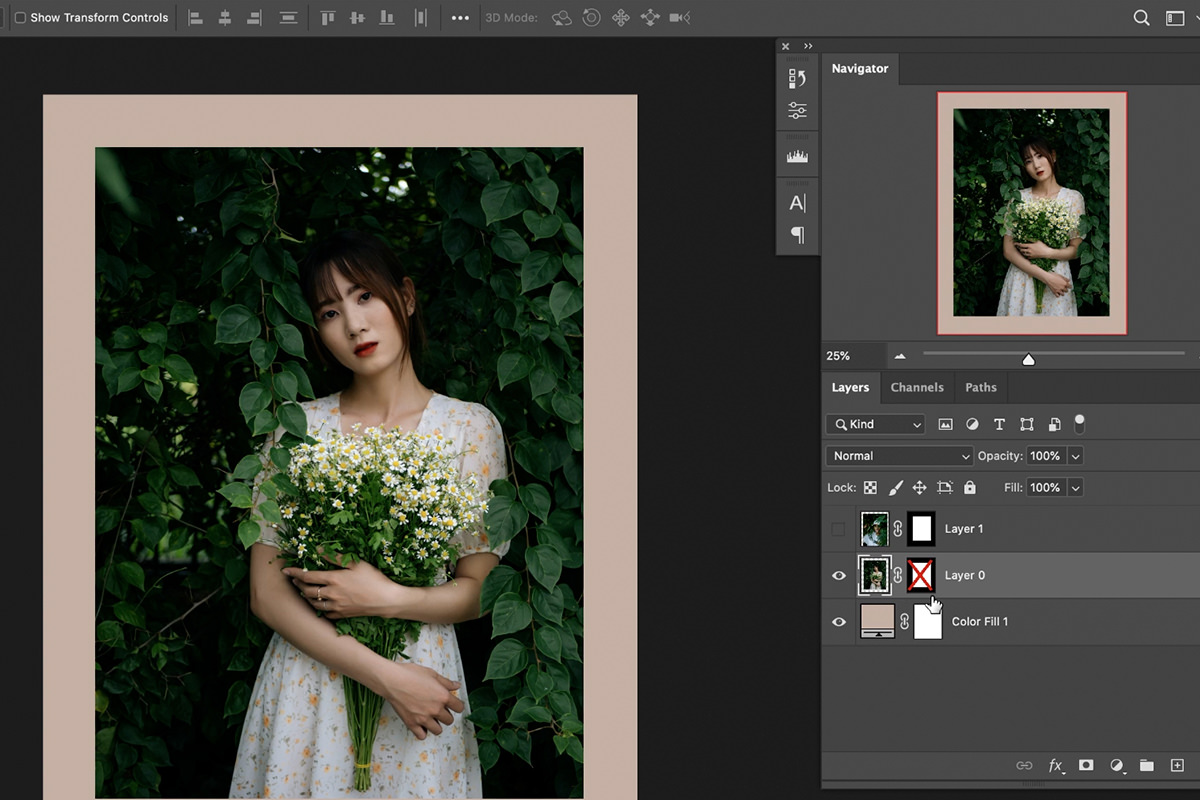
To disable a Layer Mask without destroying it, hold SHIFT and click on the Layer Mask preview icon.
To view the Layer Mask in its black and white form, hold ALT and click on the Layer Mask preview icon.
For more help seeing where the visible/invisible areas of a Mask are in your image, select the Layer Mask and hit the \ key. This will show an orange overlay over any areas that are hidden by the Mask.
9. How to Change Layer Mask Density & Add Feathering
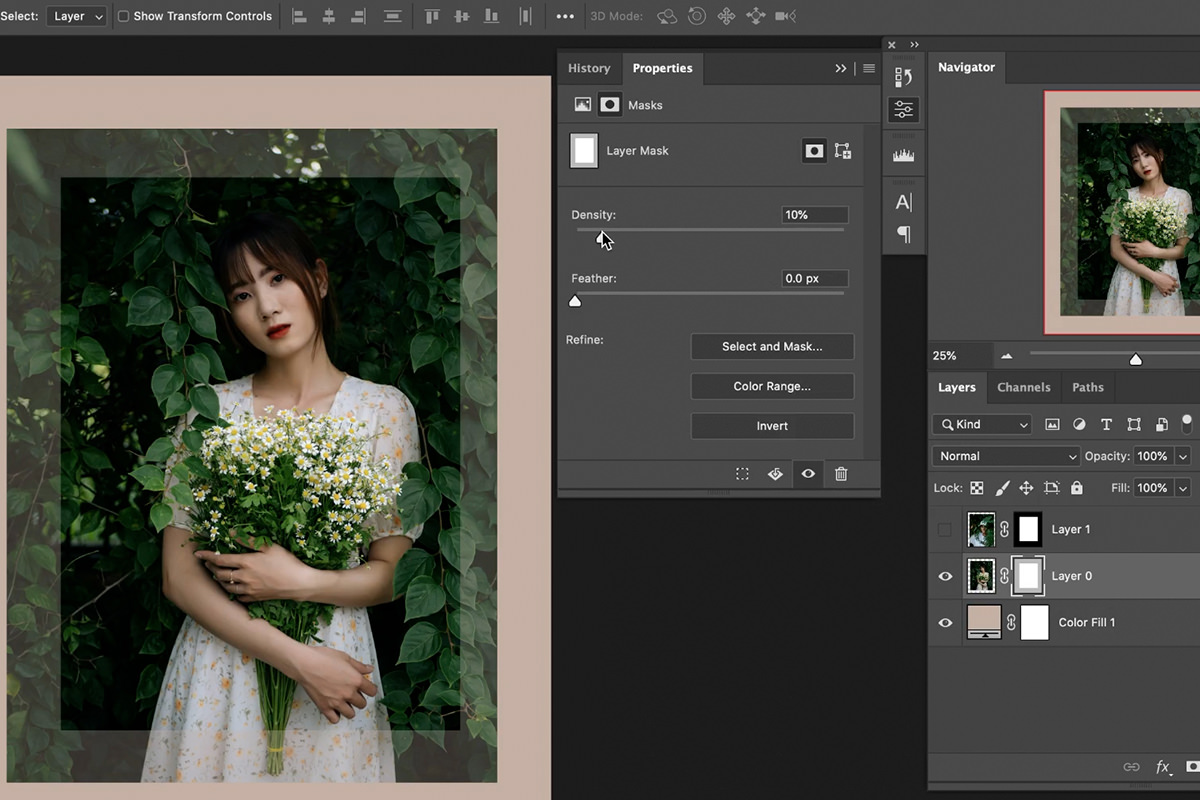
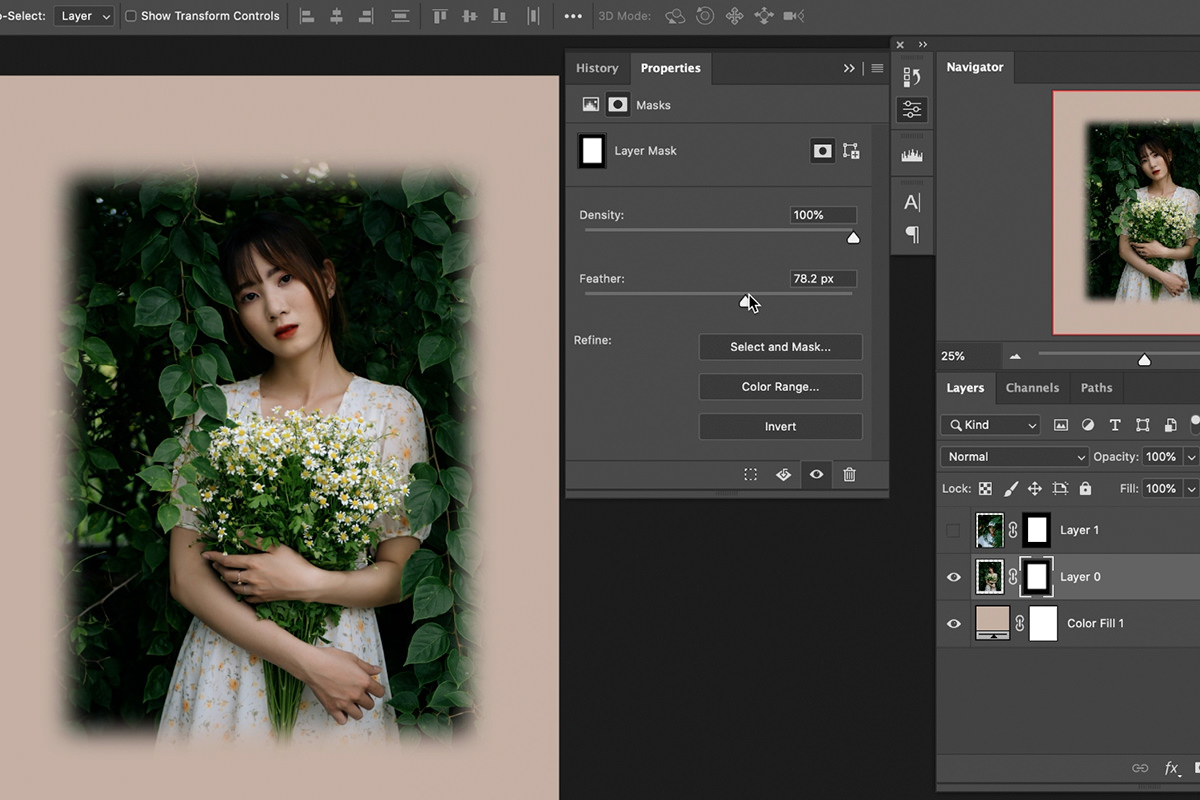
You can quickly adjust the opacity of a Mask or add some feathering to its edges using the Properties window. Just select the Layer Mask you want to adjust, go to the Window menu, and then select Properties.
Adjusting the Density will change the overall opacity of the Layer Mask, making hidden areas more or less visible.
Adjusting the Feathering slider will soften the edge between what’s hidden and what’s visible. This can be especially useful when you’re trying to blend two image together for a composite.
10. How to Use Layer Styles with Layer Masks
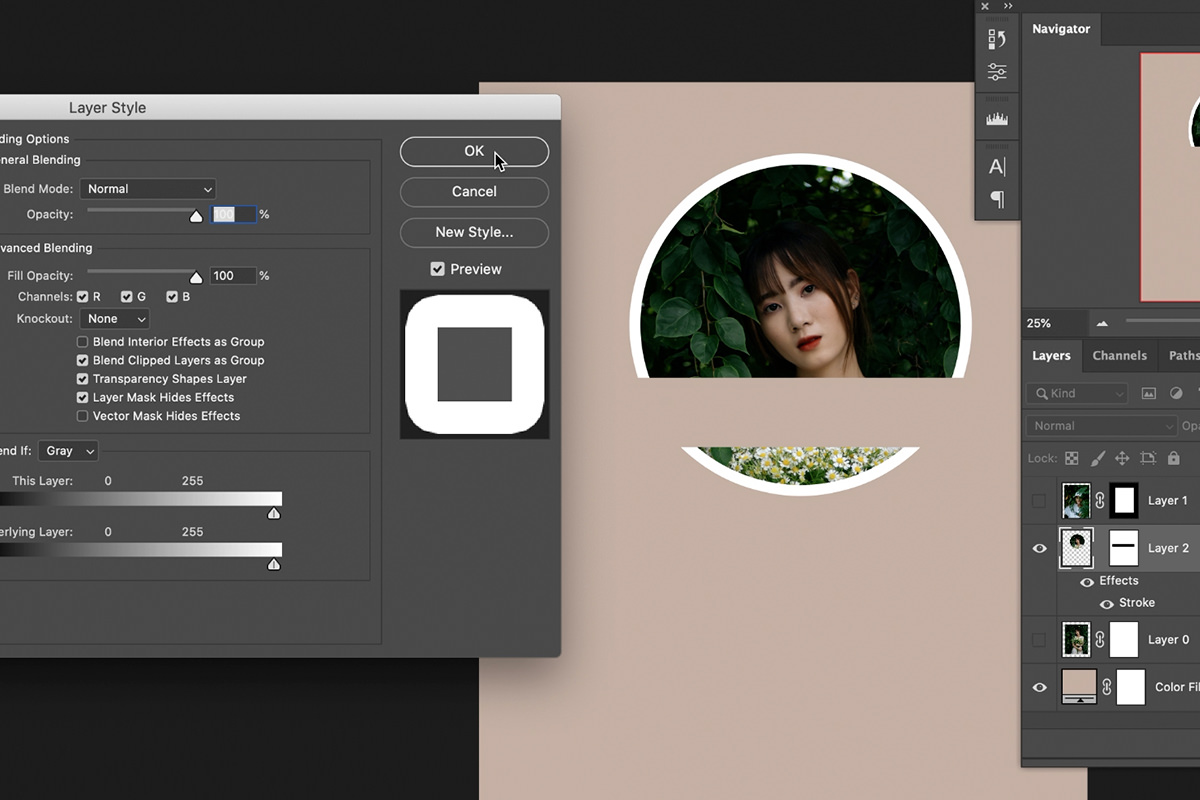
Layer Masks can interact with a lot of the other tools in Photoshop. Take Layer Styles, for example. Say we have an elliptical portrait and we use Layer Styles to add a white stroke around the edge of the image.
If we hide a small area of the image using a Layer Mask, watch how the Layer Style behaves.
Even when hiding part of the image, Photoshop recognizes the Layer Mask and adjusts the Stroke so that it completed surrounds any remaining, visible pieces.
We can even move the Layer Mask lower in the image (by unlinking it from the Layer first) and the Stroke we created will follow.
If you want Photoshop to hide Layer Styles by default find the Layer Mask Hides Effects checkbox under the main Blending Options of the Layer Style dialog.
Bonus!: How to Use Multiple Layer Masks on a Single Layer
There’s just too many helpful tips to fit in a list of ten, so here’s one more! When working on more complicated edits and composites, it’s not uncommon to want multiple Layer Masks to affect a Layer. But Photoshop doesn’t allow multiple Layer Masks on a Layer. Fortunately, there’s a workaround using Groups.
Say, for example, you have a cutout of a subject ready to go. You want to apply an additional Layer Mask so that the subject’s face appears within an elliptical shape, but you don’t want to lose the original Layer Mask.
The trick here is to select the Layer of the subject and hit CTRL or CMD + G to create a Group. The Layer still has its own Layer Mask within Group, but now you can also add a Layer Mask to the Group.
By adding an elliptical Layer Mask around the subject to the Group, we get our desired shape. And our original Layer Mask of the cut out subject is still preserved within the group!

