Download Assets
description
Day 5 is all about Lightroom’s masking tool. This tutorial covers all the basics, from selecting subjects and backgrounds to using gradients and color ranges. You’ll learn how to precisely edit specific image areas for stunning results!
This tutorial includes a RAW file image so you can make the best out of your editing experience!
Follow along with all 30 episodes as we explore the the magic of Lightroom together!
Watch Next
JOIN 30 DAYS OF LIGHTROOM (FOR FREE!)
Ready to jump in? Sign up and we’ll email you a printable calendar and daily class schedule so you can get started right away!
Image Source
Share
AFTER
BEFORE
The Power of Masking
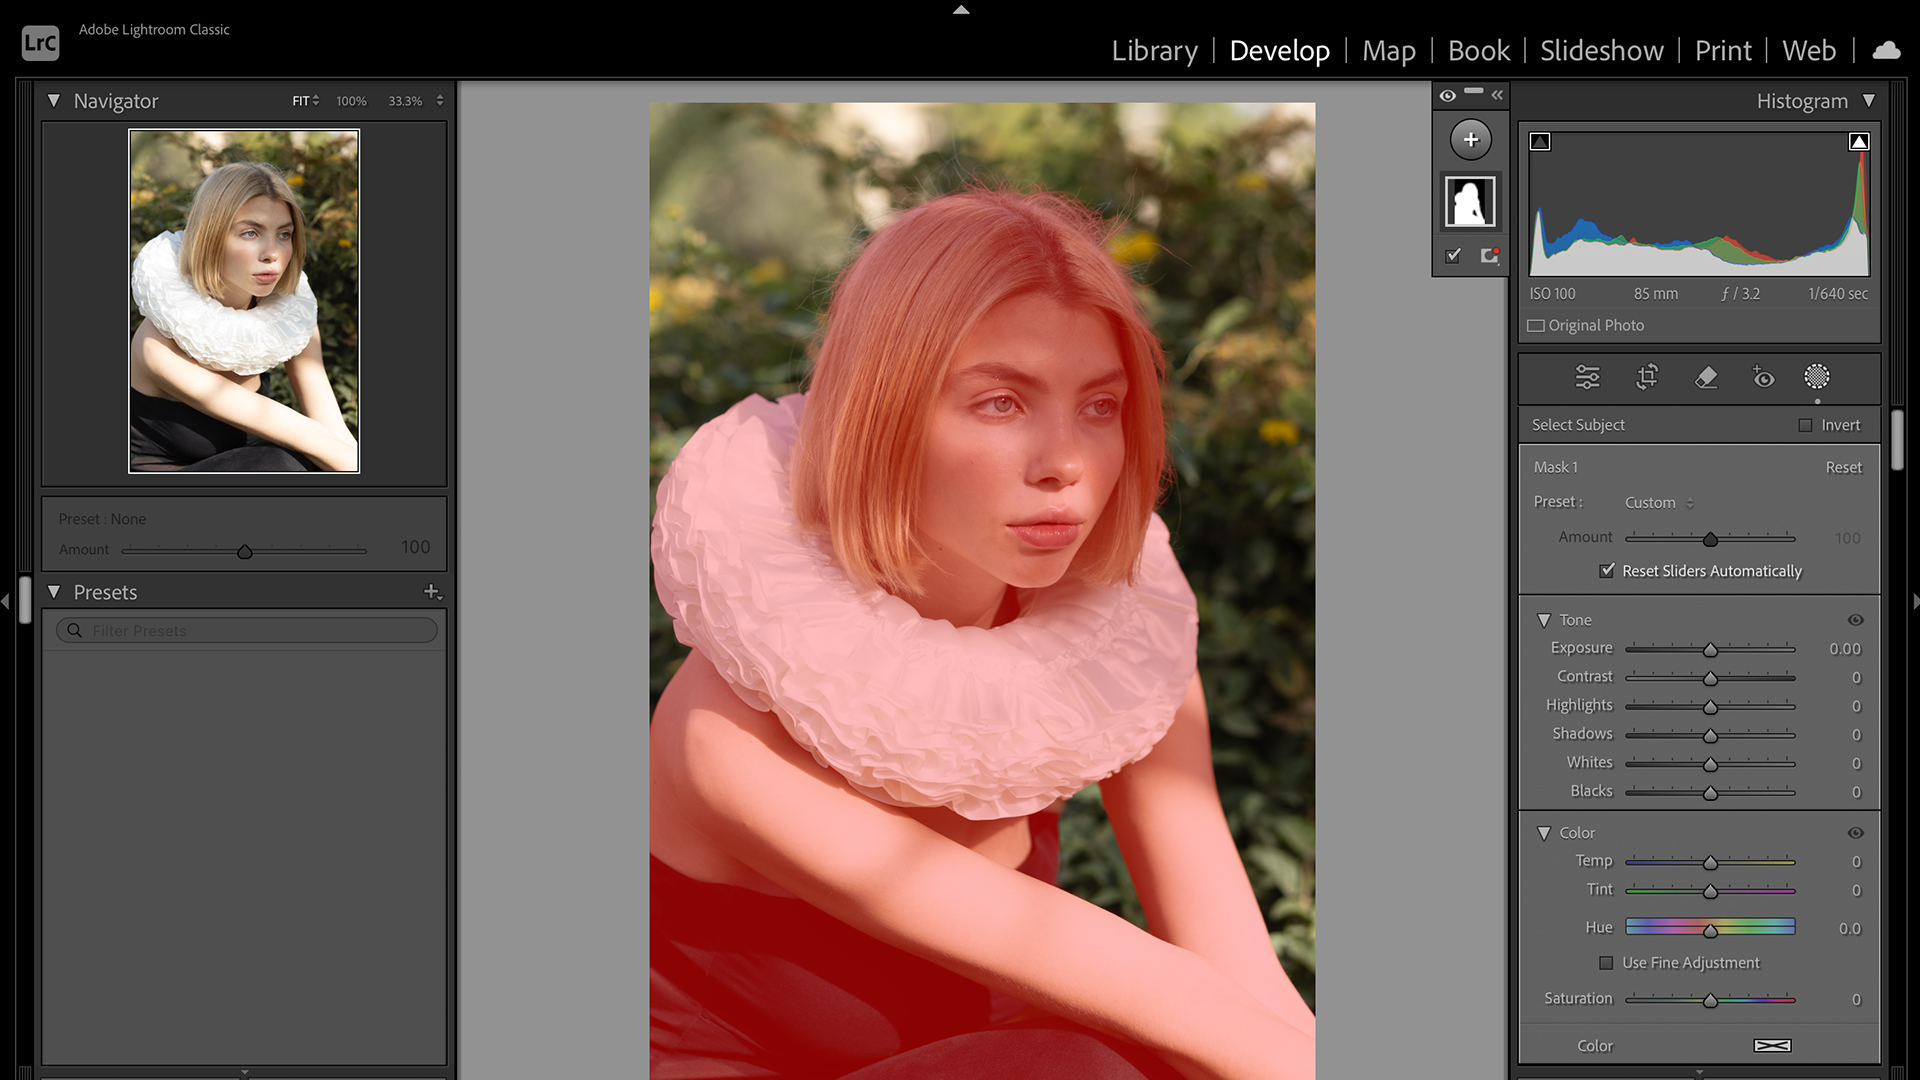
Welcome to Day 5 of 30 Days of Lightroom! Today, we’re diving into the powerful world of masking, a crucial technique for targeted image editing. Masking allows you to adjust specific areas of your photo without affecting the rest, giving you precise control over your image enhancements.
Creating New Masks
1. Start by opening your image in Lightroom Classic and navigating to the “Masking” panel.
2. Click “Add New Mask” to begin. Lightroom offers several mask types: “Subject” (automatically selects the main subject), “Sky” (selects the sky), “Background” (selects the background), “Objects” (lets you paint to select specific objects), “Brush” (for freehand selection), “Linear Gradient” (creates a gradual transition), “Radial Gradient” (creates a circular selection), “Color Range” (selects specific colors), and “Luminance Range” (selects areas based on brightness). Experiment with each type to understand its unique application.
Applying Mask Adjustments
Once you’ve created a mask, you can apply adjustments specifically to the selected area. The adjustment sliders in the Masking panel will only affect the masked region. For example, you can brighten the subject’s face using a “Subject” mask, darken the background with a “Background” mask, or increase the saturation of a specific color using a “Color Range” mask. You can also combine masks for more complex edits. Remember to use the “Overlay” option to visualize the masked area.
Refining and Editing Masks
You can refine and edit masks at any time. Adjust the mask parameters, add to or subtract from the masked area, or even modify the adjustments applied to the mask. Each mask is independent, allowing you to fine-tune each element of your image. The “eye” icon next to each mask allows you to toggle its visibility and see the effect of each individual mask.
That concludes Day 5. Tomorrow, we’ll delve into the world of advanced masking, exploring how to add and subtract from masks, and covering more advanced features.


