Download sample images
Description
Selections allow you to cut people or objects out from their backgrounds, or define very specific areas of a photo that you want to edit. Learn about the major selection tools and how to use them to remove a background and create other great effects!
This is Day 5 of our 30 Days of Photoshop series. Follow along with all 30 episodes as we explore the the magic of Photoshop together!
watch next
30 days of photoshop
Sign up to receive email updates to keep you going, sample images to follow along, and a printable calendar to keep track of your progress!
Share
The Key to Cut-Outs
What are Selections?
Selections allow you to define a specific part of a photo that you want to edit. They can be as simple as a large rectangle, or as complex as selecting every strand of hair on a person’s head. To cover such a wide range of situations, Photoshop has no shortage of selection tools to help you finish a project.
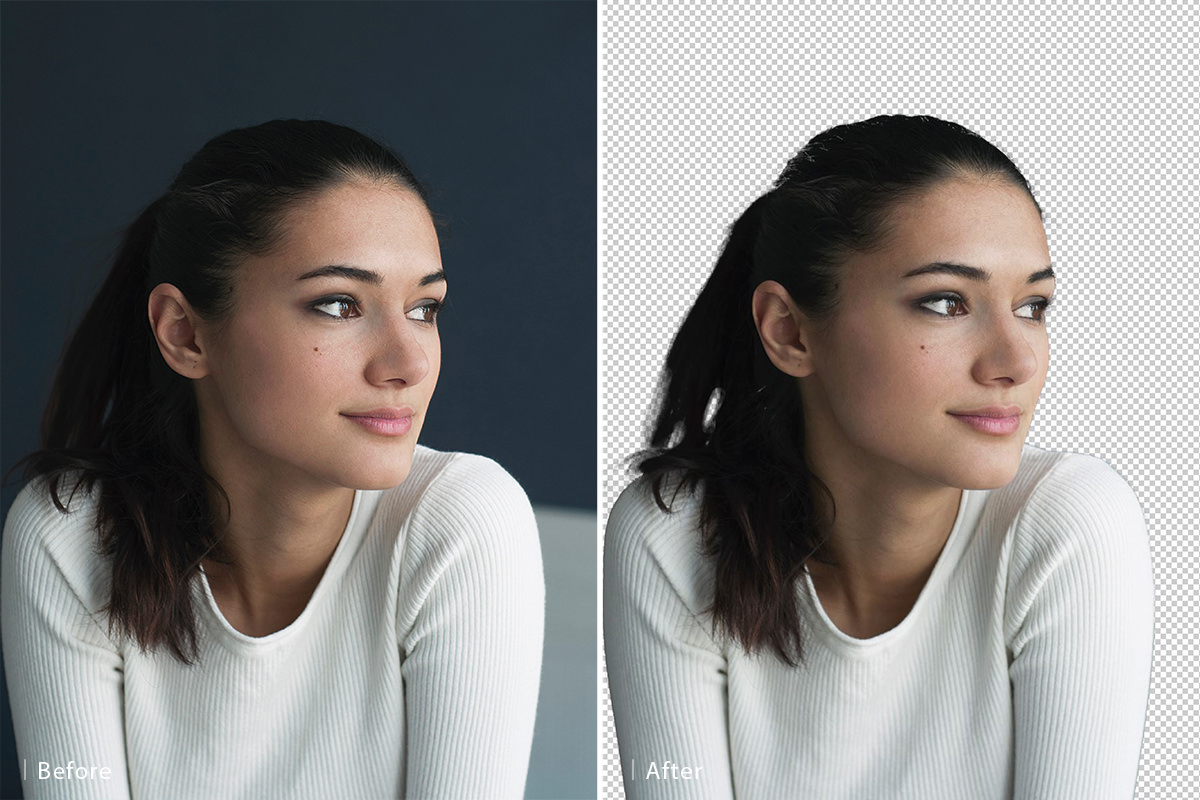
Selections are most often used to cut a person or object out of the background. This involves using a few different tools to create an accurate a selection as possible, and then load that selection into a Layer Mask (Which will allow you to keep the selected area visible while making the area not selected invisible–or vice versa.)
You can also use selections to edit only small parts of a photo without affecting the areas around it. For example, if you just wanted to edit the eyes of a subject, you could use the Elliptical Marquee Tool to make selections of just their iris so you can edit that are without worrying about affecting the rest of their face.
Selection Tools
Photoshop has a number of selection tools, ranging from very simple (like the Marquee Tools), to the easy and automatic (like Select Subject or the Magic Wand Tool), to the advanced options (like Channels and the Pen Tool). Generally, the more detailed the area you want to select, like hair, the more you’ll want to use the manual and advanced tools.


