download sample images
description
RAW files give you the most information and flexibility to work with when editing. Learn how to make exposure adjustments, color adjustments, lens corrections, and more to RAW photos using Adobe Camera RAW and Photoshop!
This is Day 19 of our 30 Days of Photoshop series. Follow along with all 30 episodes as we explore the magic of Photoshop together!
Watch Next
30 days of photoshop

Sign up to receive email updates to keep you going, sample images to follow along, and a printable calendar to keep track of your progress!
Share
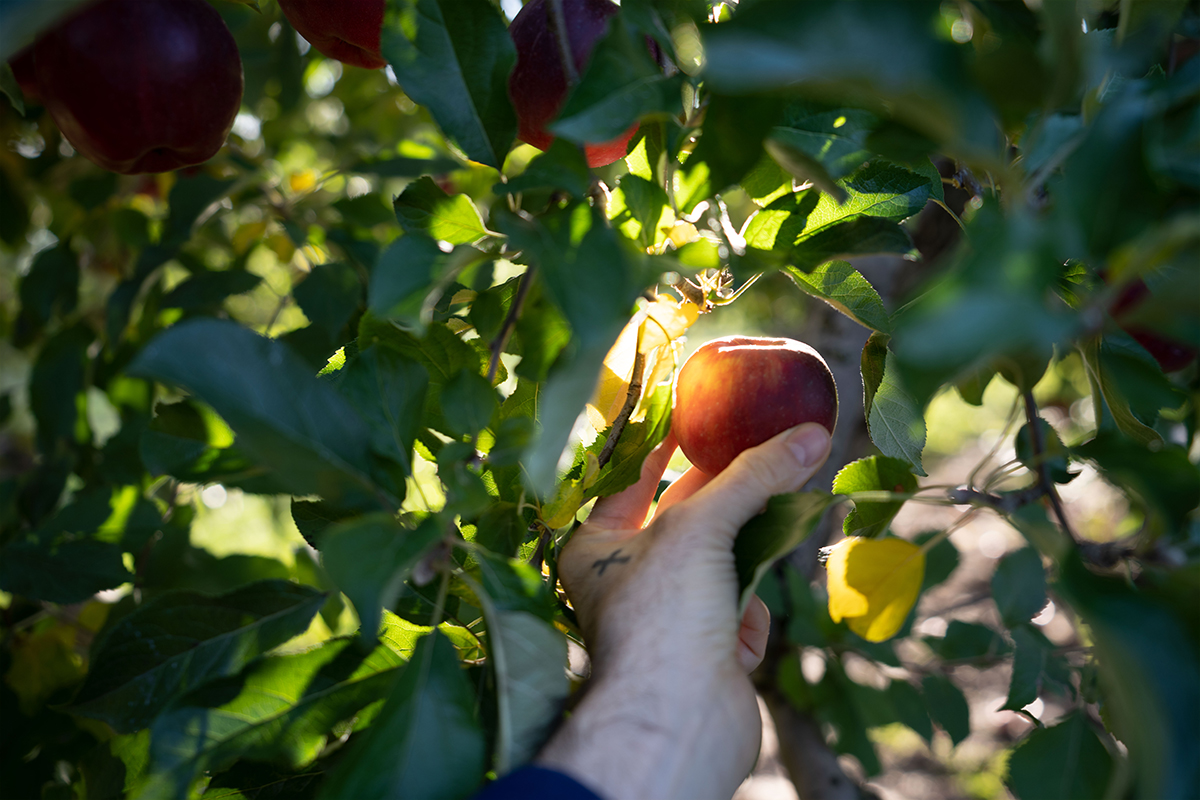
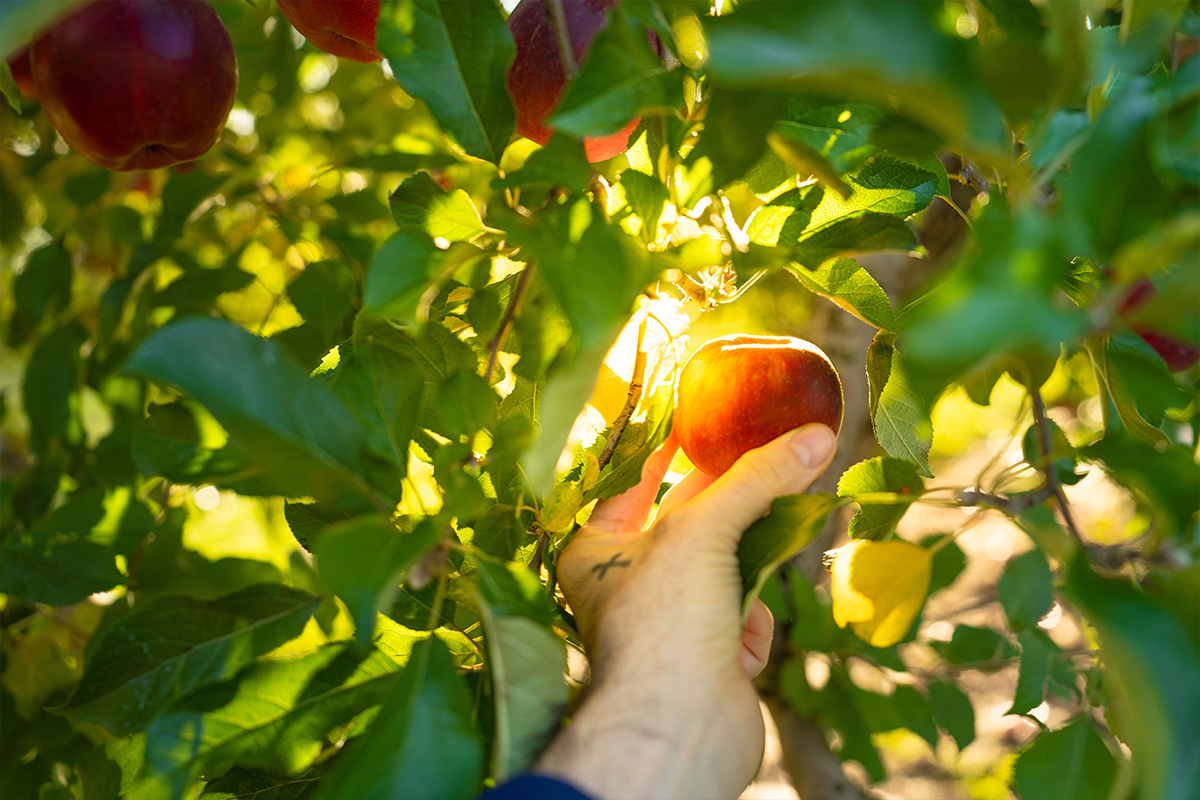
AFTER RAW EDITING
BEFORE
The Digital Darkroom
Adobe Camera RAW
Whether you’re working in Photoshop or Lightroom, Adobe Camera RAW is the engine in charge of processing any RAW files that you’re working with. RAW images allow you to make adjustments to the information captured by the camera. So instead of having to edit and change the pixels of a photo, like you would do with a JPEG, you can use RAW processing software to read and interpret the full spectrum of information captured by the camera–which is often far greater than what you’ll see when simply previewing the image.
Making changes to exposure, white balance, or distortion is far more effective when working in ACR, so understanding how to this software in combination with Photoshop can add an extra dimension of quality to your work.
The key to working with RAW in Photoshop is to be sure to load any RAW layers as Smart Objects. RAW files will not load as Smart Objects by default, so if you’ve never changed this setting before, now is the time! When you first open a RAW in Photoshop, the Adobe Camera RAW dialog will appear. To the right you will see the many adjustments you can make to prepare your image for the editing process.
At the bottom of the dialog, you will see a string of information about the image like the Color Profile, resolution and pixels-per-inch. In our example RAW, it reads “ProPhoto RGB; 16 bit; 6000 by 4000 (24.0MP); 300 ppi”. Clicking on this information will open another setting dialog. At the bottom, there is a checkbox with the option to “Open in Photoshop as Smart Objects”. Check this box!
Now your images will load as Smart Object layers in Photoshop. Double click on these layers at any time to open the Adobe Camera RAW dialog and make any additional changes to the RAW information.
Now you’re on your way to utilizing the full power of RAW images in Photoshop!