Download the Sample Image & PSD
Description
Sharpening is one of the most important parts of the retouching process, adding contrast and drawing more attention to the details that matter most. Learn how to apply non-destructive sharpening that can be changed and adjusted at any time.
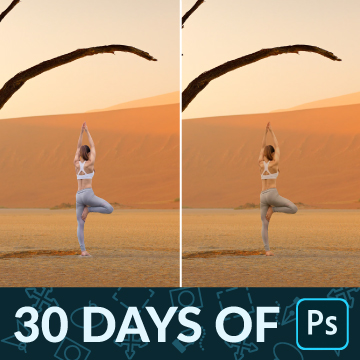
This is Day 25 of our 30 Days of Photoshop series. Follow along with all 30 episodes as we explore the magic of Photoshop together!
Watch Next
30 days of photoshop

Sign up to receive email updates to keep you going, sample images to follow along, and a printable calendar to keep track of your progress!
Share
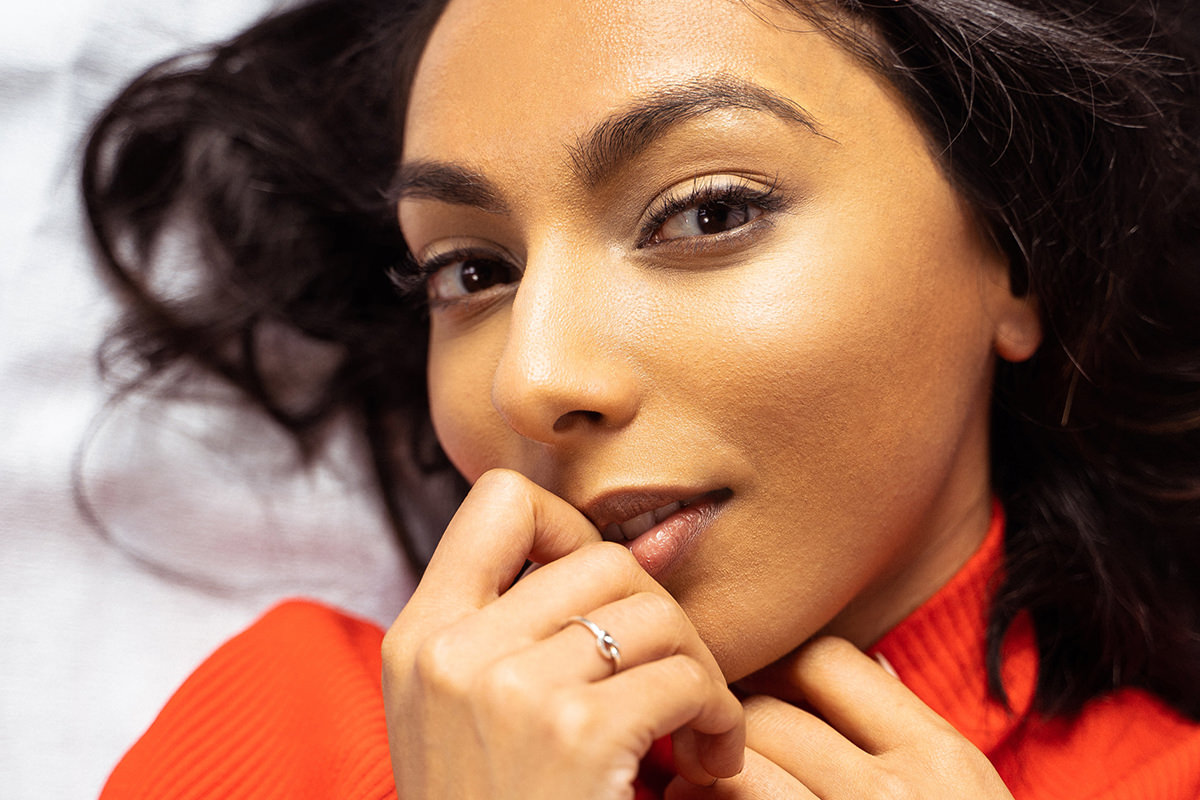

ADD PROFESSIONAL SHARPENING
BEFORE
Sharpen Any Portrait
Sharpening in Photoshop
Sharpening is simply the process of increasing the contrast around the fine details in a photo. The right amount of sharpening can help a photo appear sharper and help the important bits stand out more to the viewer. But what is the correct amount, and how do you approach the sharpening process in Photoshop?
There are a few key things to remember if you want to effectively sharpen a photo:
- You don’t need to sharpen everything! The eye is naturally drawn to higher contrast and sharper areas in an image. While you can apply a small amount of sharpening to an entire image, it’s best to choose the most important areas and sharpen those at a slightly higher level. For example, if you’re editing a portrait, the eyes are one of the most important areas to sharpen, as that’s usually where you want the viewer to look.
- Sharpen different areas at different levels. Like we said, it’s okay to apply a general sharpening to an entire image, but there are certain details you’ll want to sharpen more (to draw more attention), and areas you’ll want to sharpen less (to draw less attention).
- Sharpen according to the size of the image. You don’t want to go through the process of sharpening an image at full size if you’re going to export it at 1080×1080 for Instagram. If you need to export at smaller sizes, create a new project, resize the image, and then sharpen. The results will be much more satisfying and effective.
- Work non-destructively! Sharpening requires a bit of trial and error, and you’ll often find yourself wanting to dial the effect up or down after it’s been applied. Some sharpening tools are designed to be fast, but they require you to paint directly on the image. Others take a bit more time, but allow you to easily make adjustments after you’ve added the effect.