Download Assets
description
Learn how to change any color in Photoshop while keeping skin tones natural. We’ll show you how to use Hue/Saturation layers and the Object Selection tool for a clean mask. Then, we’ll take it further by adding a gradient for a multi-tone look.
Go PRO:
Dive deeper into the world of Photoshop with our in-depth PRO Photoshop Learning Path . Across 11 courses and 53 hours of engaging content, you’ll learn Photoshop’s ins and outs, master pro-level tools, and tackle fun and challenging projects..
Image Source
- Marjan Taghipour
Images sourced from Unsplash.
Share
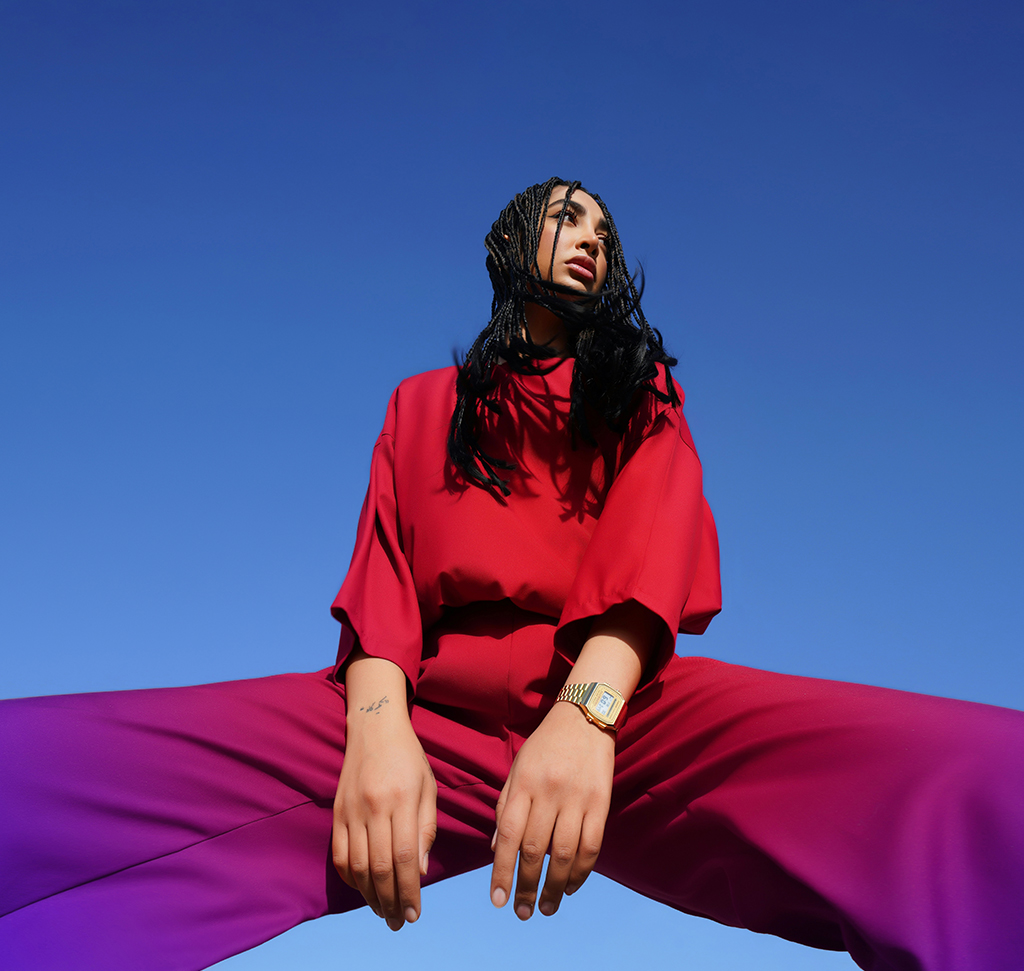
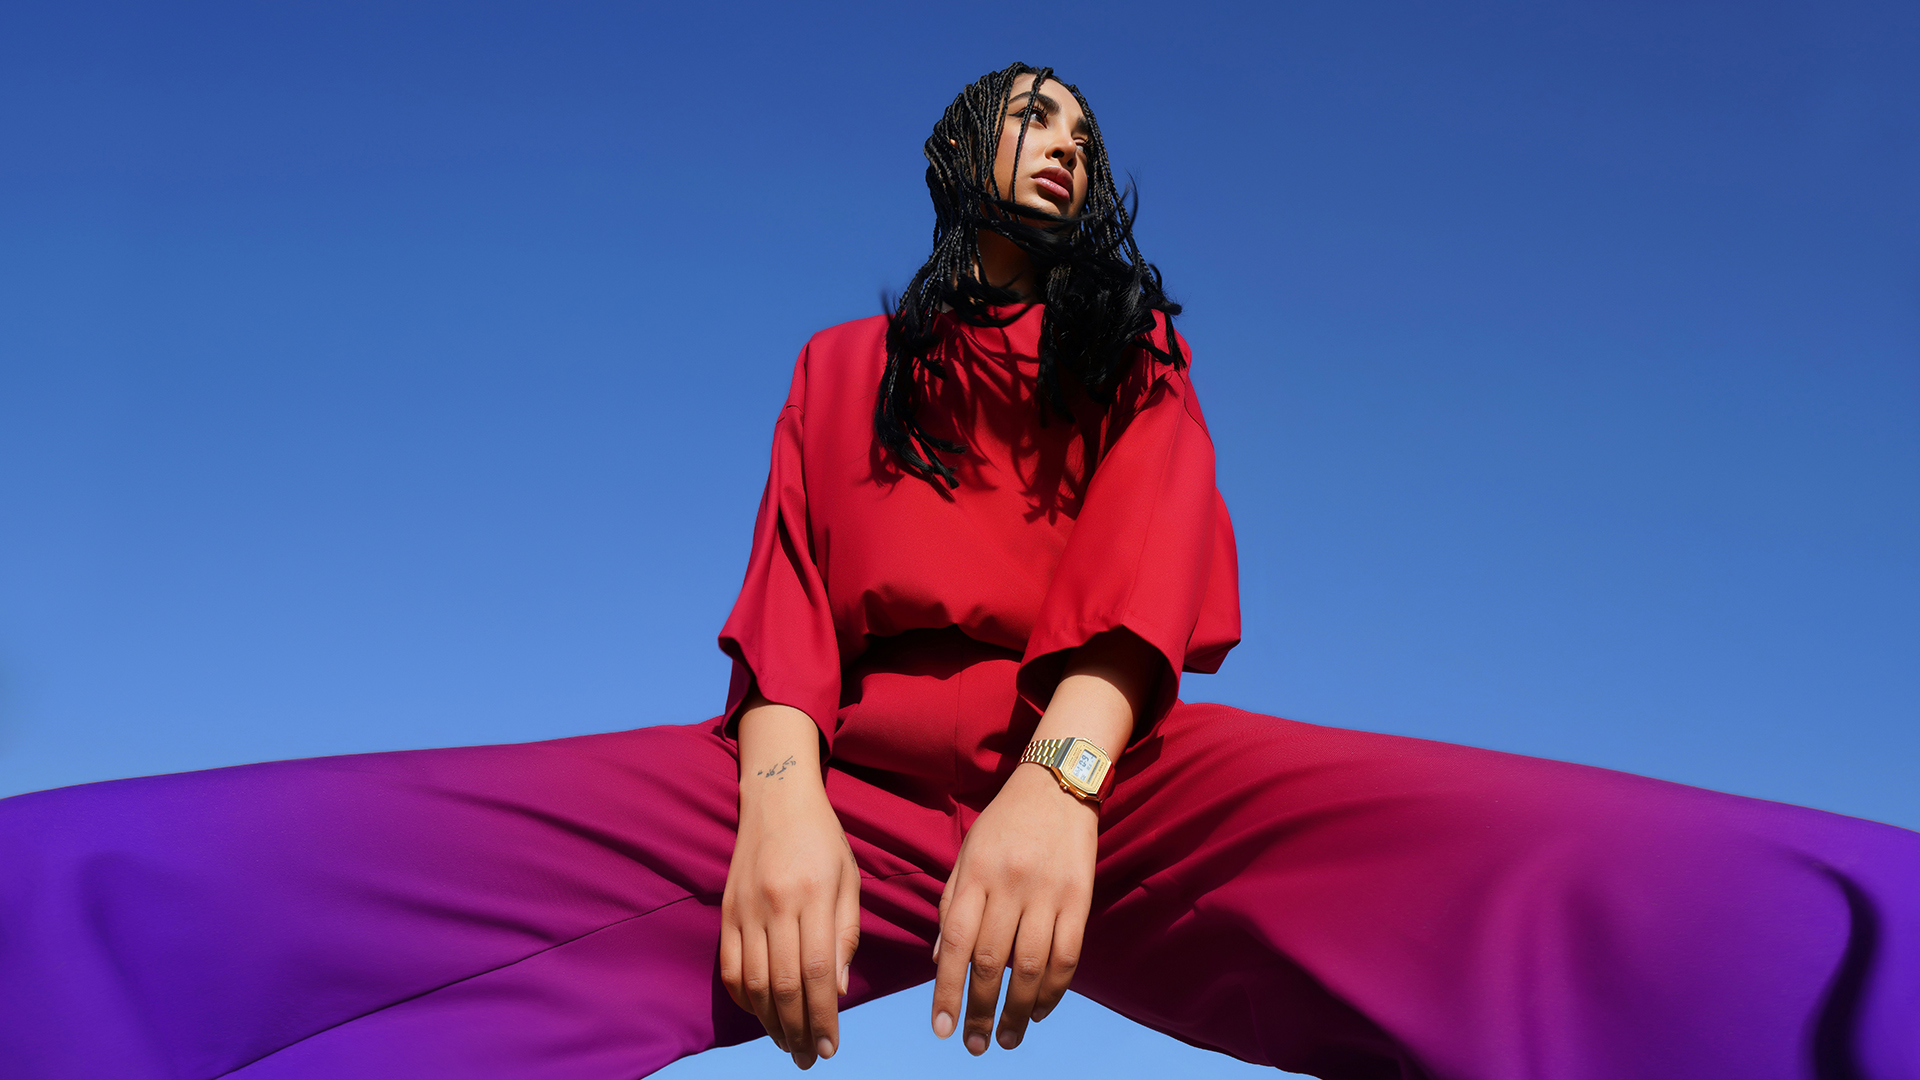
AFTER
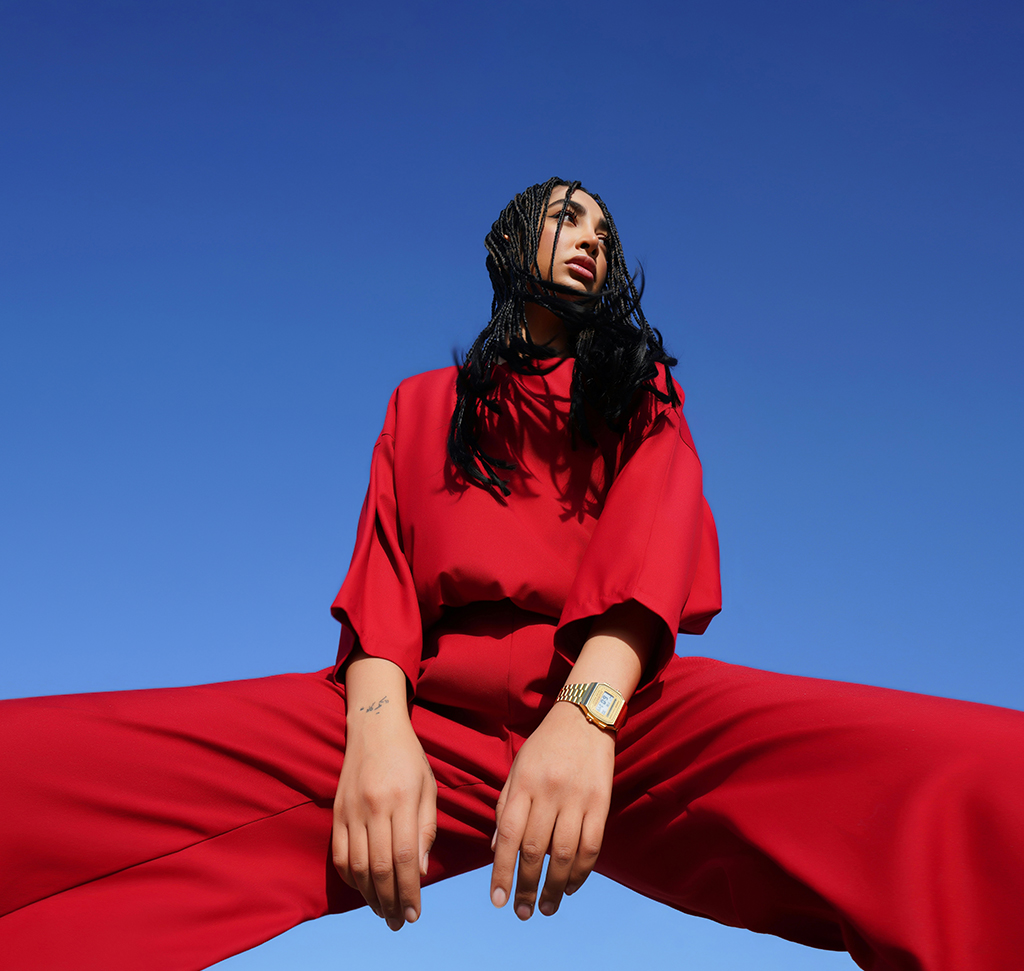
BEFORE
Add Dimension to Every Color
We’ve all been there: you adjust the Hue slider to change a shirt or a background, and suddenly your subject’s face turns bright green or purple. In this tutorial we’ll show you selective masking techniques that will allow you to pinpoint exactly which colors to shift while leaving the skin looking healthy and realistic.
Getting Started
1. Start by adding a Hue/Saturation adjustment layer. In the Properties panel, use the targeted adjustment tool (the hand icon) to click directly on the color you want to change. This tells Photoshop exactly which range to target. From here, you can move the Hue slider to any new color you like.
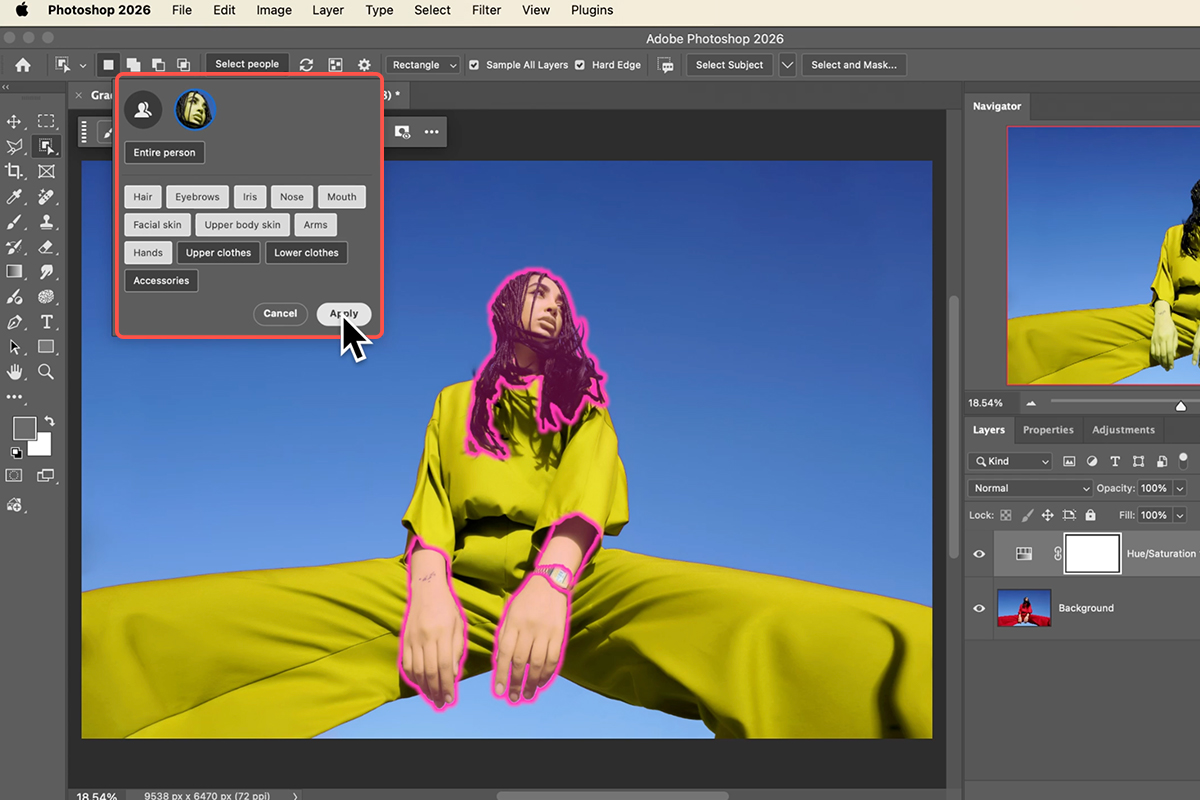
2. To keep the skin looking natural, grab the Object Selection Tool (Keyboard Shortcut “W”).
3. In the top bar, click “Select Subject” or “Select People” to let Photoshop’s AI find the skin for you.
4. Once you have a selection, click on your Hue/Saturation layer mask and go to Edit > Fill (Shift + F5).
5. Choose Black to hide the color effect from the skin entirely.
Create Dynamic Gradients
6. To add some extra dimension, group your adjustment layer by hitting Cmd/Ctrl + G.
7. Add a new layer mask to that group, then grab the Gradient Tool (Keyboard Shortcut “G”).
8. Choose a Black to White gradient and click and drag across your subject. This creates a beautiful, multi-tone transition between the original and the new color.

Refine and Adjust
The best part about this workflow is that it’s completely non-destructive. You can double-click the Hue/Saturation icon at any time to tweak the lightness or saturation. If the gradient isn’t sitting quite right, just re-drag with the Gradient Tool or hit the Reverse icon in the Contextual Task Bar to flip the effect instantly.


