Download Assets
description
Create a realistic film aesthetic in Photoshop! Learn how to use layer masks and textures to create authentic 35mm borders. Best of all, we’re giving away a free PSD template with three unique styles so you can transform your digital photos instantly!
Go PRO:
Dive deeper on non-destructive editing with our in-depth PRO tutorial The Ultimate Guide to Non-Destructive Editing in Photoshop . We’ll cover everything from mastering masks and smart objects to building an unbreakable raw pipeline, all while preserving your original image intact..
Image Source
- Justin Chien
- Jason Dent
- Minh
- Sichen Xiang
Images sourced from Unsplash.
Share

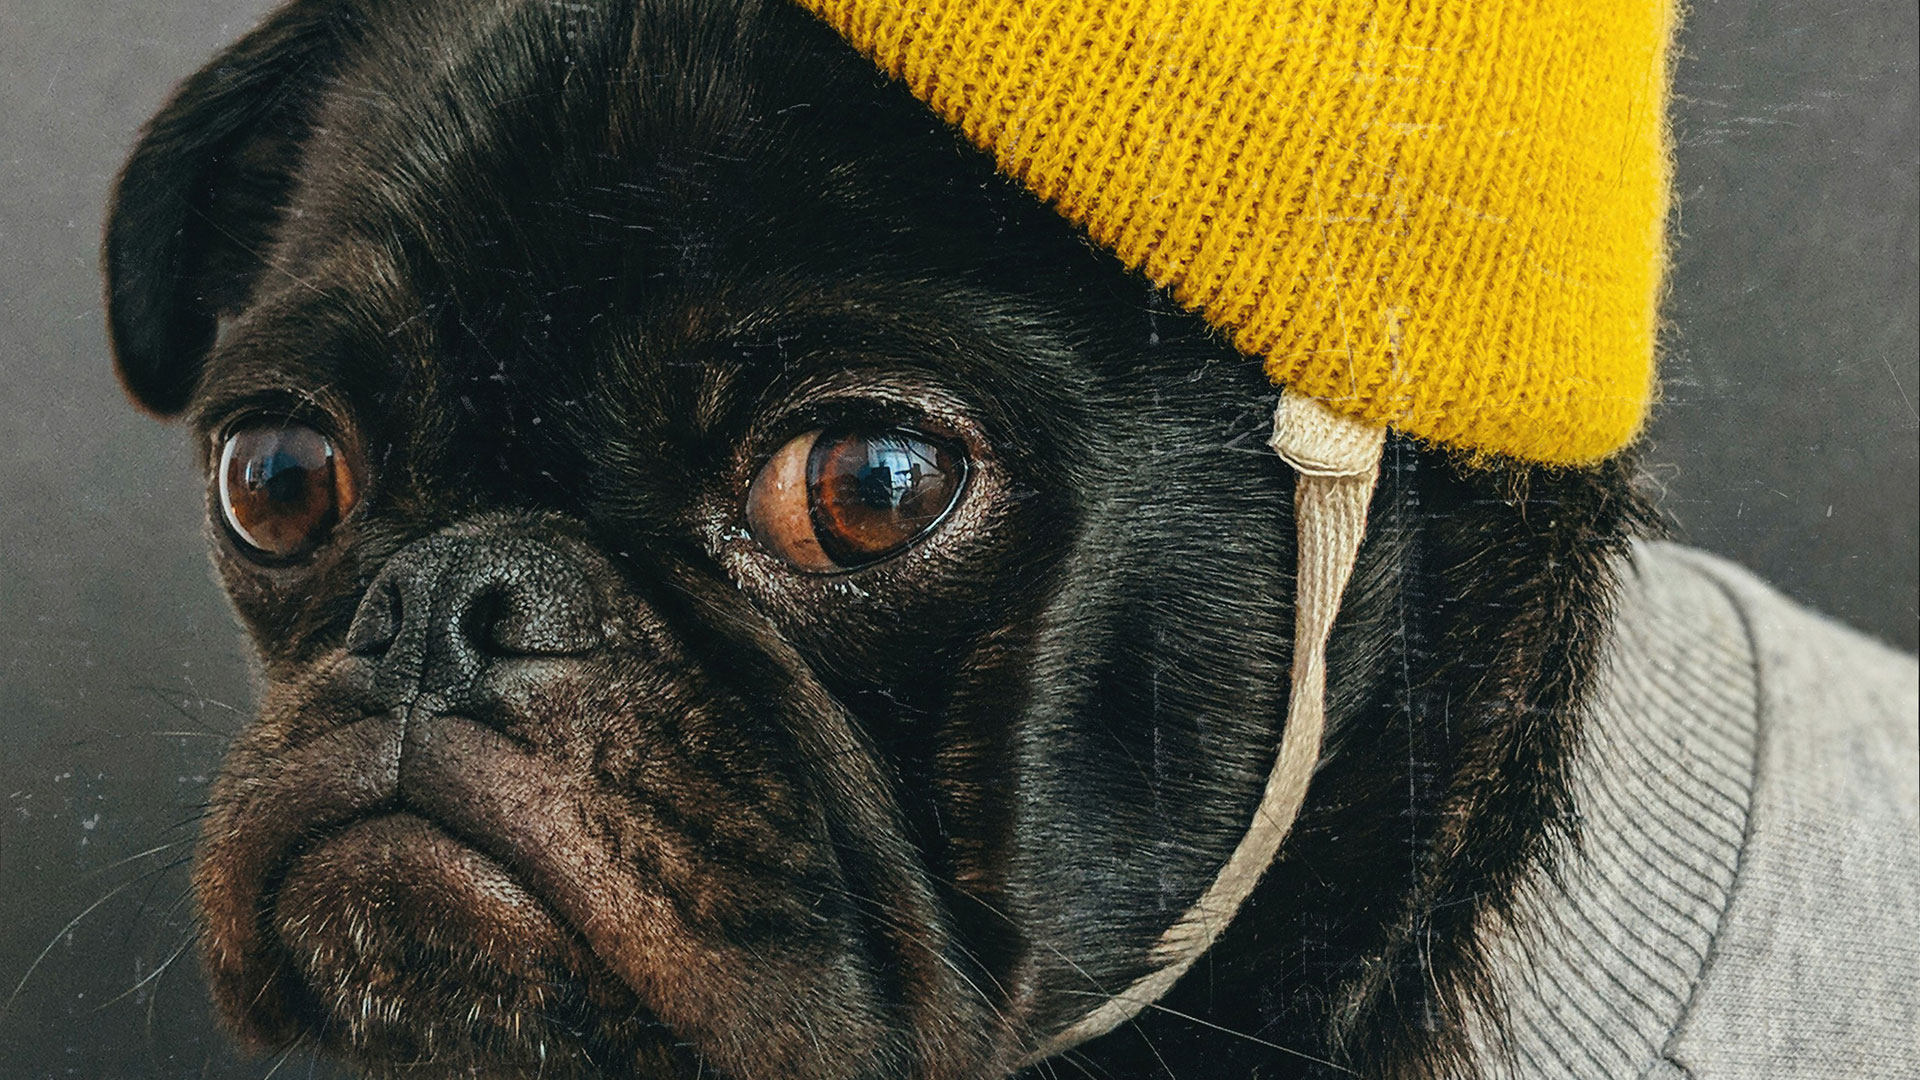
AFTER
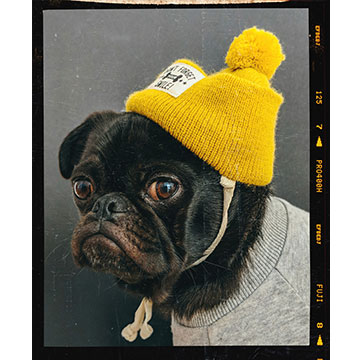
BEFORE
Vintage Made Easy
Creating a realistic film aesthetic is one of the best ways to give your digital photos a soulful, timeless feel. Rather than using a basic filter, this technique lets you control the “grit” and character of your image. Whether you’re a pro or just starting out, learning these steps will help you create high-quality, vintage looks that actually look like they were shot on a real camera.
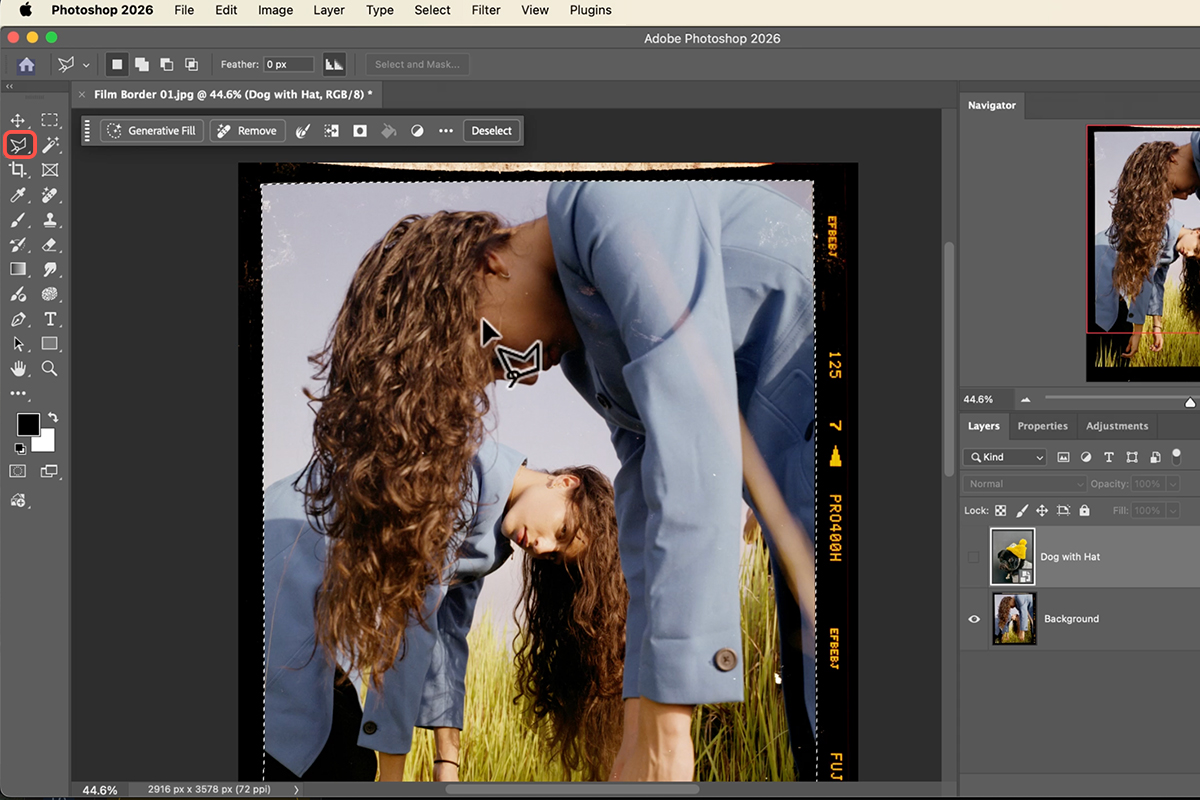
Mask Your Border
1. First, bring your film border into Photoshop.
2. To make it look real, grab the Polygonal Lasso Tool (Keyboard Shortcut “L”) and click around the inside of the frame. Don’t worry about being perfect—real film is a little uneven!
3. Once you’ve made your selection, drag your photo into the document and hit Enter.
4. Click the Layer Mask icon at the bottom of your Layers panel, and your photo will instantly pop right into the frame.
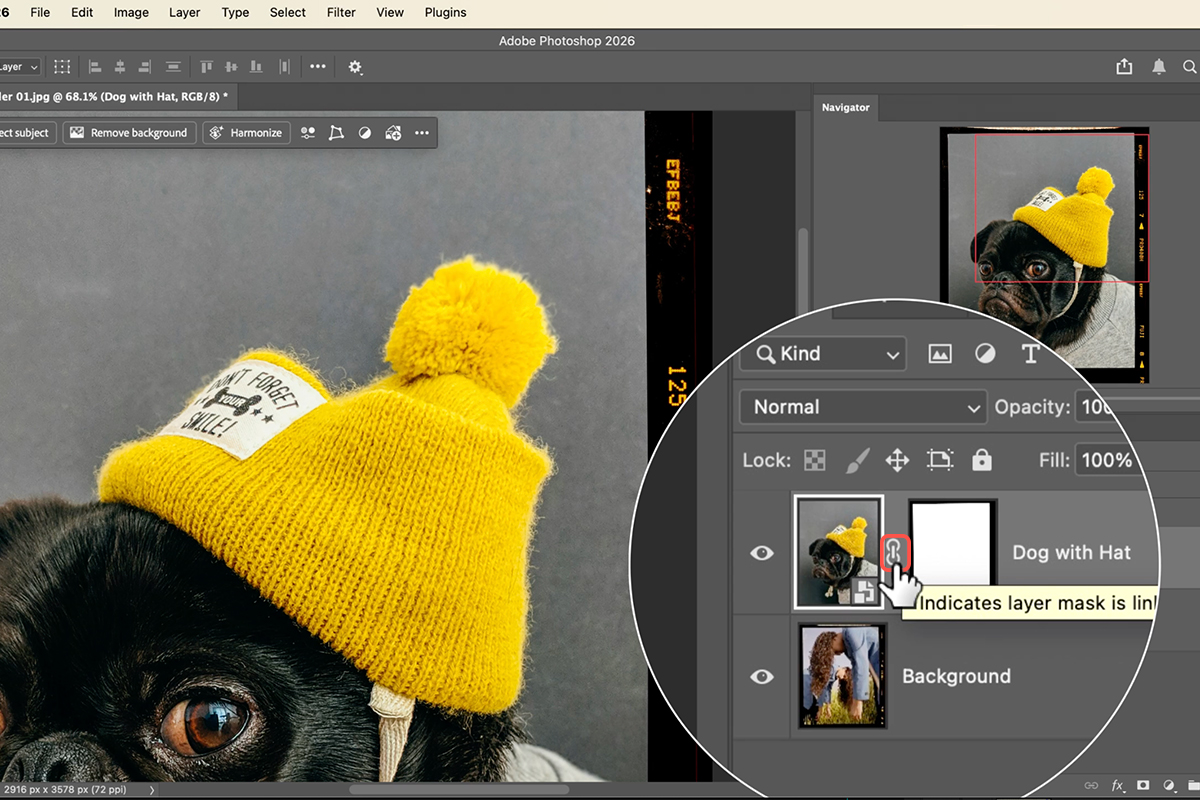
Unlink for Control
The secret to a great composition is being able to move your photo without moving the border.
5. Look at your layers and click the small chain link icon between your photo and the mask. This unlinks them so they can move separately.
6. Now, you can press Ctrl/Cmd + T to use the Free Transform tool. This lets you resize and move your photo while the border stays perfectly locked in place.
Add Real Texture
To finish the look, you need some vintage “noise”.
7. Drag a scratch or dust texture into Photoshop and place it on top of all your layers.
8. If you need to rotate it, hold Shift while turning it to snap to 15-degree intervals.
9. Change the Blend Mode from Normal to Screen. This trick makes the black parts disappear, leaving only the cool scratches behind.
10. If it looks too intense, just lower the Opacity slider to blend everything together.


