
Download Assets
description
Learn how to create a light blur effect without ever losing your original detail! This tutorial walks you through using the Path Blur Gallery and Smart Objects to build a high-end, non-destructive look. This is perfect if you want to add motion, texture, and a “done-in-camera” feel to your portraits.
Go PRO:
Dive deeper on non-destructive editing with our in-depth PRO tutorial The Ultimate Guide to Non-Destructive Editing in Photoshop . We’ll cover everything from mastering masks and smart objects to building an unbreakable raw pipeline, all while preserving your original image intact..
Image Source
- Good Faces
- Klara Kulikova
- Codioful
Images sourced from Unsplash.
Share
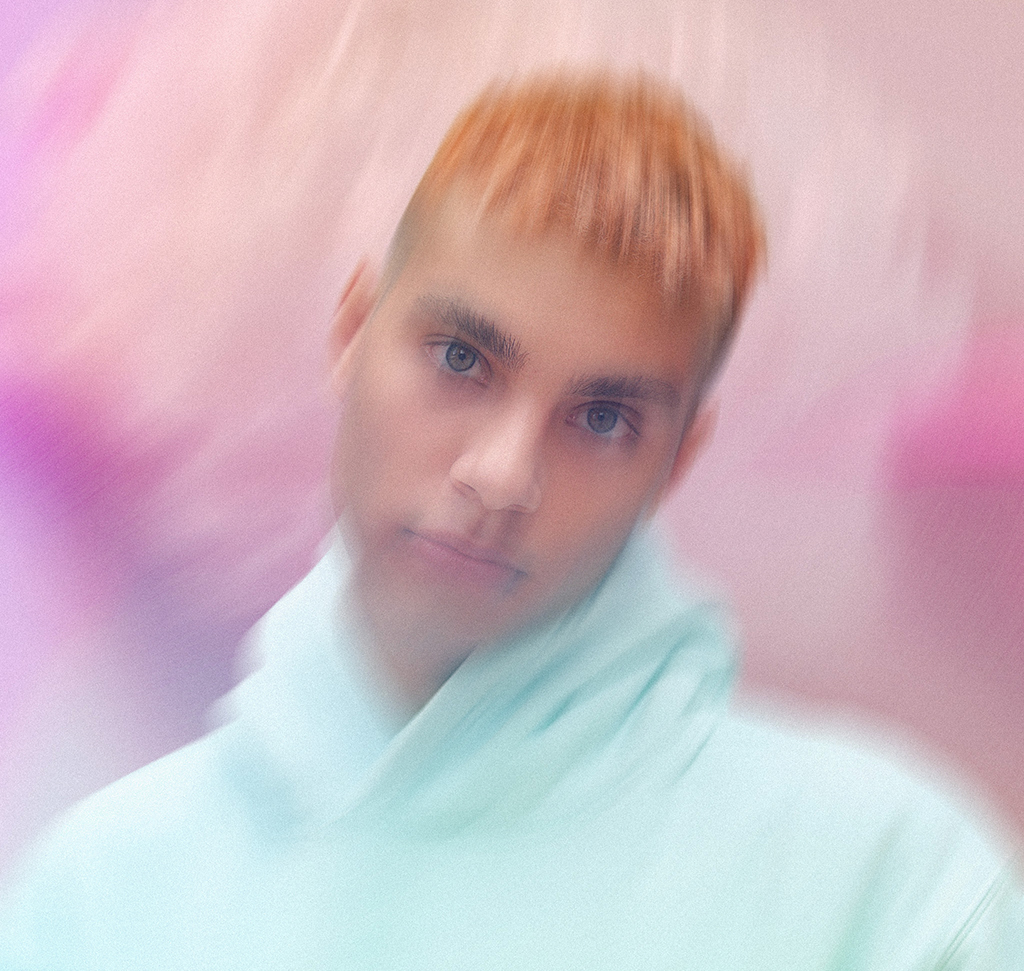
AFTER
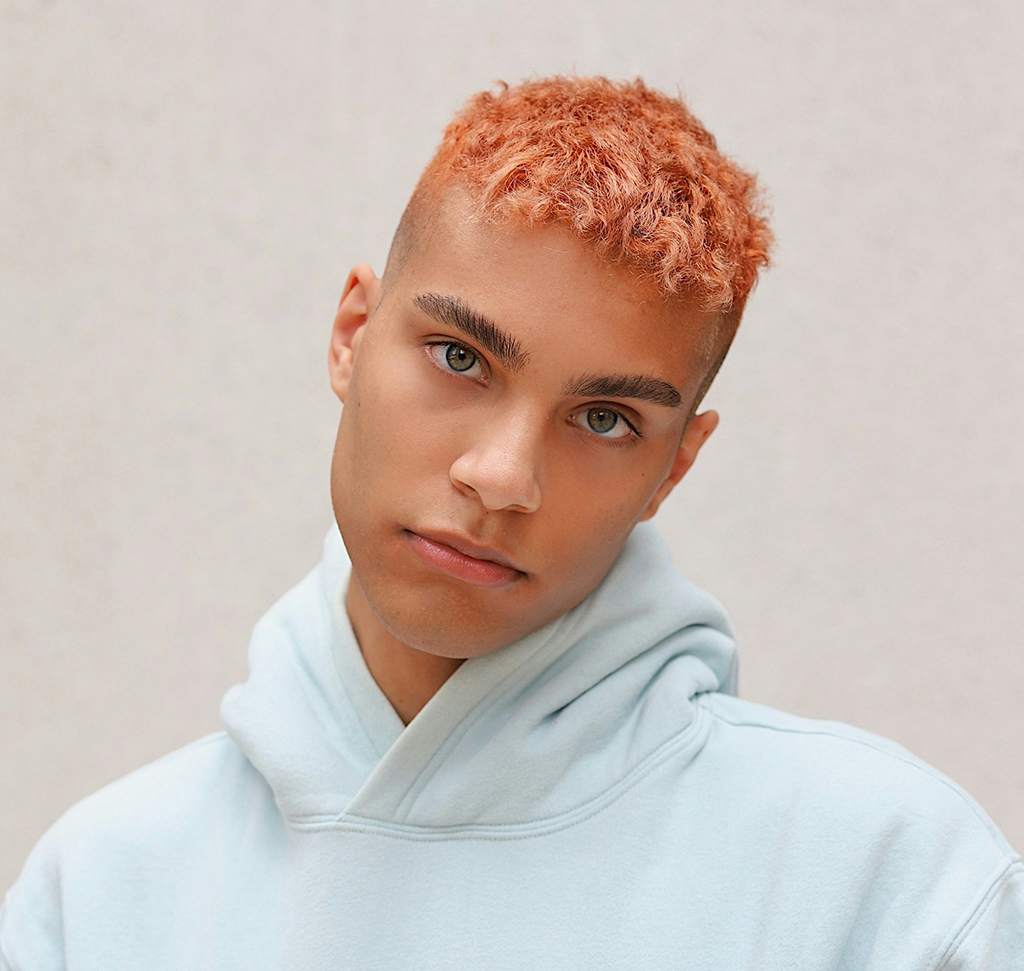
BEFORE
Dreamy Blurs
Adding special effects to your photos is one of the best ways to make your work stand out. Instead of just fixing a mistake, you’re creating a whole new mood that wasn’t there before. These tricks help you tell a better story and give your images a professional edge. In this tutorial, we’re going to show you how to use different tools to build a beautiful light blur that looks totally natural.
Getting Started
1. First, cut your subject out using the Remove Background tool.
2. When you bring in a new background, you have to make sure the light matches. Hit Ctrl/Cmd + L to open Levels and move the middle slider until the brightness looks right. Don’t worry about the details of the background yet—we just want the color and the light to feel natural.
3. Turn your layers into Smart Objects so you can change your mind later without ruining the photo. G
4. Go to Filter > Blur Gallery > Path Blur. This tool is awesome because you can draw lines to show the light exactly where to go.
5. Move the Speed slider to get the look you want. You can even add a few different paths to make the background feel more alive.

Focus the Eyes
6. To keep the portrait feeling real, you need the eyes to stay sharp. Duplicate your subject layer by hitting Ctrl/Cmd + J and add a black layer mask to hide it.
7. Grab your Brush Tool (Keyboard Shortcut “B”) and paint with white over the face. This lets you keep that beautiful blur on the edges while making sure the person’s expression still stands out clearly.

Finish with Texture
8. To pull it all together, drag in a light texture and set the blend mode to Screen.
9. If the colors aren’t perfect, hit Ctrl/Cmd + U to open Hue/Saturation and shift the tones.
10. Lastly, add a little bit of Grain. It’s a small touch, but it makes the whole thing look like a real photograph instead of a digital edit.


