

THIS COURSE INCLUDES
- 17 Lessonsin 4 sections
- 3h 40mof 4K video
- All Levelsbeginner to advanced
- Mostly Credit-Free selections never spend AI credits
- 24 Sample Imagesto follow along
- 21 Layered PSDsevery finished edit
- Course Guideprintable PDF
- Captionsand chapters on every lesson
Description
Masking in Photoshop is the skill behind almost every great edit. If you can select it, you can change it: brighten it, recolor it, cut it out or move it somewhere new. This course takes you from your very first selection to the cutouts that make most people give up, in 17 follow-along lessons with every sample image and layered PSD included.
Photoshop’s automatic tools are powerful, but they only get you so far. What do you do when Select Subject finds nothing, or when Refine Hair makes the hair worse? You’ll learn exactly what to reach for when one click isn’t enough: hair on a busy background, fuzzy sweaters, color fringe, white hair on a white wall, even clouds. Each lesson stands on its own, so you can jump straight to the one you need, and most of what you’ll learn won’t cost you a single generative credit.
What You’ll Learn
- Choose the right selection tool for any subject
- Master layer masks and clipping masks without erasing a pixel
- Recolor anything and paint precise local adjustments
- Cut out products, people, hair and fur for any background
- Fix edge fringe and select subjects with no hard edge, like clouds
Table of Contents
-
01 - How to Use Photoshop's Selection Tools29:34m
-
02 - How to Select by Color and Brightness23:44m
-
03 - How to Save, Load and Reuse Selections12:30m
-
04 - How to Use Layer Masks20:51m
-
05 - The Difference Between Layer Masks and Clipping Masks12:39m
-
06 - How to Use Multiple Masks on One Layer5:10m
-
07 - How to Use the Select and Mask Workspace12:24m
-
01 - How to Change the Color of Anything17:08m
-
02 - How to Make Local Adjustments With Masks15:32m
-
01 - How to Cut Out an Object or Product10:15m
-
02 - How to Cut Out a Person9:01m
-
03 - How to Cut Out Hair on a Clean Background13:45m
Course Downloads
Section 1 · Lessons 1–7
Selection and Masking Basics
Every selection tool, layer masks and clipping masks, and the Select and Mask workspace: the foundation for everything that follows.
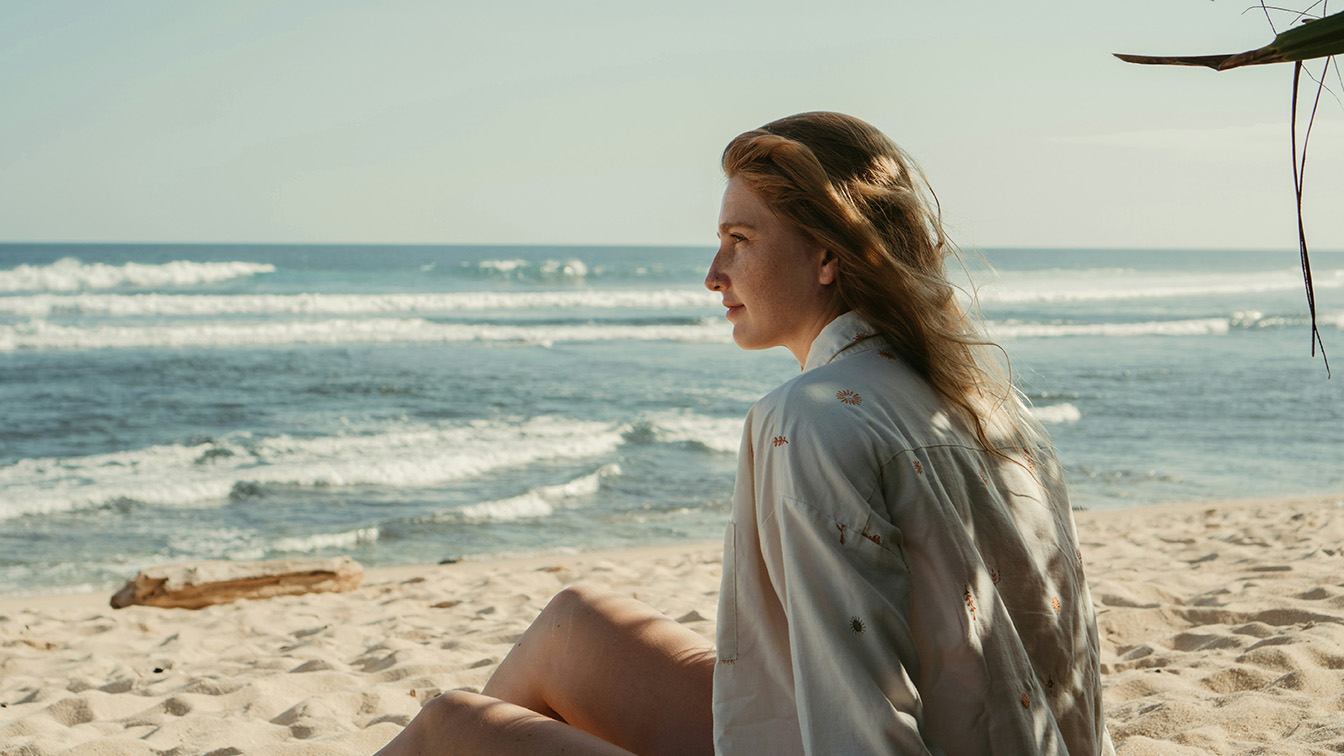
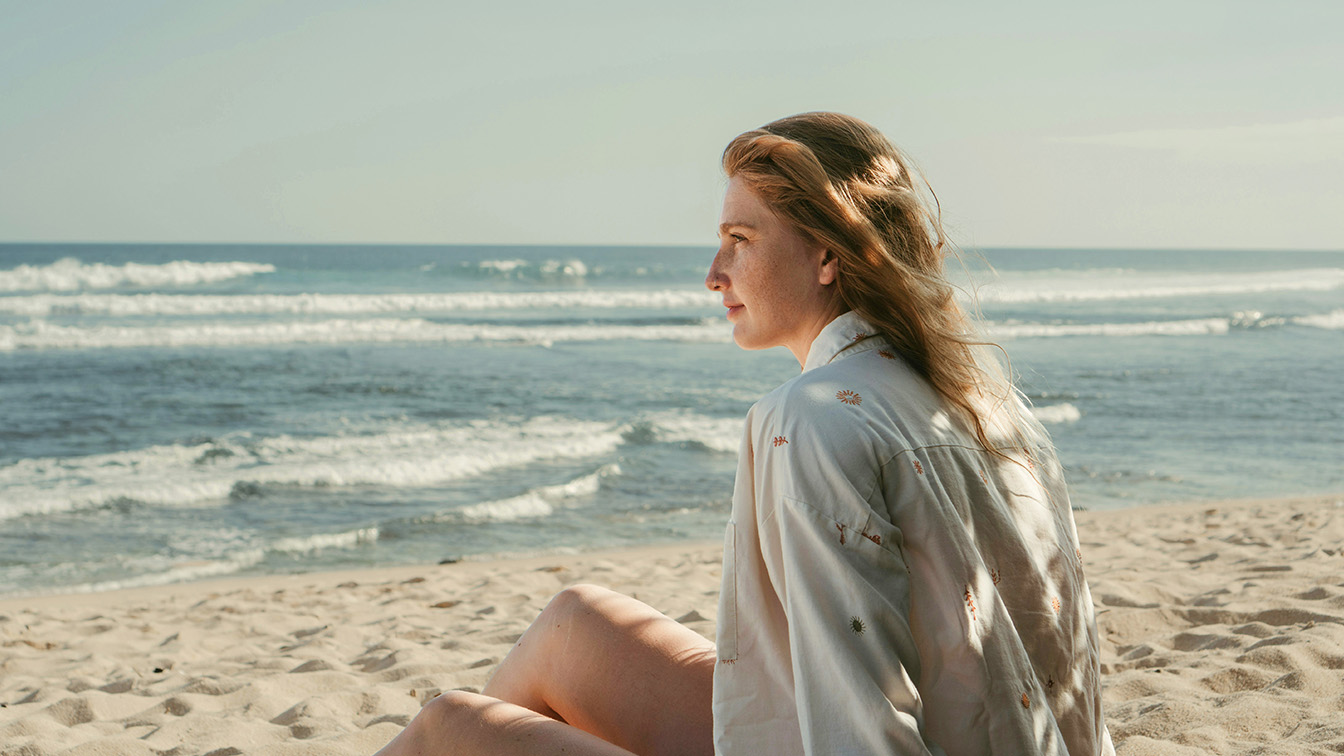
Every Selection Tool, and When to Use It
Photoshop has a whole toolbar of selection tools, and most people only ever use two or three. We start at the top and work all the way down, from the classic Marquee and Lasso to the AI tools that can pick out a person’s hair, clothes or skin on their own. You’ll learn which ones are worth your time, which you can leave behind, and what to do when Select Subject can’t find your subject. Then you’ll put them to work on a real portrait, without spending a credit.
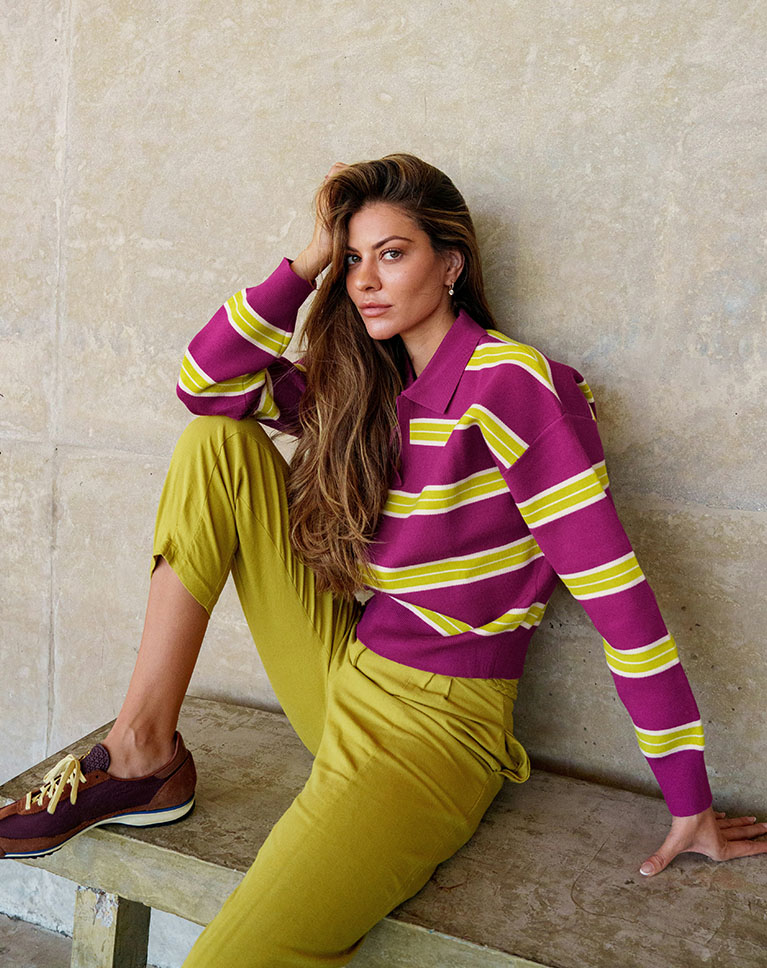

Select by Color
Not everything you want to select is an object. In this lesson you’ll learn how to isolate a single color with Color Range and change it to anything you like, without affecting the skin, hair or clothing beside it. You’ll also see how to combine it with the Object Selection tool to refine the result, a habit you’ll use throughout the course.
Select by Brightness
The same tool can select by light instead of shape. You’ll learn how to target the highlights, midtones or shadows of a photo, recover detail in a blown-out area and lift heavy shadows, and how to limit the change to one part of the frame.
Save, Load and Reuse Selections
A complicated selection can take several tools and a few passes to build, so you’ll want to keep it. You’ll learn two ways to save a selection and load it again at any time, add it to or subtract it from another selection, and reuse it on as many layers as you need, including the everyday method we prefer.
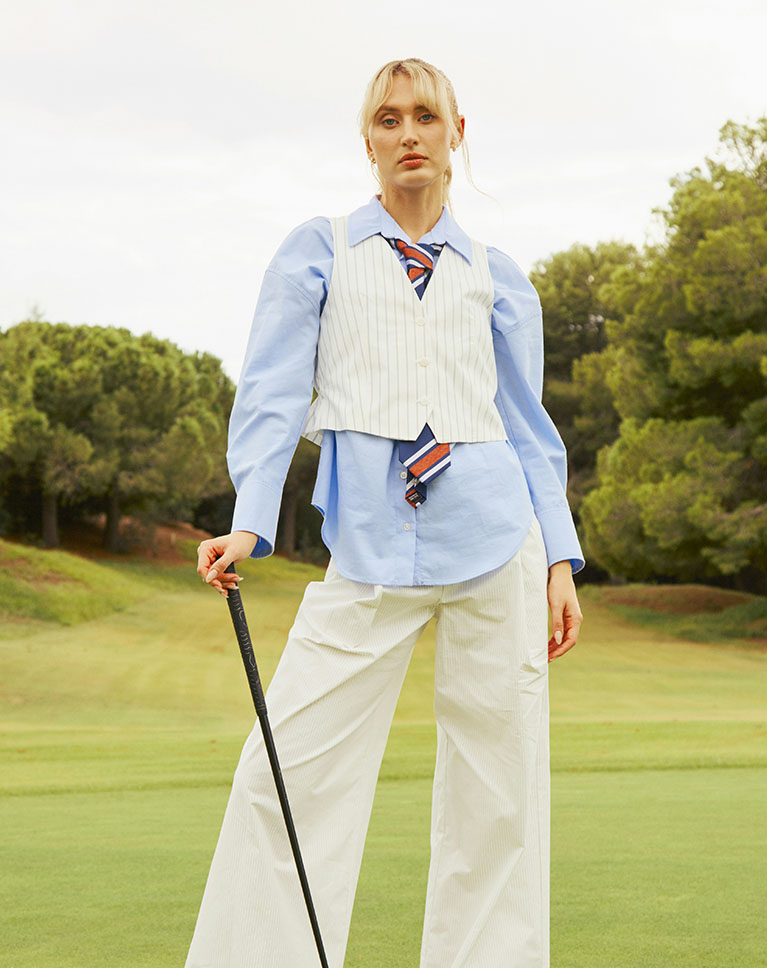

Layer Masks, From the Ground Up
Layer masks are the key to editing without erasing a pixel. Through a complete sky replacement you’ll learn how a selection becomes a mask, how to view, invert and adjust it, how to move a new sky inside the mask without moving the mask itself, and how to check a mask for problems before they show in the finished image.
One Mask for a Whole Group
When several layers need the same mask, copying it to each one is slow and hard to maintain. You’ll learn how to mask a group instead, so you can try several skies inside it and swap them in seconds, then clip adjustments to that group so the brightness and color of the new sky match the rest of the scene.
Layer Masks vs. Clipping Masks
The two look similar and do different jobs. You’ll learn how a clipping mask ties a layer or an adjustment to the layer beneath it, when it’s the better choice, and how to combine the two. On a portrait, you’ll brighten the subject, change the color of her shirt and warm the midtones without touching the background.
Multiple Masks on One Layer
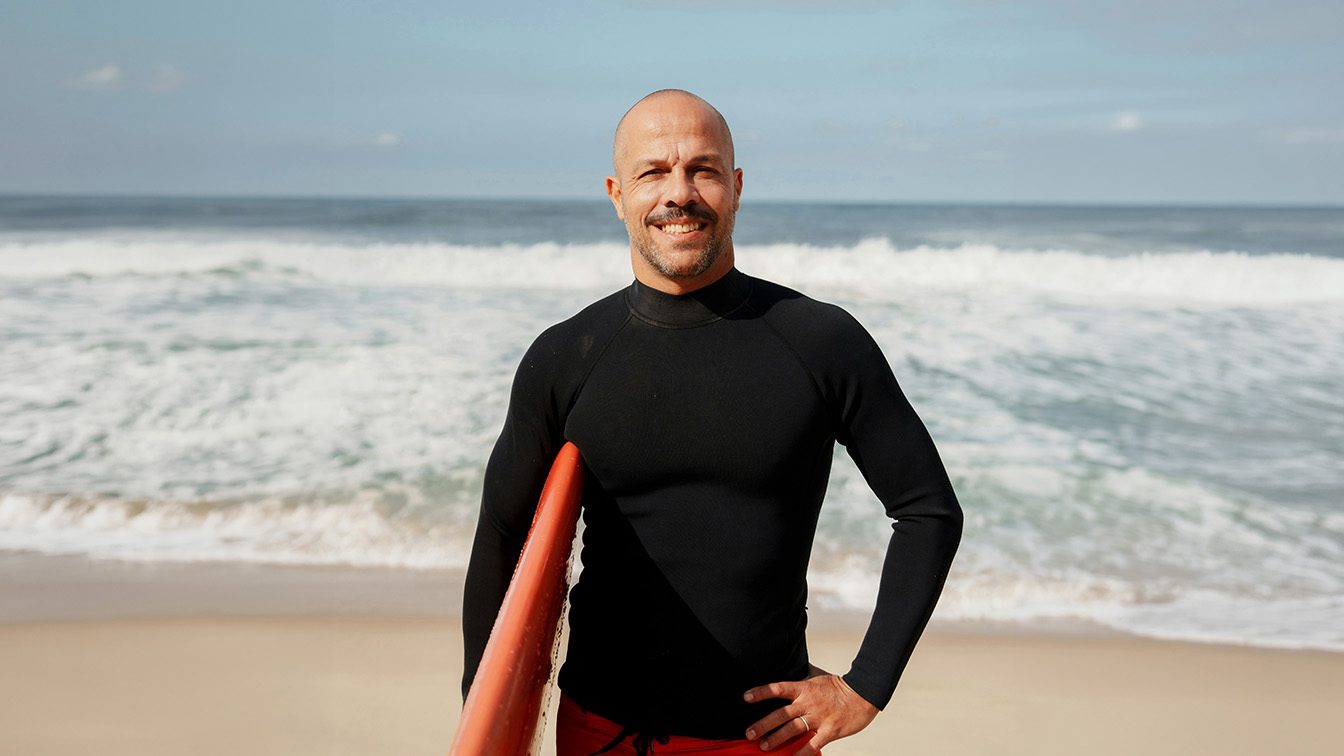
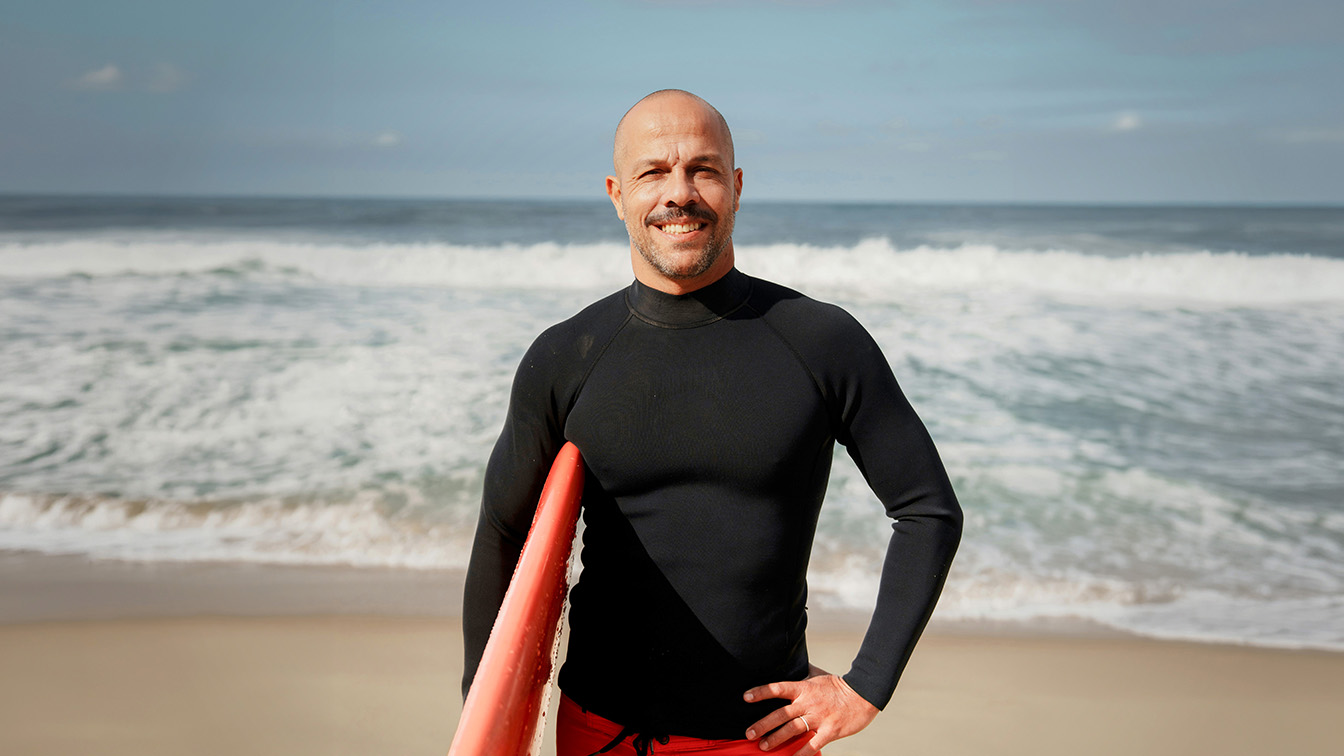
Photoshop allows only one mask per layer, and sooner or later that gets in the way: you have a perfect mask of your subject and need to mask that same layer again. Most people end up damaging the mask they worked so hard on. You’ll learn a workaround that takes seconds, keeps both masks intact and works on any kind of layer, whether it’s an image, an adjustment or text. It’s a technique you’ll use on almost every image from here on.

The Select and Mask Workspace
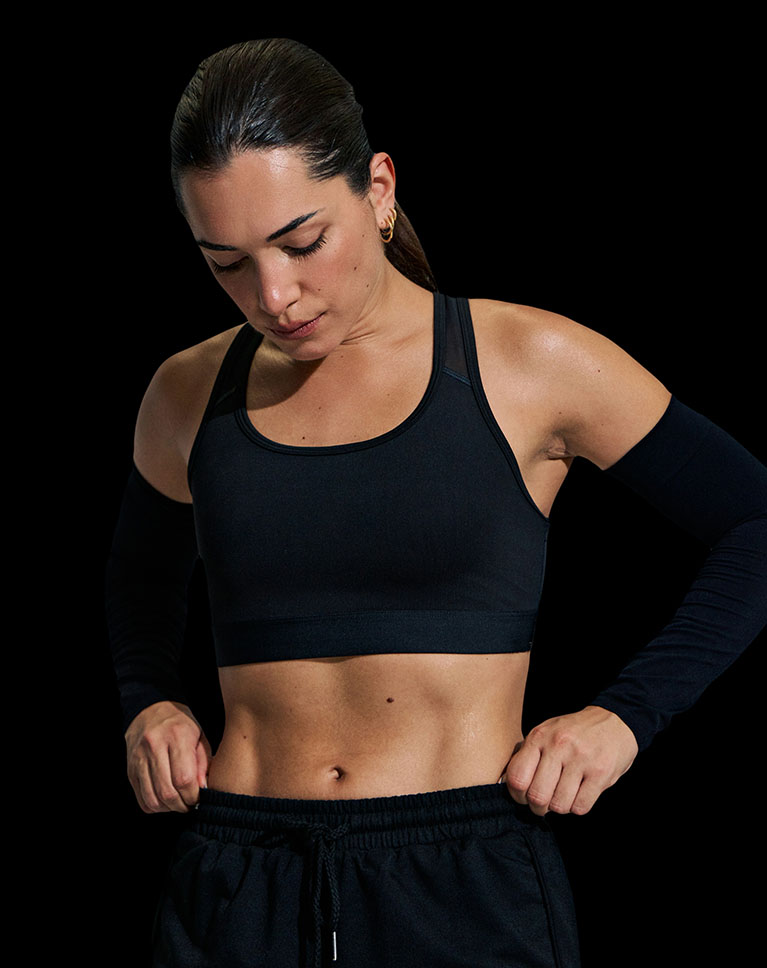
Photoshop’s AI selections are excellent, and they still benefit from refinement. Select and Mask is where a good selection becomes a perfect one. You’ll learn the three ways to open it, the view modes that show edge problems most clearly, and which of its tools are worth your time.
Hair in One Click
Refine Hair does in a single click what once took an hour of careful painting. For the rest of the edge, you’ll learn the global refinements we apply in the same order on every cutout, what each one does to the edge, and how to judge the result on a light and a dark background before you commit.
Why Edges Fringe
Move a subject from a light background onto a dark one and a pale halo appears along the edge. The mask itself isn’t wrong. You’ll learn what actually causes the fringe, why it shows on some backgrounds and not others, and how to finish an edge by hand, the foundation for every cutout lesson in Sections 3 and 4.
Section 2 · Lessons 8–9
Changing Color and Making Adjustments
Put masks to work without cutting anything out: recolor anything so it looks real, and paint light exactly where you want it.

Change the Color of Anything
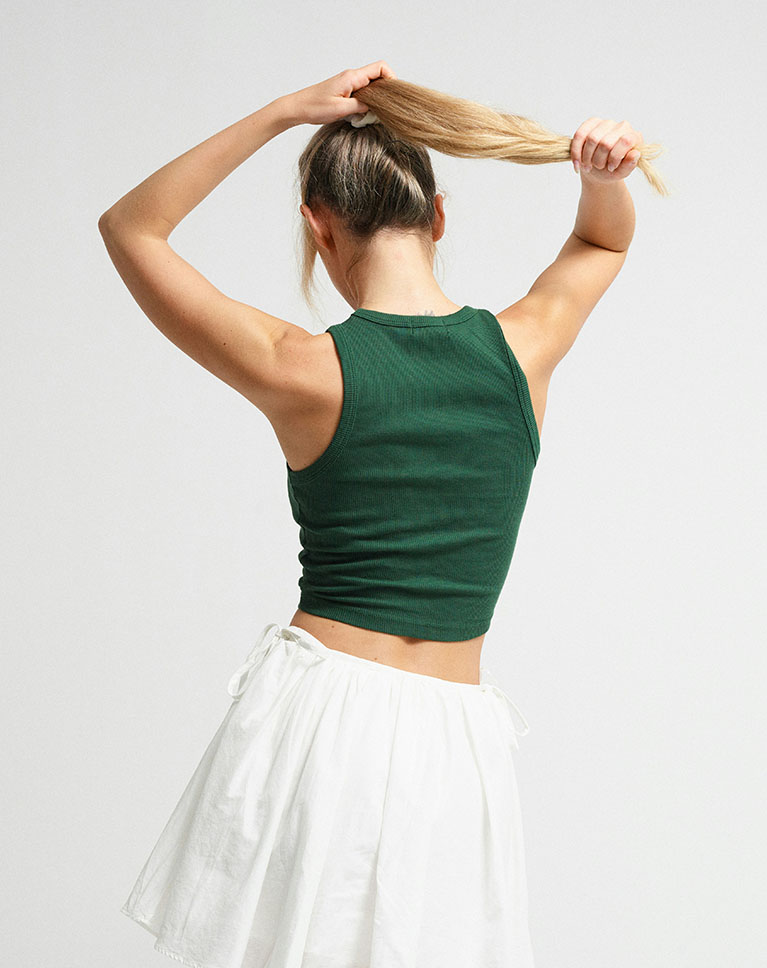
Changing the color of a shirt takes a selection and one adjustment layer. You’ll learn how the selection loads straight into the adjustment’s mask, so the change stays exactly where you want it, and how to come back and choose a different color at any time without starting over.
A Loose Selection Is Enough
Modern selection tools don’t need a careful outline. You’ll learn how to draw loosely around a garment and let Photoshop find the edges, and how to select clothing, hair or skin directly by name. The whole course is taught on a laptop trackpad, so no drawing tablet is required to follow along.
Which Sliders to Trust
Changing a color is easy; making it look photographed is the skill. You’ll learn which Hue/Saturation controls give a natural result and which introduce artifacts, flatten the shadows or wash out the fabric, so every recolor keeps the texture and depth of the original.

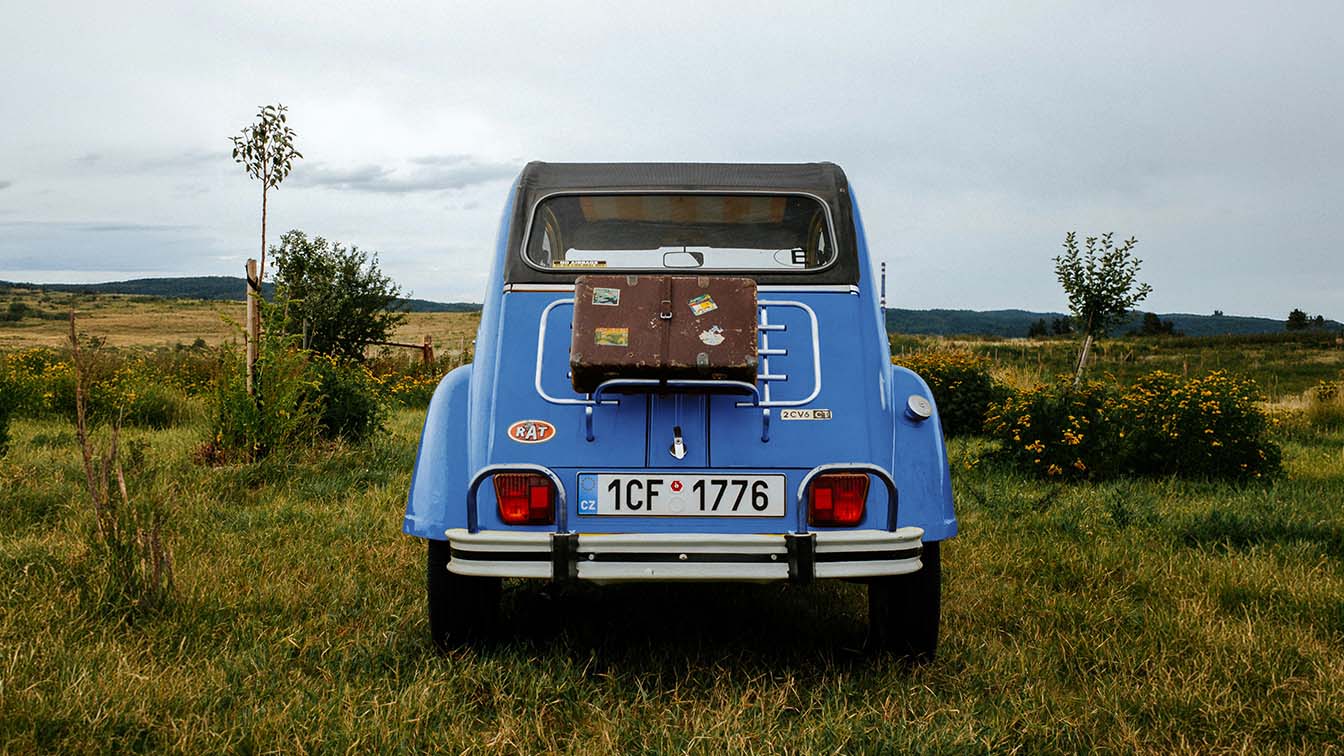
Recolor Anything So It Looks Real
Big color changes are where most recolors fall apart. Turn a yellow car blue and the color comes out uneven and flat, while the lights, the license plate and the luggage on the back change color right along with the paint. You’ll learn the advanced masking that protects everything you want to keep, how to get smooth, even color across the whole object, and the finishing step that puts depth back into the shadows. We use a car, and the same technique works on clothing, products, walls or anything else.

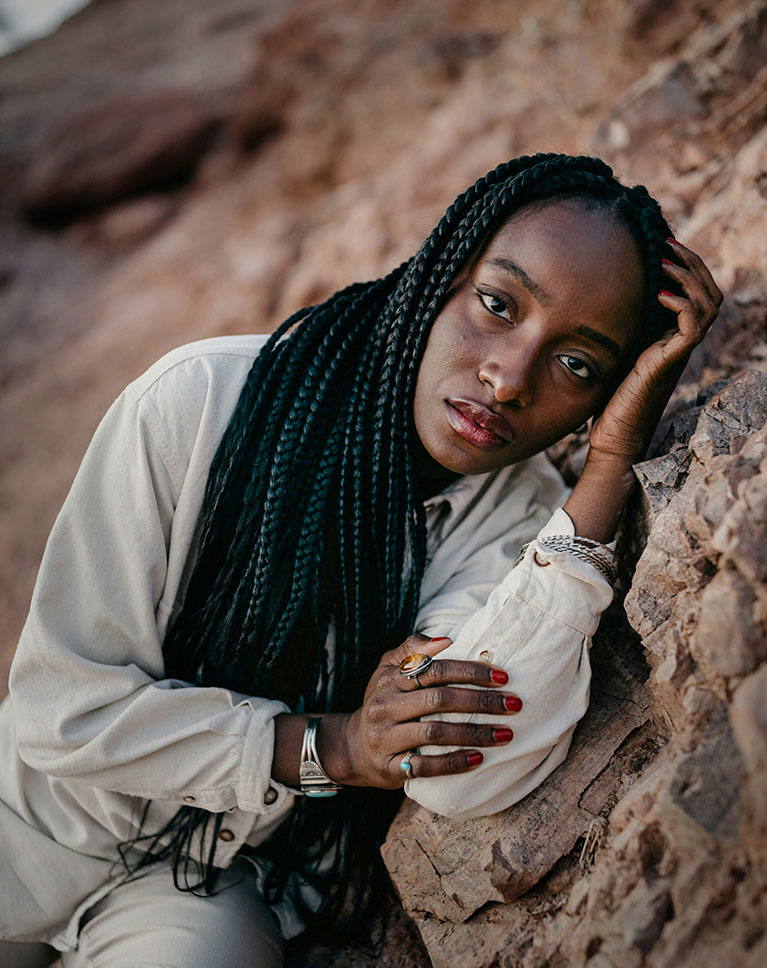
Local Adjustments With Masks
This is dodging and burning with adjustment layers: brightening where you want attention and darkening where you don’t. You’ll learn how to paint an adjustment onto a face, soften harsh highlights and add a gentle glow around a subject, all on separate layers you can refine or switch off at any time.
Opacity vs. Flow
Two brush settings sit side by side, and most people use the wrong one for masks. You’ll learn what Opacity and Flow each do, why one leaves visible strokes while the other builds up gradually, the keyboard shortcuts that set both, and the low setting we use for transitions no one can see.
A Vignette With Precision
A preset vignette darkens the corners whether the photo calls for it or not. You’ll learn how to paint one by hand that follows the shape of your image and leads the eye to the subject, then apply the same masking to bring out detail in the eyes with a Clarity adjustment.
Section 3 · Lessons 10–12
Simple Cutouts
Objects, people and hair on clean backgrounds, and the edge fixes that make a cutout hold up on any color.


Cut Out an Object or Product
Every product cutout starts with Select Subject, the most capable AI selection tool in Photoshop, and it costs nothing to use. You’ll learn how to isolate a pair of headphones in seconds, place them on a background of any color, and check that the edge holds up from pure white to black.
A Shadow That Sells It
A product without a shadow appears to float, and a single drop shadow looks like exactly that. You’ll learn our approach to building a soft, natural shadow from layer styles that stays fully editable, works on any background color and uses no generative credits.
When a Drop Shadow Won’t Work
A car rests on its tires, so a drop shadow will never look right. This is where generative AI earns its place. You’ll see how we prompt a realistic ground shadow, which model produced the most convincing result, and what it costs in credits, so you can decide when it’s worth it.

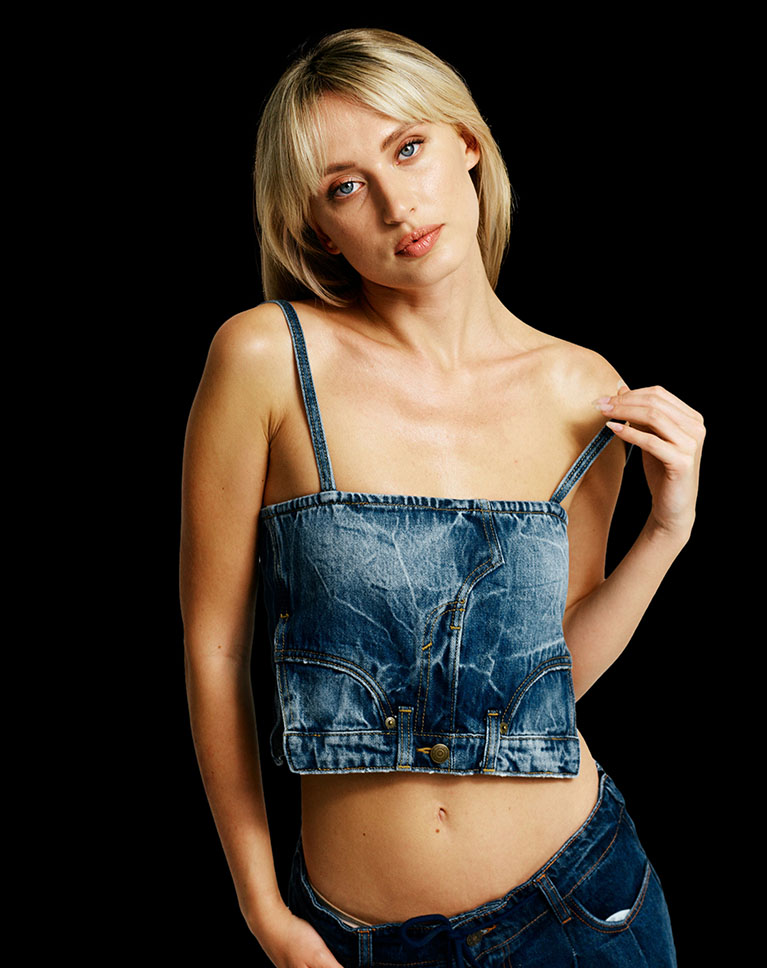
Cut Out a Person
Removing the background behind a person takes one click. Making the cutout hold up on a new background is the real work, and the hardest case is moving from a light backdrop to a dark one, where every stray strand of hair shows. You’ll learn how to judge the edge before you refine it.
One Pass for the Body, One for the Hair
Skin and clothing have firm edges; hair does not. The settings that clean up one will damage the other, which is why so many cutouts look good at the shoulders and fall apart at the hairline. You’ll learn a two-pass approach in Select and Mask that treats each edge on its own terms.
Finishing the Hairline
When the hair still carries a trace of the old background, an optional generative step can finish the job. It does spend credits, so you’ll get our honest assessment of when it’s worth using, and the one decision about your final background to make before you run it.
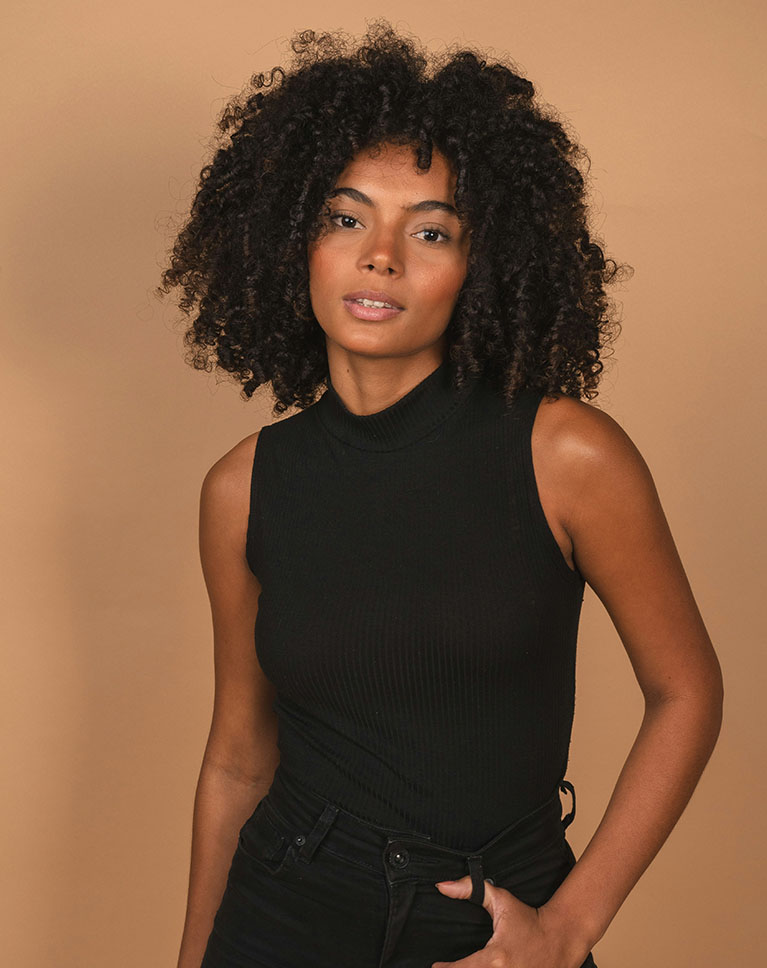
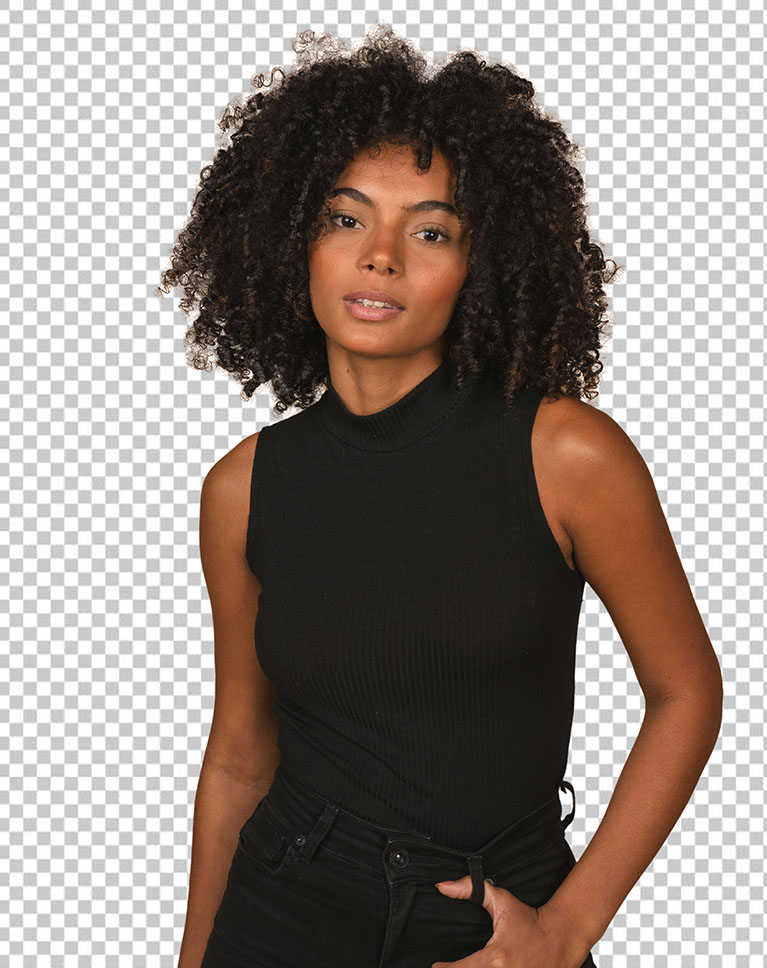
Hair on a Clean Background
The cutout itself takes a click. Look closely at the hair, though, and you’ll still see the color of the backdrop it was photographed against, and on a dark background it’s impossible to miss. This lesson is about removing that fringe completely, so the subject works on any color.
A Manual Fix That Always Works
This is the technique we rely on most: it uses no AI and no credits, it’s fully non-destructive, and you keep complete control over the result. You’ll learn how to rebuild the edge of the hair with the Clone Stamp on its own layer, then apply the same idea to clothing and skin.
The Black-and-White Test
How do you know a cutout is finished? You’ll learn the simple test we run on every one: if the subject looks right on pure black and on pure white, it will look right on any color and in any environment, and you’ll use it for the rest of the course. It takes seconds and removes the guesswork from every cutout that follows.
Section 4 · Lessons 13–17
Advanced Cutouts
Busy backgrounds, fuzzy fabric, edge fringe, subjects with no contrast and semi-transparent clouds: the cutouts that break automatic tools.


Hair on a Busy Background
Dark hair against a dark, busy background, with strands that disappear and reappear. Remove Background gets partway there, and Refine Hair, dependable everywhere else, makes this edge worse. You’ll learn how to assess an image like this and decide on the right approach before you touch it.
Rebuild the Edge
Instead of trying to find an edge that isn’t there, you rebuild it. You’ll learn how to paint over the problem areas and let the Remove tool generate a clean, believable hairline, a technique that uses AI without spending credits, so you can repeat it as often as needed.
Professional Results in Minutes
A few years ago the only answer was painting hair strand by strand, which took real skill and a long time. Today the same edge takes minutes. You’ll also see where the compromise lies, and why we still recommend this route over the alternatives that spend credits.

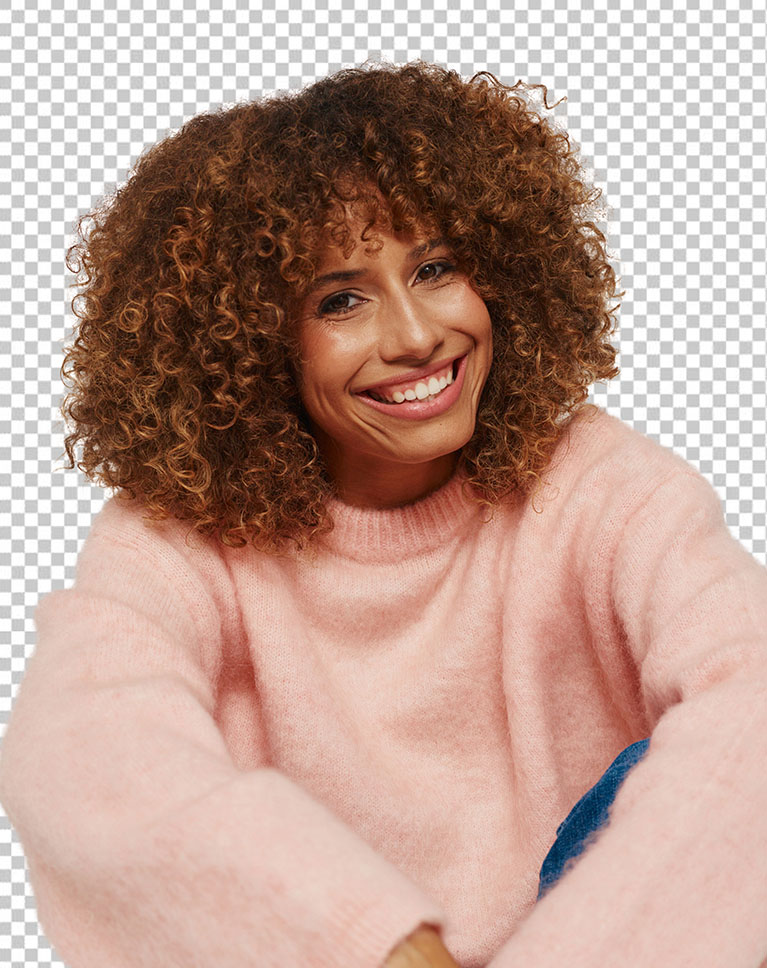
Fuzzy Fabric and Soft Edges
A fuzzy sweater has no hard edge, but an automatic cutout gives it one anyway. Rather than painting the softness back in by hand, you’ll learn how one setting in Select and Mask finds the true, soft edge of the fabric for you, and how far to push it for a realistic result.
Cleaning Up the Fibers
On a dark background, the lighter outer fibers give a cutout away. You’ll learn how to clean them up with the same clipped-layer technique from the hair lessons, and when you can skip this step entirely because the background is light enough to hide them.
Soft Fabric, Crisp Hair
The setting that softens the sweater also softens the hair, which isn’t what you want. You’ll learn how to handle the two in separate passes so the fabric stays soft and the hair stays crisp in the same image, then check the result on black and on white before calling it done.

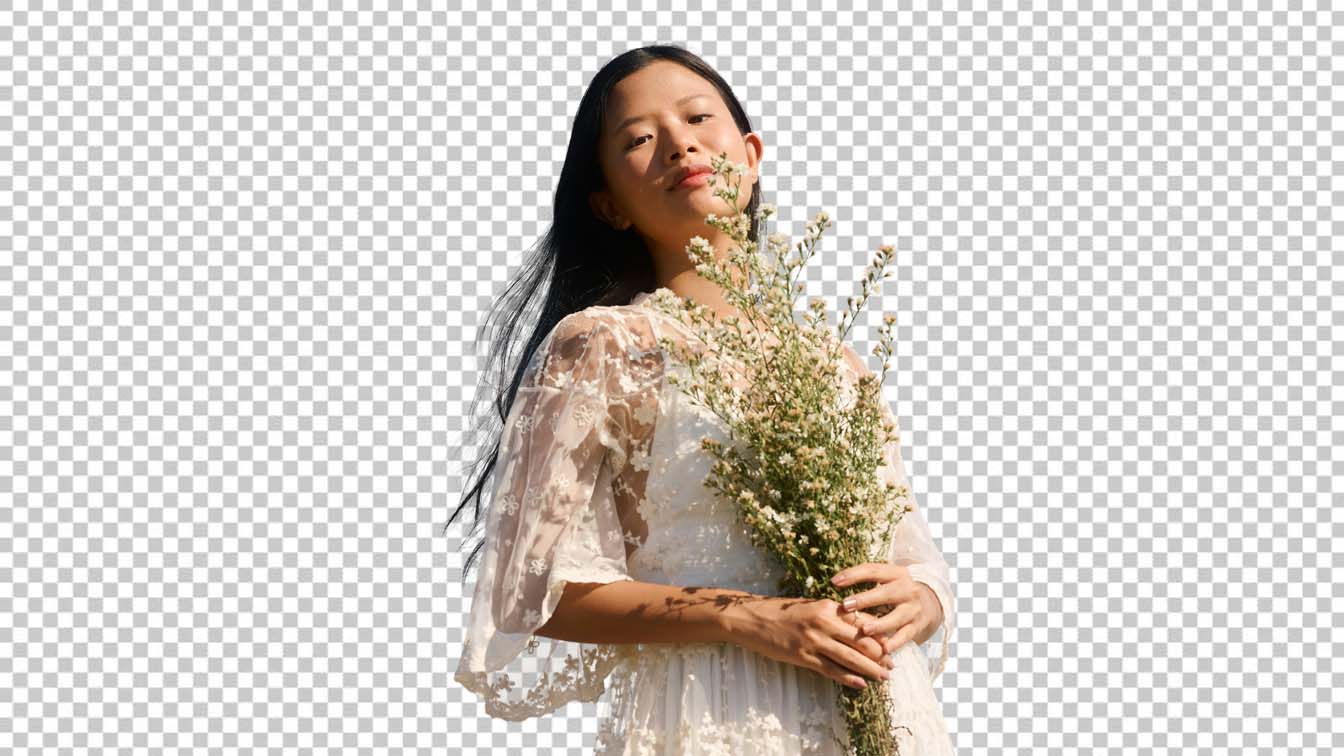
Remove Edge Fringe With Enhance Edge
A blue sky leaves blue in everything it touches: hair, flowers, even sheer lace. It’s the detail that gives most cutouts away. In this lesson you’ll compare two ways to get rid of it. Enhance Edge, brand new in the Photoshop beta, does it in one click and spends generative credits. The manual method we’ve relied on for years gets the same clean result for free, on any image and any edge. You’ll learn both, so the choice is yours.
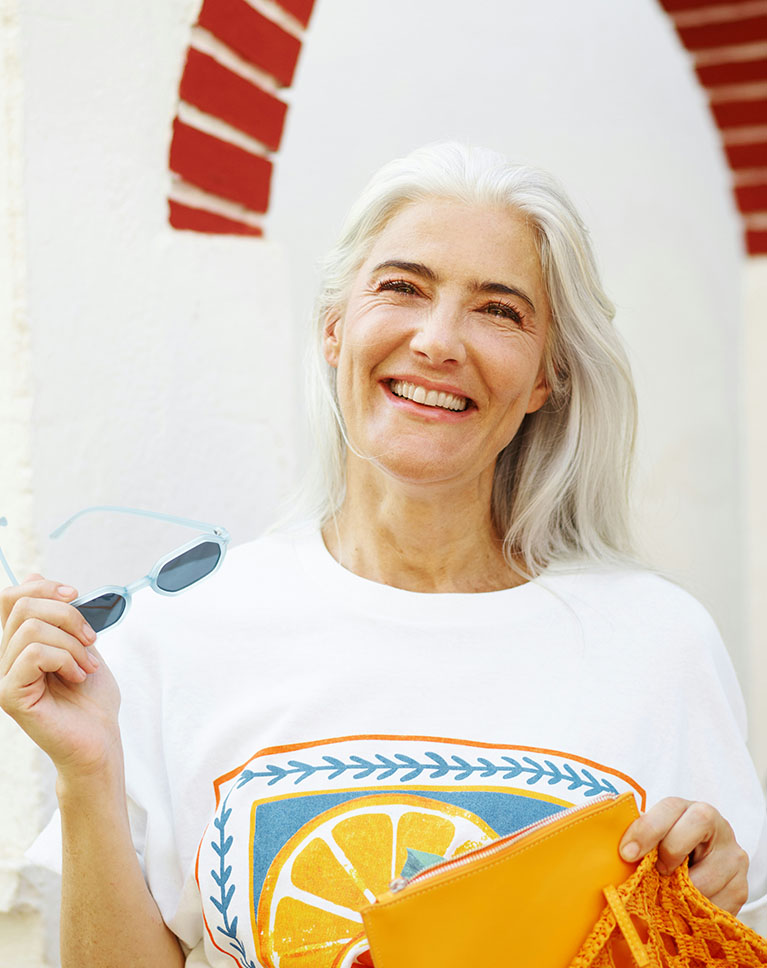

Selections With No Contrast
White hair against a white wall gives a selection tool almost nothing to work with, and the automatic cutout leaves a hard, unnatural edge. It’s one of the most difficult situations you’ll meet, and you’ll learn a workflow that fixes it in far less time than you’d expect.
Get the Order Right
There is one decision to make before you start on the edge, and it changes the result completely. You’ll learn why the final background has to be in place first, what happens when it isn’t, and a shortcut that lets you redo the edge in seconds if you change your mind later.
As Many Tries as You Need
The technique uses AI without spending credits, so a second or third pass costs nothing. You’ll learn how to compare the stages, repaint only the areas that need it, and keep going until the edge looks natural all the way around the subject. Each pass builds on the last, so the result improves without any manual painting.


Semi-Transparent Subjects: Clouds
Clouds have no edge, so Select Subject finds nothing to select. In the final lesson you’ll learn a different kind of selection altogether, one built on transparency rather than shape, that captures every soft, see-through wisp the other tools miss.
Select by Transparency
Channels are a tool we reach for rarely, but nothing else comes close for this job. You’ll learn how to read the red, green and blue channels, which one to use for a sky and why, and how to turn the contrast in it into a selection. Once you’ve seen it done, you can repeat it on any image.
Clouds Without the Blue Sky
The result is a layer of real clouds with none of the original sky attached. You’ll learn how to bring them into another photo, position them anywhere you like and blend them with the sky that’s already there, for a composite that looks like it was photographed that way. It’s the finale of the course, and it brings together everything you’ve learned about selections and masks.

Class Instructor
Aaron Nace
PHLEARN Founder & Lead Instructor
Aaron Nace is a photographer, digital artist, and the founder of PHLEARN. He has been teaching Photoshop, Lightroom, and photography since 2011, and has taught at Adobe MAX for more than eight years.
Aaron publishes a free tutorial every week and a new in-depth PRO course every month.
- 2M+YouTube subscribers
- 160M+video views
- 1,000+tutorials published
- 15years teaching Photoshop
Sample images for this course by Polina Kuzovkova, ohlamour studio, Karsten Winegeart, Fellipe Ditadi, Natalia Blauth, Nicolas Häns, Chris Weiher and Getty Images via Unsplash.
Reviews
There are no reviews yet.
Masking in Photoshop: Common Questions
About This Course
Is this course good for beginners?
Yes. Section 1 starts from your very first selection and builds from there. If you already know the fundamentals, the first lesson tells you when it’s safe to skip ahead to Section 2.
What’s the difference between a selection and a mask?
A selection tells Photoshop which pixels you mean. A mask saves that choice on a layer, so you can change it at any time without erasing a pixel. Section 1 shows how the two work together.
What’s the best selection tool in Photoshop?
It depends on what you’re selecting. A person, a product, a color and a sky each call for a different tool. Lesson 1 walks through every selection tool in Photoshop and when to reach for each one.
What’s the difference between a layer mask and a clipping mask?
They look alike but do different jobs. A layer mask controls what’s visible on its own layer, and a clipping mask ties a layer to the one beneath it. Lesson 5 puts them side by side, so you know when to use which.
How do I cut out hair in Photoshop?
One click gets you most of the way. The edge is the hard part, and it changes with every photo, so hair gets four lessons of its own: on a clean background, on a busy background, fine fuzz and fur, and white hair on a white wall. You practice on the same photos.
How do I get rid of the halo or fringe around a cutout?
That halo is the old background color carried in the edge pixels, and it’s what gives most cutouts away. The course shows more than one way to remove it, and Lesson 15 compares a free hand-painted fix with Photoshop’s new Enhance Edge.
How do I select something with no hard edge, like clouds?
Clouds have no edge to trace, so Select Subject finds nothing. Lesson 17 shows how to select by transparency instead, then lifts real clouds out of one photo and into another sky.
Do these techniques use generative credits?
Most don’t. Selections never spend credits, and the Remove tool uses AI without spending them. A few optional steps do, and each one is pointed out in its lesson. The finished PSDs are in the download either way.
Which version of Photoshop do I need?
The course is recorded in Photoshop 2026 and uses newer tools like the Selection Brush, the Light adjustment and the Remove tool, with Enhance Edge shown in the Photoshop beta. The core techniques, including layer masks, clipping masks, Color Range and channels, work in older versions too.
Do I need a drawing tablet?
No. Every technique in the course, including painting on masks and dodging and burning, is shown on a trackpad. A tablet helps, but it isn’t required.
About PHLEARN PRO
What do I get with PHLEARN PRO?
Every PRO course on PHLEARN, plus all the downloads that go with them: sample images, RAW files, layered PSDs, Photoshop Actions, Lightroom Presets, LUTs, and Brushes. Stream everything in up to 4K with closed captions and chapters, on any device.
How much does PHLEARN PRO cost?
PRO is $12.99 per month, or $99.99 per year, which works out to about $8.33 a month. Both plans include every course, all the practice files, and the full library of presets, LUTs, actions, and brushes. There are no tiers and nothing is held back.
What’s the difference between the free tutorials and PRO?
Free tutorials teach a single technique end to end. PRO courses are longer, go deeper into workflow and decision-making, and include the sample images and finished PSDs, so you can practice on the same files as the lesson.
Do I need to own Photoshop?
Yes. Photoshop is Adobe software, sold as a subscription, and it is not included with PHLEARN PRO. The Adobe Photography plan, which bundles Photoshop and Lightroom, is the most common way our students get both.
Can I cancel?
Yes, anytime, from your account page in a couple of clicks. There are no cancellation fees, and you keep access until the end of the period you have already paid for.
What is the money-back guarantee?
If PHLEARN PRO is not the right fit for you, contact our support team and we will make it right, including a full refund.


Unlock This Course & Every PRO Tutorial.
200+ courses. 1,000+ practice files. One membership.

Unlimited access to every PRO course
New PRO courses every month
Layered PSDs and RAW files to follow along
100+ Lightroom Presets, LUTs, Actions and Brushes
Stream in up to 4K, with captions and chapters
Watch on any device: desktop, tablet or phone
4.93 average from 3,900+ reviews · 2M+ students