

THIS COURSE INCLUDES
- 5 Lessonsfollow-along
- 3h 16mof HD video
- Advancedfor experienced editors
- 7 Sample Images+ 2 Photoshop brushes
- 5 Layered PSDs+ PDF companion guide
- Captionsand chapters on every lesson
Join PHLEARN PRO for instant access to this course and every tutorial on PHLEARN.
- Stream in up to 4K on any device
- Closed captions and chapters on every course
- Download all sample images and PSDs
- New PRO tutorials every month
- Cancel anytime
Description
This is our most advanced object removal in Photoshop guide, covering objects and distractions of every kind. The final course in our series, after Simple Object Removal and Intermediate Object Removal, moves faster and builds on everything before it, into the images where Content-Aware Fill and the Spot Healing Brush stop being enough and most of the work is done by hand. Whether the background is soft or sharp from edge to edge, you’ll learn how to take out large distractions and leave nothing behind that gives it away.
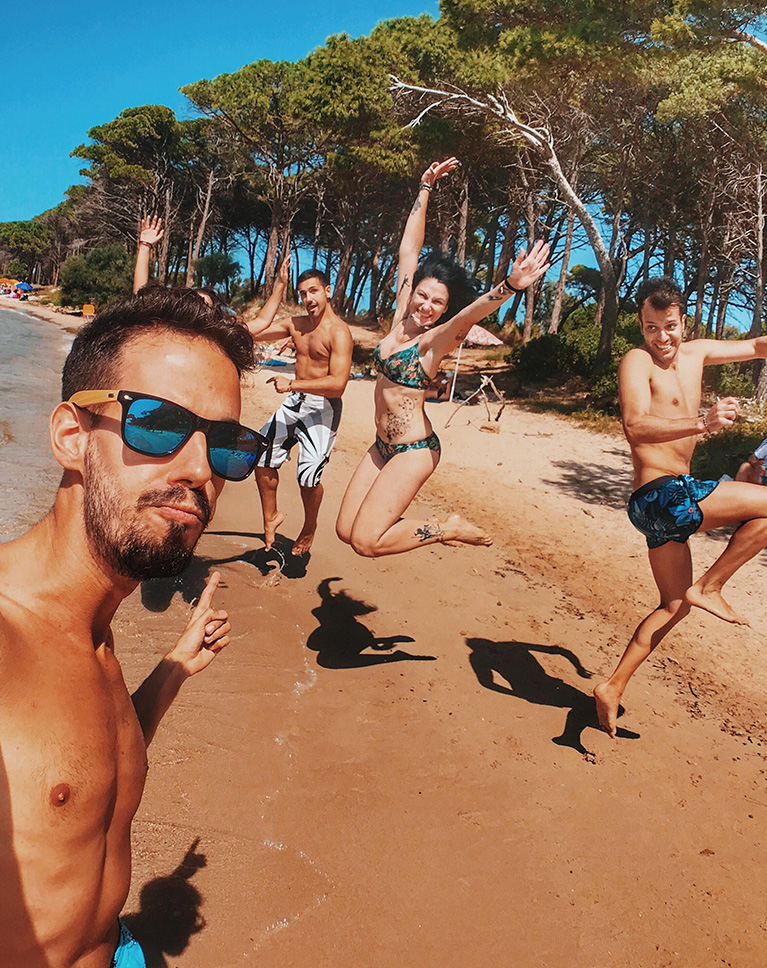
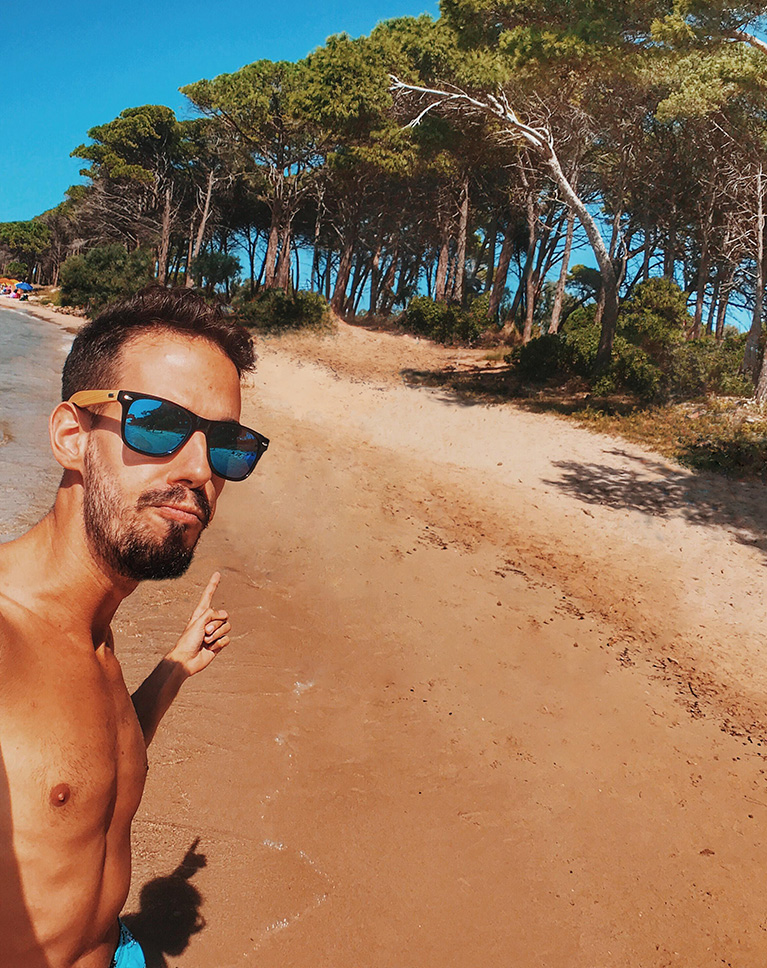
Follow along through multiple examples where we show you how to remove large objects and people, reconstruct entire backgrounds, manually paint in lost details, and much more. You’ll clear a group of friends from a beach photo with a detailed, in-focus background, remove heavily tattooed skin while keeping a believable skin texture, and rebuild a city street, crosswalk included, after taking out a car. When removing something isn’t the best answer, you’ll see how to choose a stock background that matches the lighting, camera angle and focus of your photo, and blend it in. There are 5 lessons, and you can follow along with the sample images.
What You’ll Learn
- Remove large objects and people from any photo
- Reconstruct entire backgrounds by hand
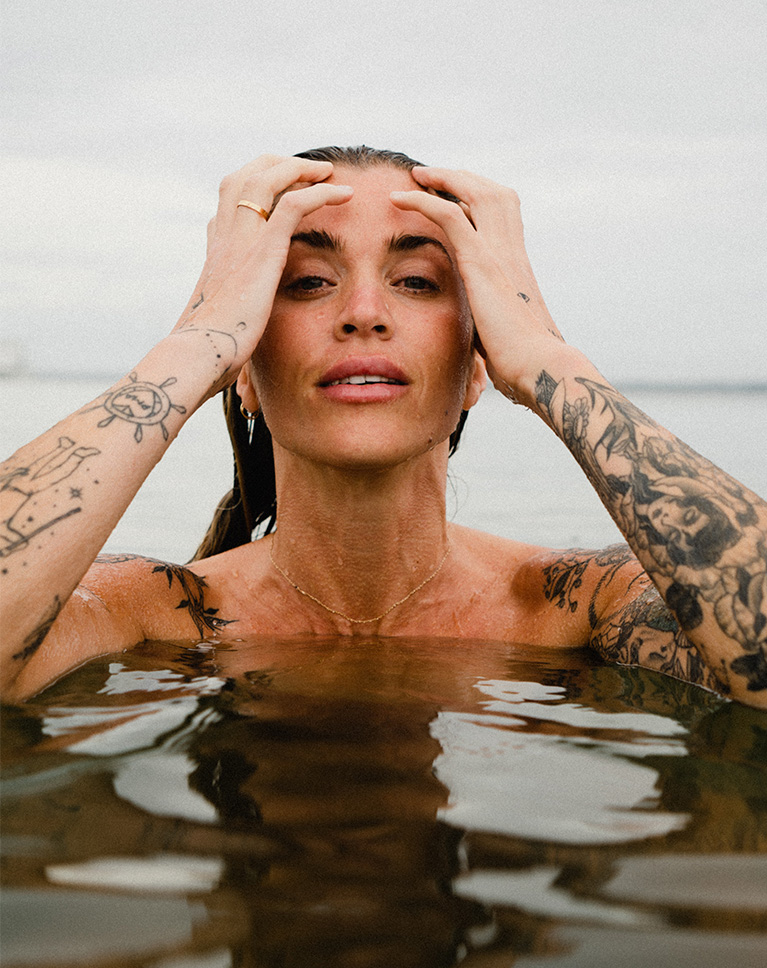
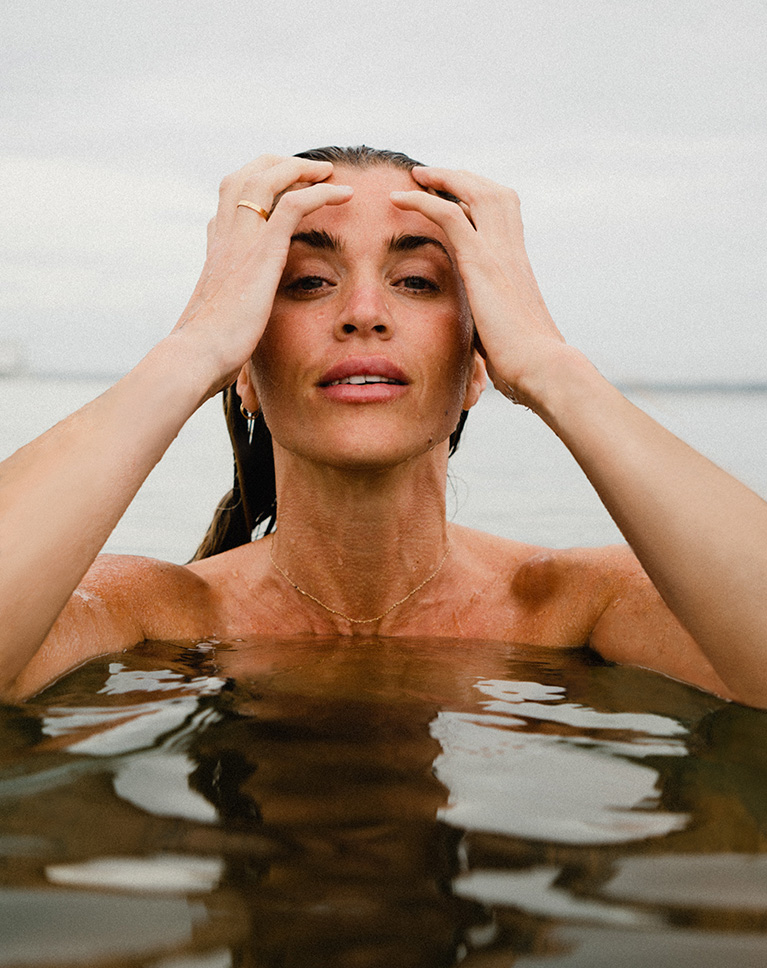
- Remove tattoos while preserving skin texture
OBJECT REMOVAL SERIES
- Simple Object Removal in Photoshop
- Intermediate Object Removal in Photoshop
- Advanced Object Removal in Photoshop (this course!)
Table of Contents
Course Downloads
Remove Anything from a Photo!
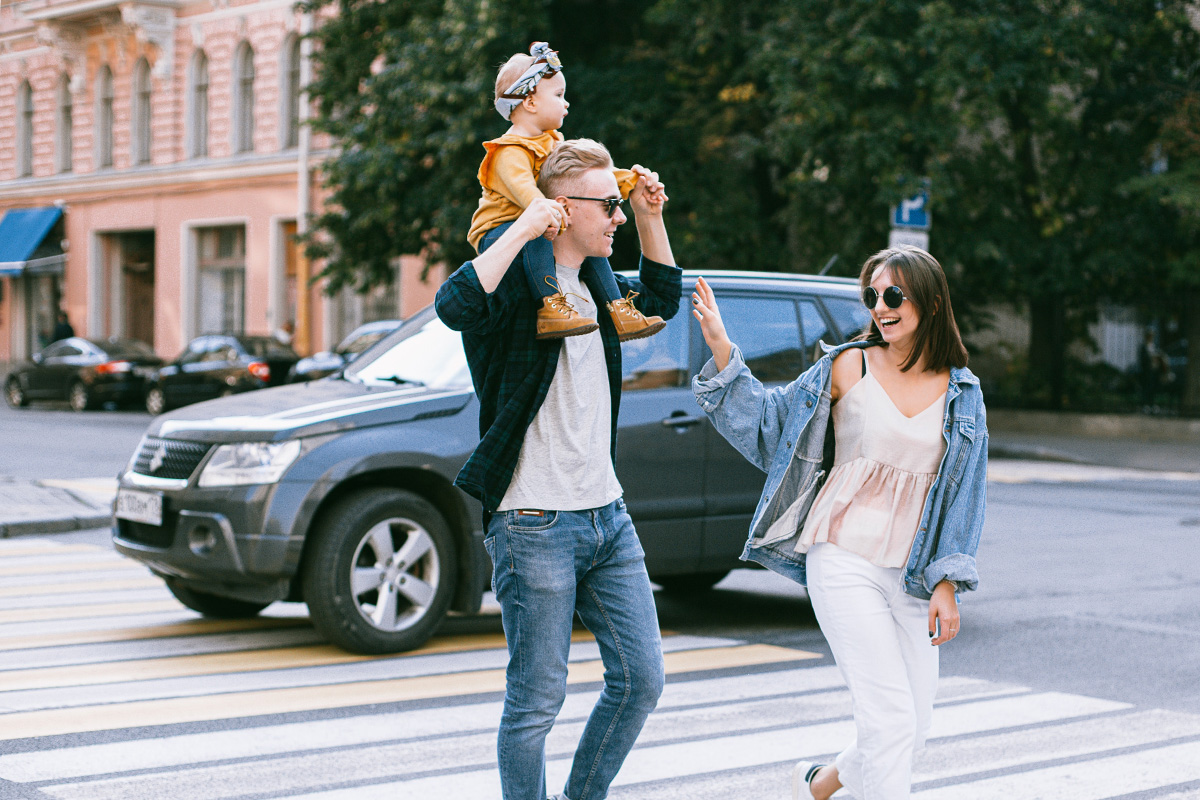
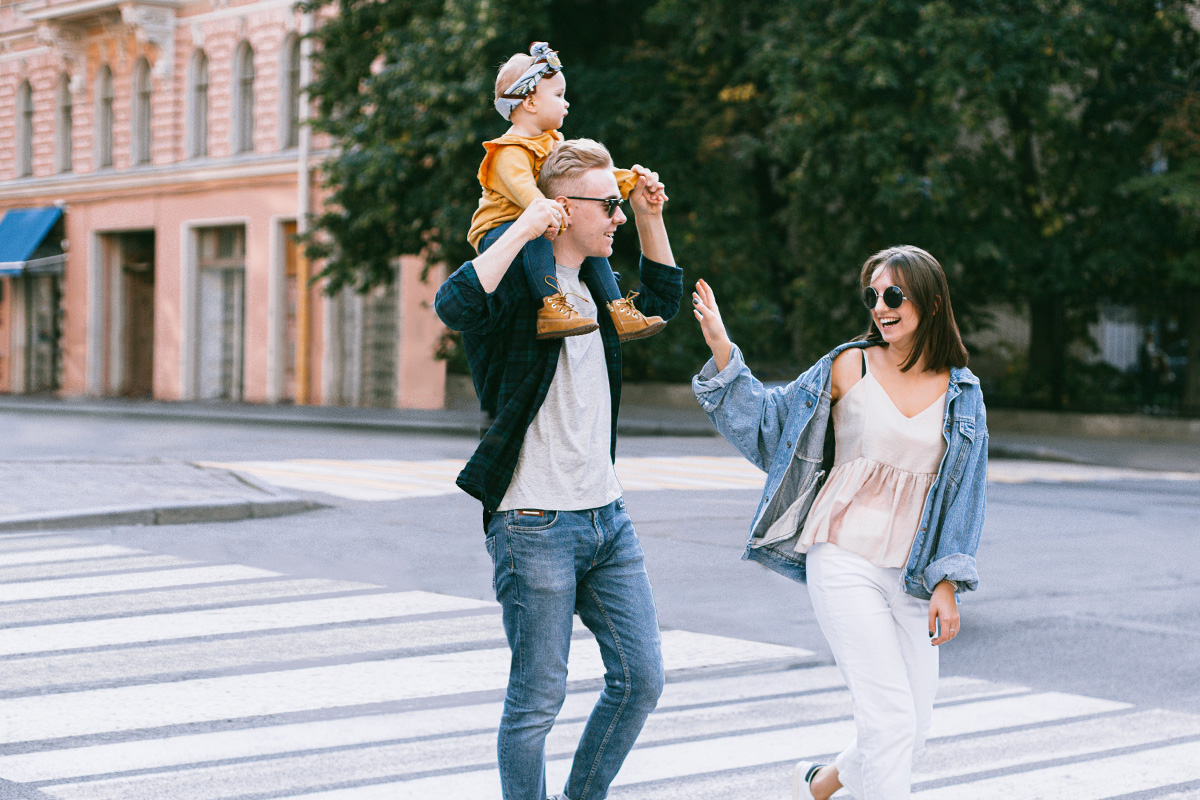
Now You See It, Now You Don’t
Object removal doesn’t get more advanced than this. Learn how to remove groups of people, large objects like cars, tattoos, and even entire backgrounds from any photograph. This is Photoshop magic.
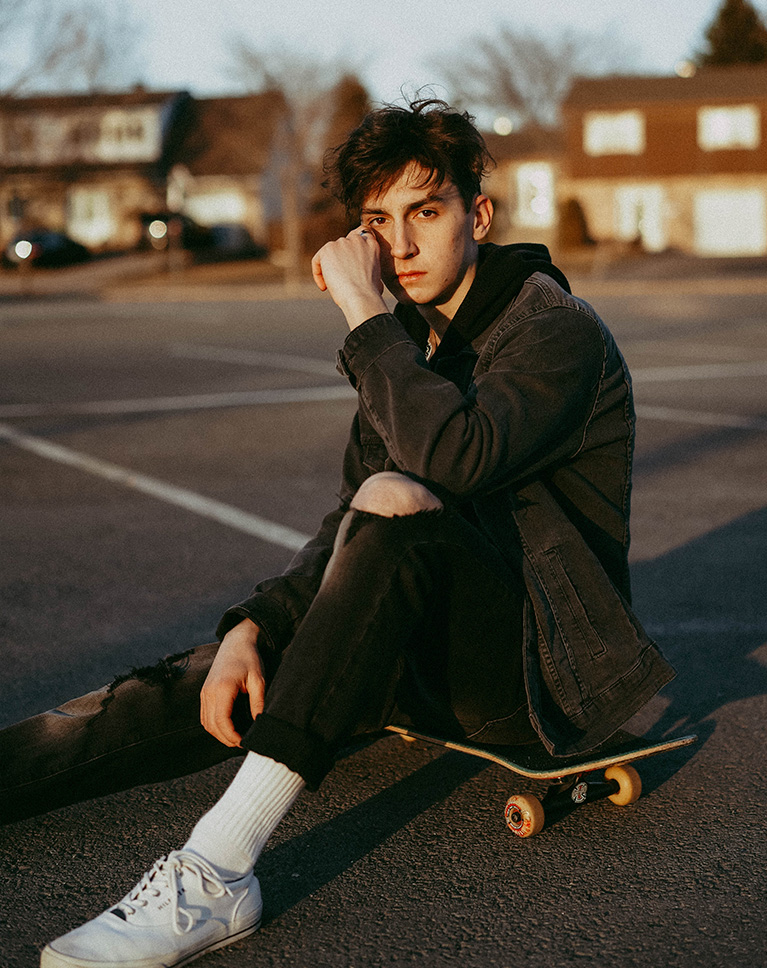
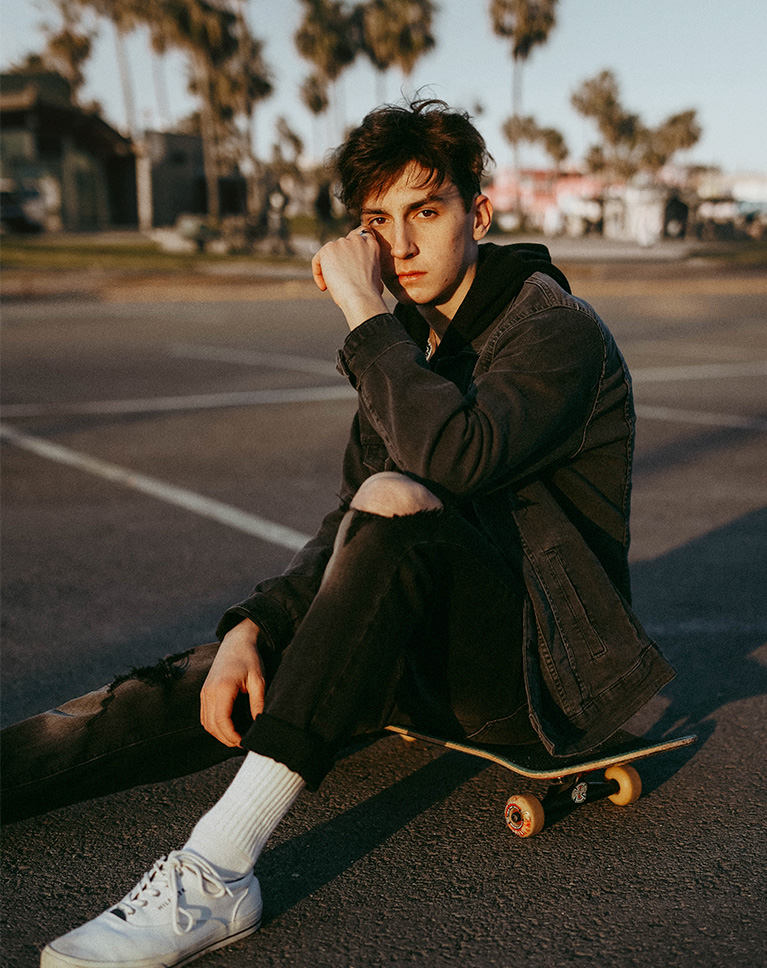
Advanced Object Removal in Photoshop: Remove Anything
When we say anything, we mean anything. This is our most focused course on advanced object removal in Photoshop, removing objects and distractions of any size. Whether you want to develop new professional skills, or tackle a new fun and challenging project, this is the perfect course for you.
Advanced Tools & Techniques
In Simple and Intermediate Object Removal, we showed you the ropes of cleaning up your images. In this advanced object removal in Photoshop course, we combine all of those skills with some new techniques, giving you all the skills you need to clean up any photograph.
Photo Compositing
Advanced object removal in Photoshop often means compositing: learn how to use multiple images to remove large objects and even entire backgrounds from an image. And if you want to learn even more compositing skills, be sure to check out Intro to Photoshop Compositing for Beginners.
Preserve & Recreate Natural Details
It’s one thing to remove something from in front of a background or landscape, it’s another thing entirely to remove something from a subject’s skin. While we cover advanced retouching and blemish removal in other PRO courses like How to Master Frequency Separation Retouching, we take some time in this advanced object removal in Photoshop course to show you how to remove complex elements from a subject’s skin while preserving all of the natural texture and details.
Advanced Brush Techniques
Sometimes object removal is quick and easy, perfect for tools like Content-Aware Fill or the Spot Healing Brush. But advanced object removal in Photoshop, on tricky jobs with complex backgrounds, needs a more manual touch. Learn advanced techniques for the Brush Tool to literally paint in background elements and detail for an unbelievable final result.
Professional Skills
No matter what sort of photos you work with, object removal is a key skill for any editor. Need to remove studio lights and equipment from a studio shoot? No problem. Small blemishes or distractions from a subject’s skin? We’ve got you covered. Entire groups of people from an urban landscape? You’ll be able to do all this and more!


Seamless Results
Whether you just want to clean up some family photos, or you need a subject or product to stand out for a client, we show you how to achieve seamless, professional results in your images.
Work Non-Destructively
The most important part of a professional workflow is making sure you can get back to your original, unedited photos at any time. We show you how to use Layers, Groups, Layer Masks, Smart Objects, and more to make sure you can undo or change your work at any time.
Complete Control
We show you how to use every object removal tool and technique out there, giving you complete control over your photos. If you, or your clients, don’t want something to be in frame, you’ll be able to hide it so that only the most important elements of a photo take center stage.
Skills for Any Photographer
These skills are universal for any photographer. Whether you capture products, weddings, headshots, fashion, or landscapes, you’ll be able to identify and remove any distractions using the power of Photoshop and your editing savvy.
Reconstruct Backgrounds
It’s pretty common and pretty easy to remove small distractions in front of relatively simple backgrounds. But what about when you have a background full of complex details like buildings, trees, signs, and other small details?
Sample PSDs Included
We don’t just provide the sample images for you to follow along with, we also set you up with the completed PSD files so you can reverse-engineer the process and experiment with the effects.

Class Instructor
Aaron Nace
PHLEARN Founder & Lead Instructor
Aaron Nace is a photographer, digital artist, and the founder of PHLEARN. He has been teaching Photoshop, Lightroom, and photography since 2011, and has taught at Adobe MAX for more than eight years.
Aaron publishes a free tutorial every week and a new in-depth PRO course every month.
- 2M+YouTube subscribers
- 160M+video views
- 1,000+tutorials published
- 15years teaching Photoshop
Reviews


Unlock This Course & Every PRO Tutorial.
200+ courses. 1,000+ practice files. One membership.

Unlimited access to every PRO course
New PRO courses every month
Layered PSDs and RAW files to follow along
100+ Lightroom Presets, LUTs, Actions and Brushes
Stream in up to 4K, with captions and chapters
Watch on any device: desktop, tablet or phone
4.93 average from 3,900+ reviews · 2M+ students
Whew! I did watch the entire video! And I learned a great deal! I was not aware of the various methods of getting the colors and textures to match. Thank you!
Honestly the best tutorial/lesson I’ve watched for Photoshop ever. Complicated stuff that is broken down into simple steps which you can take that skill and use it in different situations. I especially use the techniques from Removing Tattoos and Removing People from a Background pretty much everyday in my work. I don’t know what I would have done without it! It’s definitely taken my PS skills to the next level. Keep smashing it out of the park Aaron and the whole Phlearn team!
Absolutely fantastic. I learned SO much. I would pause the videos and write notes in a separate window document. Thank you so much for sharing your skills. Bravo!
Another fantastic tutorial for advanced users. Easy to follow. Aaron keeps me entertained with his wacky jokes and voices. More like this one, please.
Sweet tutorial! I always love learning the little things that I either didn’t know or relearning what I had forgotten. I believe it is possible to get the “color” results you are looking for with the Healing Brush tool if you instead use Frequency Separation, which you noted in your course summary. As you always mention, however, there are many ways of doing things. Gotta love that brush tool! Thanks for the tutorial.
super good toturials not least for the instructor. i have been through all 3 torturials and it has been super good learning
Great course. Lots of stuff to learn and practice all the various ways of getting rid of stuff. I love your courses and adore your sense of humor!! Great job and keep up the fantastic work!! Thanks!!
Just Amazing….!!
And you did it again… Thank god I made it a habit to not skip video parts, because I would have missed a simple trick at the very end of video 1 when you removed the last distracting object. Me trying to clone stamp curved stuff like that perfectly and going crazy over it, then seeing “just clone stamp what you need and warp” was worth a face palm 😀 Using layers, layers aaand layers that overlap cloning and then overlay brushed stuff with matching noise will be in my repertoire too from now on too. Sometimes it is like “I know all that”, but I tend to forget. But hearing it over and over in your tutorials will hopefully cement that into my autopilot. PS: I would totally have forgot to clone out the legs of the dude in the back *lmao*
Thank you so much, Aaron and the Phlearn team, for this incredible series!
Another wonderful tutorial. Sometimes I learn something brand new, and other times I’m reminded of something I had forgotten. But, I always come away more proficient in Photoshop. Thank you, Aaron.
Always great stuff!! You da man!!
I bought three lessons from PHLEARN, the lessons were good but there were parts that impossible to follow – if the purpose of the lesson is to teach people how/what to do then, please try to make sure the lesson is clear enough for people to learn how to do it!
Nice photoshop tutorial. As always , I love to have Aaron Nace as an Instructor. I really enjoy his tutorial.