

THIS COURSE INCLUDES
- 5 Lessonsin 2 sections
- 2h 51mof 4K video
- Advancedfor experienced editors
- 5 Sample ImagesRAW files to edit
- 5 Layered PSDs+ retouching brush and action
- Captionsand chapters on every lesson
Join PHLEARN PRO for instant access to this course and every tutorial on PHLEARN.
- Stream in up to 4K on any device
- Closed captions and chapters on every course
- Download all sample images and PSDs
- New PRO tutorials every month
- Cancel anytime
Description
Master advanced portrait retouching in Photoshop with this comprehensive tutorial. Retouching is the art of making your subjects look their best, and here you’ll learn to take a portrait all the way from the RAW capture to the final retouched version. We show you advanced techniques like frequency separation, dodge and burn, and color correction, working together to achieve even skin, beautiful light, and a natural look that keeps all of the skin’s texture.
Across 5 lessons, you’ll learn how to dodge and burn to bring out detail and make a face look more three-dimensional, how to separate texture from color so you can even out skin tone without losing detail, and how to match color and light so your subject looks their best from head to toe. The portraits cover close-up work on eyes, skin and teeth, a studio shot with a color cast from poorly balanced lights, redness, tan lines, flyaway hairs and gentle shaping with Liquify, with much of the heavy lifting done in Camera Raw and honest advice on which details are worth your time. This tutorial provides you with the perfect retouching toolkit: 5 high-quality RAW files, our exclusive Frequency Separation Action, and a versatile Retouching Brush.
What You’ll Learn
- Achieve flawless, natural skin with frequency separation
- Sculpt light with dodge and burn for stunning results
- Correct color precisely for a polished final look
Course Downloads
Elevate Your Retouching
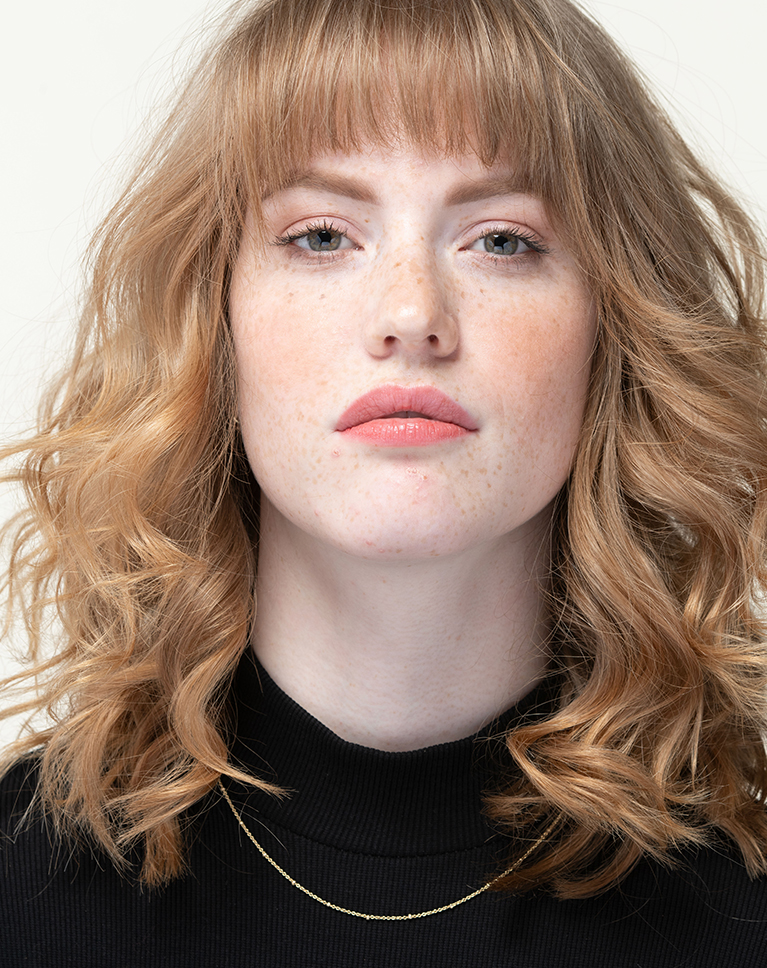
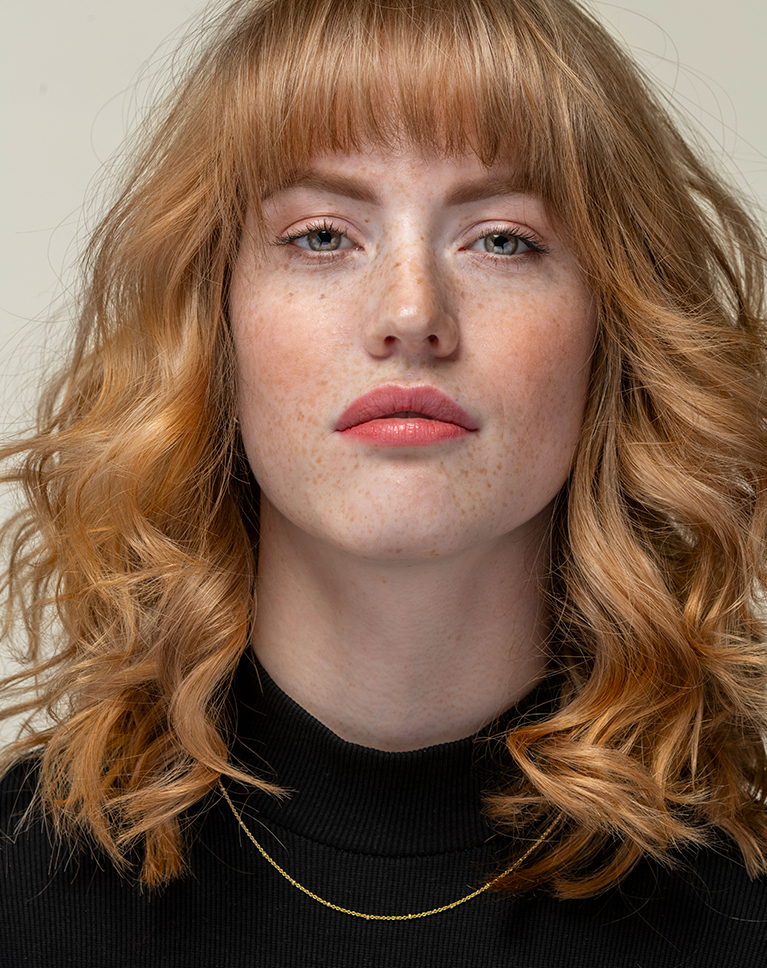
Advanced Portrait Retouching in Photoshop
Learn the optimal workflow for advanced portrait retouching in Photoshop. From RAW file adjustments to advanced techniques like frequency separation and color correction, this course teaches you the most efficient way to achieve stunning results.
High-End Results
If you’re a working retoucher, getting a high-end result doesn’t have to take hours and hours of work. We show you how get professional results quickly by simply performing the necessary steps in the best possible order. Learn to work efficiently, non-destructively, and keep your projects organized while delivering a stunning final product.
Dodging & Burning
Dodge and burn is a fundamental technique in advanced portrait retouching in Photoshop, one that involves selectively lightening and darkening areas of an image. In this tutorial, you’ll learn how to enhance the natural highlights and shadows in your photos to create contrast and give your subjects realistic depth and shape.
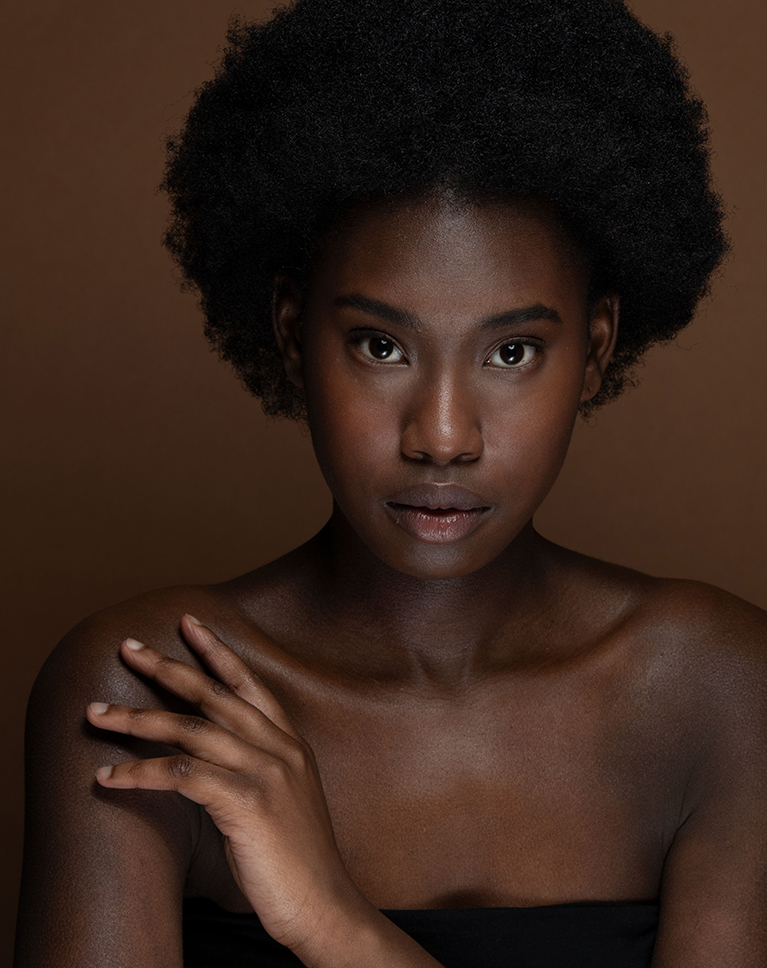
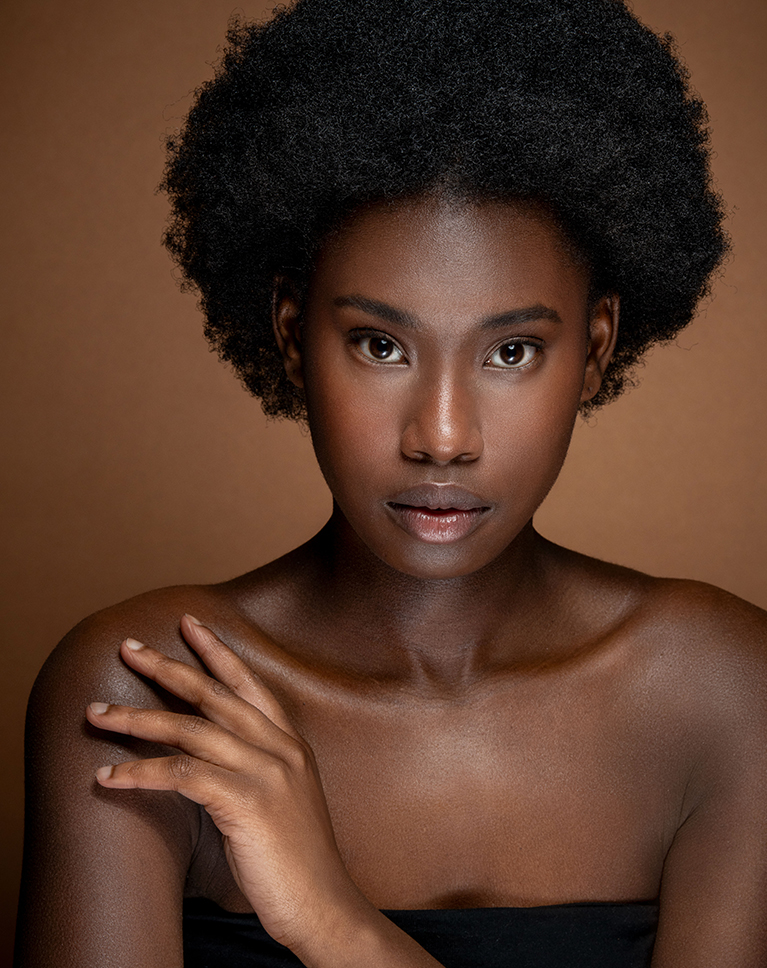
Master Frequency Separation
Unlock the secrets of advanced portrait retouching in Photoshop with frequency separation! This powerful technique lets you separate texture and color, giving you precise control over your edits. In this tutorial, we not only teach you how frequency separation works, but we also provide our exclusive frequency separation action to streamline the process and ensure flawless results.
Perfect Skin
Skin requires careful attention during advanced portrait retouching in Photoshop. Removing too much detail can lead to an unnatural look. We’ll show you how to subtly refine skin, removing imperfections while preserving natural beauty and unique features.
Match Colors
Often, subjects have varying skin tones on their face, hands, and body. This can create an unnatural look in photos. In this tutorial, you’ll learn advanced color correction techniques to harmonize these skin tones, ensuring a cohesive and polished final image.
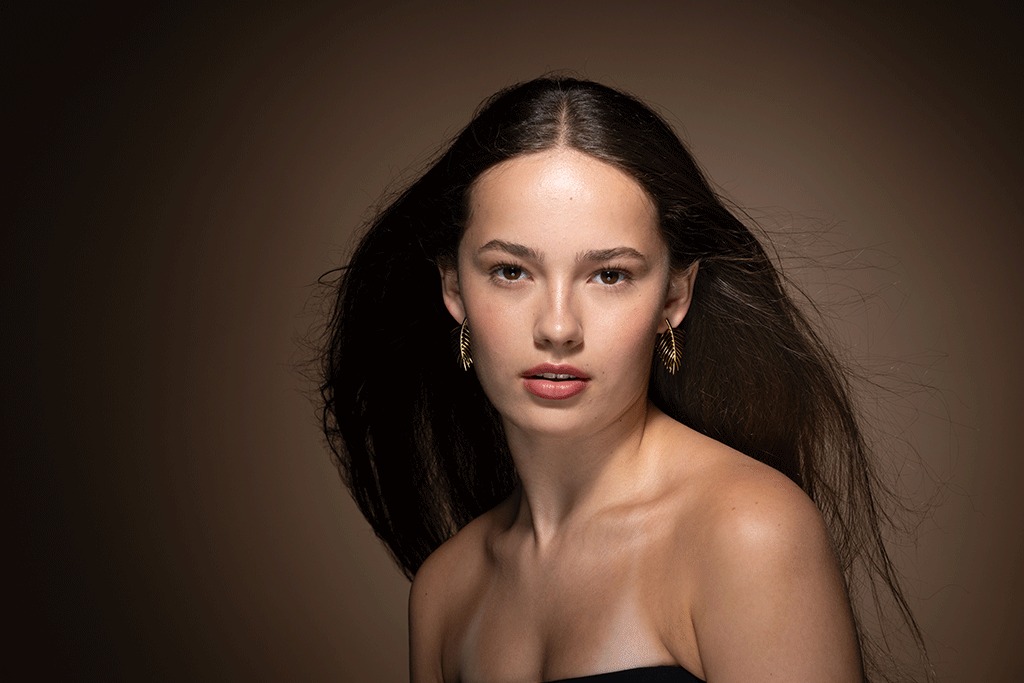

Photoshop Action & Brush
Streamline your retouching workflow with our exclusive PHLEARN Photoshop Action and Brush. These time-saving tools will help you achieve professional results faster than ever.
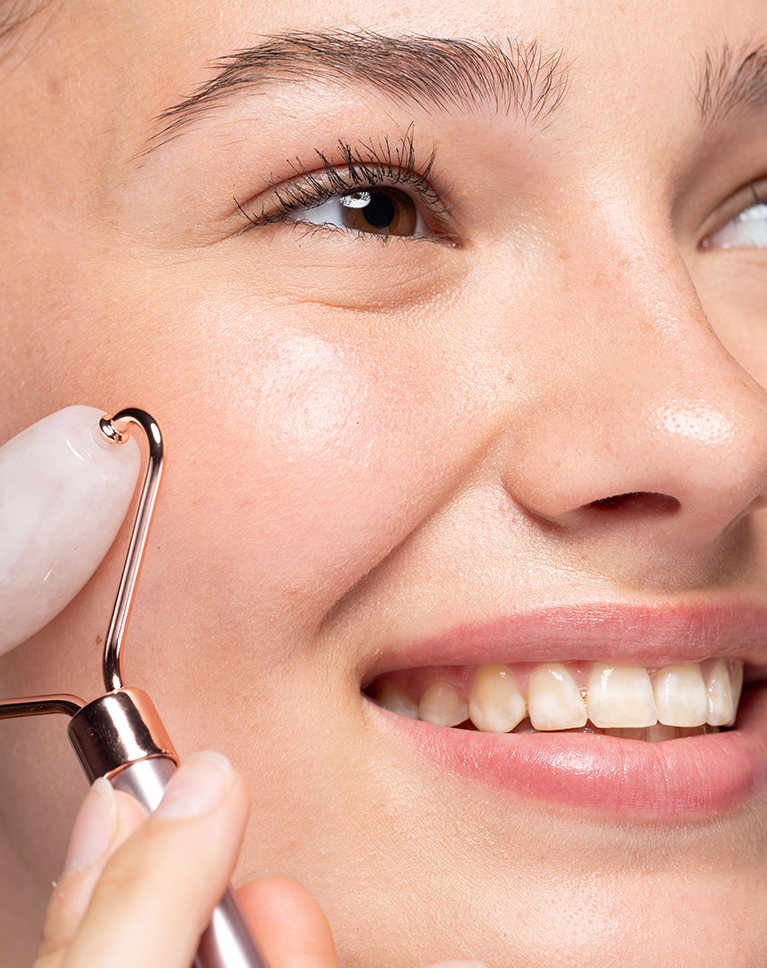
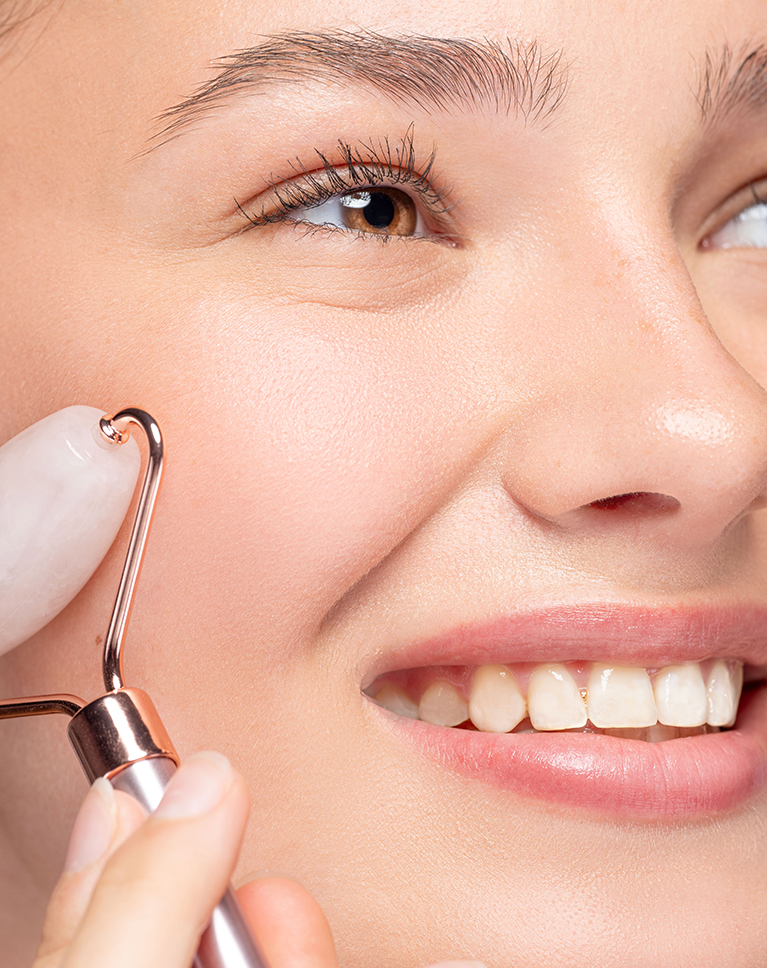
Subtle Sharpening
Sharpening is one of the most important steps in advanced portrait retouching in Photoshop, helping enhance the details that matter most while guiding the eyes of the viewer around the image. We show you how to apply multiple levels of sharpening to different areas of a photograph, to achieve a balanced and natural look, ensuring that the image remains sharp without appearing overly processed.
Enhancing Eyes
Eyes are full of color and detail that sometimes get lost in a photograph. You’ll learn how to use techniques like dodging and burning, frequency separation, and sharpening to bring back all of the unique detail and beauty in your subject’s eyes.
Using Blending Modes
Blending modes are essential for creating stunning effects in advanced portrait retouching in Photoshop in Photoshop. This tutorial will teach you how to efficiently use blending modes to combine layers, create depth, and achieve seamless transitions.
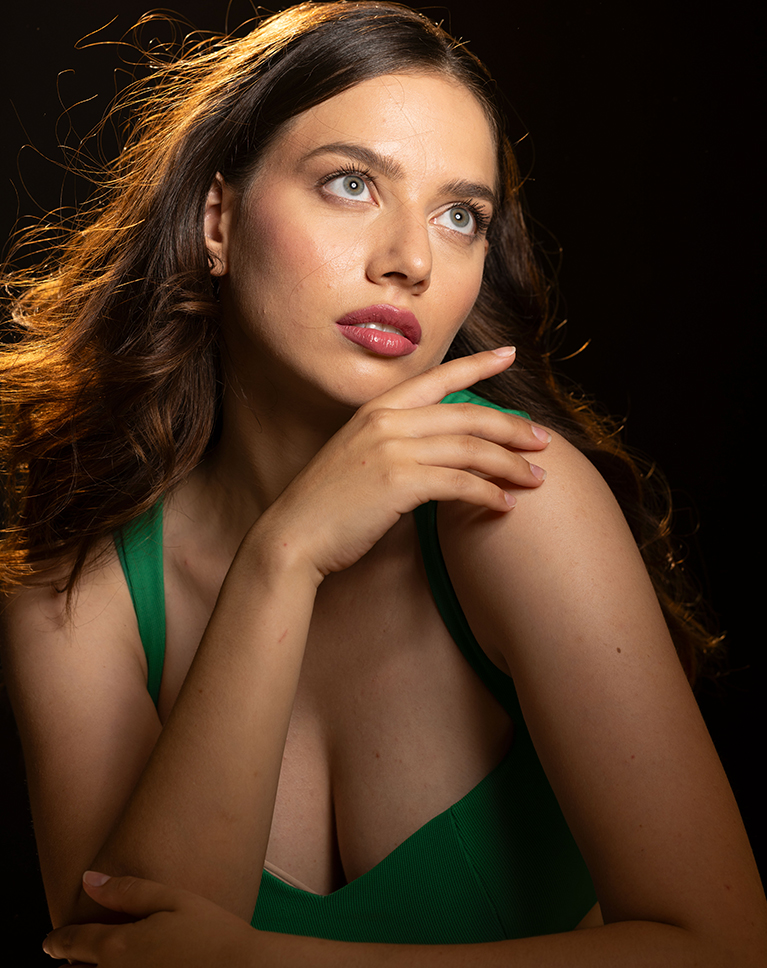
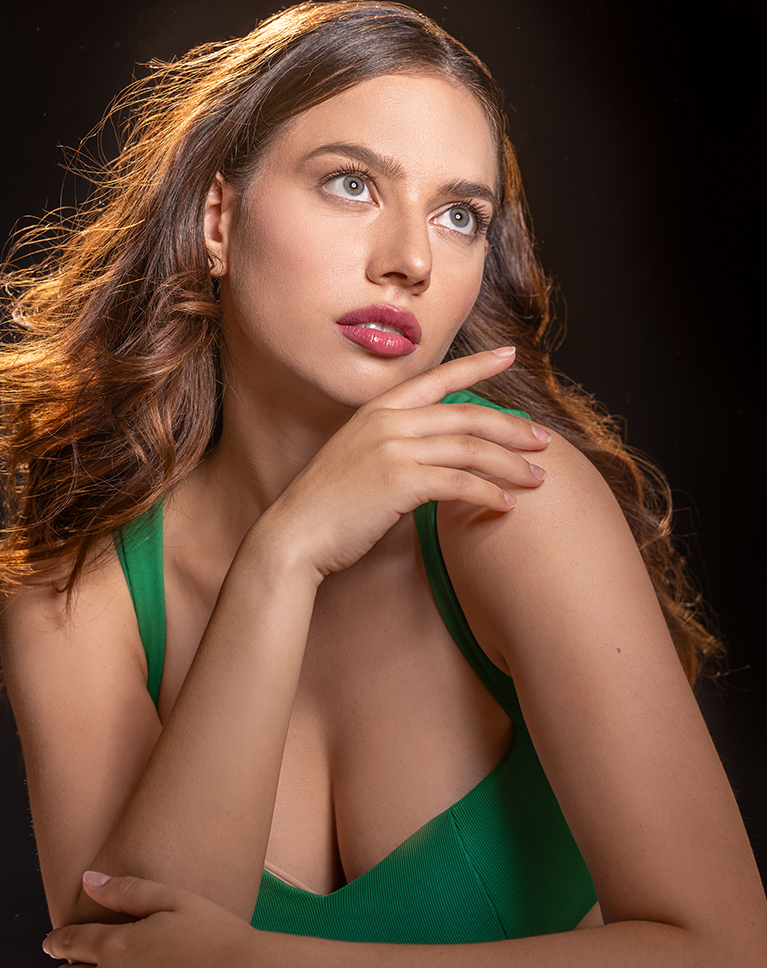
Non-Destructive Editing
Non-destructive editing is the key to maintaining flexibility in advanced portrait retouching in Photoshop and quality in your workflow. You’ll learn how to edit your images without permanently altering the original file. By using layers, masks, and adjustment layers, you can experiment with different effects and settings without damaging the underlying image.
Editing RAW Files
Working with RAW files provides unparalleled control over your images. This tutorial guides you through the process of editing five RAW files, demonstrating how to adjust exposure, white balance, contrast, and other settings to achieve stunning results.
Explore More on Retouching
Master the art of retouching with our comprehensive 44-hour Retouching Learning Path, designed for both amateurs and professionals. This in-depth curriculum covers the fundamentals with introductory courses, dives into retouching features, fabric, and materials, and concludes with advanced techniques and applications.
Class Instructor
Aaron Nace
PHLEARN Founder & Lead Instructor
Aaron Nace is a photographer, digital artist, and the founder of PHLEARN. He has been teaching Photoshop, Lightroom, and photography since 2011, and has taught at Adobe MAX for more than eight years.
Aaron publishes a free tutorial every week and a new in-depth PRO course every month.
- 2M+YouTube subscribers
- 160M+video views
- 1,000+tutorials published
- 15years teaching Photoshop
Special thanks to Ymke Myrte for providing four of the RAW images and to Azzurra Piccardi for providing one RAW image used in this tutorial.
Reviews
Master Photoshop, Lightroom and Photography
Join PHLEARN PRO for $12.99 a month or $99.99 a year. Cancel anytime, with a 100% money-back guarantee.






Thank you! Very informative!
Thank you! Fabulous information!
Danielle posted : “How can I properly integrate Dodge and Burn into my workflow without reintroducing the original blemishes? Should I create the Dodge and Burn layers after fixing the high-frequency layer, or is there another method to avoid this issue?” I was wondering about this workflow as well.
Hey there! Please send us an email to support and our team will give you advice!
I completed a retouching course and learned both the Dodge and Burn technique and Frequency Separation separately. However, I’m struggling to combine the two methods effectively. In my current project, I worked on a portrait where the subject had significant skin imperfections. I successfully corrected these on the high-frequency layer. However, when I try to apply Dodge and Burn, I run into an issue. Since the two layers for Dodge and Burn are generated from the original image, they still contain the unretouched skin imperfections. As a result, when I paint on them, those imperfections remain visible and interfere with the clean retouching I did in the high-frequency layer. How can I properly integrate Dodge and Burn into my workflow without reintroducing the original blemishes? Should I create the Dodge and Burn layers after fixing the high-frequency layer, or is there another method to avoid this issue?
Hi Daniel! Our team has reached out to you via email to give you some guidance.
A worth while video. In Adobe Raw, it is possible to create ‘snap shot’ /s . This action enables an editor to go back to previous edits (in Raw). Editing in a non-destructive environment.
Thank you so much for taking the time to share your knowledge and skills! This is a very approachable and easy to follow tutorial. I particularly like the use of repetition to reinforce techniques and messages. In this tutorial I felt you were teaching me not just demonstrating a list of techniques. Really well done!
This technique is fantastic and incredibly useful. Only problem is that I can´t see the sample images (brush and actions are ok), maybe because I use windows instead of Mac. In fact, they go down to the comp. but they don´t open in Photoshop.
Hey there! If you send us an email to support our team will help you out!
One of the best tutorials I’ve ever done! I learned so much and the techniques and tools he gives you are a complete game changer! Thank you for the amazing content! Can’t wait for the next one!
As always a brilliant tutorial. The best there is on Frequency Seperation.