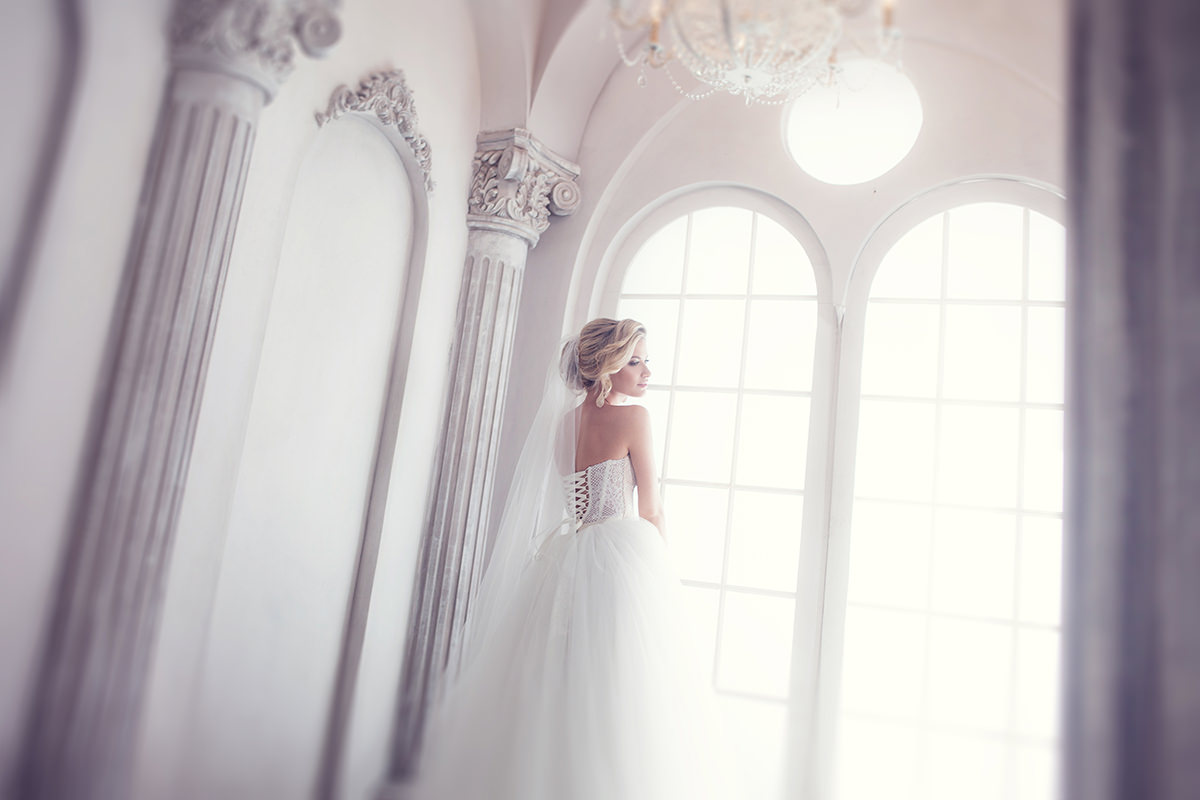

BEFORE
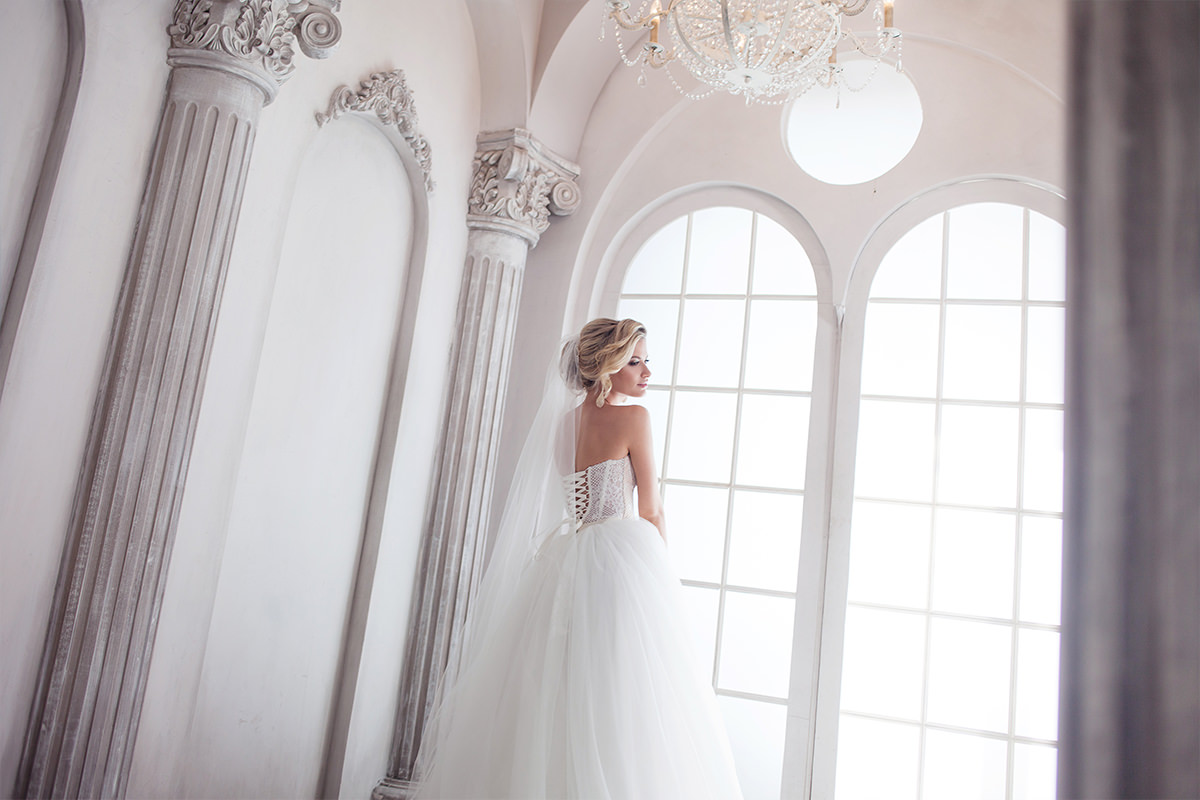
AFTER
Tutorial Description
Take photos to the next Level by adding a soft and dreamy look – perfect for weddings, engagements and family photos.
Use Iris Blur to Draw More Attention to the Subject
The soft and dreamy look is done by adding blur to the background of a photo and adding a soft blur to the Light in a photo.
To add a slight blur to the edges of a photo, first start by duplicating the Background layer and converting it into a Smart Object by right-clicking on the thumbnail and selecting ‘Convert To Smart Object”
After converting the layer into a smart object, go to ‘Filter – Blur Gallery – Iris Blur’. In this dialog you can choose how much blur you would like applied by sliding the blur slider on the right. The controls in the center of the Screen allow movement of the blur center, the shape of the blur and feathering.
Choose a subtle blur around the edges of the photo for the soft dreamy look.
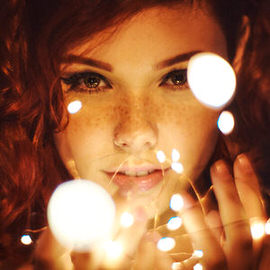
How to Make Light Soft & Dreamy
After applying an Iris Blur to the photo, it is time to blur just the light. To begin, create a selection out of the light in the photo by going to ‘Select – Color Range’ and clicking on the Light source with the Eyedropper Tool.
The preview are will be white on selected areas and black on non-selected areas. Be sure to adjust the slider to just include the light in the selection.
After turning this area into a selection, create a New Layer and either fill it with white or duplicate the selected area from the Background. The goal here is to have just the light from the photo copied onto a New Layer.
Next, convert the layer with just the Light into a Smart Object by right-clicking on it and going to ‘Convert To Smart Object’. The reason for converting it into a smart object is so Smart Filters can be used. Smart Filters can be changed at any time, making them more versatile than regular Filters.
After converting into a Smart Object, apply a blur by going to ‘Filter – Blur – Gaussian Blur’ and choose a radius to expand the light. Adjust the Opacity of the layer to suit the image and duplicate it if necessary.
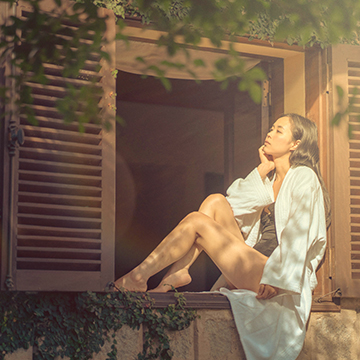
How to Color Tone for the Soft & Dreamy Look
Once the Background has been blurred using an Iris Blur and the Light has been blurred using a Gaussian Blur, it is time to Color Tone the image.
In this example, we use a Levels Adjustment Layer and edit the Blur Channel – adding more blue into the Shadows and yellow into the Highlights.
Feel free to play around with Color, each image is unique and requires Color toning specific to that image. Most of all, have fun!